

Learning to weave your own fabric is quite rewarding; imagine making your own fabric – even more so because, making your own hand weaving loom (cardboard) to start hand weaving fabric is ever so simple and easy.
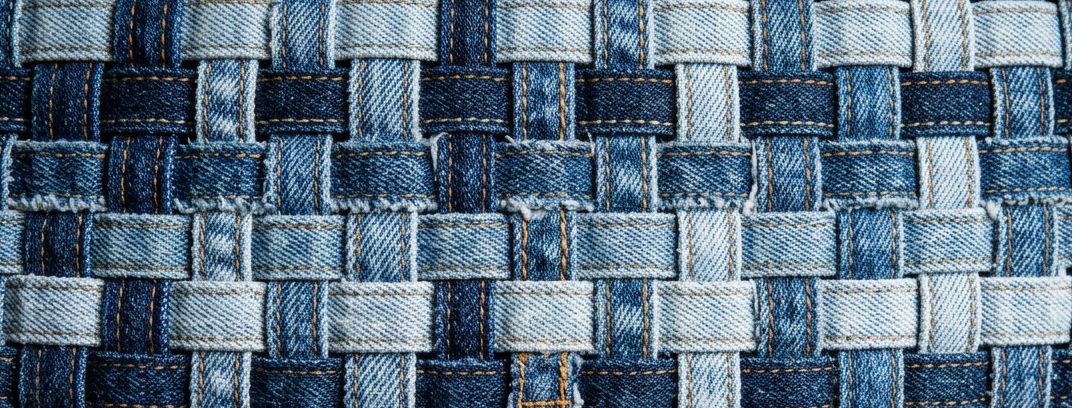
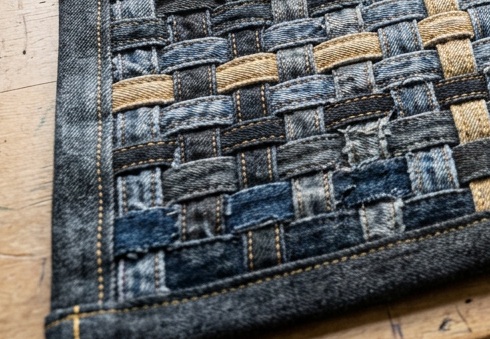
If you do this right, you can make small towels, scarves, mug rugs, table mats with the fabric you made yourself. You can rip your recycled bedsheets, or denim leftovers after taking old jeans apart or tshirt yarn which you made yourself.
Option 1. Assemble a kit
If you have a weaving kit (which you can buy from shops) you do not need to read this post. You get the kit as small wooden blocks which you piece together and then start weaving. I also have the plastic loom- I guess it is meant for kids but for small scraps it is good.


If you can multitask, you can even watch a movie and do this and before long you have made your own fabric. Yes, I finished this while watching a movie. But you need to look at where your needle is going every once in a while. Not recommended the first time you are doing it.
Making your own cardboard weaving loom is as easy as assembling this kit.
How to make cardboard loom at home
What do you need to make the cardboard loom?
You must have a piece of cardboard which measures a little more than what you want the fabric size to be all around.
For the warp thread (the initial binding thread you use vertically) you can choose a thinner thread than the one used horizontally (weft thread). You can use mercerized cotton thread or thin packaging string or knitting yarn for this.
For weaving of weft thread you can use knitting yarn, yarn made from old t shirts, thin cords you have.
You can also use chopticks, scale or icecream sticks or a pencil to hold up the thread when weaving. You also need a thick needle or bodkin to weave.
Steps to make the loom -cardboard


Cut grooves along these marks – they need not be deeper than 1/2 inch.

Pass the base thread (warp thread) through these grooves as in the picture below. It is better to use a strong, non-stretchy yarn (like cotton) for this – this is what I have read.

Turn the thread to the seond cut through the next groove in the manner shown in the picture below.

Continue in this manner; it will look like this, whenyou have finished the work.

Cut out some 40 inches or longer piece of your weft thread and pass it through a needle or bodkin. Tie a knot or two at the eye of the needle. This is your weaving tool.

Use a scale or dowel or stick to separate odd warp threads from even warp threads – this will prepare an opening through which you can pass your weft thread. In weaver terms this is called a shed. I am using my scale but using this is optional. You can simply go through the threads counting as you go.
Thread your weft thread through this opening, till you reach the other end. Weft is the filler thread and you can go creative with it- the prettier the better.

Then turn to the other end . Now you may want to again separate the opposite set of threads in the warp (now, get the even thread up) to create a second opening for your needle and weft thread.

Bring the weft thread neatly and tightly up against the first row of weft thread. Continue in this manner repeating the step one and then step two, till you have completed the thread in your needle.
When you have finished the first thread you need to start a new thread on your needle – You can choose to end the thread either at the middle or the sides – make a small knot with the new thread, use it on the needle and start weaving again. You can cut out the tails and the knot will not be so visible.

As you finish you can prop up the yarns with a pencil.

Other weaving methods : You can choose to make different patterns by following different ways of weaving. Instead of one thread do the over 2, under 2 weaving.
When you have finished the weaving you can cut off the base thread along the top edge and bottom edge and then tie the tails with a separate yarn or to each other.

Cut off or leave the fringes as they are.

When you have had some practice you can even design with your own patterns and your own motifs. Checkout this post on fabric weaves for different patterns used in professional fabric weaving.
To make a placemat you can make a frame of about 10-14 inches wide and 18 to 20 inches length. You may also want to bind the edges for a neat look.
For a table runner you will need to make the frame about 12 to 15 inches in width and 38 to 40 inches in length. Would you make it ? Try it next with denim scraps – you will just need a bigger cardboard.
The weaving terms you should know
| Warp | The stationary vertical threads |
| Weft | The horizontal ‘filler’ threads |
| Shed | The space between warp layers |
| Shuttle | The tool that carries the weft |
| Selvage of fabric | The finished side edges |
Related post : Techniques to manipulate fabric into texture.


Thanks
I really loved it ♥
I am so thrilled to start weaving as soon as possible. THANKS for guiding in such a simple way !!
Hi Monica, Thanks for the comment. Best wishes
Thanks for this crafty idea. I think kids would love it, as well as adults. AND – what a great way to use up old scraps and use cardboard (that is free) !!!
How do you keep the weave from being smaller in the middle than it is on the ends, as it is in the photo of the woven green and white example?
Hi Barbara
Yes, that is a problem which automatically happens as you weave but it resolves itself when you cut the cloth out of the loom. You can adjust the woven thread and make it straight
So neat thank you