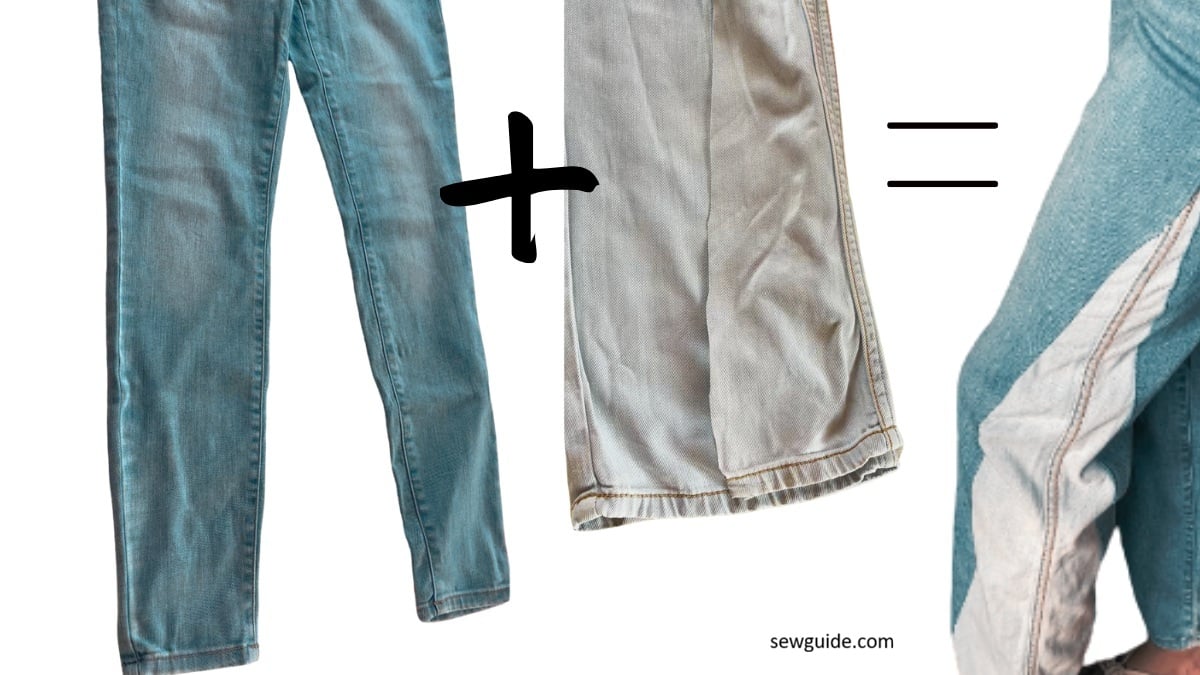
When you have old clothing that is neglected and forgotten, there is always a way to breathe new life into it with some patience and a sewing machine. Denim is forgiving and loved in any form; jeans are perfect candidates for these makeovers. You can turn skinny jeans into bootcut styles or, if you prefer no flare, into simple straight-legged jeans by adding extra fabric from old jeans or your fabric stash.
If you want to widen long-forgotten skinny jeans, read on.
or watch the video of how I did it for someone who loves them and wears them all the time (and gets compliments every time she does).
Fashion changes constantly. One moment, I read that flared jeans are the latest trend, and the next, I hear from somewhere else that they are not anymore. It’s hard to keep track – are straight jeans in vogue now, or is it bell bottoms, bootcuts, or are skinny jeans back again? Whatever you like, fashion being cyclical will come back for these, if they are not there already.
Anyways, as I want clothes which are just comfortable, and I have these ultra thin jeans which are no good as they are, to me, I think I am perfectly ready to make flared jeans or at least straight ones out of them.
Tips for turning Jeans into straight, flare, bell bottom, or boot cut style
Choosing the Fabric
Opt for a heavyweight fabric that matches the denim’s weight. It is better to choose a fabric that is of the same weight as the jeans you have for it to hang right.

You may be tempted to use thin cotton fabrics with nice prints, or lace fabrics. A stiffer fabric like denim maintains the flared bell shape, while lace or lightweight cotton creates a crumbled shabby look.
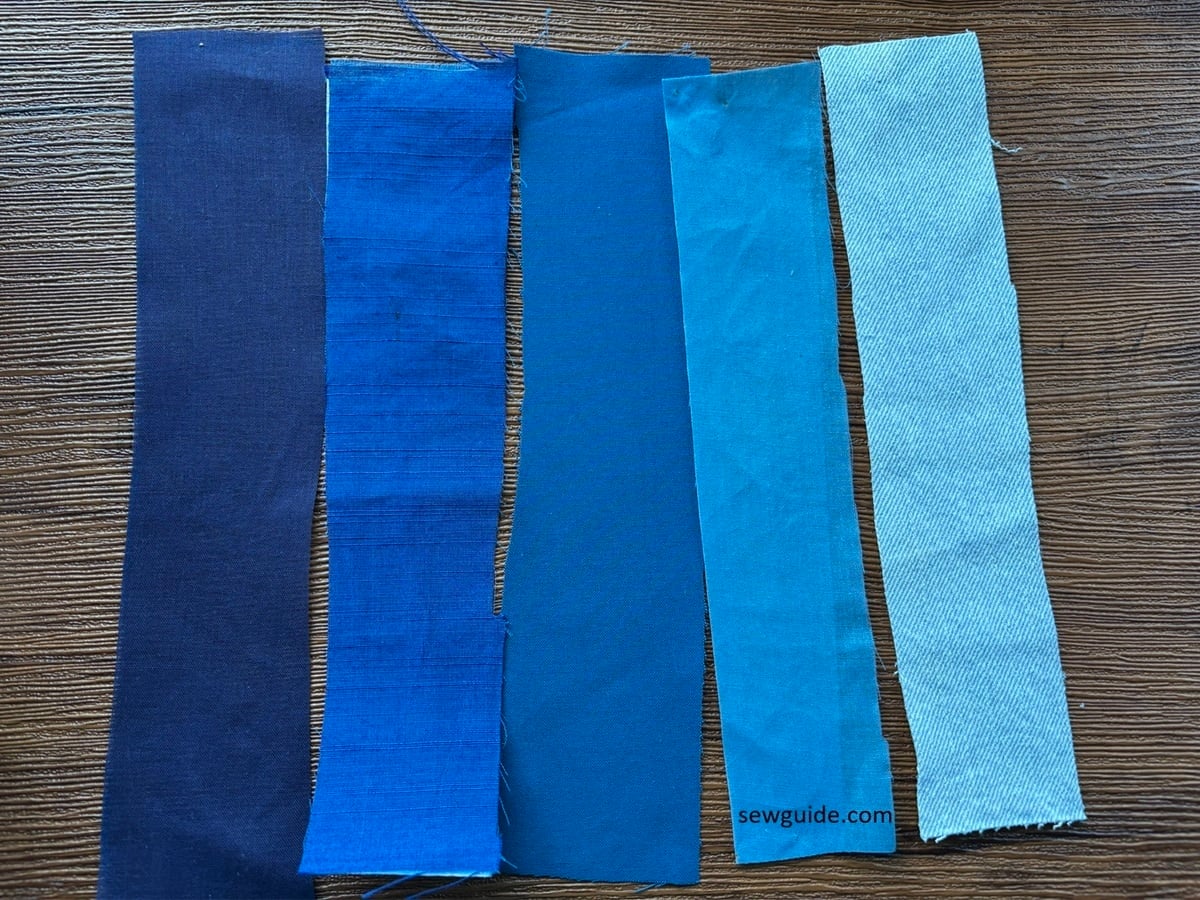
You can use different patterns and colors for different effects. For eg. a psychedelic-colored paisley inserts can give off a 60s vibe; pastel colored floral prints can give a very girly vibe.
Choosing the Right Jeans
You do not need the perfect pair of jeans for this – but it helps if they fit you right at the waist, hips and thighs. You are not looking for a complete jeans alteration here. Just widening your jeans along the side seams.
Choose the flare you want
Deciding on the final flare of the jeans. Let us compare the different jeans styles.

Straight Jeans: No flare. Straight jeans maintain the same width from the hip down to the hem. They don’t taper inwards like skinny jeans, nor do they flare out.
Bootcut Jeans: Then comes Bootcut jeans with a slight flare. These are somewhat of a middle ground between straight and flared jeans. They start to widen slightly below the knee, with a width just enough to sit comfortably over boots.
Flared Jeans: Flared jeans have a moderate flare. They start to widen below the knee, creating a noticeable flare at the bottom.
Bell-Bottom Jeans: Bell-bottoms have a dramatic flare from the knee downwards. The hem circumference is larger, creating a bell-like shape. They were a major fashion statement in the ’60s and ’70s, so if you want the retro look, this is the one you should aim to make.
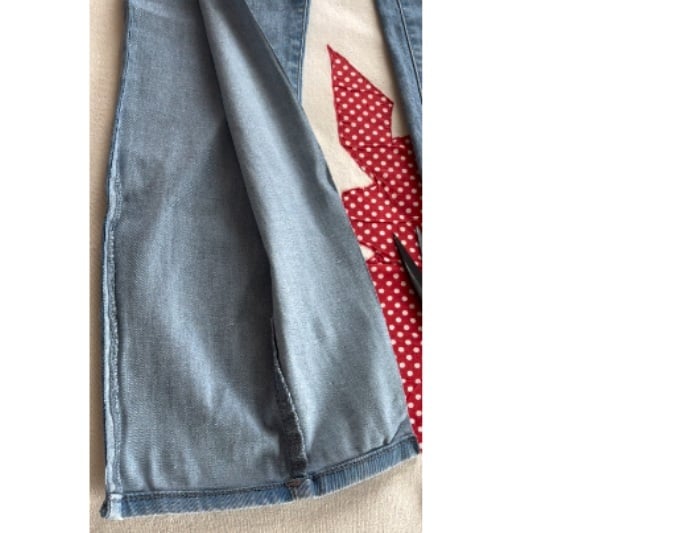
Cut off the hem edge

Cut open the pant leg
Measure the length from your ankle to your knee on your jeans. This is about how much you need to cut open on your jeans on the side seams.

If your skinny jeans is short you will want to add some extra length. Add the extra fabric to extend from the knee to the new, longer length.
Mark your jeans carefully before making the cut.
One alternative is to just cut off the front part of the jeans leg from the knee and replacing it with a fabric with a wider bottom edge. Here you are not adding godets, but straight up removing the leg fabric (only at the front or front and back) and using another wider fabric replacing it. There will be a stitching line across the knee.

Add extra length
This is optional. This extra length is to ensure the jeans will have a long length after the flare is added, considering the original short length of the skinny jeans. If this is not a problem, skip this.
Measure the length from the waistband (when you wear the jeans) to the floor. Measure your jeans. Subtract. This is how much extra you need to add to the length.
Cut out fabric pieces (better to get denim pieces from old jeans) in this length and add to the bottom edge.
Creating the Flare
I will be adding the flare as triangle inserts. These pieces are what transform your jeans into flared ones. In sewing parlance they are called godets.
Cut four triangles (17 to 18 inches tall, 4 to 7 inches wide at the base) from denim or your favourite fabric( of denim weight).

The width you choose for the base will depend on what you want – flare, bell bottom, or boot cut. Bootcut will have a less wider base than a bell bottom.
(Another option is to use a rectangular fabric piece. You can cut a larger rectangle the length and width matching the flare you want and pinning it in place between the fabric edges before sewing. After sewing, cut off the extra.)
You can sew the godets to the cut wrong sides together to get that cool, frayed look or wrong sides inside. Your call. If you want traditional looks or the frayed distressed looks.

When you reach the last seam, you may have to either sew from the top or sew from the inside. Add a top stitch for a polished look.

Finally, re-hem the jeans.
Want straight-leg instead of flare?
The difference between the flared jeans and straight-leg jeans is that straight-leg is the same width from knee to hem and flared styles widen toward the hem.
When you cut the godet for making flared jeans you will be cutting a wide triangular insert but for making it straight, you should cut a narrow and long insert.
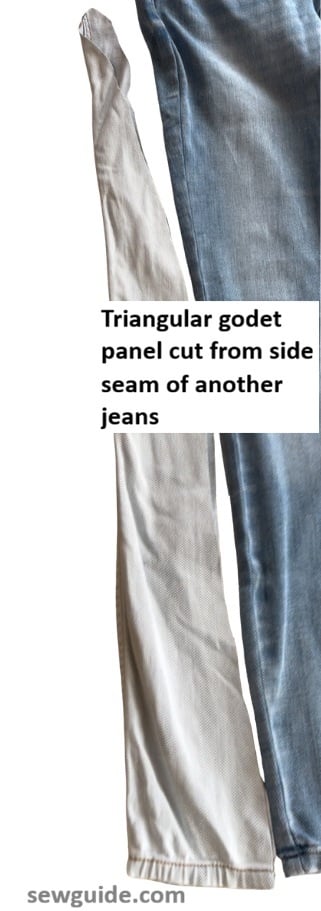
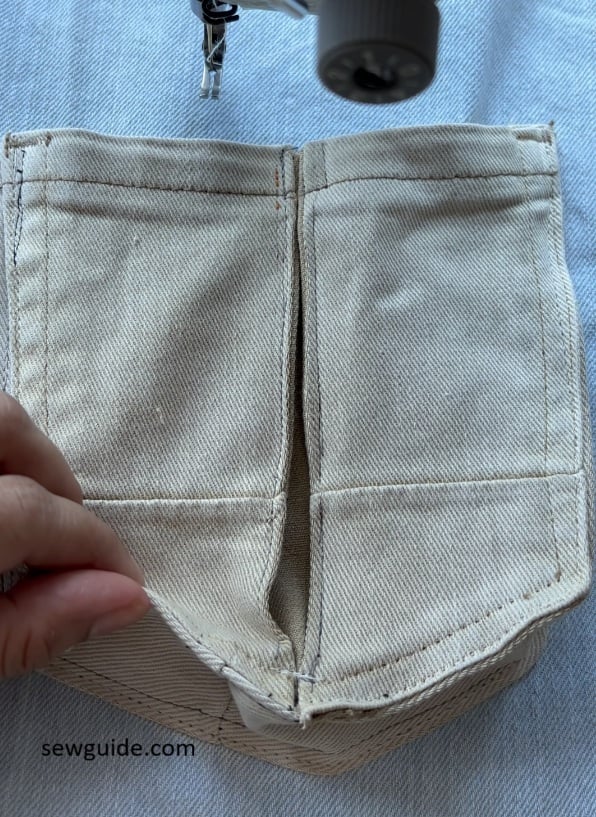
This is the piece that I cut from another pair of old jeans (this time in a lighter color , it created a nice contrast look and made the jeans more shapely) .
I cut open the sides of the original jeans a little upper – I opened it till the pocket. The godet should be about the same height or longer (Cut the triangular piece taller than you think you will need)
(Warning : Sewing inside the jeans leg, that too a narrow one, all the way from the top to the bottom, without any opening is a nightmare.)
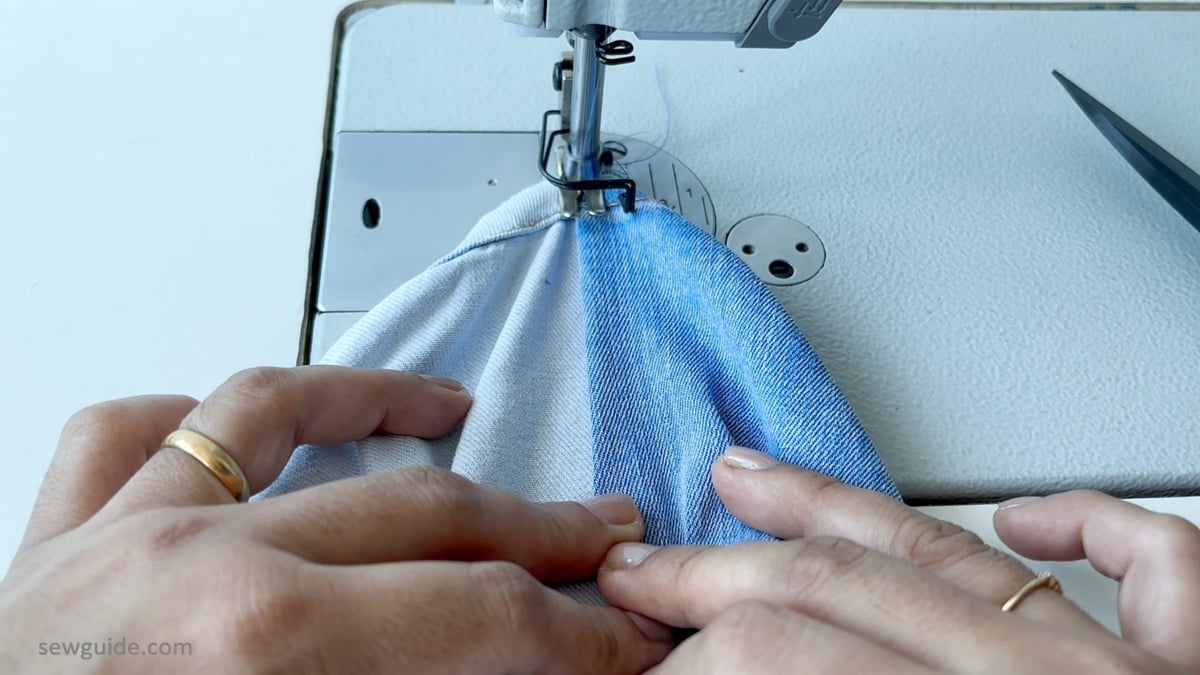
Place the godet under the opened jeans seam, folded the top fabric edge over the godet and pinned in place. Pin from the hem to be accurate (otherwise you will find the hems do not match).
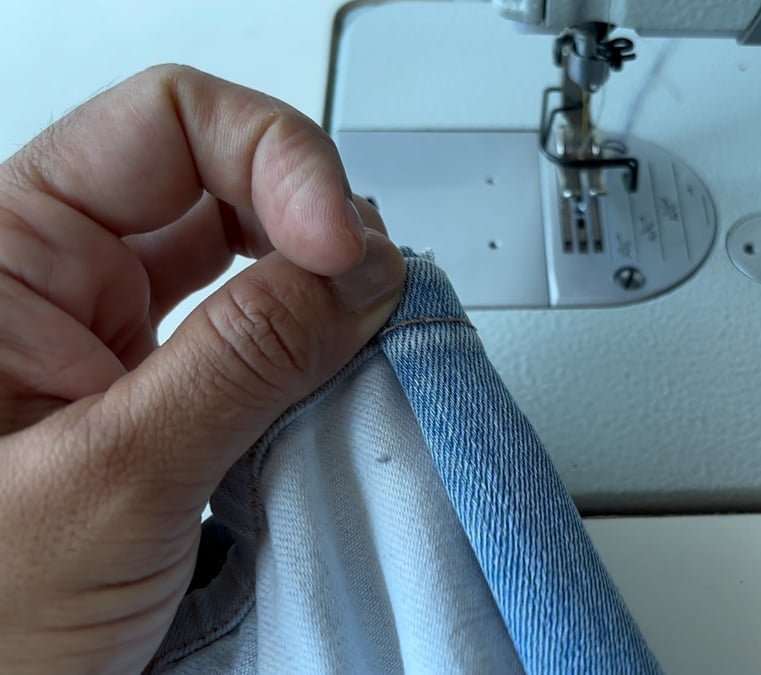
When you reach the upper part, you have to ensure there are no ripples. Pin aggressively.
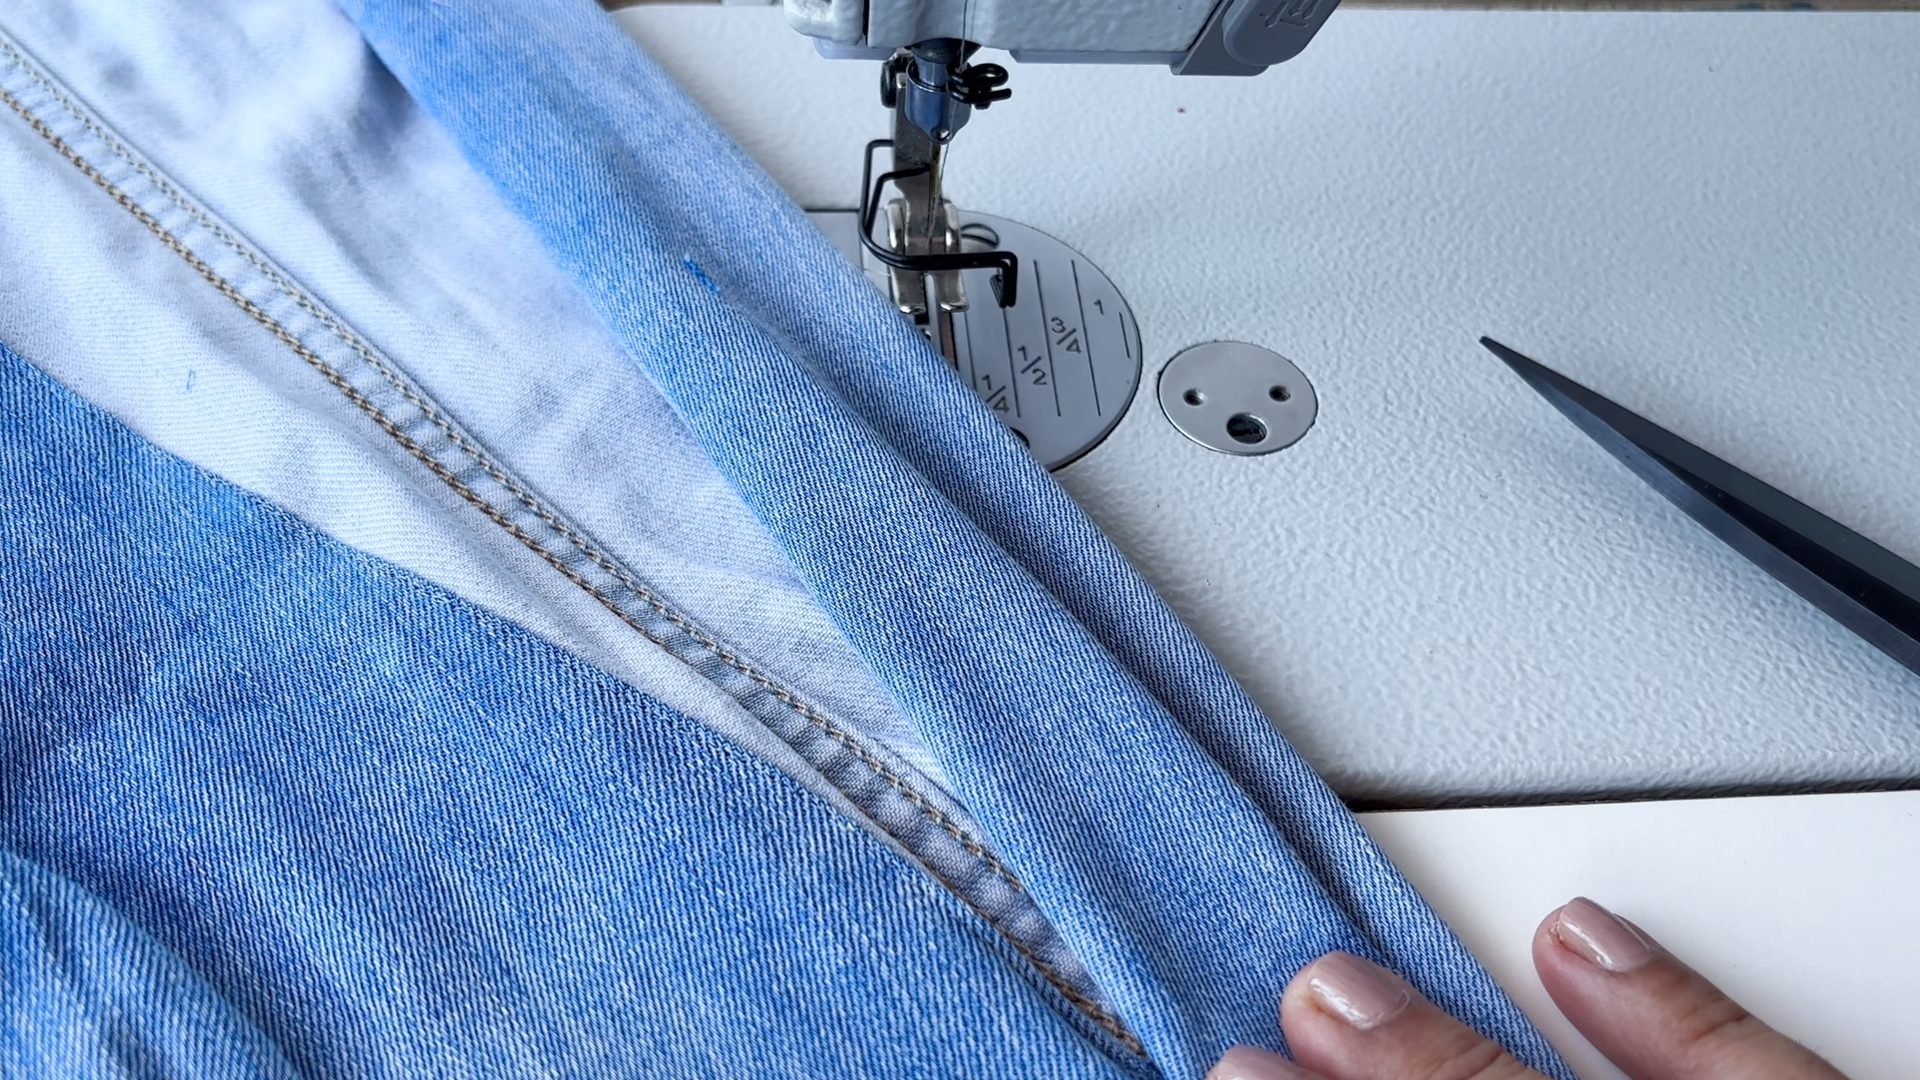
Then top stitched it in place.
The distressed effect
This is the tutorial I watched which shows a distressed look.
To give a vintage feel, the lady in the tutorial is going for a subtle bleach effect for her jeans. This step is optional but highly recommended if you are looking for a unique, worn-in look.
Be cautious with the bleach, especially if your jeans have a synthetic blend and with your skin and health – work in a well-ventilated area and wear protective gloves.
Related posts : If you do not know terminology of jeans, check it out in this list of jeans types for women


Hi Sarina, I have done this before, but didn’t cut the sides. Instead I unraveled the seam. Usually by pulling from one end does the trick. Thanks, I always enjoy reading the information you share.