When you want a closure that is hassle-free, silent, and very easy to use, and most importantly super strong there is none that come to the forefront of my mind as magnetic snaps. These fasteners because of the magnets inside them and that is a strong hold there.
The normal snap fasteners are not that big or strong. But the magnetic snaps are not like that. They are bigger and the fastening is pretty strong.
Magnetic snaps work the best on bags and pouches, yes, but you can use them on your capes, jackets, home utility items, home decor, and even dresses and tops. And attaching them is the most hassle-free — no sewing involved at all. But there is a problem with it: the prongs that attach it can be visible on the back — but again, there is a way out of it.
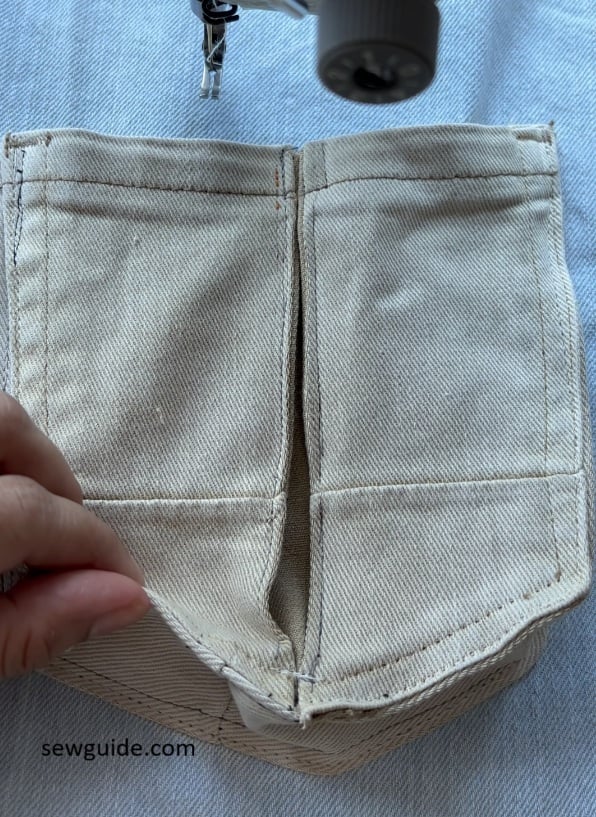
For the snaps to be almost invisible, you can do two things — either sew lining and attach them in a sequence so that the back is not visible; or add a piece of fabric on top of the prongs and stitch it there to hide it. I prefer the first method. I recently added it to a pouch with a lining. Let me show you how.
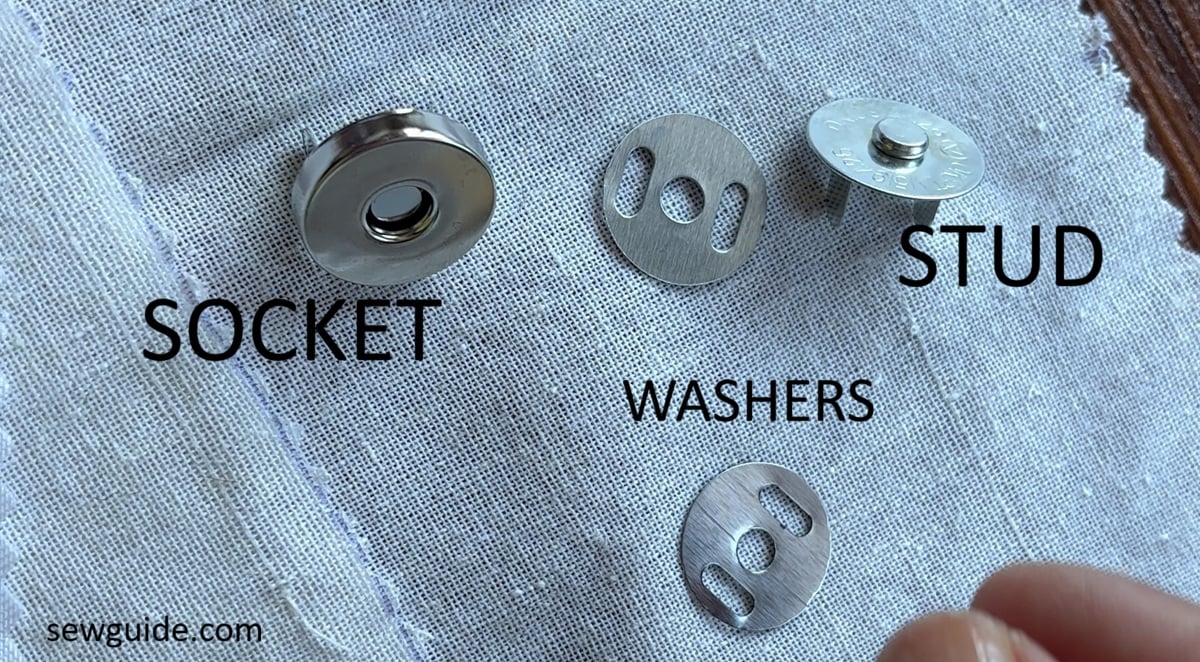
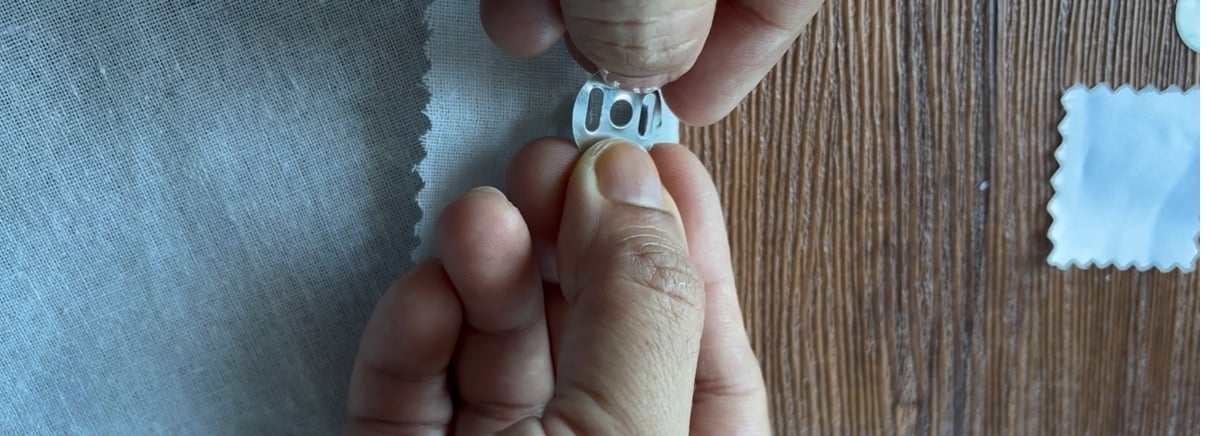
One set of magnetic snaps consist of 4 parts. One stud and a socket are the main parts. The stud is the one attached on top; it has a protruding part. The socket has a hole in it that accommodates the protruding part and snaps close. Then there are 2 washers that secure the snaps at the back. The washer consists of a round disk with 2 slots through which the snap feet will be inserted on the wrong side.
How to install a magnetic snap
Watch this video if you are a visual learner:
You will be attaching the stud to the top part for those projects where there is a flap. On other projects, this is not a concern ; You should be attaching the stud part on a thicker fabric as you will mostly be pulling at this part.
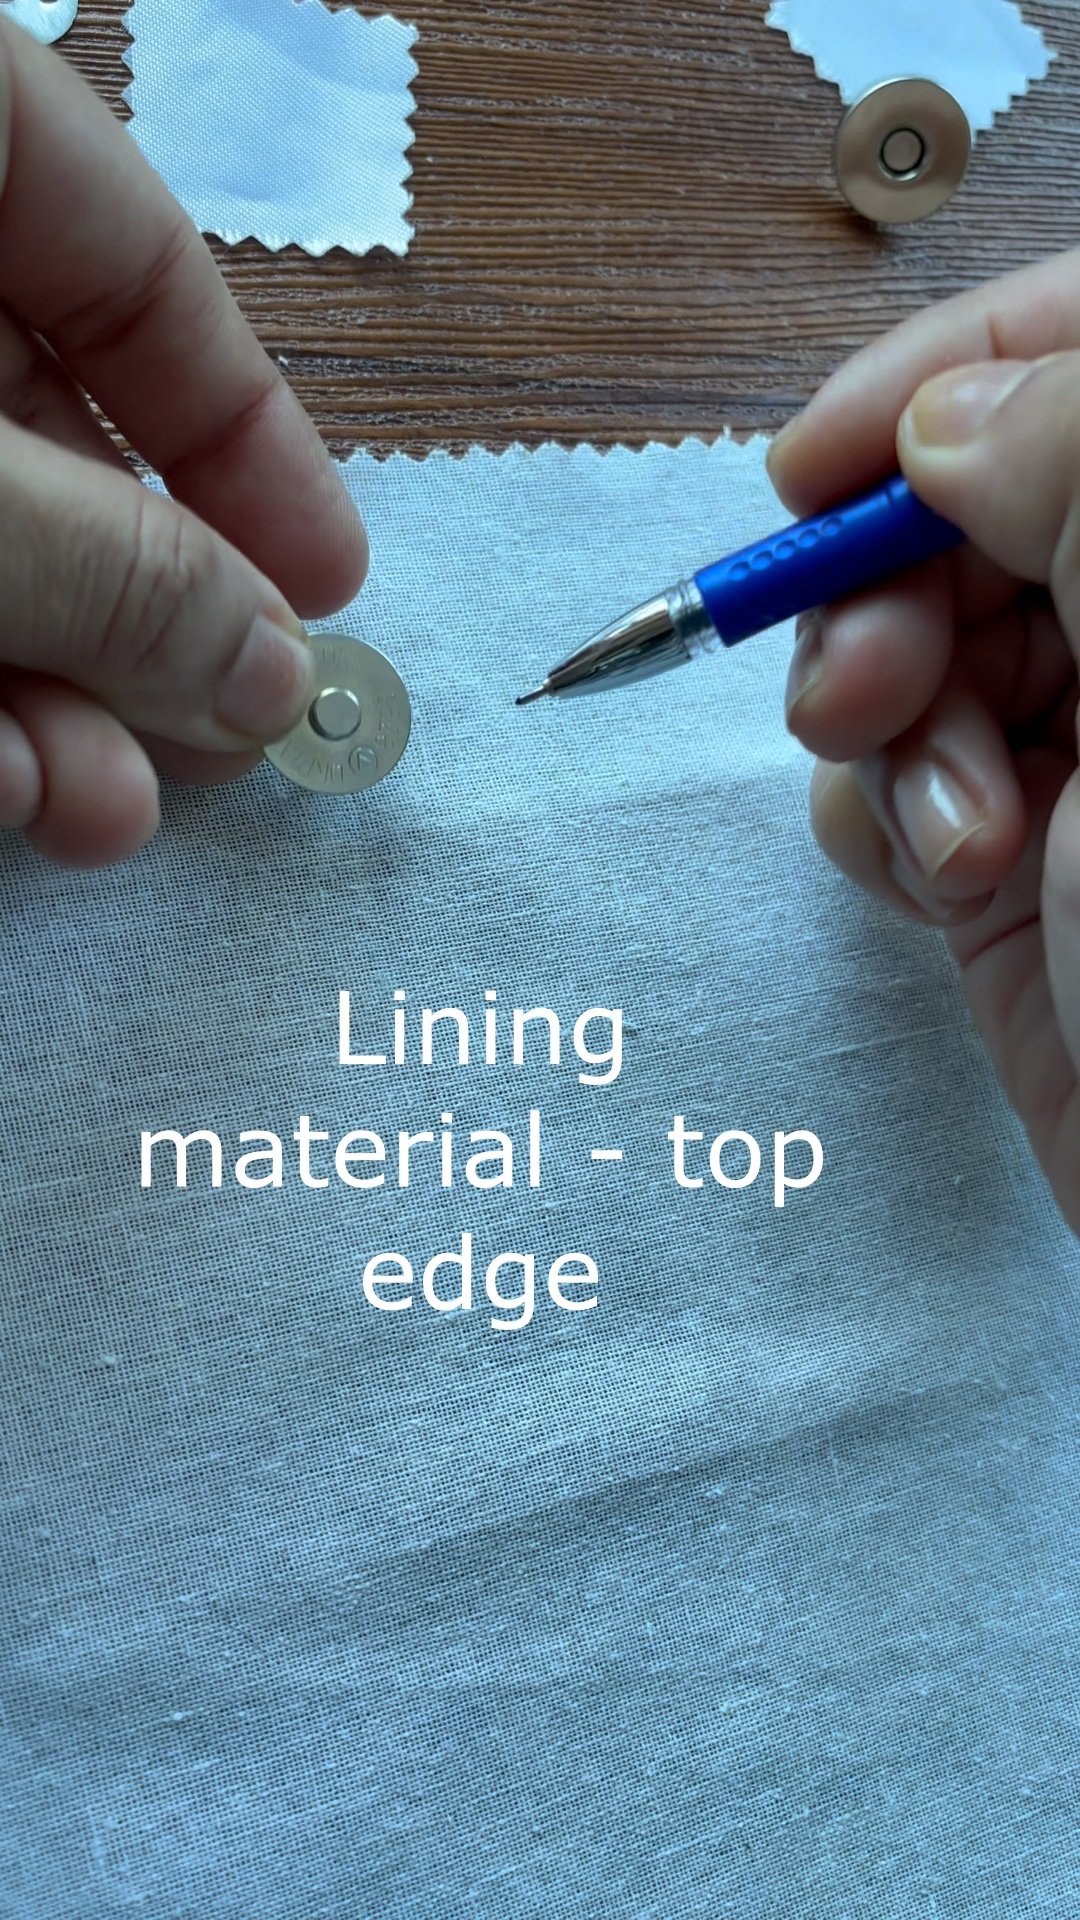
Step 1. Mark placement of stud
I first marked where I wanted the snaps. Then made the two markings for inserting the two prongs behind the stud. They have to match exactly or you will be bunching the fabric or making unnecessarily big holes. You can place the washer on your fabric and mark the two prong lines to be exact.
Step 2. Cut out interfacing (stabilizing material)
This is a very important part of attaching the magnetic snaps.
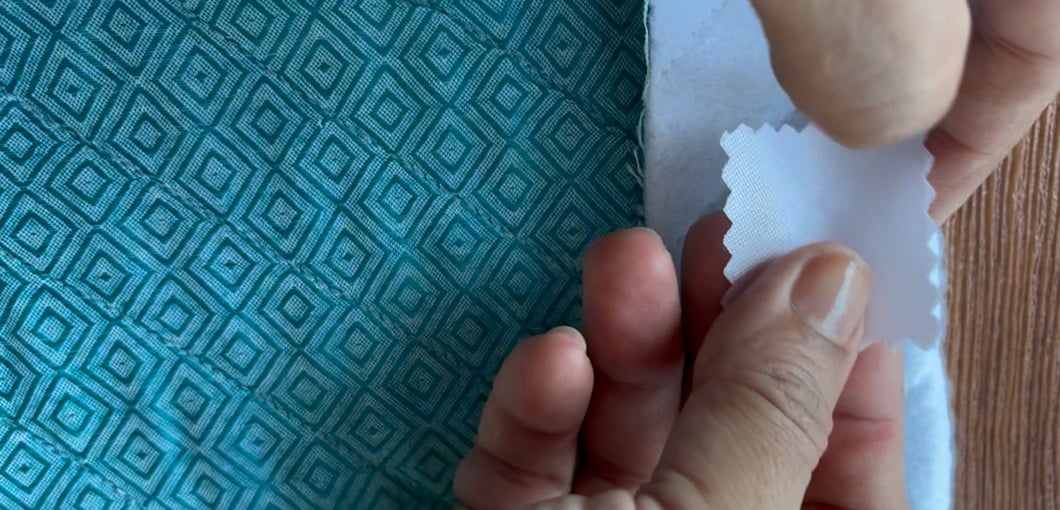
Cut out small pieces of interfacing or canvas twill to interface exactly where you will be adding these snaps. They are added to the fabric so that the snaps, which are heavy, will not sag the fabric, and also sometimes the fabric tears because you are pushing and pulling the snaps all the time. You are better off if you interface the area where you are adding the snaps, in addition to this.
Fuse a small square piece of interfacing or stabiliser (a little bigger than the snap) centered over the mark you made.
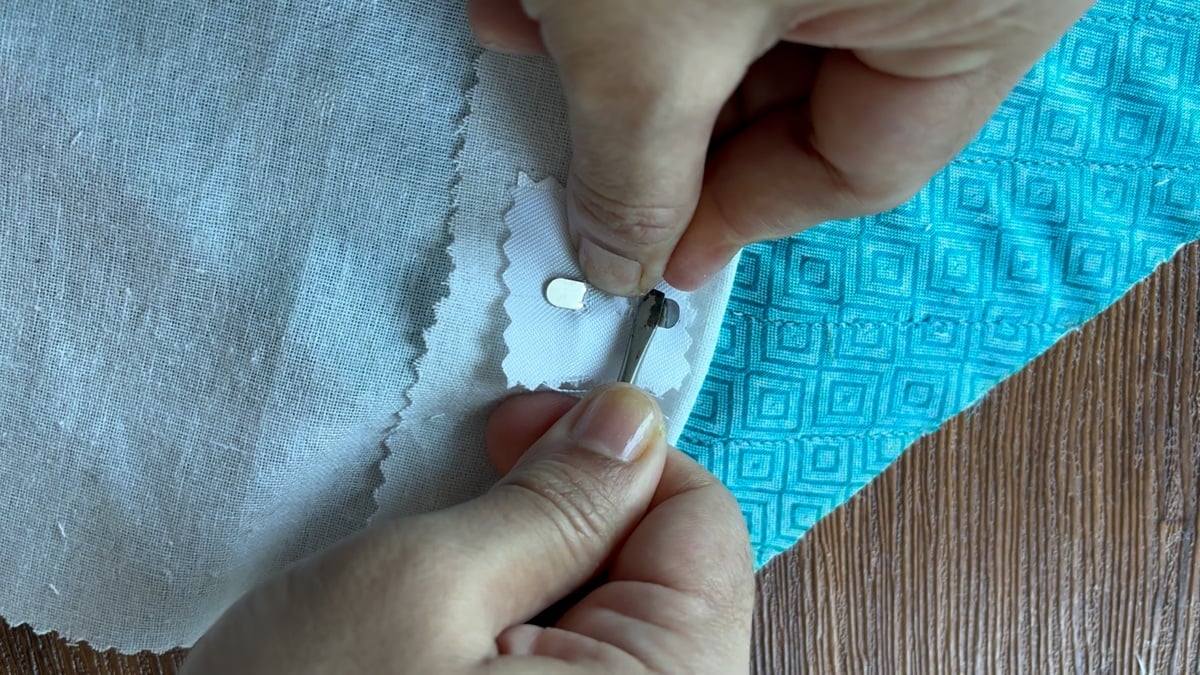
Step 3. Cut the slits
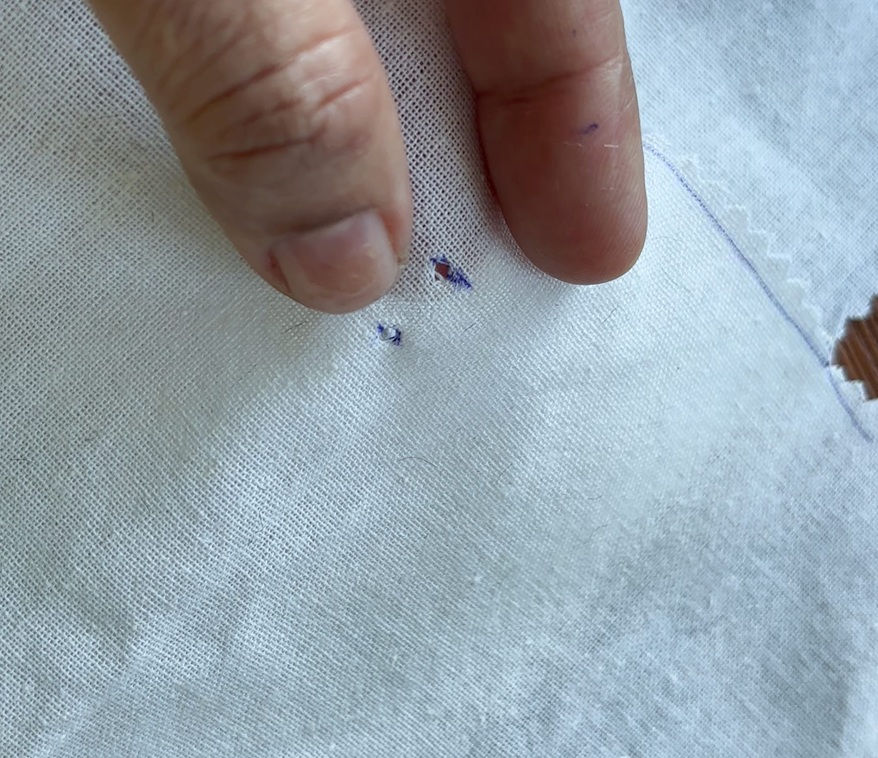
I made very small cuts with the seam ripper (be careful not to make the holes bigger) on these holes. They will expand, unless the fabric you have is very thick, so don’t worry. Smaller cuts are better than big ones. You have to make the two marks exactly down from the other, so that the snaps are not attached crooked.
Step 4. Attach the stud
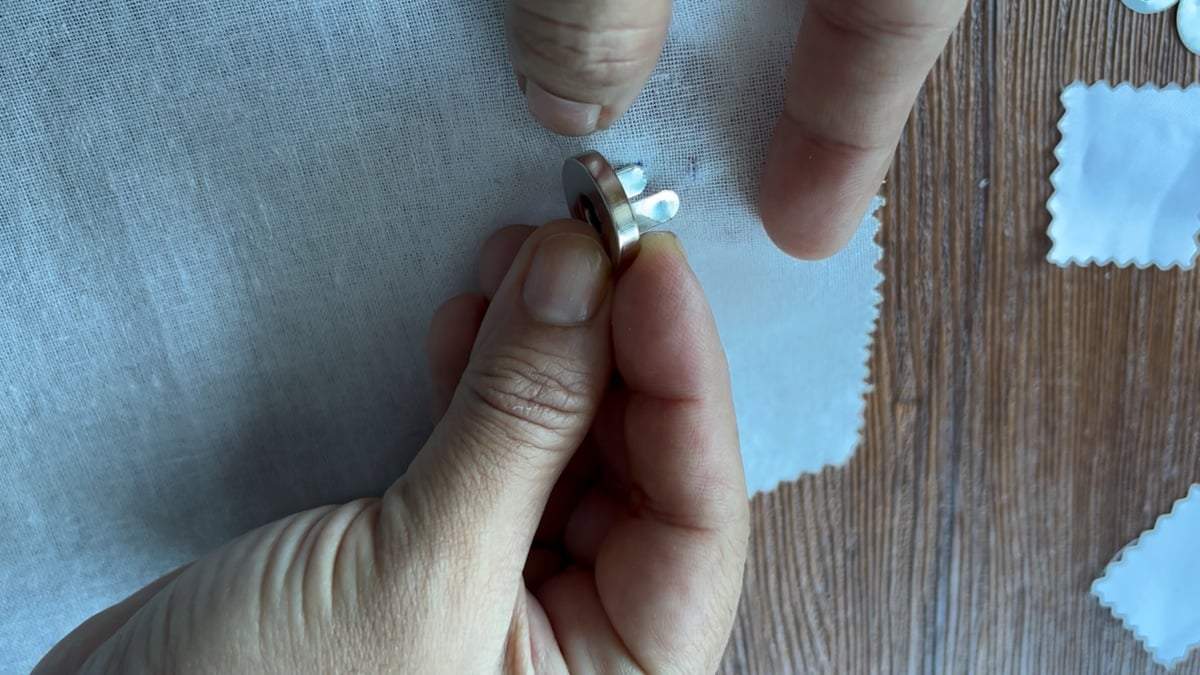
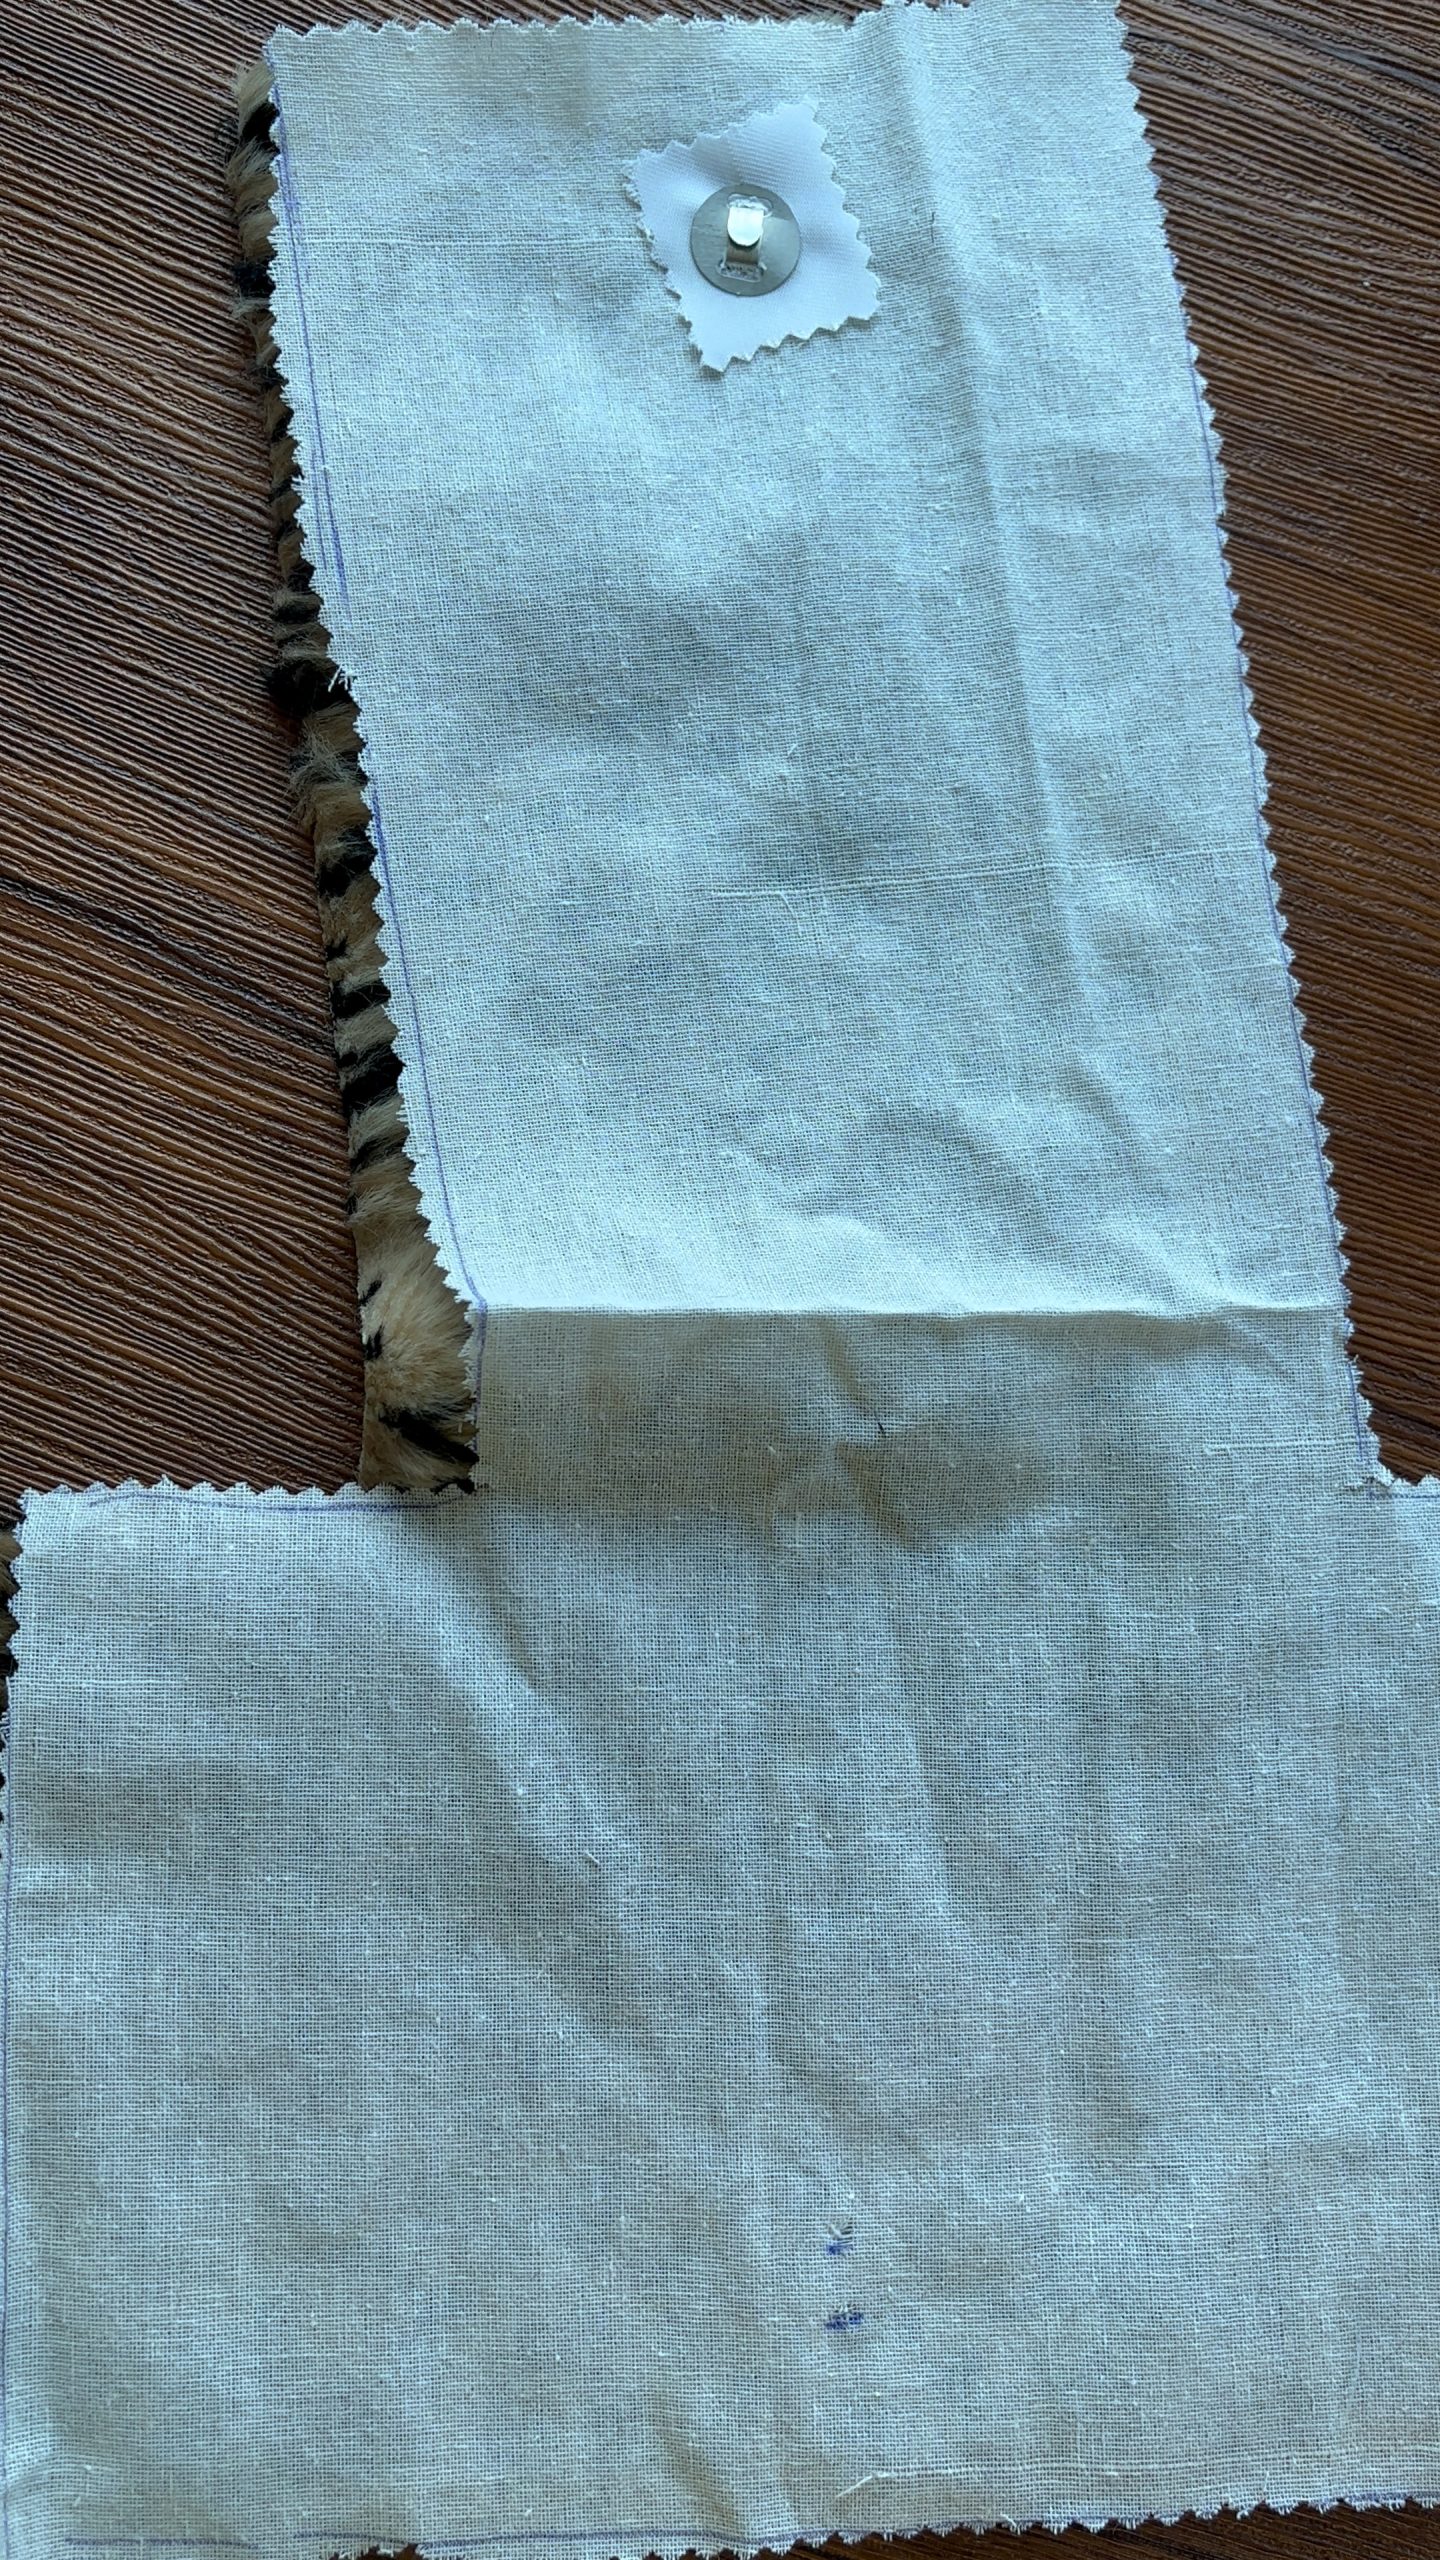
Push the prongs of the snap piece through the slits from the right side to the wrong side.
Slide the washer onto prongs. Use pliers or fingers or a screwdriver to bend prongs outward flat — this will create a flat effect.
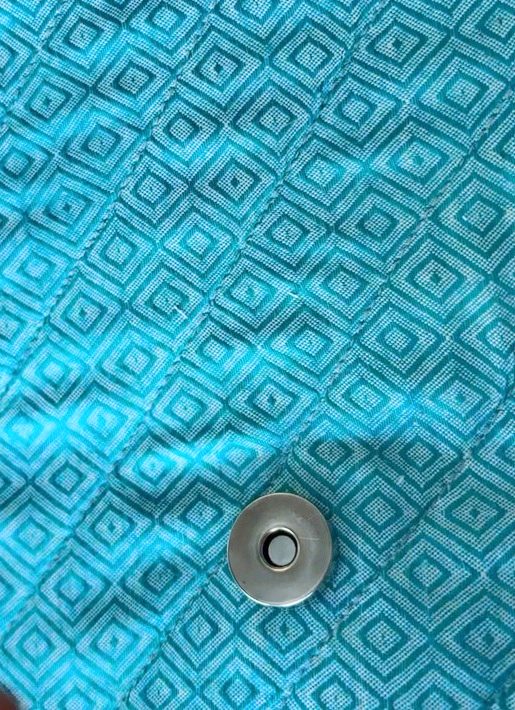
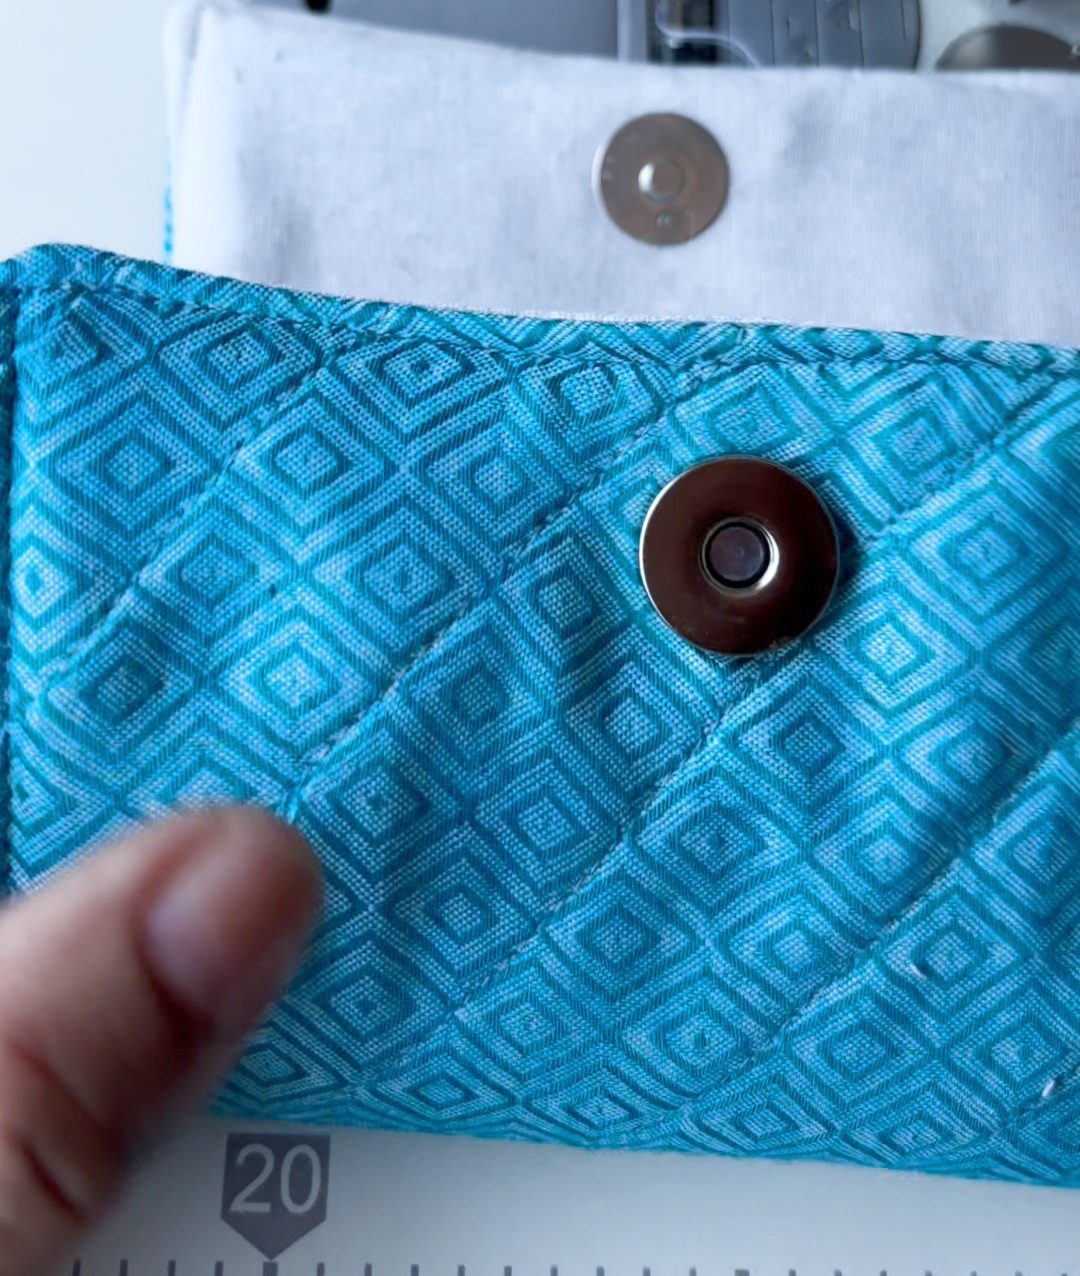
Step 5. Add the other side socket
The socket is attached to the other side of the outer fabric (in case of a pouch). Ensure that you can close the snaps perfectly before fitting the twin piece. Fix the part the same way as you did earlier.
You will be attaching it to the outer fabric, unlike the stud. The stud is always attached to the lining and socket to the outer fabric. This is attached in a careful way so that it has to match the stud. The position should not be crooked or else your final placement will be crooked.
You can keep the stud inside the socket and then mark the placement. Attach it the same way.
Now keep the lining right side down on the outer fabric. The stud will be on one side and the socket will be on the other — and this is how it should be.
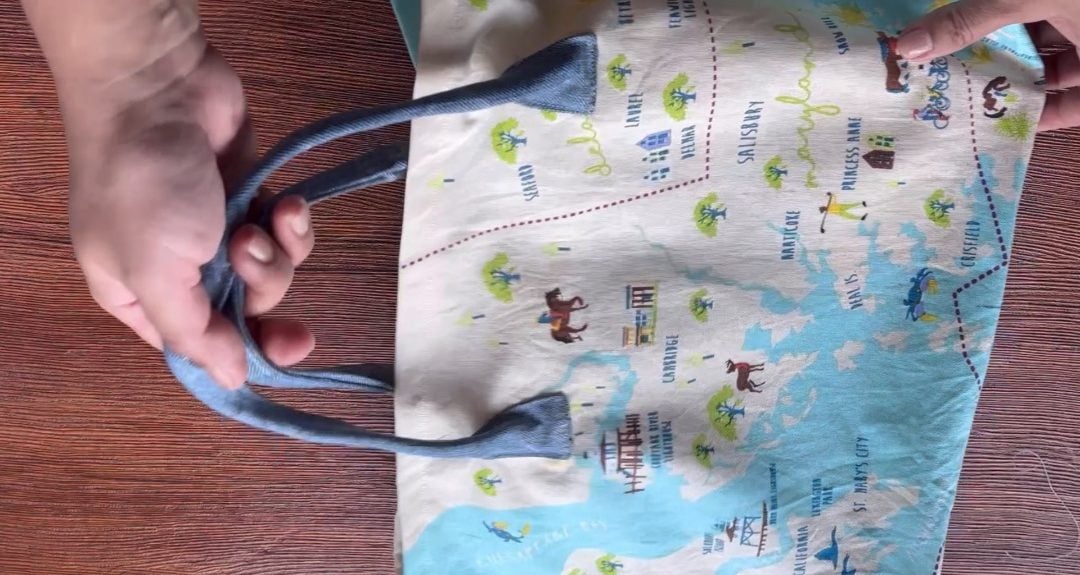
CHeckout this tutorial to make the above fauxfur pouch I made with magnetic snap opening
Sew them together along the edges. Pull it right side out.
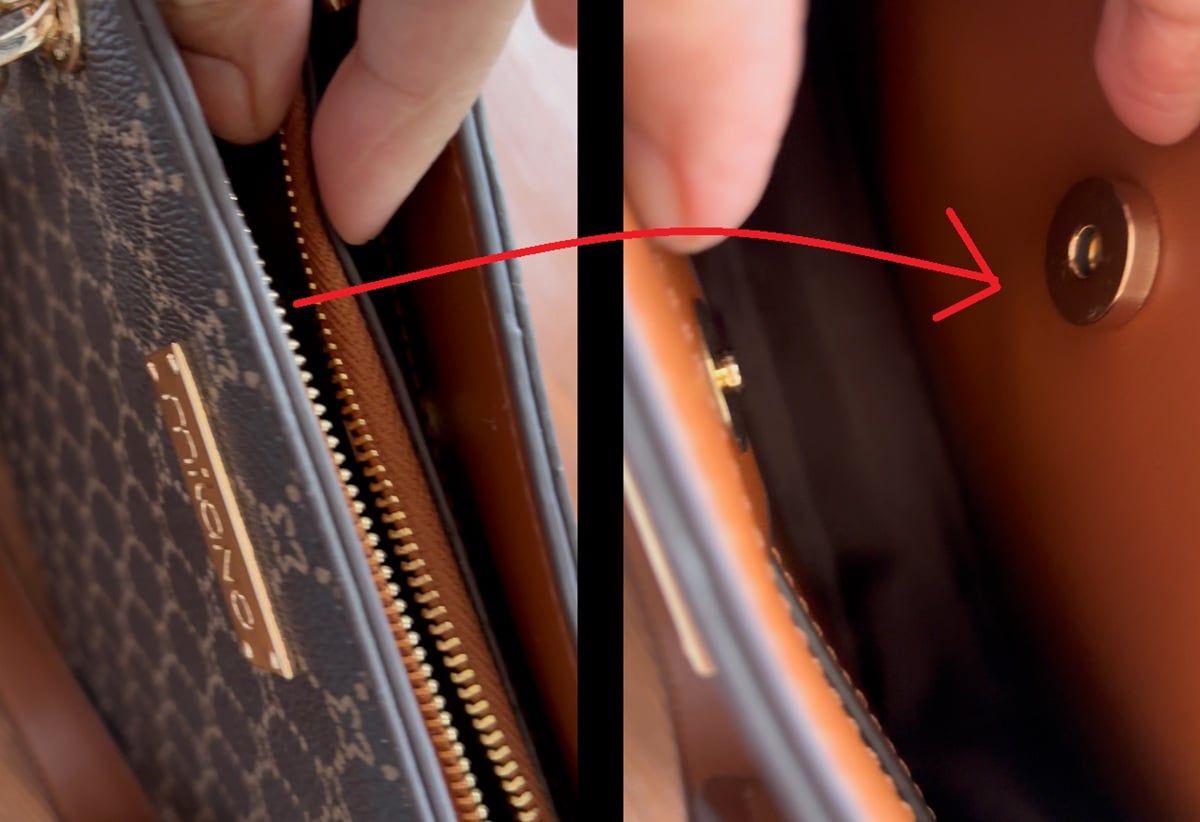
You will see that the stud and the socket will come and meet perfectly, if you have attached the whole thing neatly.
This is how it works on clothes too.

How to attach these snaps on clothes
The above tutorial holds for clothing as well. One problem in using magnetic snaps in clothes is because of the visible bulge it has, Magnetic snaps are bigger than other fasteners and because of their no-sew nature, it has those legs which projects outside, especially in thin fabrics. For light fabric blouses and such I would not use these snaps – the using sew-in snaps is much better.
You can push the legs of the snaps to the outside or inside. I now prefer to push it outside- it balances and evens out. There is no visible budge, because of this.
Another thing I would be concerned in clothing is fabric puckers. This happens if you mismarked the holes and also if the magnet is too heavy for fabric weight. An interfacing would deal with the later problem.


If you are concerned about using the snaps on an unlined garment, and to avoid the snap from wearing the inside fabric and irritating your skin, you can add a piece of fabric (non-frayable type like fleece) on top of this area and stitch in place.

Related posts: Names of other fasteners