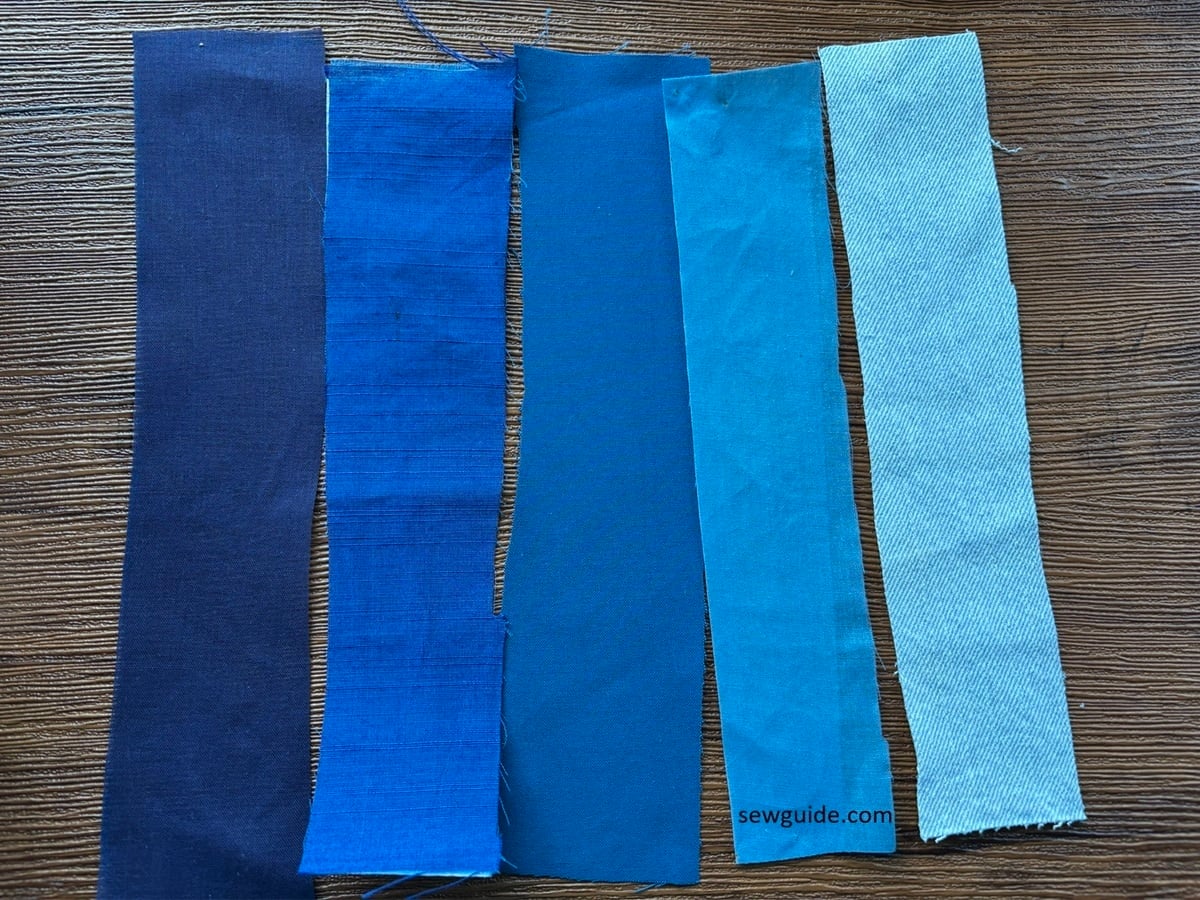
If you do not like the plain look of normal fabric edges, nothing like beads to add some drama. But not all fabrics are best for this edge finish. Before you start, the most important step is choosing the right fabric for the beads you plan to use. This is always a pet peeve of mine. Not all fabrics can handle beaded edges. Some fabrics are naturally floppy and will sag under the weight of heavily beaded edges. However beautiful they are, Period!
If the fabric is thin and lightweight you cannot edge with large beads. It will sag and distort. Fabrics like chiffons can fray if the edges are not otherwise finished. Silk can be delicate and tricky if the beads are big and thick. Satin can fray too and show all of the irregularities. On the other hand, some fabrics can look beautiful with bead edges. Fabrics like organza, organdy, felt and velvet are always the best.
What you have to look out for is a balance- between the fabric strength and the beads you will be using. Select your beads based on the fabric weave and crispiness. And the way you stitch is also important – make your stitches tight and even to prevent sagging, tearing and uneven edges.
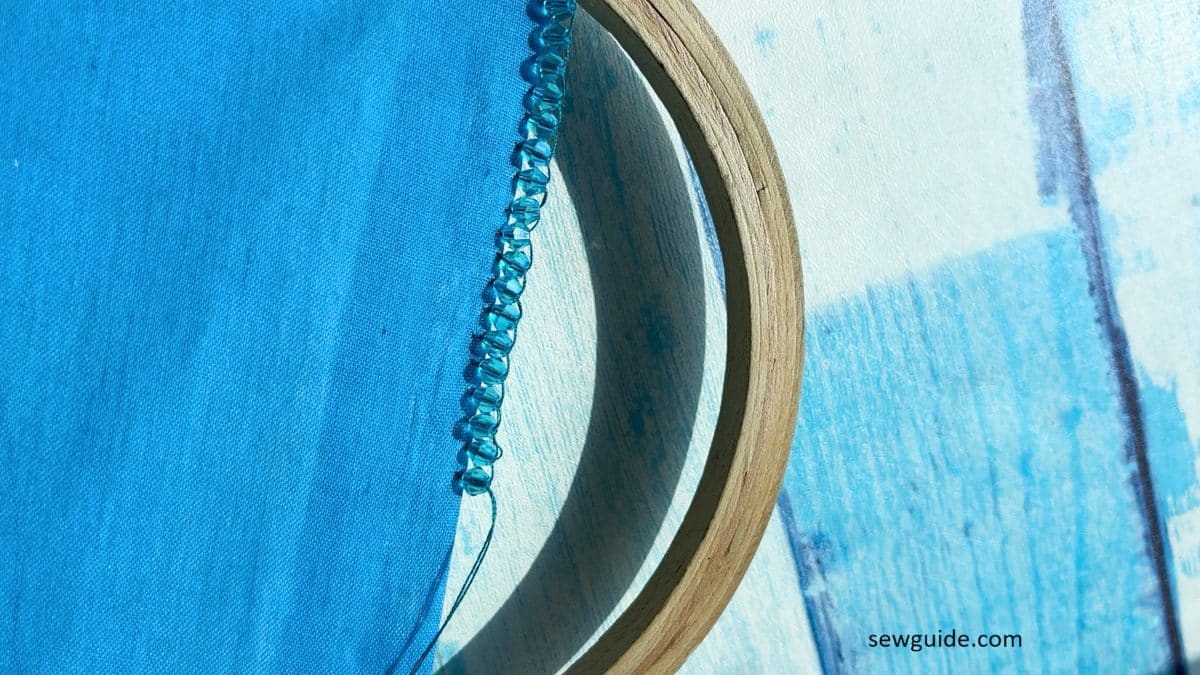
Single line beaded edge
Checkout the video tutorial for making this simple beaded edge
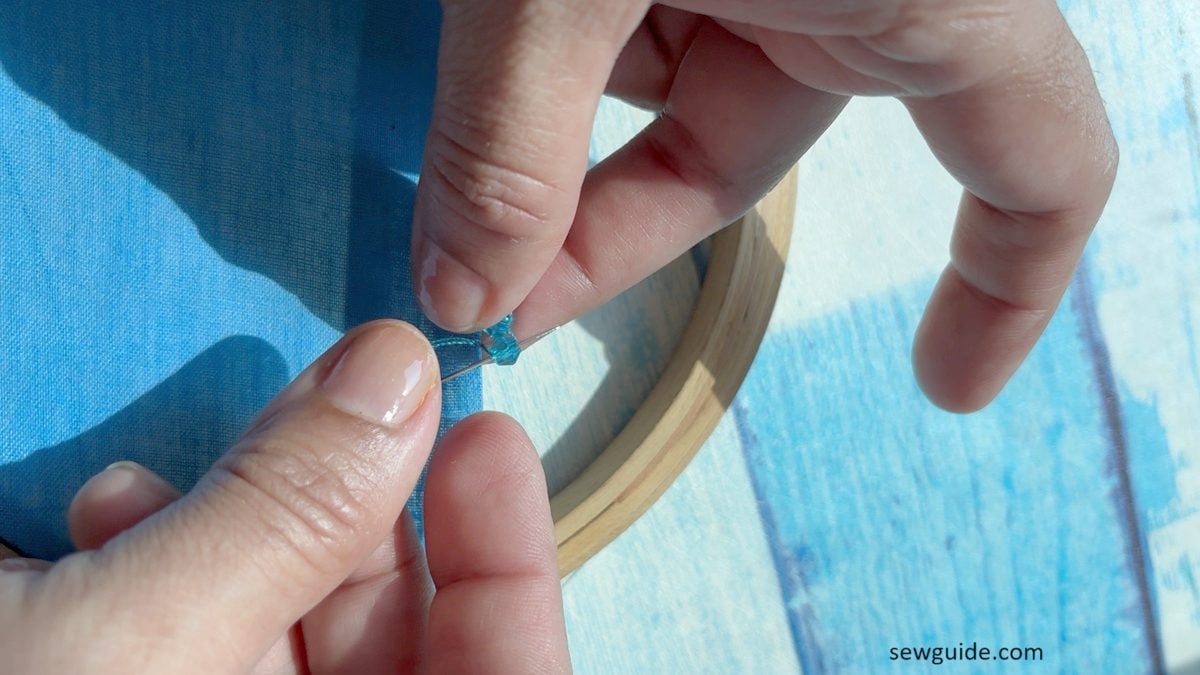
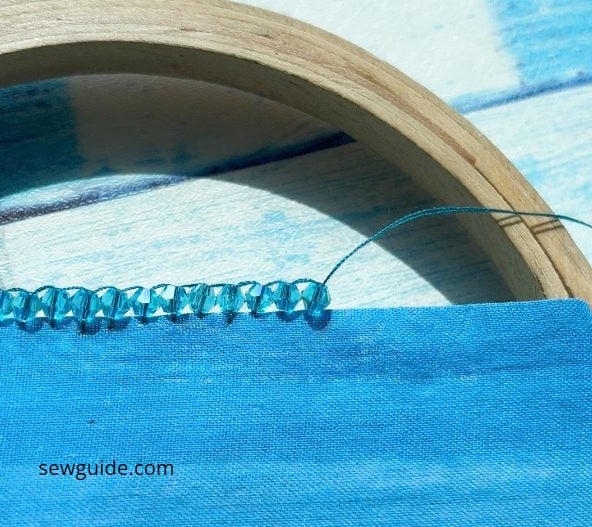
To stitch this edge, bring up the needle and thread along the fold of the edge, then thread the needle with one bead
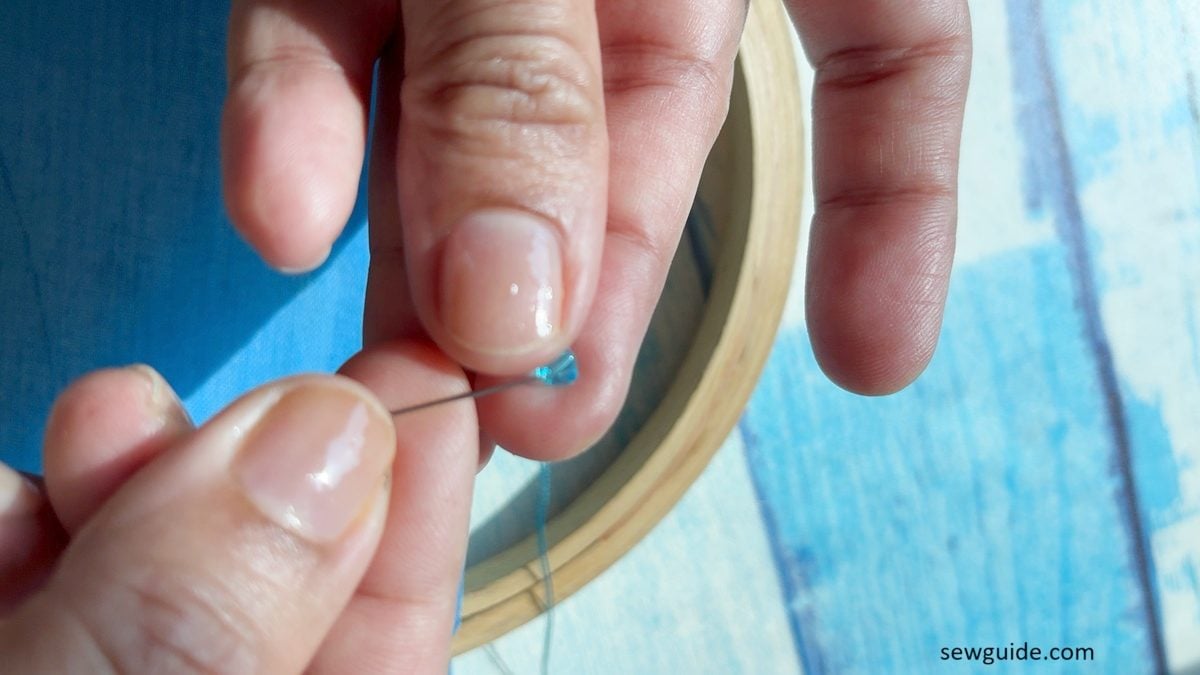
Now, bring the needle down from the edge- take one or two threads with the needle.
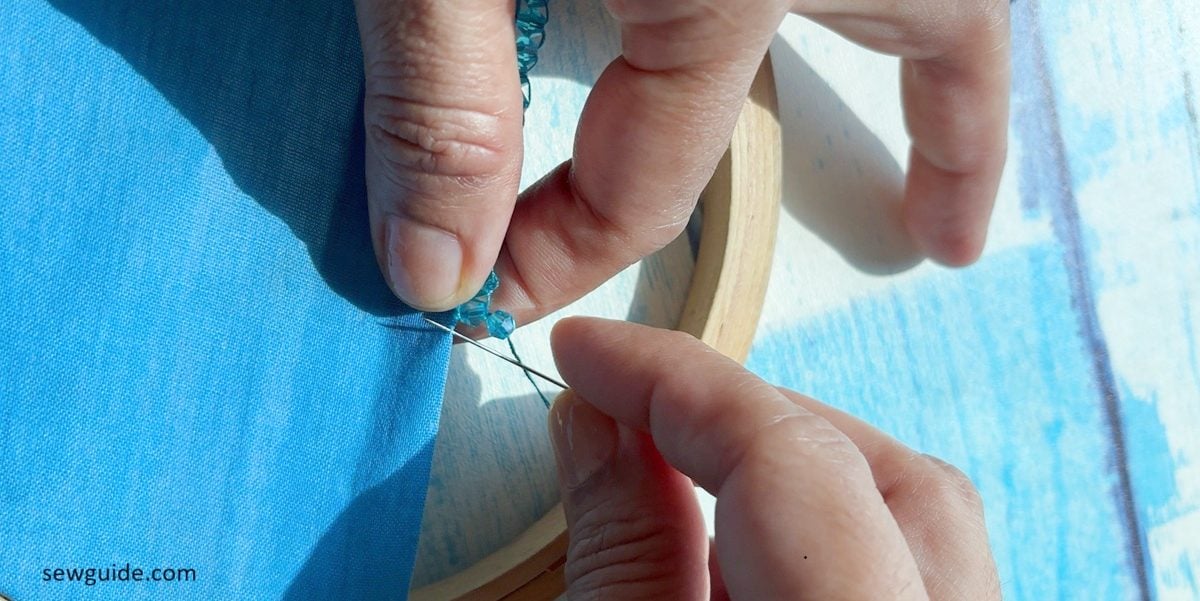
Now bring up the needle through the bead you just now brought down.
Repeat doing these steps again and again till the whole edge is done.
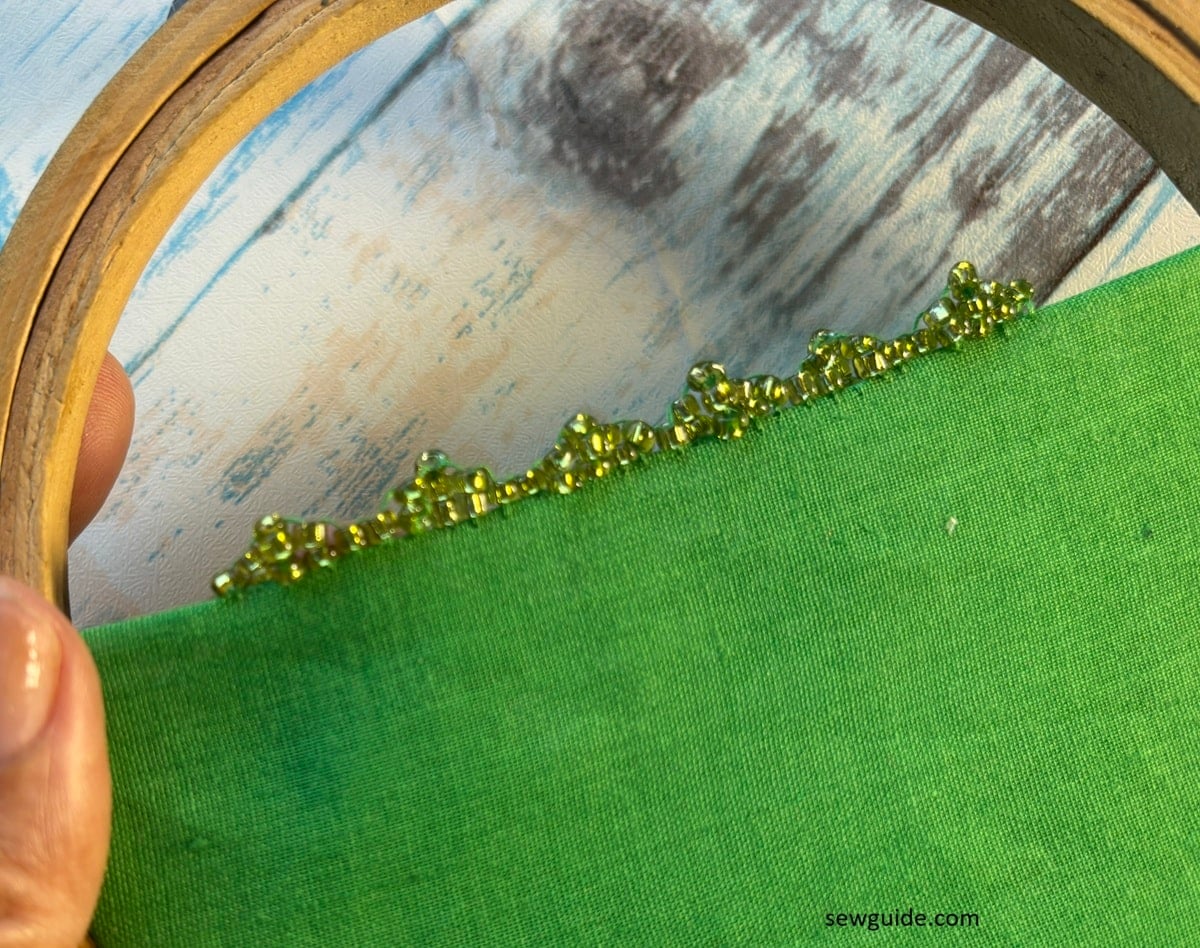
Scalloped beaded edge
Checkout this video tutorial to learn how to sew this ornate edge.
This edge is made the same way as the earlier one bead edge, but the pattern of beads used is different.
You will be picking up one bead and sew it on the edge, then pick up 2 beads, and sew it, then pick up 3 and sew it along the edge. Now add 2 beads, and then 1 bead to complete the pattern of the scallop.
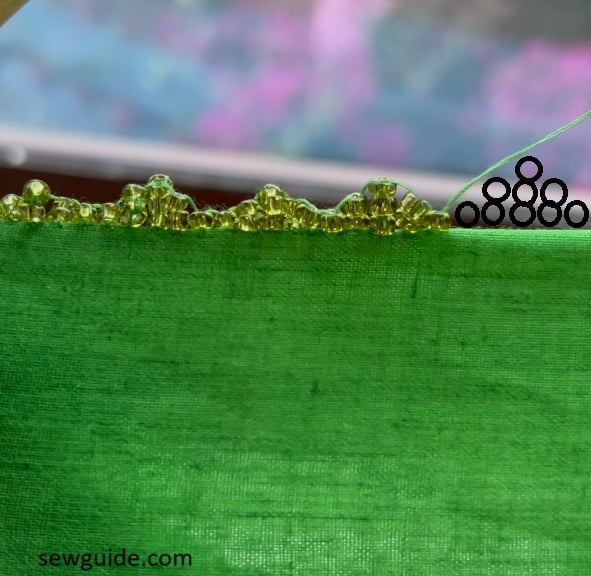
For the scallops to look even and uniform you will have to use even beads of similar size. If they are not uniform, it maynot look as nice.
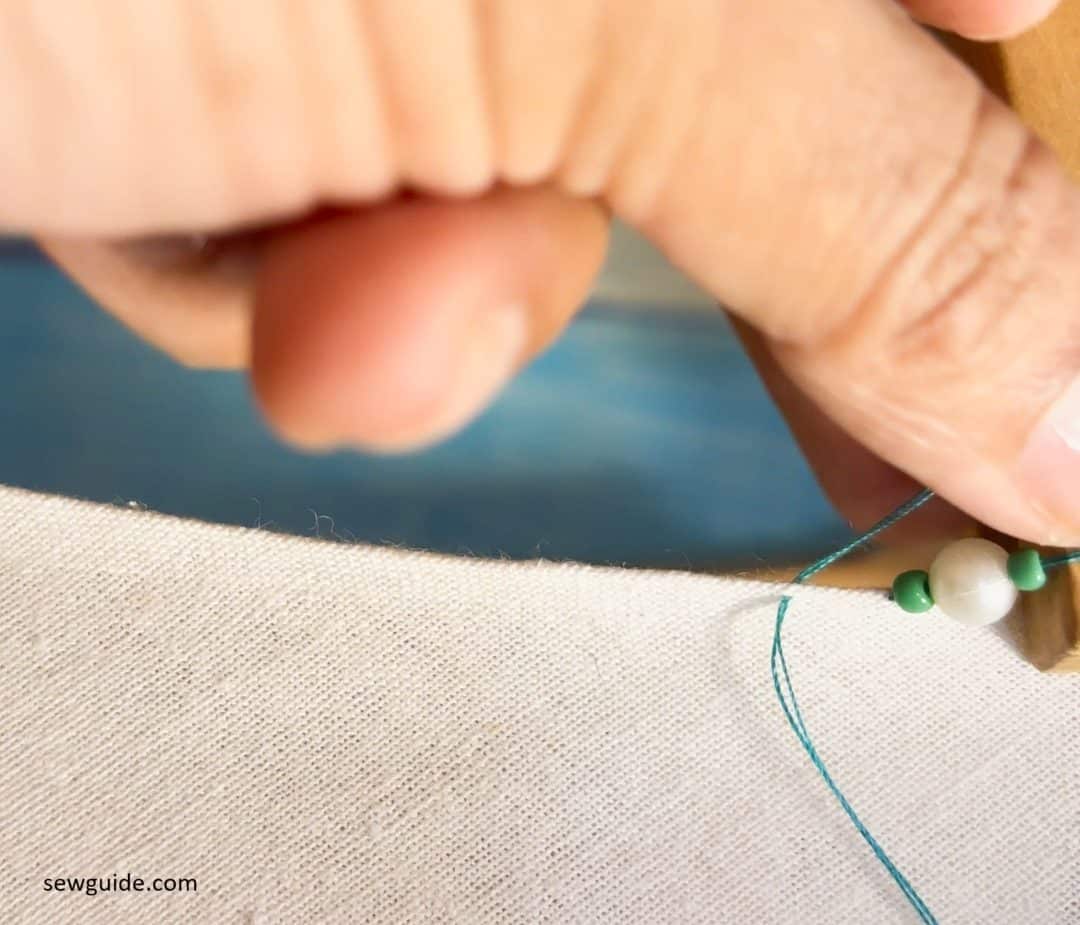
Picot edge
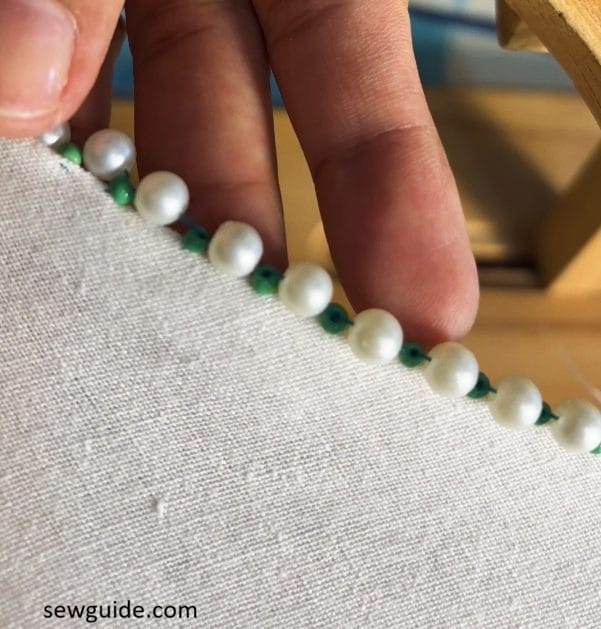
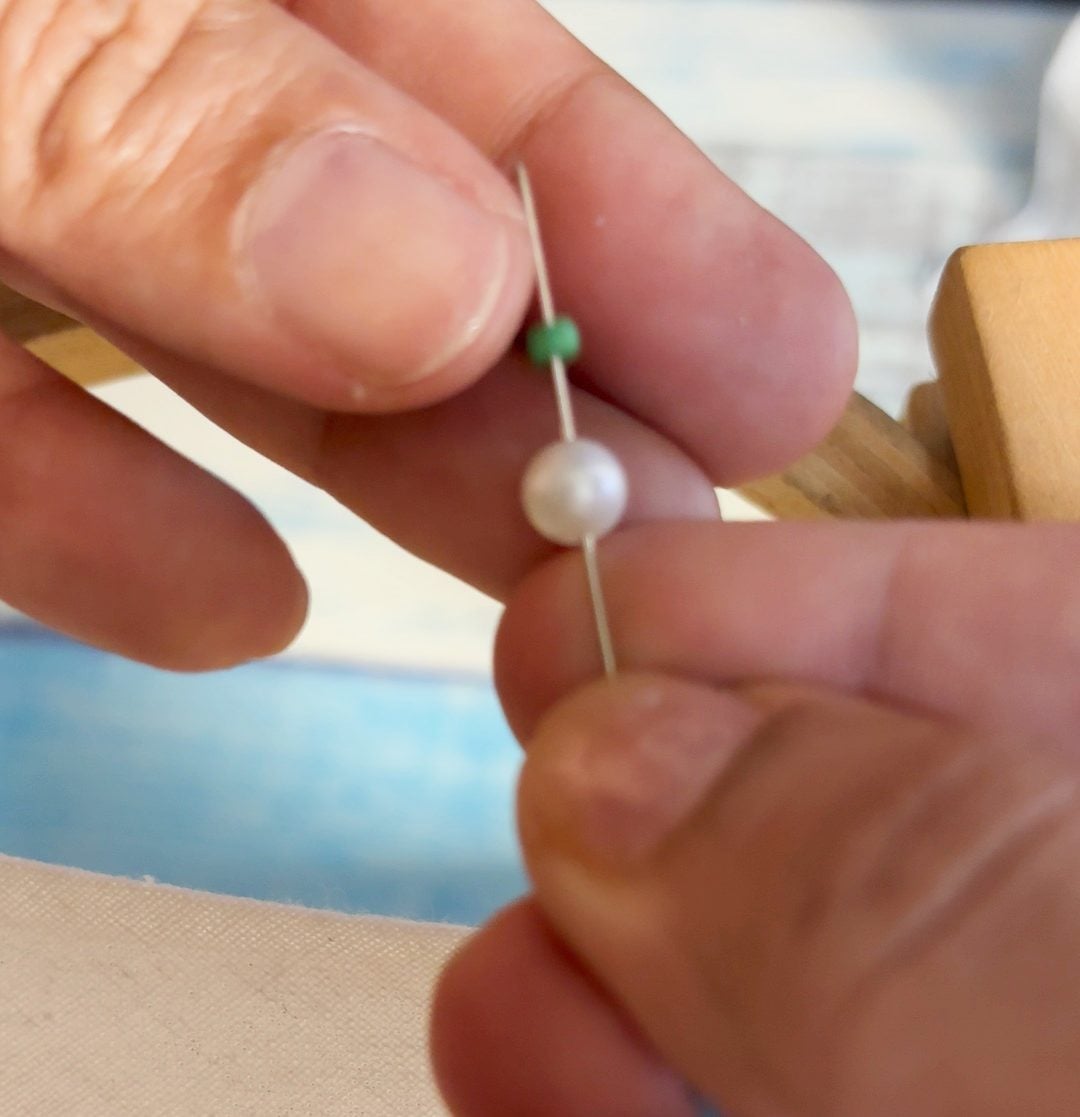
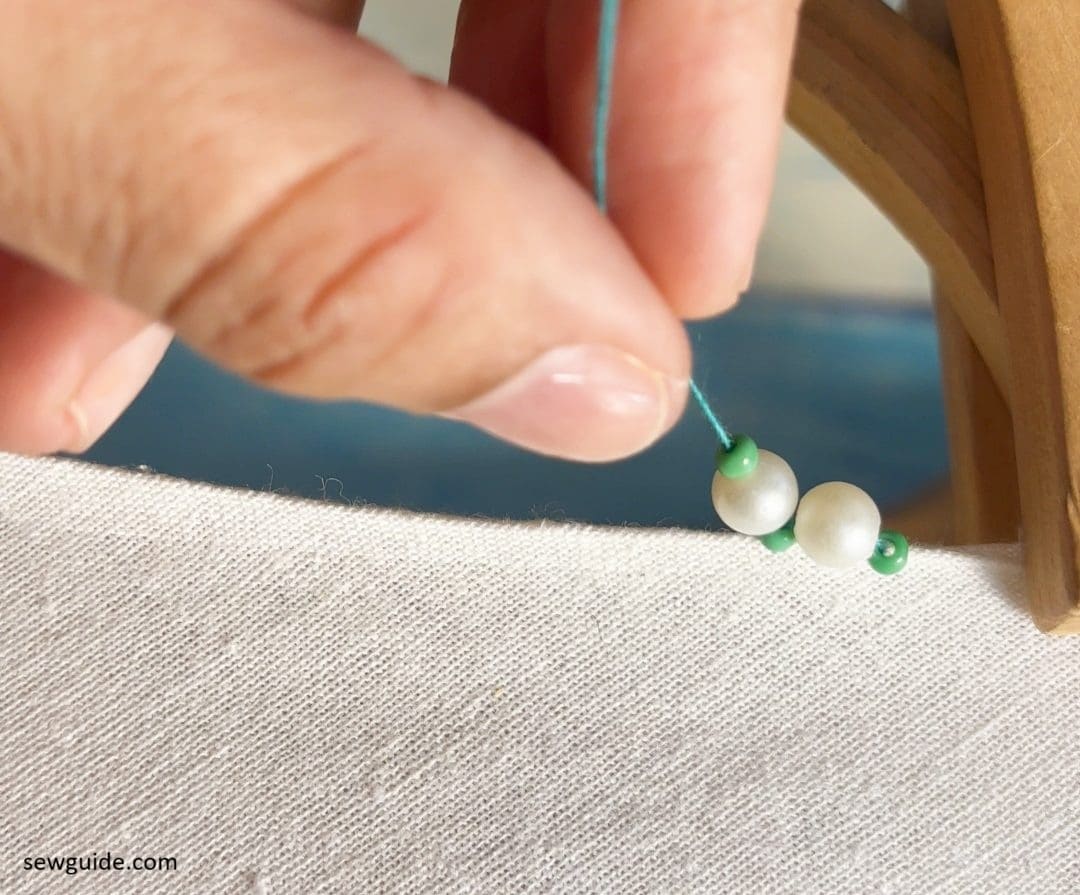
Thread your needle with one small bead, one big bead and then another small bead.
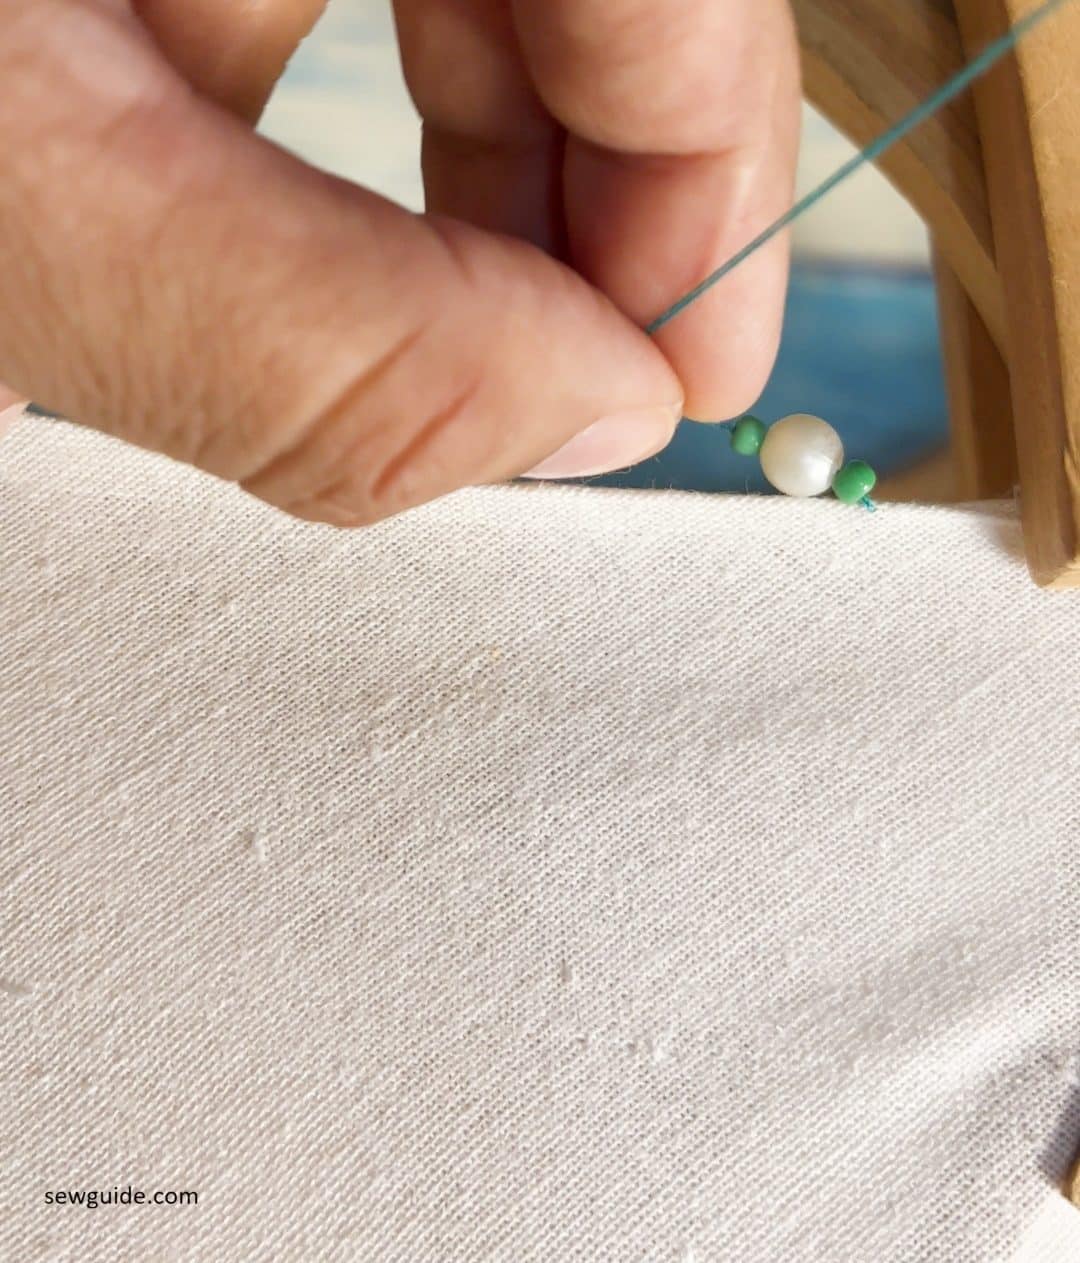
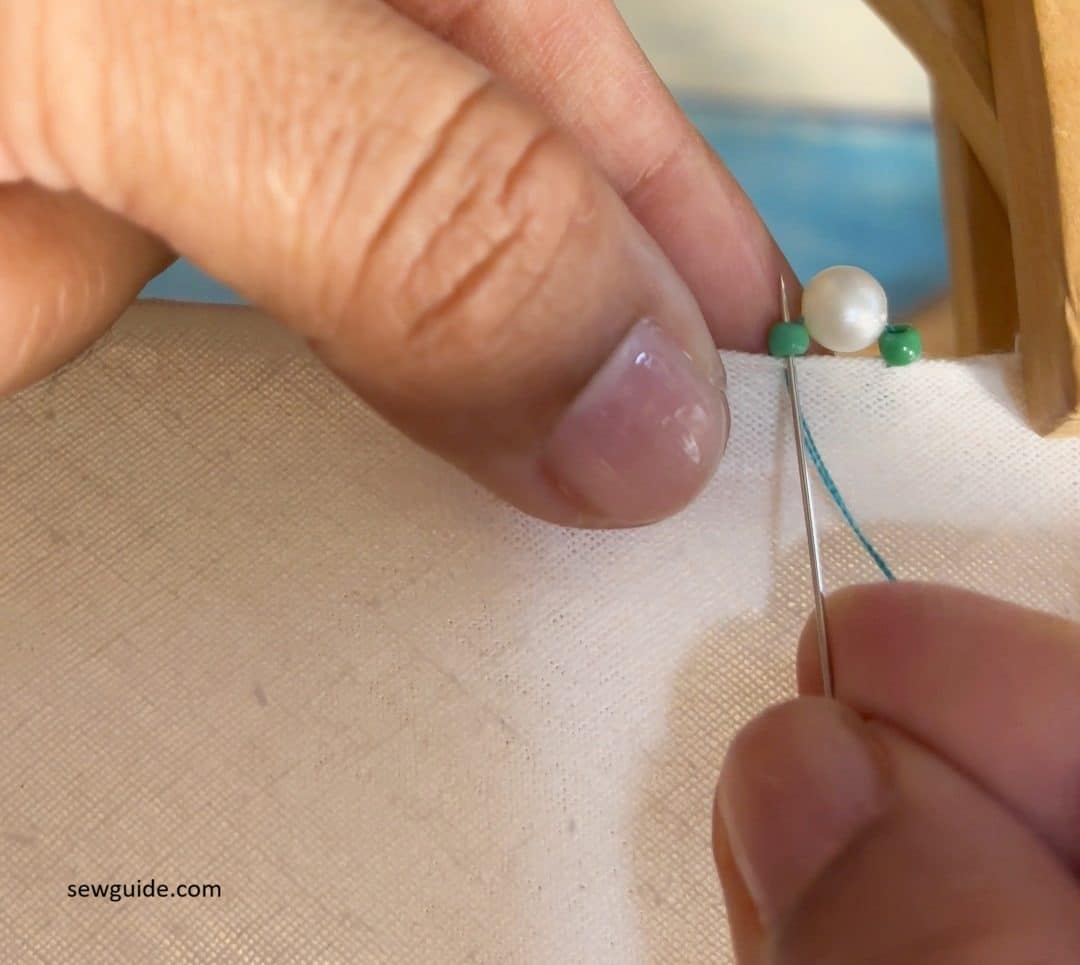
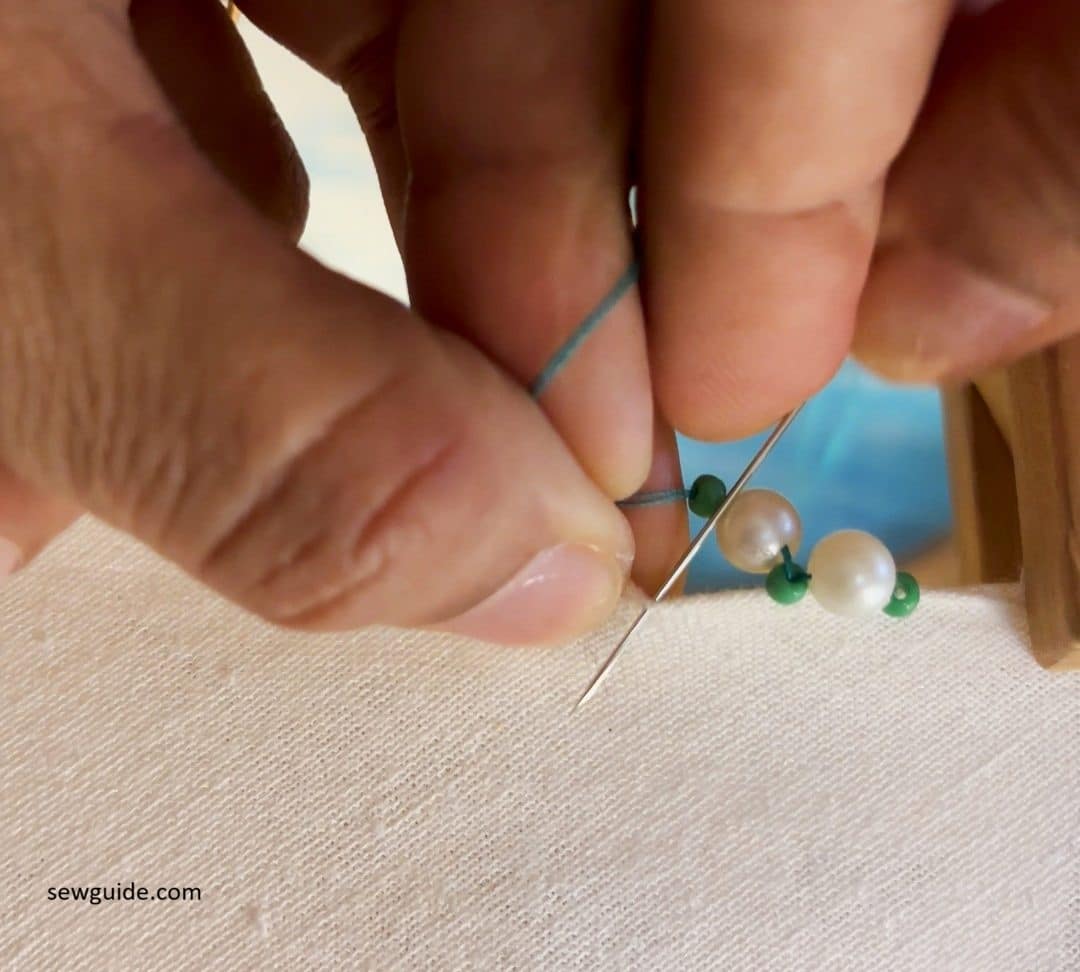
Bring down the needle through the fold two bead distance from the first place where you came up with the needle on the fold.
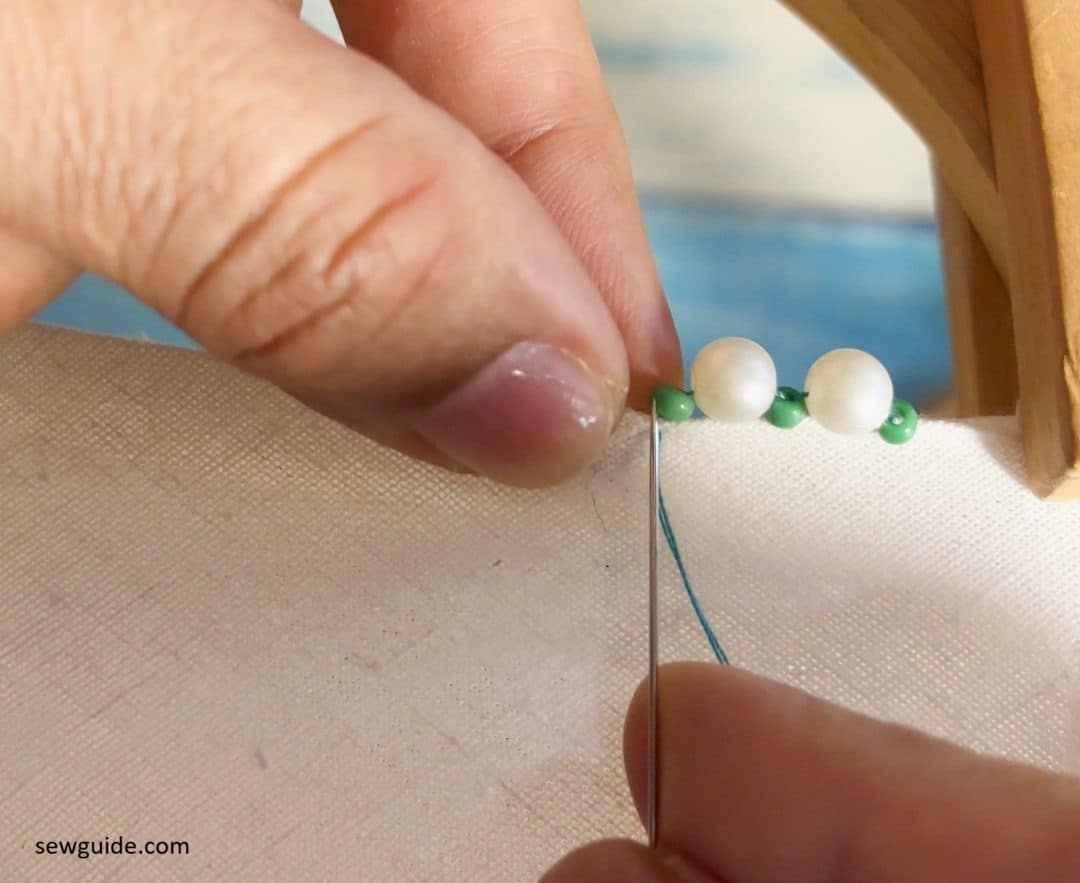
Bring up the needle through the last small bead. This will anchor the beads there.
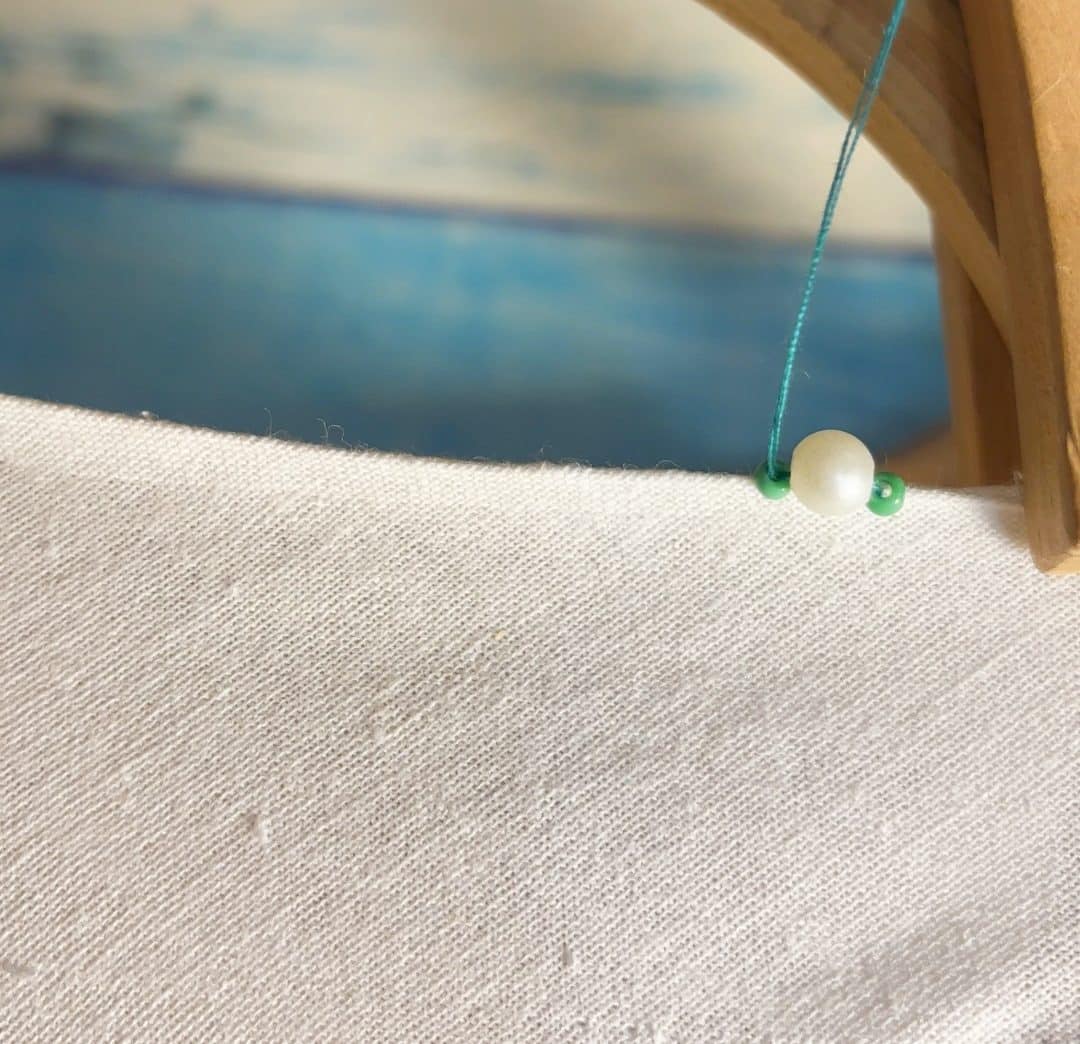
Thread the needle with one big bead and a small bead.
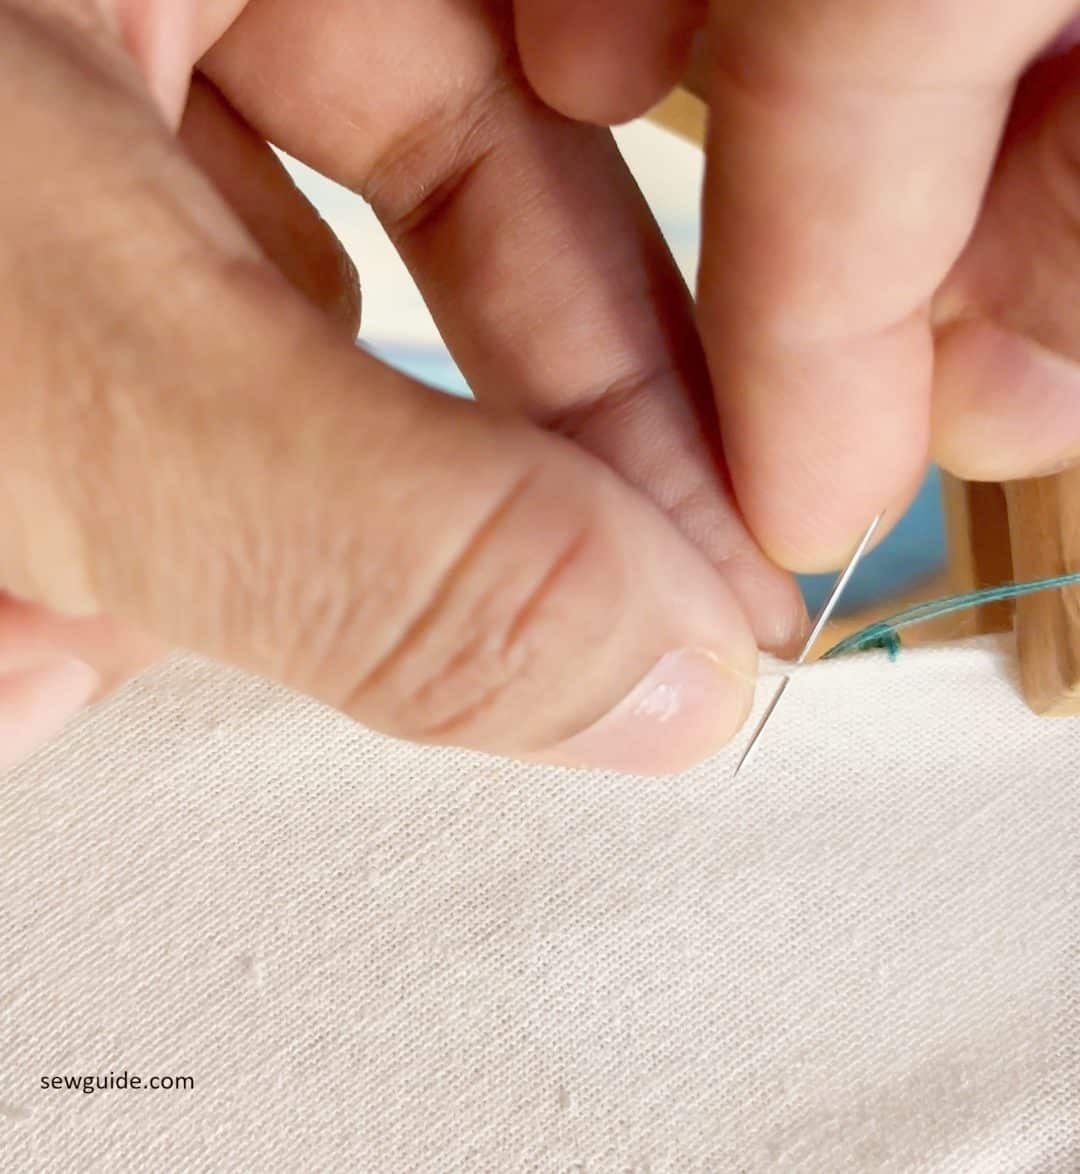
Take a small stitch on the fold.
Take the needle up through the last bead.
Continue taking up the two beads as earlier till you fill the edge with your picot styled edges.
Related posts : Beading on fabric ; Beading stitches