Isn’t it weird that you can leave holes in your jeans as they are and no one will think you’re strange? Can you say that about any other clothing? But the funny thing is, there are some people who think it’s weird that there are still people who prefer their jeans without holes. And there are!!
And out of the many different ways to fix holes in jeans, darning comes right on top.
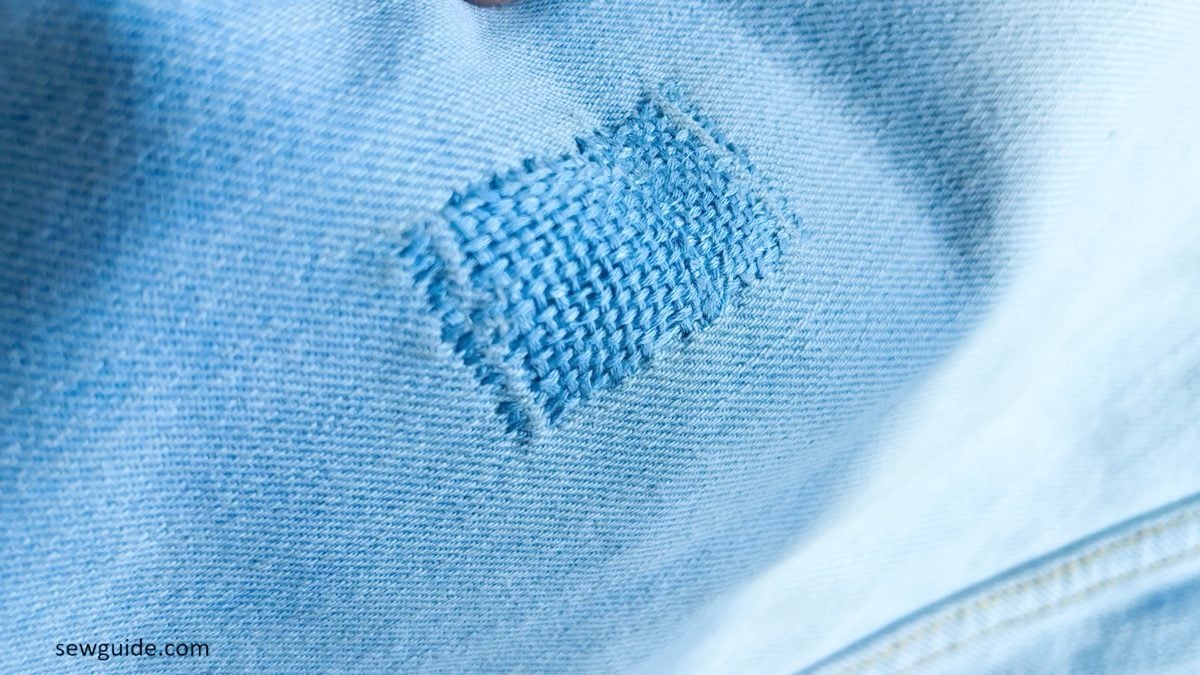
You know what I love about darning—other than how it looks? It lasts. Most jean repairs don’t; the fabric just tears again. This one holds (and looks good too), if done right.
Here are my favourite methods.
Actually, you cannot really call these different methods, because darning is done in only one way—recreating the thread and the structure of the fabric where there was none. But there are several variations in the final result, due to many different variables in how it is done. One, of course, is the colour of the thread.
Before you use any of these methods, you have to be ready to some preliminary things
- First is to correct your attitude. (Yes, I am talking to myself.) I have a habit of hurrying through everything. I just want to get things done. Darning is not something you do in a rush. It is slow stitching, period. In darning, you need to go under and over each and every thread with even spacing, uniformly and precisely – for it to look good. Otherwise is fine too – for visible mending you can be an imperfectionist, but for the darning to look invisible you have to be meticulous and careful and precise (Everything a perfectionist is – I wouldn’t know. 🙂)
- Do not pull the thread too tight or leave too loose. Match the tension of the denim as much as possible.
- Do not forget to reinforce the back of the hole with interfacing or thin fabric. When you wash, the thread you use for darning is bound to get a little loose and the fabric underneath will help.
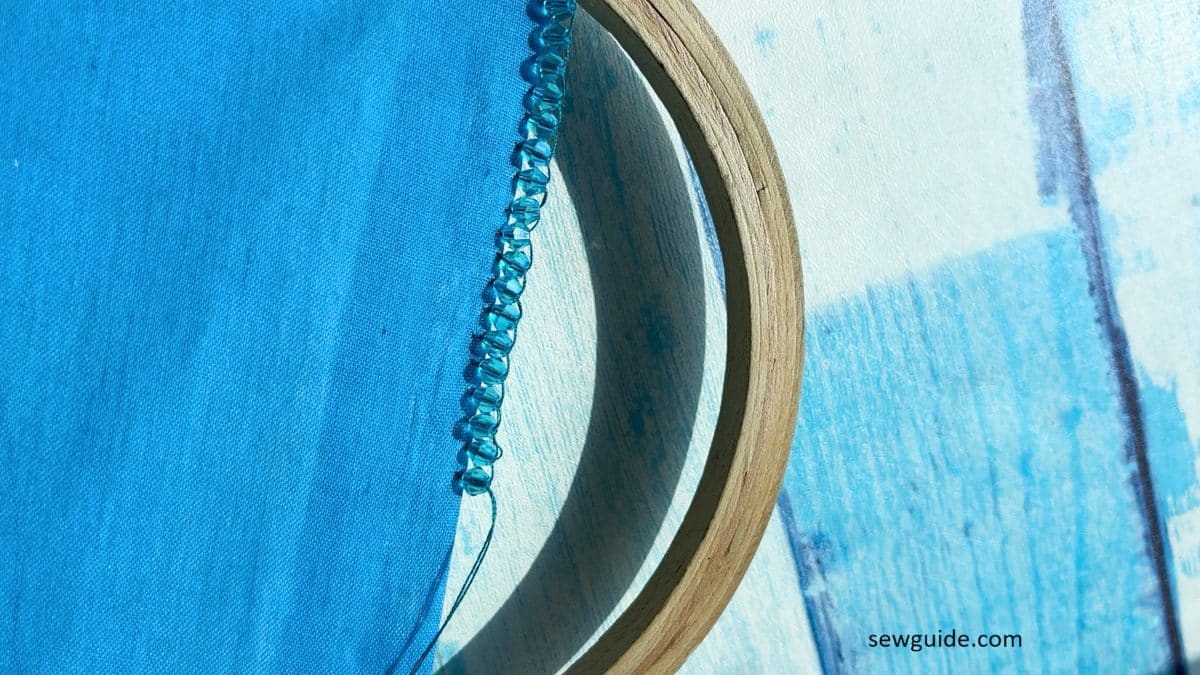
The traditional darning method
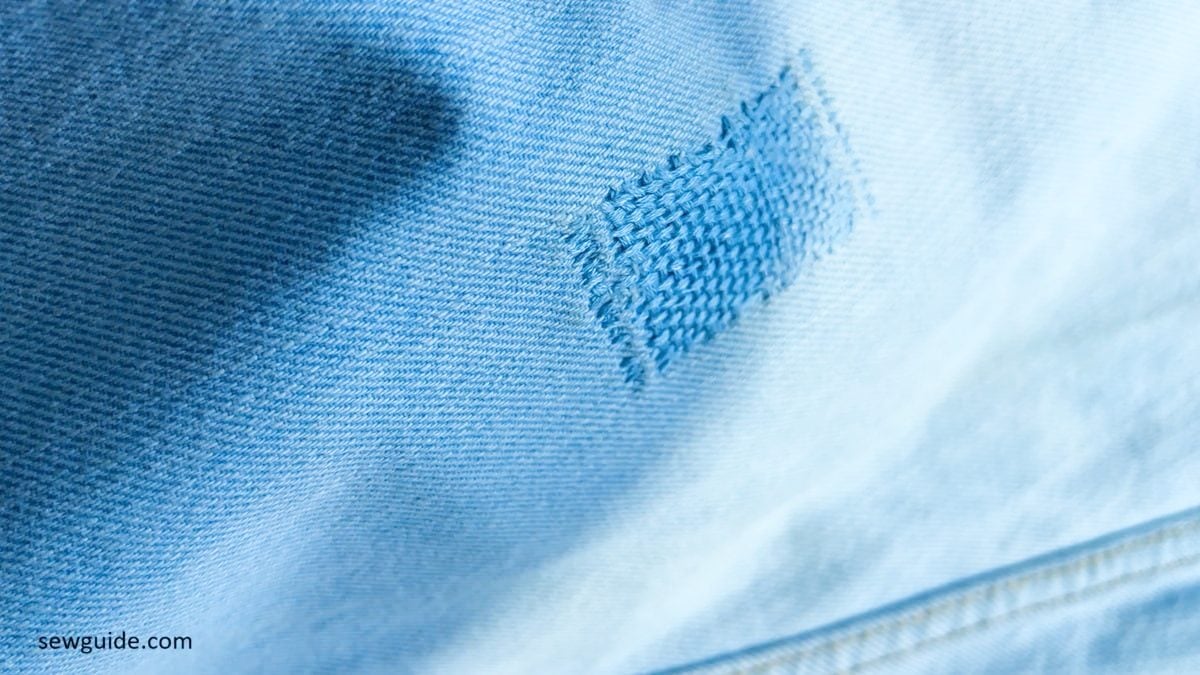
In this method, you weave your darning thread in a basketweave pattern over the hole. You will need either a blunt needle or a long needle. A long needle is preferred because it can pass through the entire area in one go—but from my experience, I found it better to stop periodically and continue, especially if you want to avoid skipping stitches.
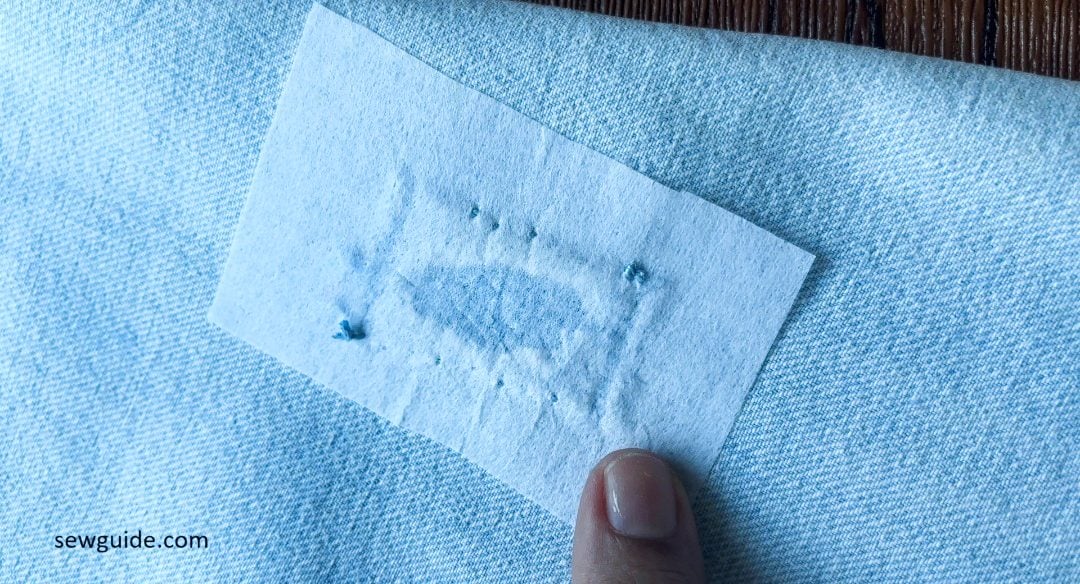
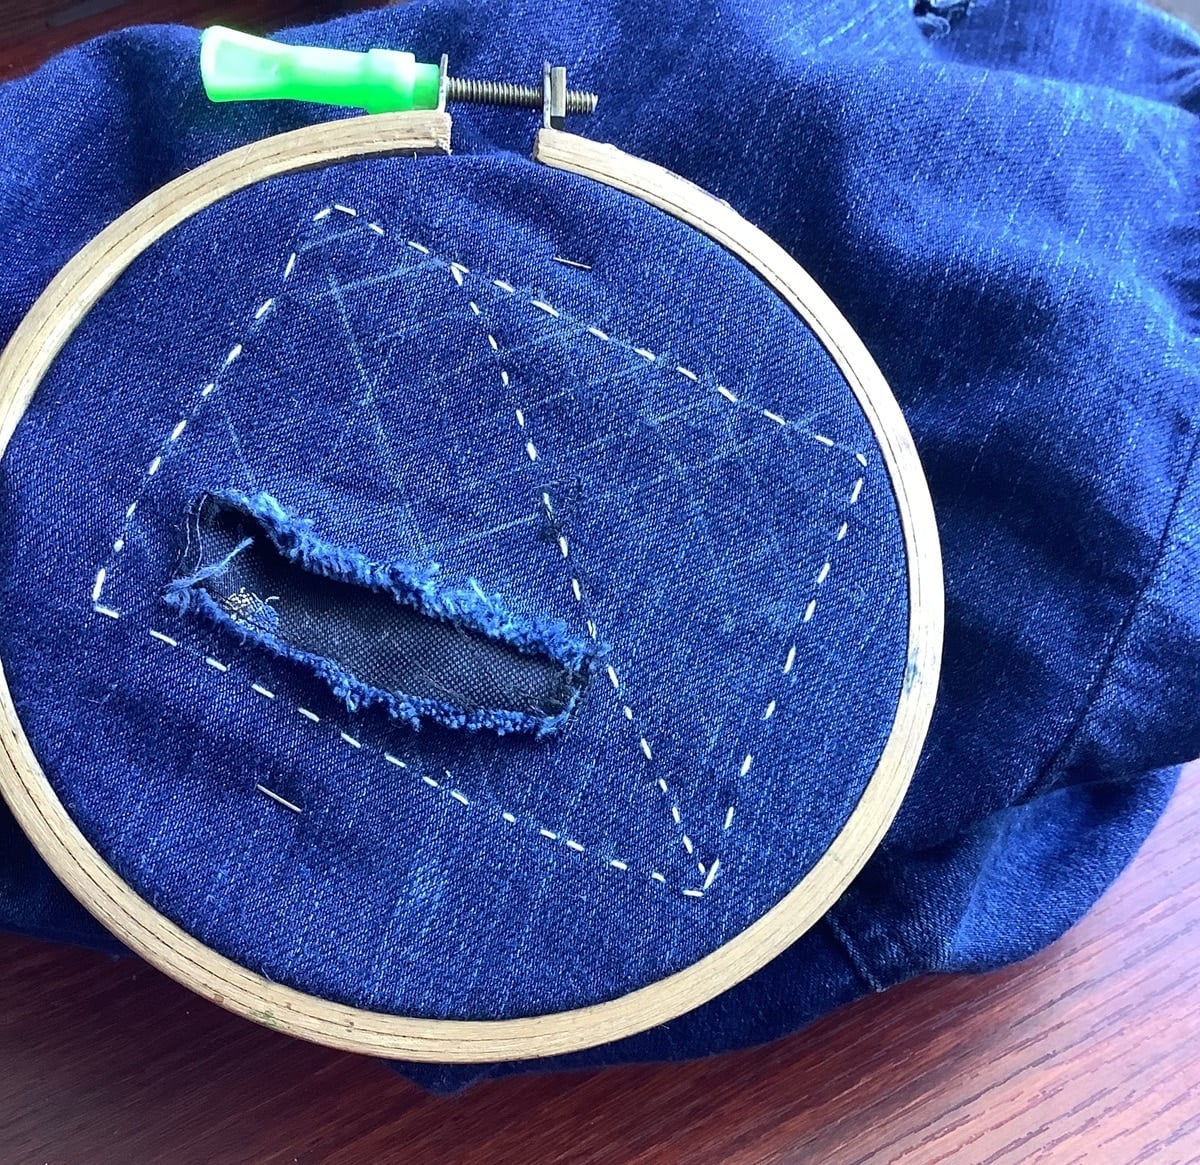
First, mark the area.
Draw a rectangle over the hole, leaving just enough space to catch the surrounding fabric without causing fraying. You can also mark two parallel lines on all sides of this rectangle.
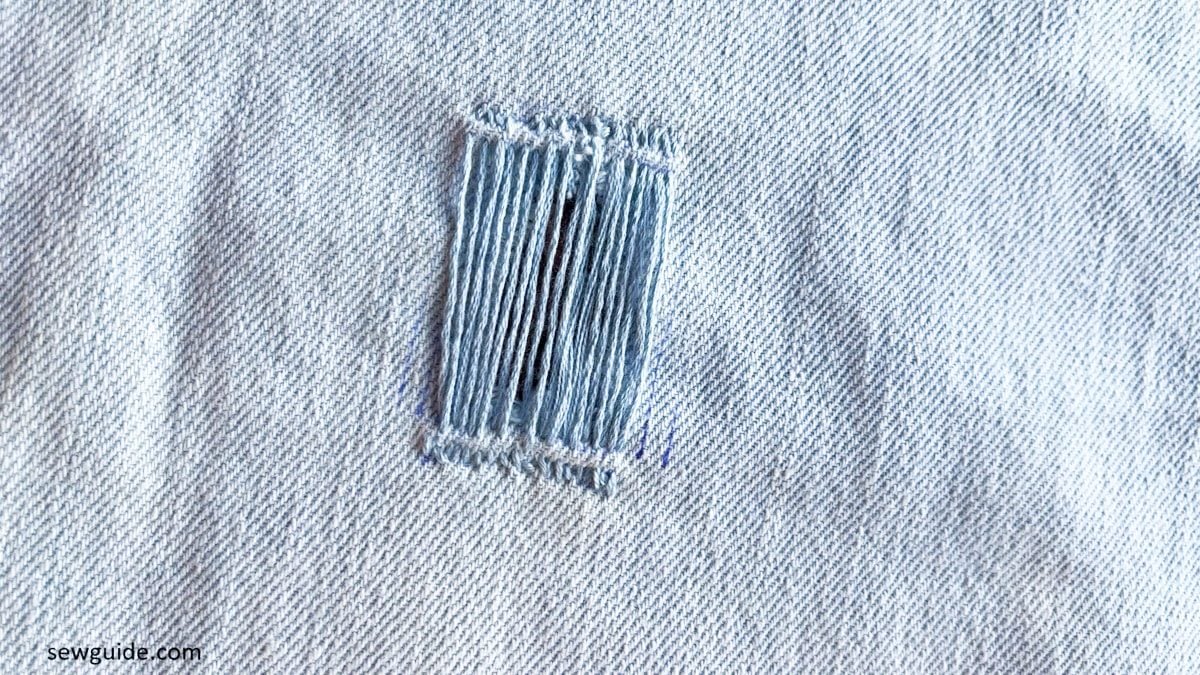
Make straight parallel lines running vertically across the hole. Keep the stitches even and closely spaced. In this method, I use interfacing to keep the hole taut.
I also made small reinforcing stitches above the hole. This step can be skipped if you only want darning stitches over the hole.
Next, start weaving in an under-over pattern, with the needle perpendicular to the earlier stitches.
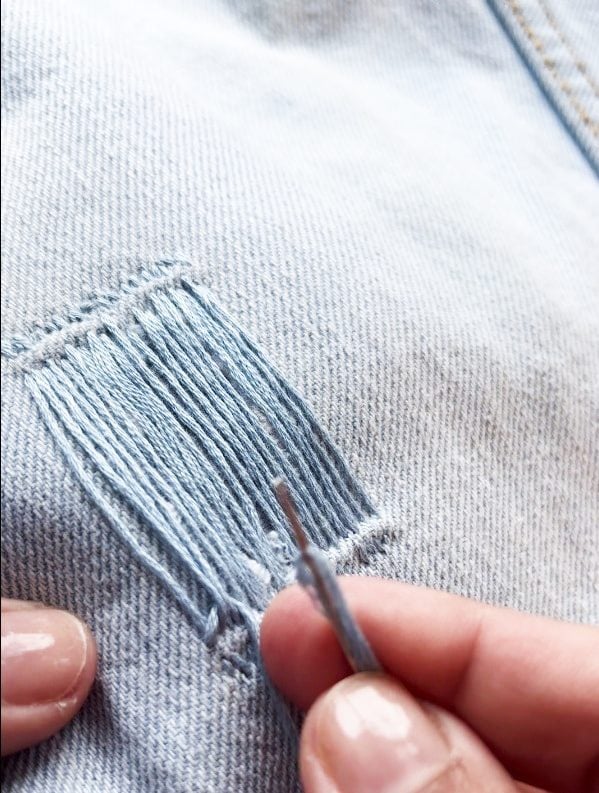
If you are using a sharp needle, use the back of the needle as the front; if you are using a blunt needle, you can proceed with the front.
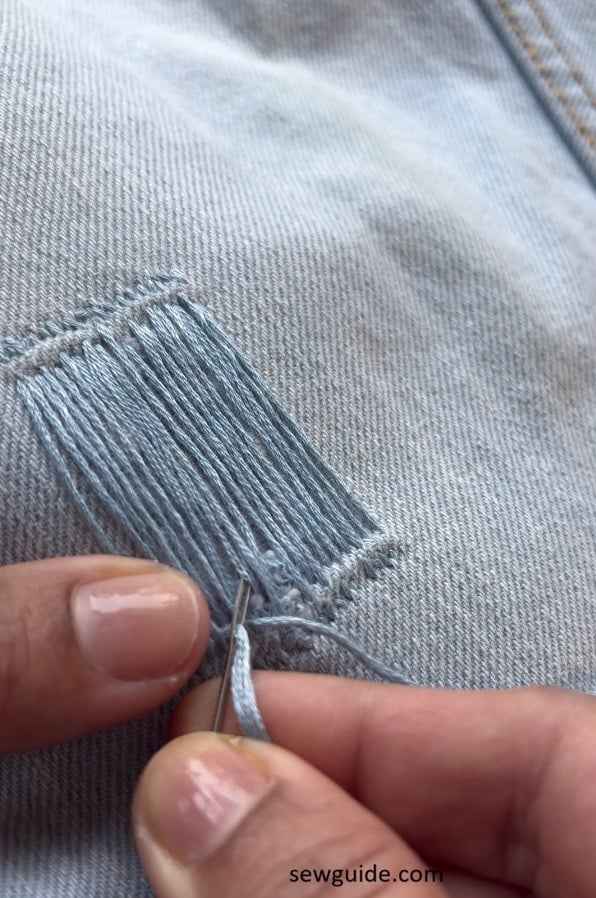
Pull up the thread ; do not pull it too tight that it will all bunch up. Follow the behaviour of your fabric, as I earlier said.
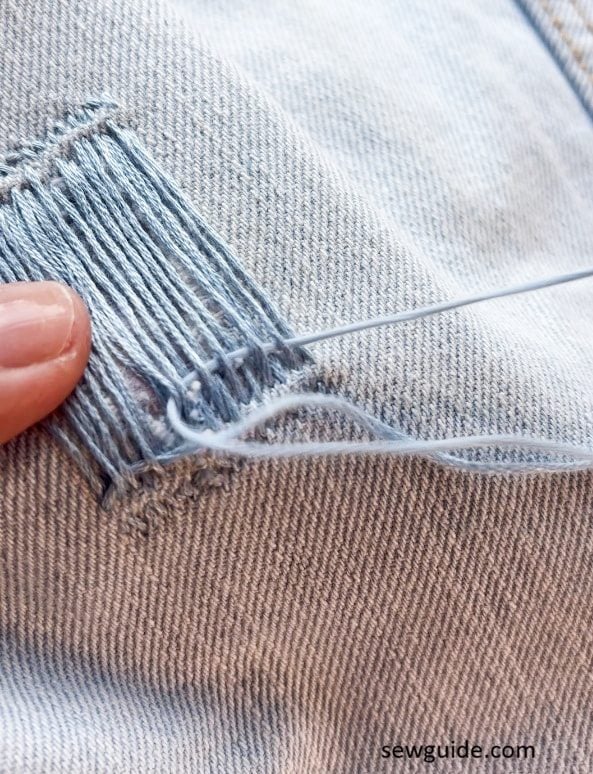
After completing each row of weaving, make a tiny anchoring stitch on the fabric. Then continue to the other side.
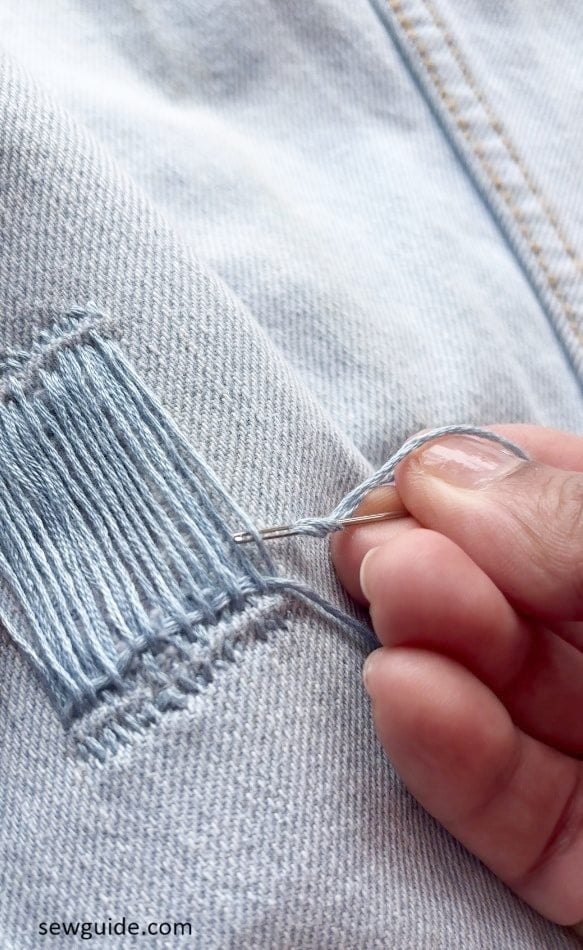
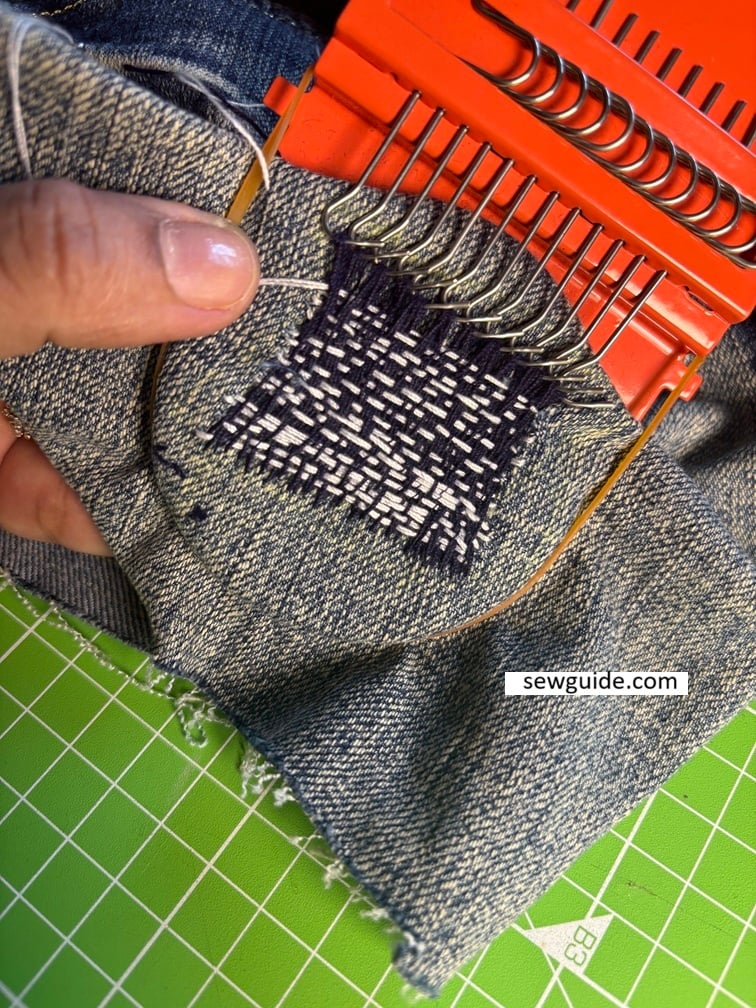
Continue this process until the entire hole is filled.

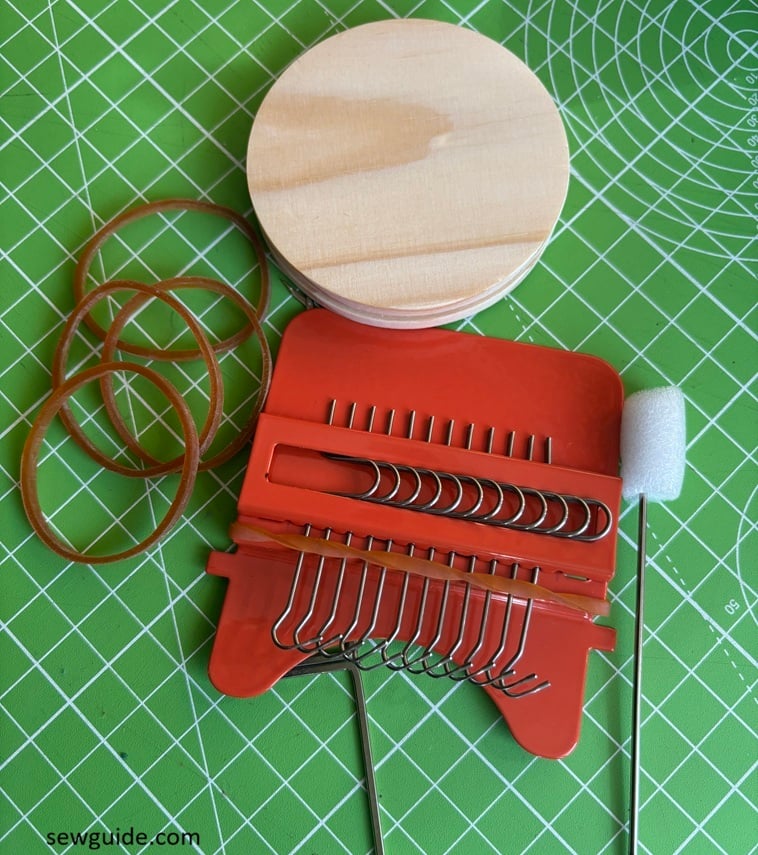
Darning using the darning tool
Darning requires a little more preparation than a typical seam repair because you are essentially creating fabric where there is none. So keeping the area taut is a no-brainer. That’s why people use darning tools like this one I bought. It’s a metal contraption that is easier to use than it looks.

You can also use a simpler darning egg or mushroom, which helps keep the fabric taut more easily. I had this tool and I used it.
Check out this video for more details on how to fix the darning tool.
Here is how I use the darning tool on denim.
I pushed the flat disc through the inside of the jeans leg so the hole sat over the top of the disc. Then I pulled the rest of the denim down around the sides of the disc so the fabric was smooth and taut. Do not pull it so tight that you ignore the fabric’s natural stretch.
The tool came with elastic bands, which are used to hold the fabric in place while you stitch.
The thread is hooked through the pins on the tool.
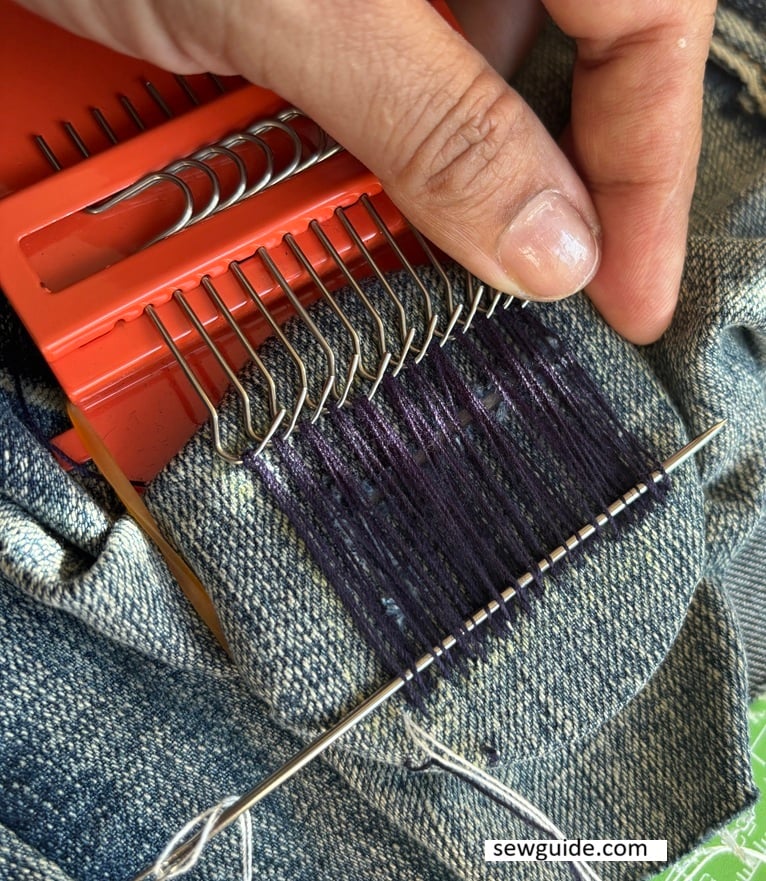
The weaving step is the same as mentioned earlier—the same under-over pattern. My stitches do not look very regular, I know. Like I said, it’s difficult to keep up the pretence of perfectionism for long.
Visible darning
This is visible mending using colourful thread for darning over the hole or making closely spaced Sashiko stitches. This method is thousands of years old, so it is durable, if that is your concern.
It is traditionally used in Japan to layer worn fabric and stitch the layers together with small running stitches. This technique reinforces the fabric and helps it last longer—especially in high-wear areas. The beautifully patterned Sashiko stitches also add to the overall aesthetic.
I backed the hole with another piece of denim and stitched through both layers. You can use sashiko thread or topstitching thread (which is slightly thicker than regular sewing thread) and make running stitches over a drawn pattern or freehand (I guess this freehand stitching is called Boro).
Related post : Drawing and stitching Shippo Tsunagi Sashiko pattern ; All the different ways to mend holes in clothes ; Read more about Darning here