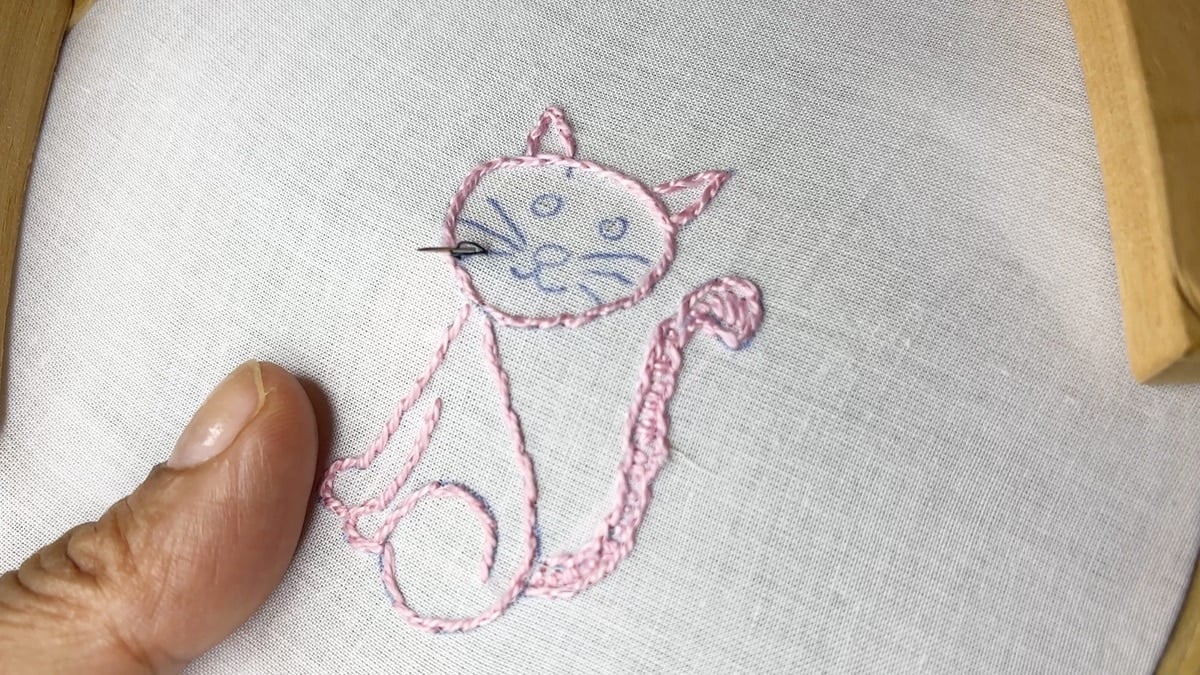
At one point in time, I was obsessed with Fabric painting. Whatever I sewed, I had to paint some design or motif on it. I have made some horrible fabric paintings on napkins, aprons, and bed sheets which may have turned out a lot better if I had read this post earlier. No use crying over unread posts, which weren’t even written back then.
There are 4 things that I really wish that I knew back then about fabric painting:
- Always use fabric colors meant for fabric; if you are using acrylic paint, change it to paint meant for fabric, by adding fabric medium
- Do not forget to make a white base when painting on black
- Do not use water to mix paint – use fabric medium
- Do not iron directly on painted surfac
In addition to this post, you can also check out the post on the 10 different fabric painting techniques which are easy enough for even beginners.

Different types of supplies you can buy for better fabric painting
You can make do with 3 primary fabric paint colors, red, blue and yellow, and one or two brushes and start painting on your fabric. But it is always nice to know that you can buy more, even though your cupboard is overflowing with craft supplies with zilch space for even one extra brush, and your husband’s eyes start to roll with every new purchase. Anything to improve your art.
Brushes
- Round tip brushes – You can buy a tiny round tip brush which is great for making small details, and a bigger round tip brush
Flat-tip brushes, also called Shader brushes – These work great for shading and highlighting. You can also use this brush for blending. - Liner brushes -As the name suggests these brushes are used for making lines. 000 is the number I look out for.
- Foam Brushes: You can use these brushes if you have a large area to be covered. These foam brushes come with a wooden handle.
- Outliners filled with paint are especially meant for making 3D outlines- this is invaluable if you are doing liquid embroidery on garments.
- Even Permanent markers for a quick painting tool – great for outlines and black drawings.
Airbrushes, dip pens, stamps, sponges, or any other absorbent applicator, can all be used appropriately. For washes and watercolor effects, choose a soft brush.
Embossing can be used in conjunction with fabric painting to create a unique, textured effect on textiles. For fabric embossing, you will need embossing powder, other than paint (or paint with embossing effect) and heat gun to heat treat it.
Assorted stamps, stencils, or designs & transferring materials
For inspiration for fabric painting designs, Checkout this post on 10 inspirations for embroidery designs ; they work great for fabric painting as well.
Paint
What paint to use for fabric painting ?
You should preferably be using Acrylic fabric paint/ textile paint; they consist of a pigment suspended in an acrylic medium specially formulated for use on fabric.
But you can also use all-purpose acrylic paint for hand painting on cloth, provided you mix fabric medium to make it suitable for painting on fabric. A fabric medium is a thick fluid that looks opaque when wet but dries colorless. Ordinary Acrylic paint dries hard on the fabric’s surface and may crack after it dries, but the medium makes it more malleable/flexible. The medium is mixed in a proportion of 1 part fabric medium to 2 parts acrylic paint. Mix thoroughly and use.
You can use the fabric medium along with Acrylic fabric paint as well.
It is used to dilute acrylic fabric paint without changing the color of the paint. If you use the medium to dilute acrylic paint instead of water there is less bleeding.
For a watercolor effect with acrylic paint, use medium in a ratio of 5:1 with paint.
There is a Matte Medium which, when added to acrylic paint, creates a dull matte effect if you do not like the glossy look. If you plan to spray paint, you can add a special medium that will give the paint a sprayable consistency and prevent clogging of the sprayer.
The puffy medium is usually added in a 3:1 ratio to fabric paint. i.e 3 drops of puffy medium to 1 drop of fabric paint..

Transparent paints, which are light and translucent, allow underlying colors to show through and are great for a variety of fabric painting techniques like spray bottle effects, salt effects, stenciling, batik, and splatter techniques. If it is mixed with water, in a 1:1 ratio, they act as a liquid dye, and some brands can be used even for tie and dye. You usually use these colors on light-colored fabrics.
How to use Colors in fabric painting?

Primary colors of red, blue and yellow can be mixed together and/or with black and white to get many different colors. But it is nice to have some other colors handy.
Some of the colors you may have to buy if you are planning to paint on fabric a lot – Crimson Red, Ultramarine blue , Yellow ochre, Indian red, Burnt sienna, Raw sienna, Raw Umber & Madder brown, cerulean blue, & Cobalt blue , then the ever useful black and white.
You can add metallic colors / pearl colors to your kitty for adding some sparkle and dimension. Iridescent/Pearlescent Tinting Medium can be added to regular paints to add sparkle.
Which is the best fabric for fabric painting ?

This is a very oft asked quesion. A light colored 100% cotton fabric with a somewhat tight weave is the most suitable for painting with fabric paint. Which is why I love painting on cotton bed sheets. Buying plain bed sheets and then transforming them into a work of art (me thinks) is very satisfying
Good quality cotton t-shirts make very good base for fabric painting.
Check out this post on T-shirt Painting for more details on how to paint on t-shirts and easy techniques you can use with them.

You need not limit your fabric painting to cotton, though. You can try your hand at painting on other types of fabrics like satin, silk, rayon, cotton/poly blend, quilting fabric, flannel, linen, canvas, silk organza, suede, terry cloth, velvet, velveteen, leather, and most synthetic fabrics; try your expertise on scarves, furniture, t-shirts, tunics, curtains, cushions, and wall hangings in different types of fabrics.
If you are painting broad brush strokes with large design areas it is preferred to work with a loose weave fabric (Loosely woven fabric allows more of the color to penetrate the fibers), but for small details and intricate designs, a tighter weave of the fabric is necessary..
Fabric paint is applied to the surface of the fabric; hence, a slight thickening of the area is inevitable. You will notice this on lightweight fabric like muslin than on heavier fabric like canvas and duck cloth.
How to paint on colored fabric
When you paint on the colored cloth, the problem is that the colors will look faded – you will have to add many layers for it to look somewhat obvious. One easy solution is to paint a layer of white inside the design and then dry the design as you wish on top of it when it is completely dry. This will make it more visible. So, in this case, you will need a lot of white paint – if the design is big.
- Two or three containers with clean water
- Cloth / tissues to wipe and dry brushes
- Plastic sheet to protect your surface from staining
- A styrofoam sheet / cardboard sheet covered in plastic which is slightly bigger than your design ( to be placed under the painting area so that paint would not stain the other side of dress.)
- Plastic palette for mixing colors
Gel Medium (Optional)
Gel medium can give the paint or the finished painting a glossy or matte finish. It can give a permanent, water-resistant, UV-resistant, non-yellowing protective coating for your fabric painting.
A separate iron – this may seem mandatory after you transfer paint from a recently finished painting project to your daughter’s white school uniform – yes, I did that.
How to do fabric painting by hand – step by step
Step 1. Prewash the fabric
This is a compulsory step, especially for garments that you will definitely be washing. You must remove the sizing and also fabric finishing techniques applied to the fabric in its manufacturing process. Otherwise, the paint will not coat all fibers, and when you wash the painted surface, the paint may flake off and show holes where paint should be. So, it is always better to prewash.
But for painting on fabric-covered furniture and bags and accessories, which you will not wash, do not worry about prewashing.
If you are painting an old garment, make sure it is clean and it is without starch or softener.
Iron the area where you are thinking of painting. Wrinkles will distort the fabric and hence the painting.
Step 2. Prepare the workspace
You should preferably start working on a flat surface covered with plastic. This way paint will not stain your floor or worktop.
Stretch the fabric adequately and keep it on a clean safe place where it can stay undisturbed till it is dry.
The best is to keep it on a sheet of thick cardboard sheet covered with waxed paper, so the paint would not seep and make a mess underneath; the waxed paper also ensures that the paint would not stick. You can simply wipe it clean afterward and use it later.
If you are painting inside a t-shirt, keep a plain thick paper or plastic piece inside. Even a newspaper would do. This will prevent paint from staining the backside.
If you find that you are painting very often, prepare a styrofoam screen on which you can stretch the fabric; this can be attached with pins so that the fabric is somewhat stretched without wrinkles.
Some take the extra precaution of stabilizing the fabric with freezer paper while painting. A freezer paper bigger than the design is attached plastic side down on the wrong side of the fabric. Iron from the top. This will stick the freezer paper on the fabric and you will have a temporarily stiffened fabric with no wrinkles free to be painted. After you have finished the painting simply peel off the freezer paper.
Fabric paint and acrylic paint harden when it is in contact with air so keep the containers closed when not in use; take only as much as needed onto the palette.
Use different brushes for each color, and under no circumstance, dip your brush into the paint bottle with some other paint on it. You will ruin the whole bottle.
Step 3. Fabric Painting types
Draw your design on the fabric freehand or transfer the designs using any of the transfer methods outlined.

Load the paint on the brush and start painting. It is better to use one single brush for one color so that you do not have muddled color.
Draw the outline first and then starting from the outwards to the inside fill the design. Use firm short strokes to fill.

Different techniques of fabric painting
Fabric painting can be done almost exactly the same way that you paint on canvas; layers upon layers to create dimension. There are other methods as well that create a beautiful painted effect on fabric using fabric paint.
- Sprinkle salt to create a beautiful crackled effect.
- Apply melted wax with a brush and then apply paint on the fabric. Paint will be penetrating through the cracks of the wax and result in a batik print on the fabric.
- Stenciling – Stenciling is the most preferred technique for fabric painting. You can take a printout of your favorite picture, cut out the inside portion with a cutting tool, and use this to paint accurately. Checkout the post on making easy stencils at home
- Stamping – Paint is applied on a stamp cut in the desired shape . This is then placed on the fabric surface . This is a favourite method. You can make simple fabric stamps : follow the tutorial to make fabric stamps. Or the tutorial to make potato stamps

- Wet fabric before painting for a watercolor effect. Simply damping the cloth before painting is enough.
- Airbrushing.
- Marbling – This refers to the technique in which the colors of the paint are floated in swirls and other patterns on a specially prepared bath. When the fabric is laid on this bath, the paint adheres to the fabric in a marbled look.
- Splatter paint
- Sun Painting – this involves using a blueprint/ cyanotype fabric and different objects to make impressions. You can try this technique using your regularly painted fabric and found objects like leaves. Leave the painting to dry with the found object and find the impression object imprinted on your fabric in a sort of negative printing. Learn more about blue printing in the post on Blueprint fabric/cyanotype fabric
When painting, always take lesser paint than you think you need on the brush. It is possible to increase darkness but decreasing the intensity of paint is difficult unless you paint over it after it has dried.
How to shade with fabric paint ?
Most of the guidelines for acrylic painting you do on canvas work with fabric – like you paint dark colors first and then layer lighter colors on top. You paint the background first and then the details. But then, there are no set rules, and rules are meant to be broken.
There are two ways to work layers and shading with fabric paint . One is to shade after the first layer of paint has dried ( as the paint is permanent when dry when you paint over the first layer it wouldnot come off) and the other is to blend dark and light colours while the paint is still wet on the fabric
The paint can dry very fast on the brush and maybe difficult to work with or remove; keep it moist all the time.
Step 4 Color mixing
Color mixing is magic. You will be astonished at the range of colors you get by mixing one or two simple colors in varying proportions

Red and Blue and Yellow are the primary colors. When you mix them together in different proportions you get secondary colours. When secondary colours are mixed you get a whole gamut of tertiary colours. So you can start with the primary colours and do all the painting you want.
Red and blue can be mixed to get violet shade
Yellow and Blue mixed gives you green.
Red and yellow give you orange.
Violet, green and orange are the secondary colors.
A mixing of the Primary and Secondary colors provides us with the final level. known as Tertiary Colors.

Complementary colors refer to the colors placed opposite each other on the color wheel. God obviously knew his complementary colors very well – look at the red rose and green leaves. These are supposed to be the optimal colors to be grouped together.
To get darker colours you will need to mix darker colors of the primary colours or mix black.
Add white to any colour to make it lighter. A pastel shade is achieved by adding white.
If you want transparent filling, add water to the paint. You may have to add many layers to get even coverage.
You can get a brown colour if you mix all the primary colours together. Vary the colours, and you get different shades of brown. Add black to this, you get a darker brown.
Green colour is one which you will find you will use again and again if you love floral designs as I do. Take Yellow and add small bits of green till you get the shade of green you want. For a pure green mix lemon yellow with some blue . If you want a olive green shade , add little dabs of red to the mix of yellow and blue. For a darker shade of green you will need to start with a darker shade of blue.

How to add a dimensional look to your fabric painting ?
If you use one single color on an object, the picture will look flat and one-dimensional. Of course, there are instances when you prefer that look. But If you want to add a three-dimensional look to a picture, remember that you will need to add 3 tones of the same color to the picture. A dark shade, a medium shade, and a light shade blended and shaded will make the picture look almost real; of course, depending on the way you shade and blend it.

Do remember that acrylic paint and textile paint strokes are permanent so you cannot experiment and hope it will wash off. It won’t. If you find your mistake fast enough you may be able to scrape off the paint immediately with a palette-knife, but do not count on it.
Step 5. WAIT
Wait for 24 hours before you wear it or wash it or iron it. Ensure that it is not sticking to any surface.
Step 6. Heat set
The painting has to be heat set after 24 hours for it to be permanent.
The label on the fabric paint will have instructions on what to do to set the paint. It usually instructs you to iron on the reverse side of the work. For good adherence, in addition to the back of the work, you can heat set the front of the design using a pressing cloth or parchment paper for protection. Use as high-temperature setting on your iron as much as the fabric can tolerate, and press without steam, for 30 to 45 seconds.
Sometimes you can heat set only on the front of the design like in the case of an upholstery cover on furniture; you have to use a press cloth. Do not use steam. Furthermore, never do it directly on the painted surface anytime you iron it.
What if you have a fabric which you would rather not iron ( like leather or textured fabric) – then a simple hair dryer can be used to dry the paint .You will have to apply it for about 30 minutes for it to totally cure the paint.
You can keep a heated iron some distance over the paint to heat set puffy paint. This way the puffiness will not flatten (like it would if you iron from the back)
If you have large painted fabric that you have no time to heat set with ironing and pressing, use a dryer – the heat in the dryer may set the paint.
Apply heat on every inch of painted fabric, making sure that all areas of the design come in contact with the heat.
Step 7. Washing the painted item.
You should not wash the painted product for about 5 days – that is the minimum time it will take for the paint to fully cure.
Turn the garment inside out when washing.
I would hand wash or put the fabric on a gentle cycle with mild detergent – that is if you care to keep the painting intact. Drip dry rather than machine dry for the painting to last.
Related posts : How to make fabric painting permanent; 5 easy ways to draw and paint a rose.