
Potato printing brings out the kid in me – I love stamping away to glory with those super cute potato stamps. Reminds me of the time I used to do this a lot.
But there is a difference between then and now. Here my canvas is fabric, not the easily disposable paper I used to use, back then. Yes, potato printing on fabric is not really child’s play.
There are some precautions you have to take to make sure that the designs which appear on your expensive fabric look as good as a professionally printed fabric.

Anything which can go wrong will go wrong with potato printing. Why give it an extra chance?
Potato printing is one of the easiest ways to print on fabric (unless you decide to buy the stamps ). It is also the most inexpensive.
You may already have that bag of potatoes in your fridge. The other things you need to start potato printing are very simple; you may already have these also at home, if you have a single craft bone inside you (If you are reading this, I bet you have several of those).
Tools used for potato printing
- A range of sharp tools, from small tipped knives to your exacto knife to your seam ripper, for carving potato or a single sharp knife with pointed tip to carve out the inner details
- Fabric paint or acrylic paint with medium mixed -undiluted
- Fabric which is prewashed to remove sizing and ironed to remove all wrinkles
- A palette or a styrofoam tray to keep the paint
- Sponge piece or small brush to get the paint on the potato stamp
- Spare fabric to test the design first; for general cleaning etc ; tissue papers are also useful
- Waste paper to keep under so that you do not get paint elsewhere
- The potatoes, ofcourse.

How to do potato printing
Step 1. Choose your design.
Bold and simple designs work best with potato printing. You should preferably choose designs which do not have too many colours or too many fine details. Use a sharp tool to draw the design on the fabric, outside of the lines.

Remember that you should make a mirror image of the photo you have because when you stamp, the image will be reversed. With simple designs like a flower it does not matter but with alphabets and numbers, this should be ensured.
You can easily make a mirror image using tracing paper. Keep the tracing paper on the design, trace the design and use the image from the other side. You have the mirror image of your original image. Or reverse the image on your computer.
Do not lose patience if the first time you carved a slightly complex design and it is a mess. It is almost always a mess with me.; having a sharp knife helps.

Patience is truly golden when you are carving those potatoes. Starting out with a simple geometrical design like a dot is the easiest way.

Step 2. Carve out the design with a sharp pointed knife
I have my hand-crafted iron knife, a mean tool I use to peel shallots. Get your sharpest tool.

When you carve the potato, ensure that you get a smooth line on the edges ; unless you are looking for a jagged edge.
Be safe. Do not cut fingers instead of potatoes.
Once the stamp is carved, blot the potato stamp with tissue paper to remove the moisture on it.
Step 3. Apply paint on the potato stamp.
evenly, not too thin, and not too thick.
You will have to apply paint on the stamp every time the stamp is used.
After the paint is applied on the stamp, remember to blot the excess paint on the sides. This is very important as otherwise there will be a lip formed around your design, of thick paint.
See what can happen if the paint is not applied evenly.

Step 4- Stamp
Keep on the fabric where you need the design and start stamping
Use even pressure on the stamp once it is kept on the fabric; all the surfaces of the potato stamp should touch the fabric surface.

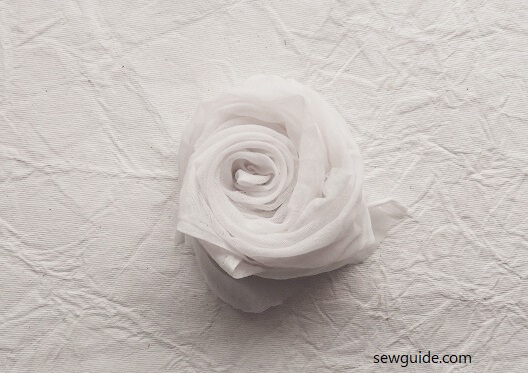
You can add layers to the painting with more stamps; I have added a leaf and then an extra petal to the rose.

How to make Simple Potato printing designs
Geometric designs are great when stamped with potato stamps. Very easy to carve, and you can make any number of variations with simple changes like a nip there or a snip here.

A simple enough design.

It can work great as a border design if the motif is applied continuously.

A triangle motif can be used to make a single row of border design

or If used as a double layer, you can create a harlequin design with it.
Check out the post on fabric prints and patterns for more ideas on making designs

Simple floral stamps are the easiest to make with potato carving.

Create an allover pattern with it.

If a simple floral motif is arranged together, they work beautifully as an altogether different design.

or stacked one on top of the other for a border design.

or randomly placed on the fabric, as a ditsy printed fabric, all designed and handcrafted by you.

Carve out simple leaf shapes to add to the floral motifs.

Add them as an additional layer or between the designs.

Infinite possibilities.
When potato printing, always ensure that your hands are clean. The paint can easily get on to places where you do not want them to be and ruin your efforts.
Follow the directions in this post “for painting on fabric” as most of the concepts are the same as both involve fabric paint. Other related posts :- How to make fabric stamps for printing ; How to make printing permanent on fabric; Best paint for fabric stamping; DIY Block printing guide


Really educative
this page was really helpful and gave me more information than i was looking for or thought i would f gotten.