I stuggle with sewing corners, even after sewing for long. Sometimes my corners end up like this –
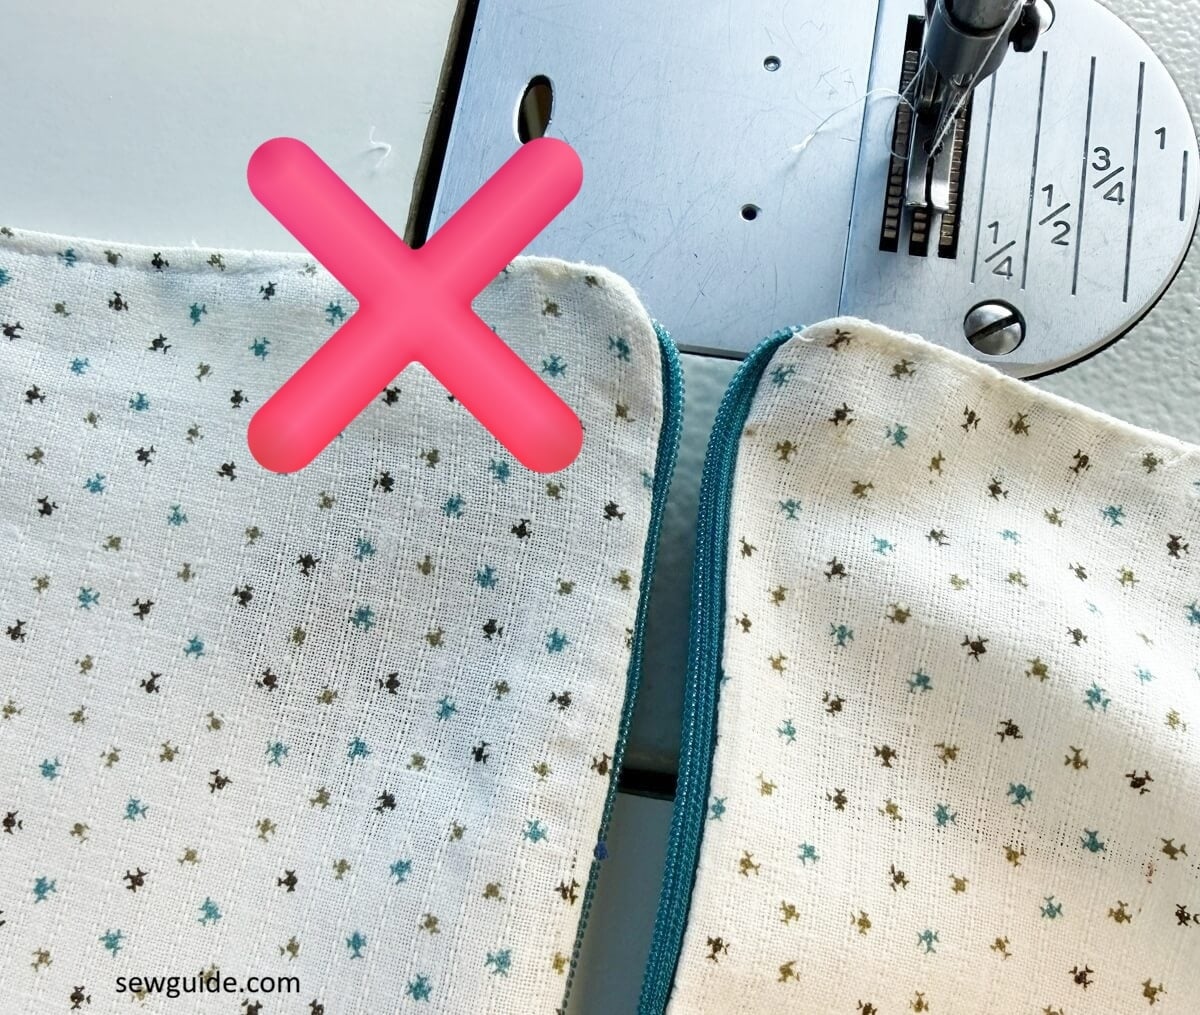
fully un-intemdedly rounded, bulky and unsightly.
The problems as I see them, usually comes from excess fabric inside the seam allowance, layers of fabric at the corners, and me not maneuvering the pivot at the intersection properly. All of these results in a thick lumpy corners that look anything but pretty.
When sewing a corner, the number one thing to get a square corner is to Pivot with the needle down as you reach the corner. When you reach the corner point keep the needle down, raise the presser foot and rotate the fabric at 90 degrees. Now lower the presser foot and continue stitching.This results in a sharp corner without any gap in the seam line.
How you sew the corner also depends on the type of corner you are sewing. I have tried to cover a number of scenarios where we usually use a corner – as videos and instructions. Because there are many, you have to be a little patient. But, Let me tell you, if you are serious about learning to sew it is worth it.
Turning the corner so that there are no wrinkles, or bulk is a matter of using tools like a knitting needle or a chopstick or the thread hack given below. If you do it right you get a sharp corner.
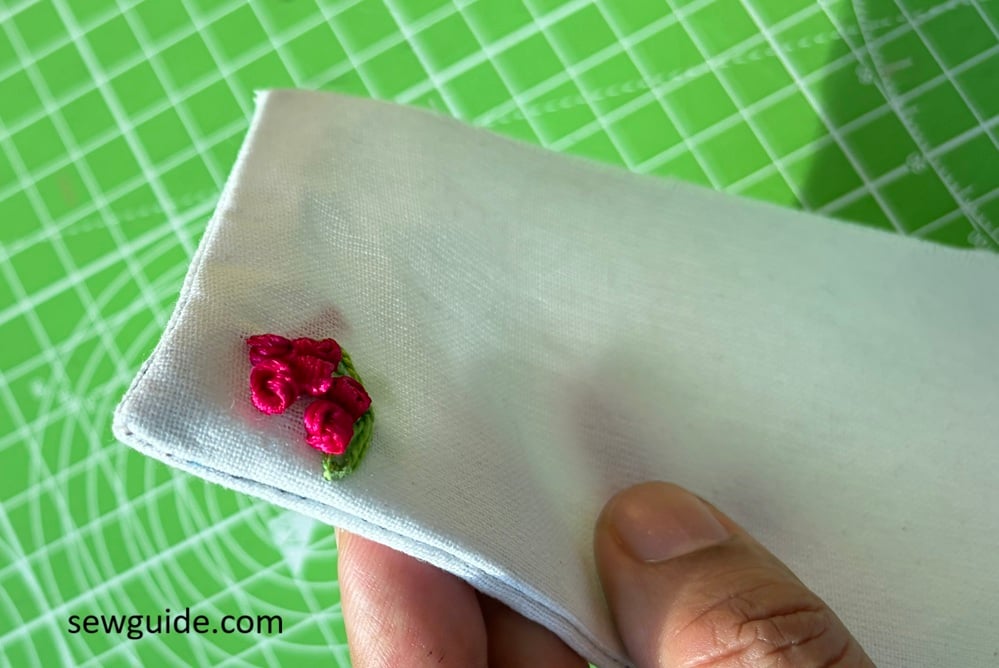
Using the thread-pulling hack for sharp corner
This is a very easy method – you will just be using a thread as a pulling tool. You will need to shorten your stitches as you reach the corner for the stitches to hold the thread in place. I had to reinforce it with hand stitches. This method makes turning sharp corners very easy and on the go.
The thread you use will have to be stronger than the normal sewing thread – or use two turns. Keep it in between the lining and outer fabric, which are kept right sides to the inside.
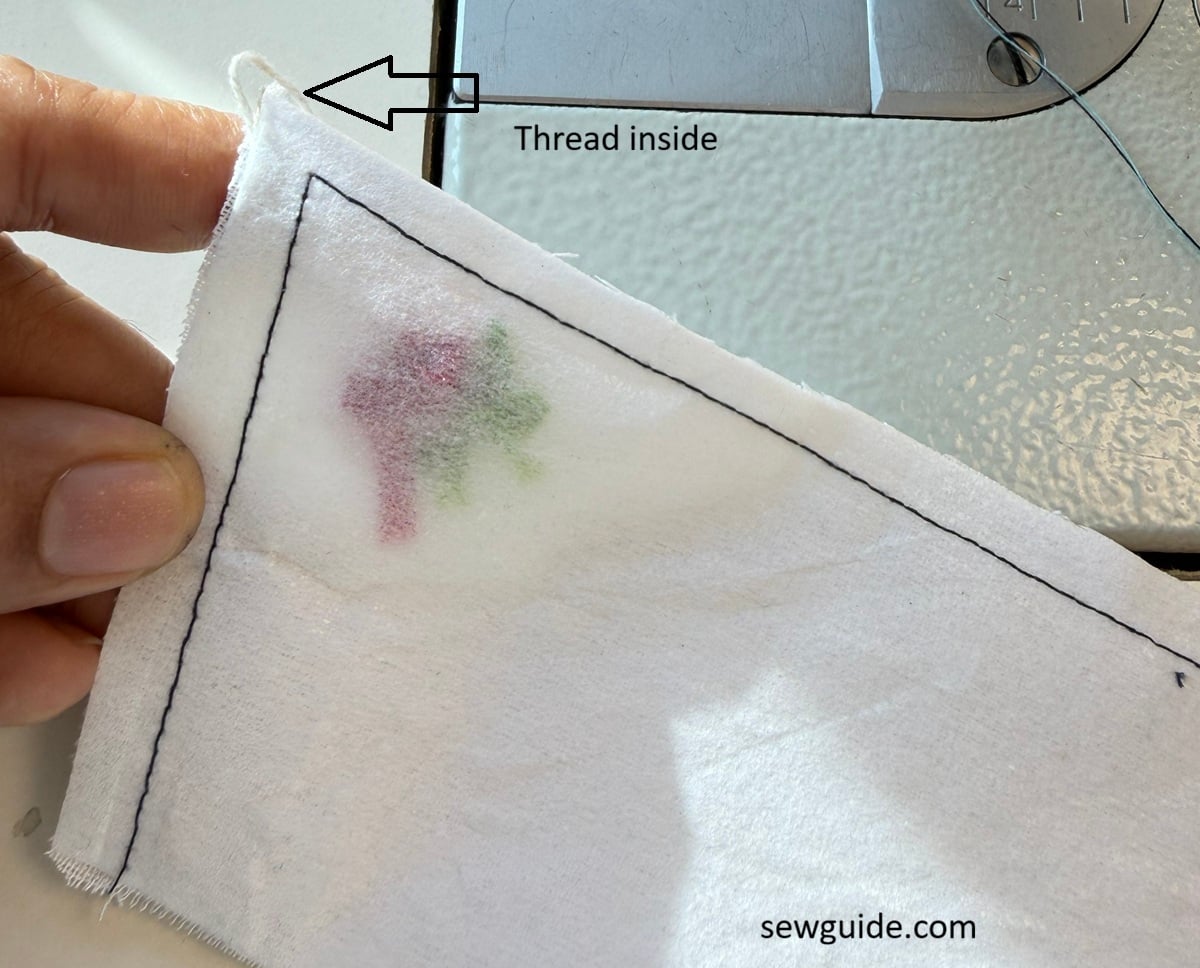
As you sew the seam, ensure that the thread you kept in between is secured. As I said, making the stitches small helps.
Then pull the thread – this will turn the collar right side out and draw the corner out. You will have to stop at the right point or other wise you will weaken the seam.
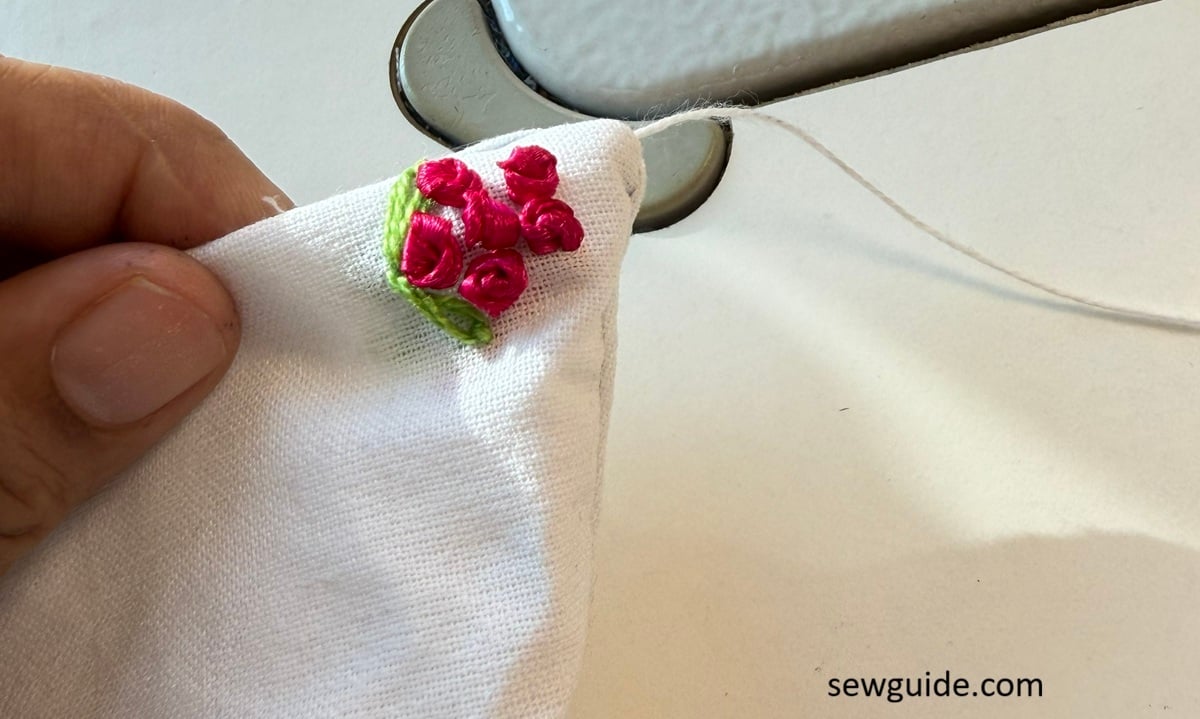
This method is better than those knitting needle, pencil tip poking, because it doesnot poke and wear the fabric and seam.
Sewing the corner on a hem
Sewing the corner on your bodice front opening
This is how I sew the corner when sewing facing on a top.
Steps to get the crisp and neat look on the front and back of the corner on your facing.
- Keep the facing on the back of your neckline. Fold the front edge over the facing. (I assume you already have 1 inch or so extra at the center for the front /back opening). When cutting the facing, you will get a better result if you interface the facing below the seam line. Extra at the seam line will only add bulk.
- Stitch the facing and the neckline edge with a 1/4″ allowance.
- Clip the seam allowance every 1/2″.
- Turn the facing to the back. Use some pointed tool to turn the corner. Press.
Sewing Lace trim on corners
This is how I treat the corner when I am sewing a lace trim at the edge of a fabric.
You just have to fold the lace trim in a specific way at the corner.
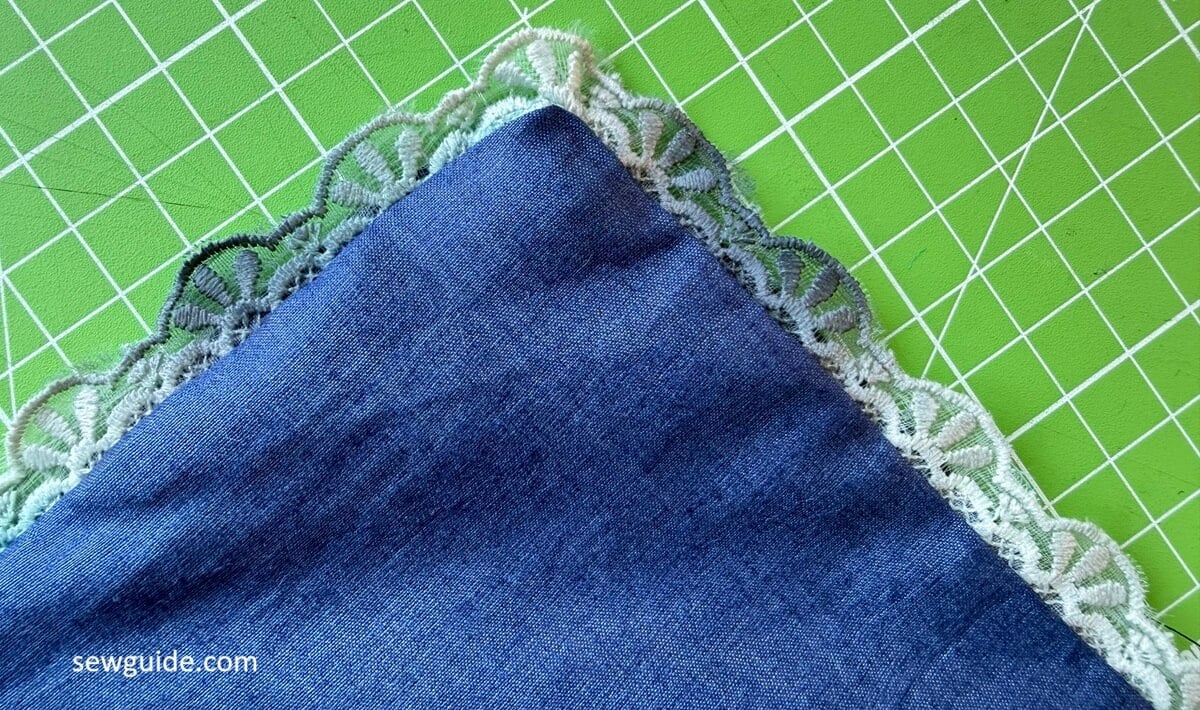
Steps to do this is like this
Keep the lace trim face down on the fabric piece you are sewing it to, 1.5 inch from the edge. The fabric is kept right side up. The good edge of the lace trim is kept to the inside.
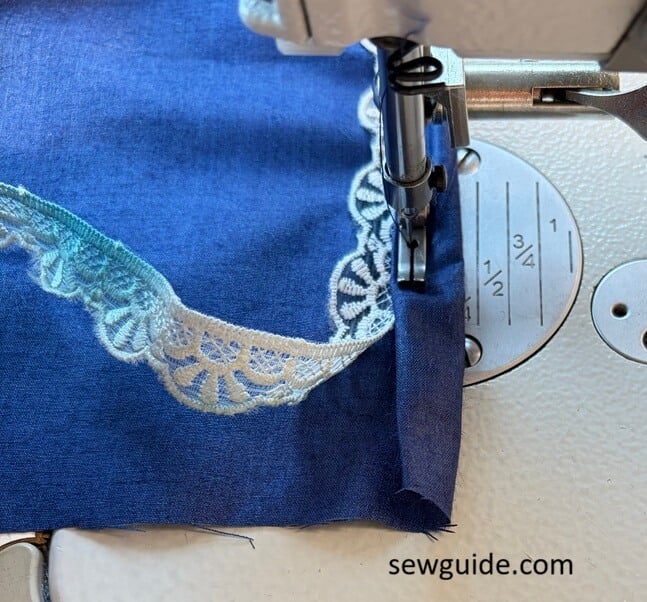
Fold the fabric edge twice over the trim edge. Stitch in place.
As you reach the corner fold the lace trim diagonally and keep it along the edge as in the video. Fold the other edge over the trim and stitch in place.
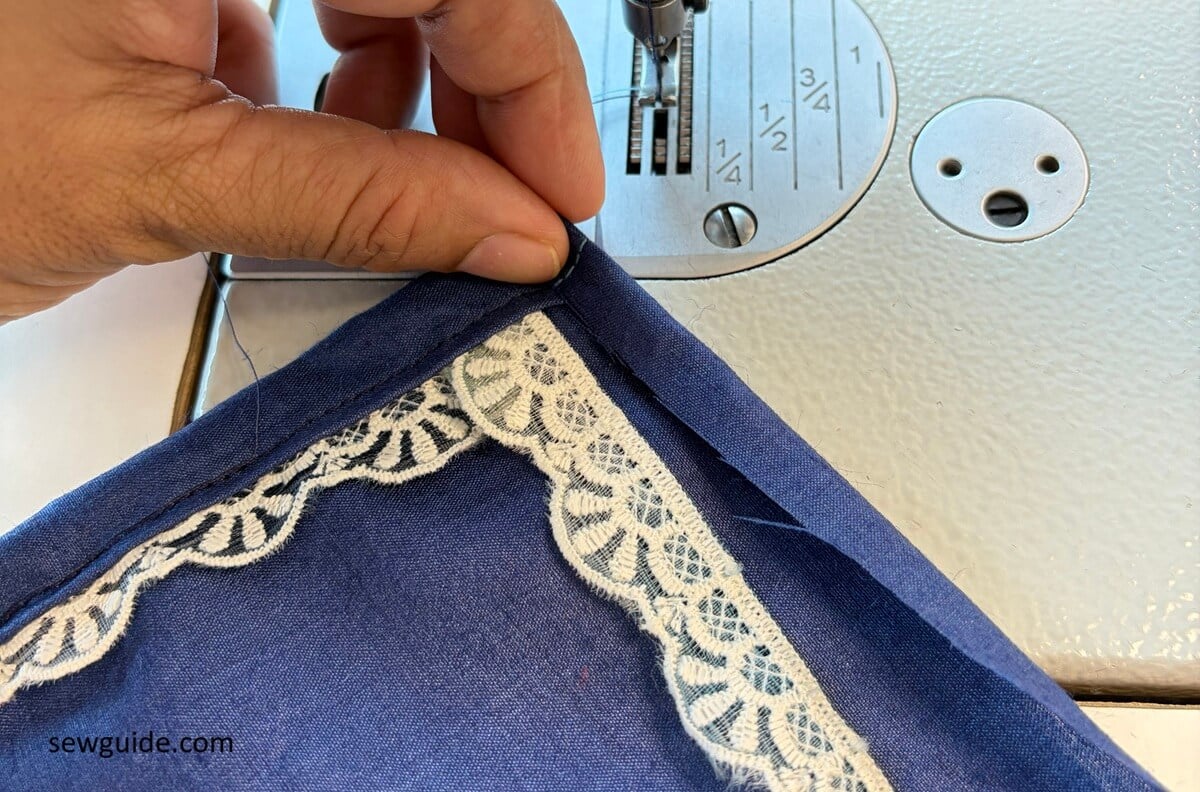
When all corners are stitches similarly, fold the edge to the back, exposing the lace trim to the edge. It is better to see it in action on the video.
Sewing piping on corners
The piping is sewn in a similar way as the trim. You can fold the piping or cut it (as I did here)
How to sew hem with a Mitered corner
A Mitered corner is the best finish for a neat professional hem. Checkout this video to see how it done properly on a corner.
Sewing a corner with a band
Here the challenge is to get the seam intersections correct.