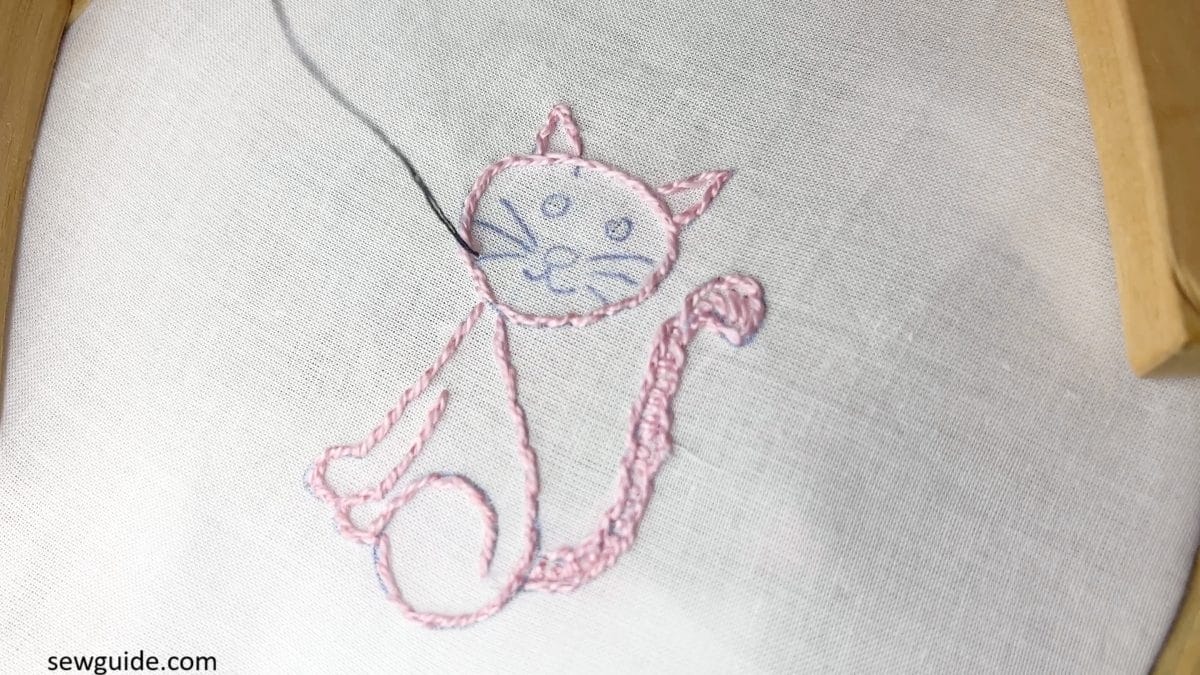
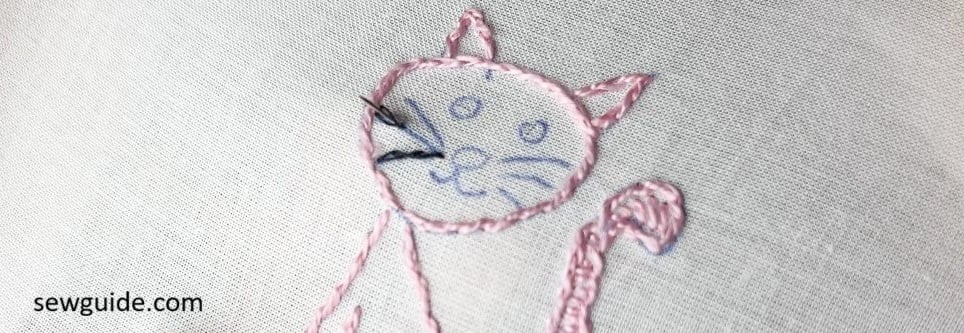
When I started doing embroidery I learned about a lot of straight stitches used to make outlines, but never one as straight as the split stitch. It is a wonderful outline stitch. You literally split the thread as you stitch – can’t go straighter than that. From a distance it is a perfect outline stitch with not a break, but on closer look, it looks like a thin chain stitch.
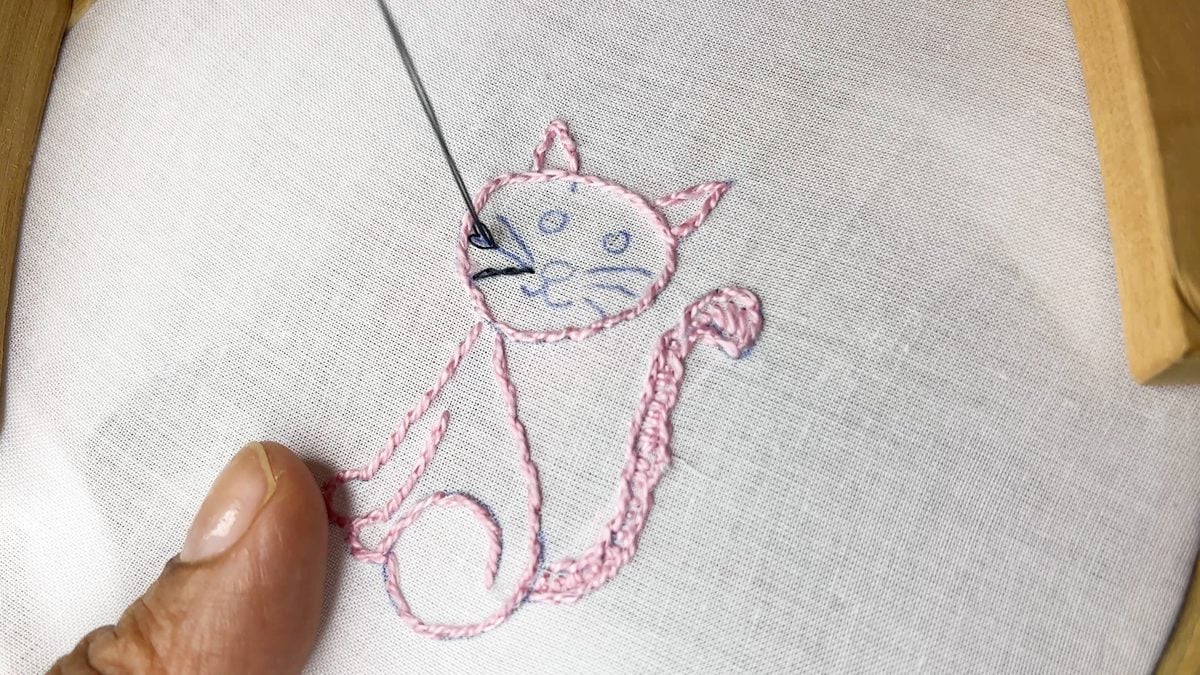
In split stich the needle pierces and splits the thread with each forward stitch.
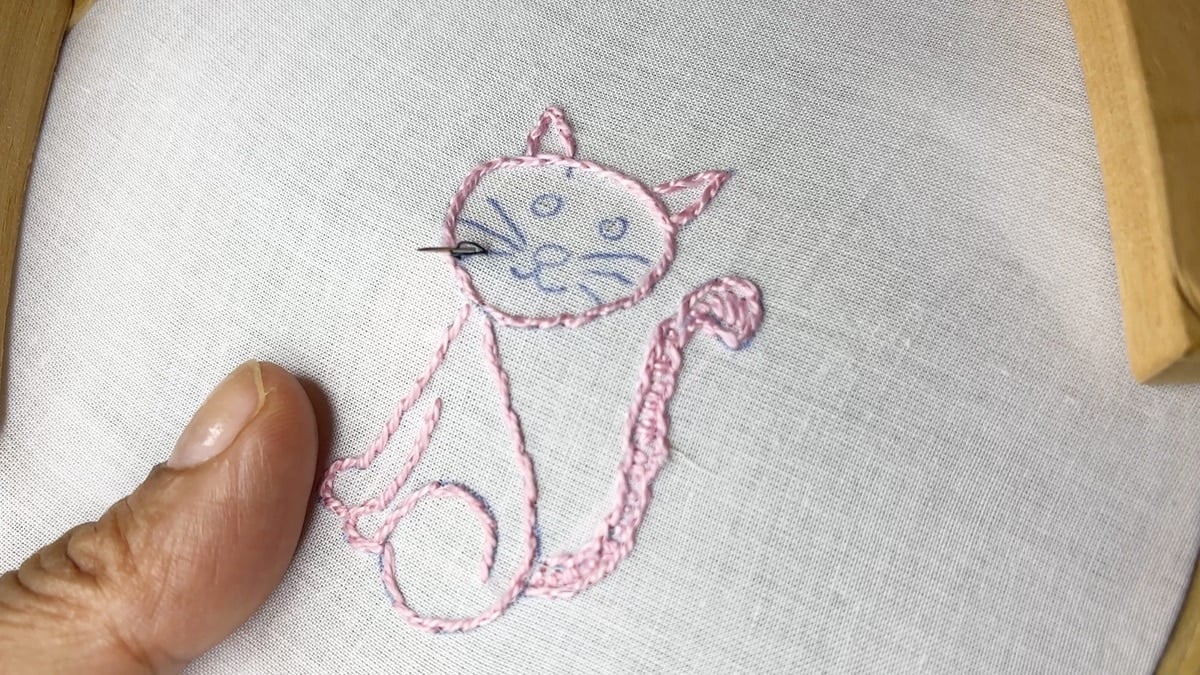
I love a back stitch but sometimes I like this stitch more than the back stitch because it can look like a continous line. Back stitch is at its best broken, this one is not.
Our stitch splits through the thread and locks it, and continues with it. In fact, the split stitch can also be called a split back stitch, because the principle of making the stitch is the same.
How to Do Split Stitch
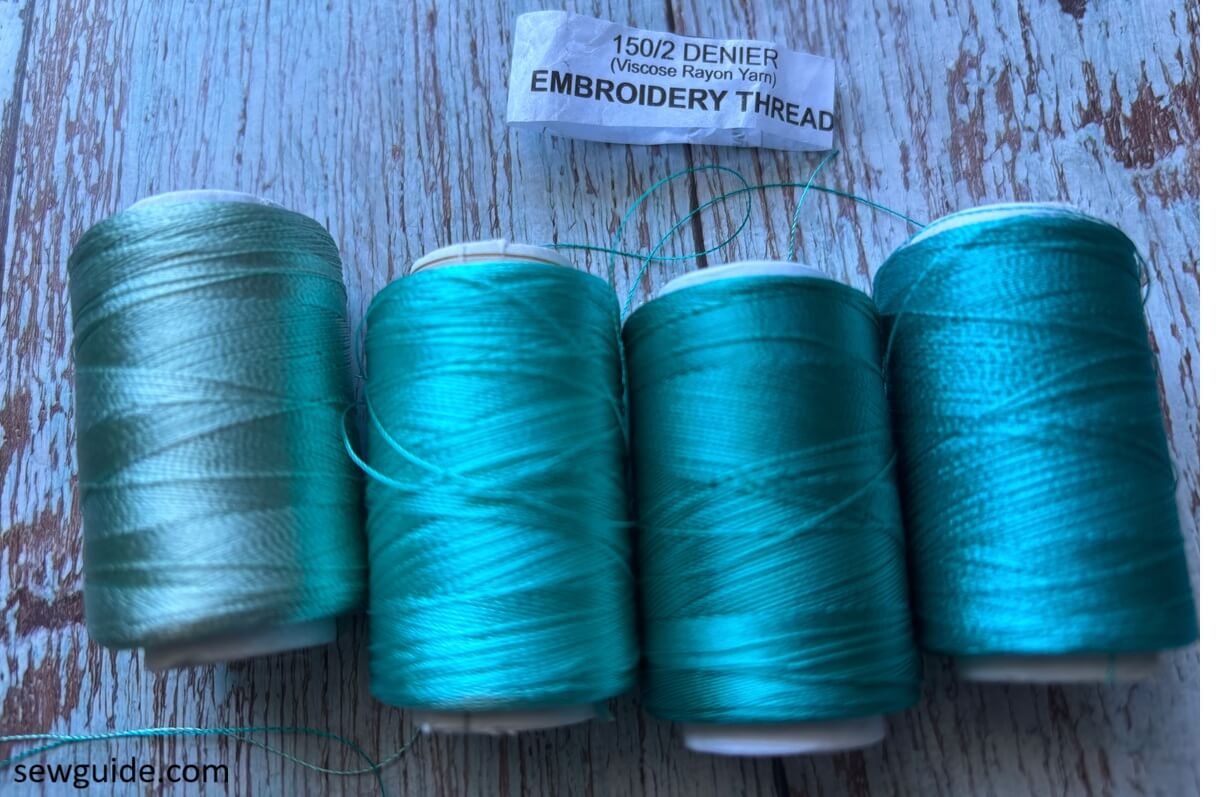
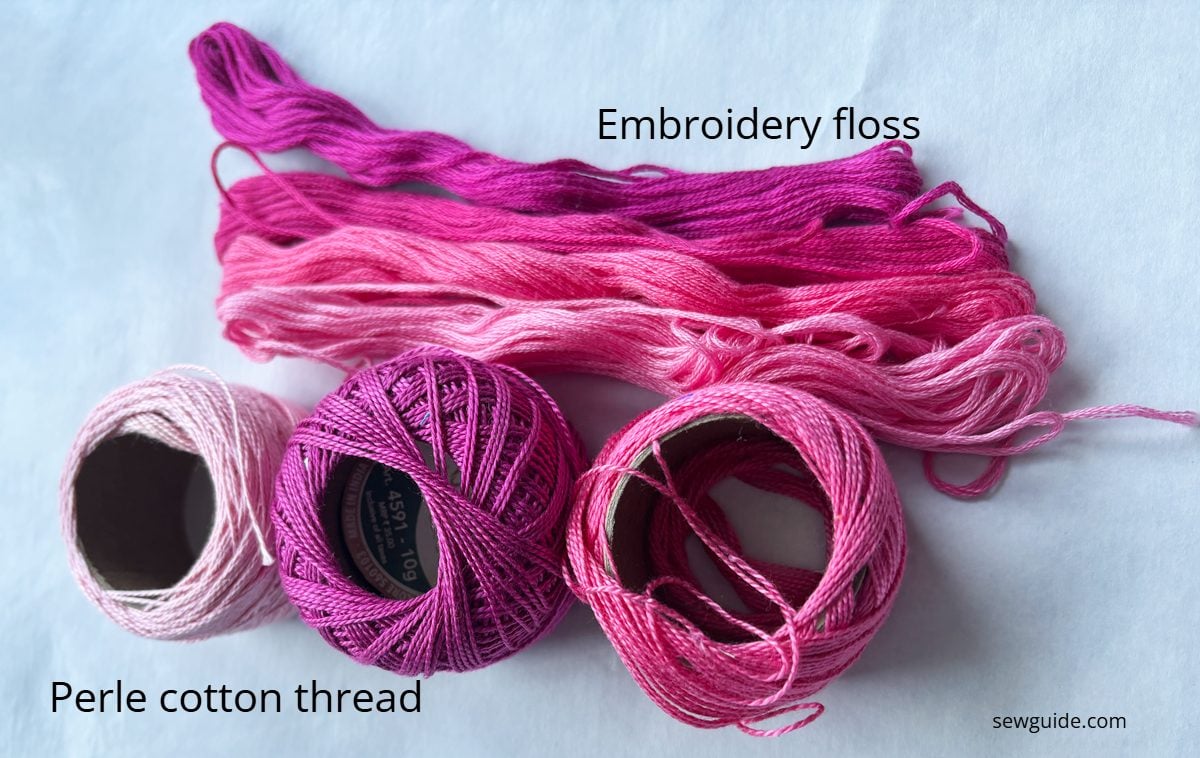
Threads you can use
If you are using the perle cotton thread, just use one single thread on the needle. If you are using embroidery floss you will have to use two threads threaded on the needle, because a single thread of embroidery floss is impossible to be split.
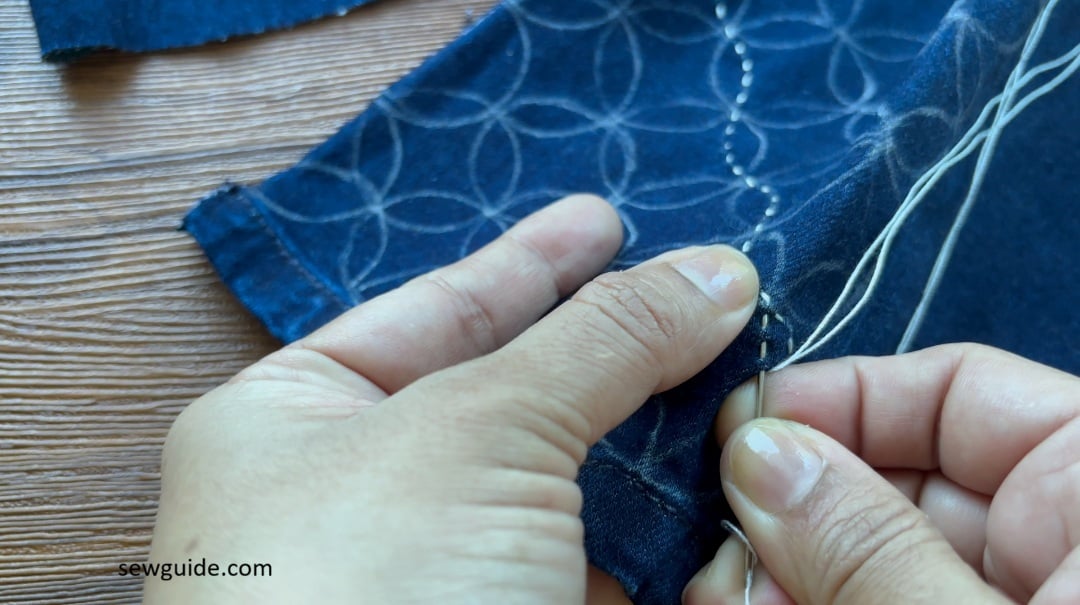
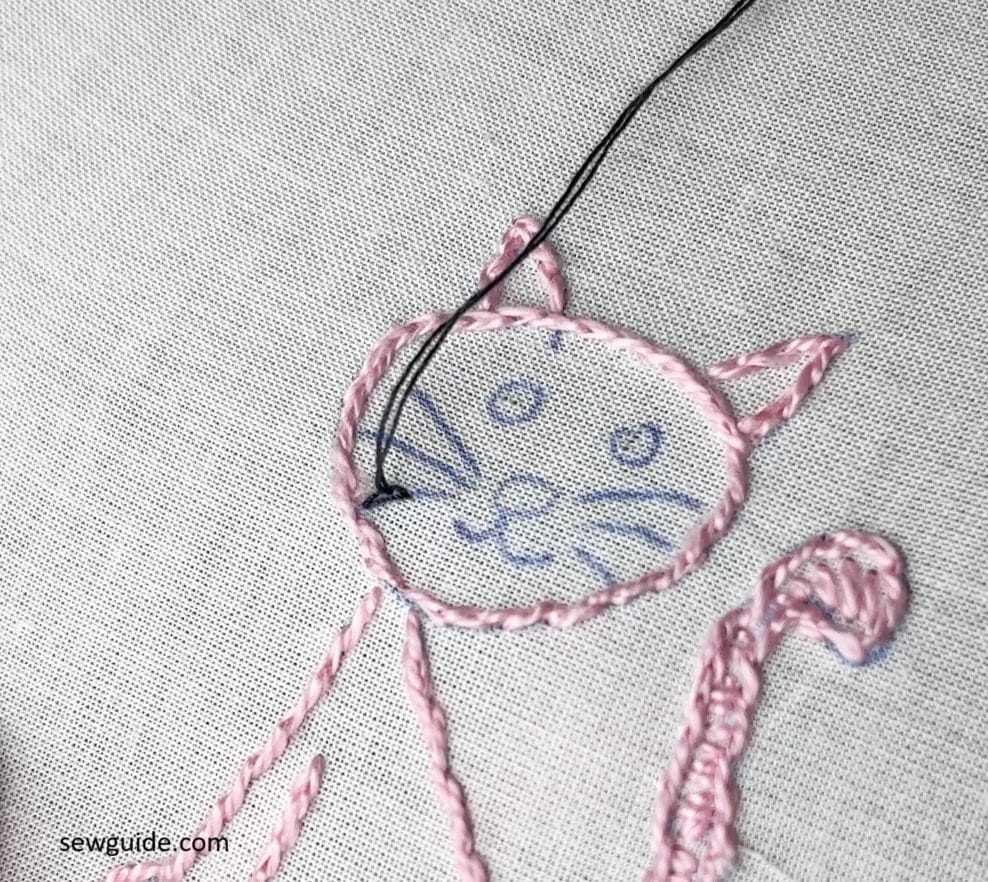
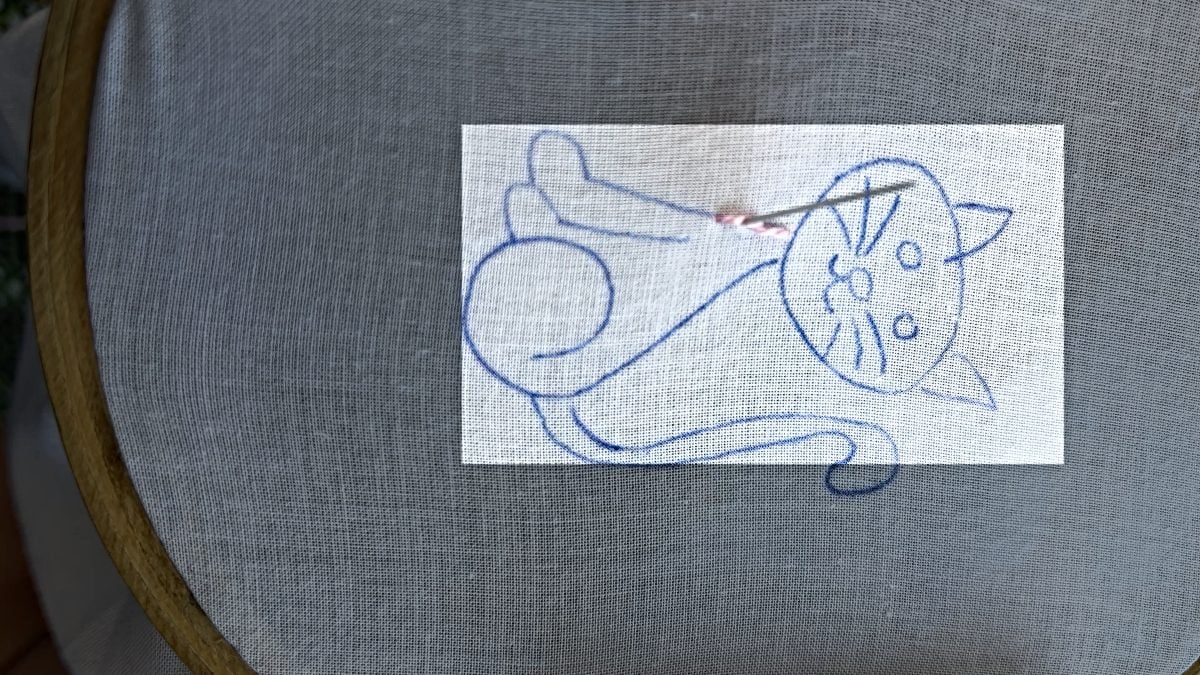
1.Bring your needle up through the fabric at your starting point.
2. Make a short straight stitch.
Pull it down
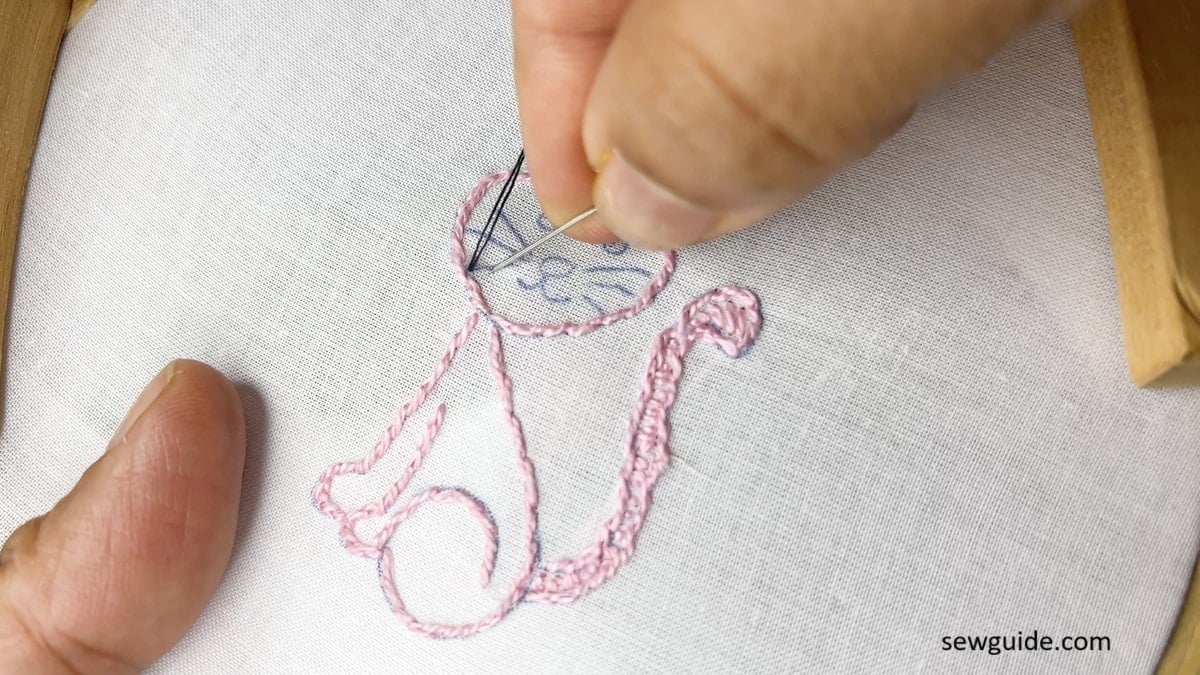
3. Bring the needle back up through the center of the stitch you just made, splitting the thread.
Bring it up.
4. Insert the needle down a short distance ahead, just like the first stitch.

Repeat: always bring the needle up through the middle of the last stitch.
If you are using a perle cotton thread (which is always twisted), you can try to get your needle through that one thread, making your outline stitch very slim.
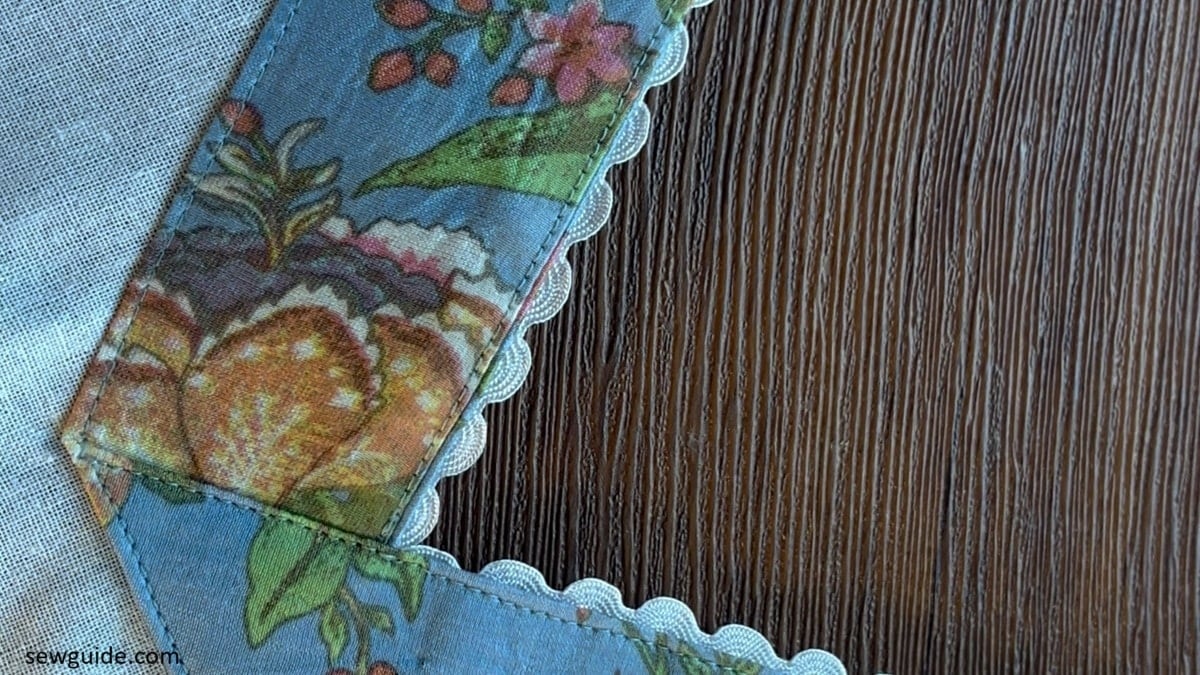
Design Ideas for the Split Stitch
This stitch is mostly used in embroidery. In sewing, you can use this stitch instead of the back stitch to join seams, but it is a weaker stitch (because you literally split the stitch and where does that leave the thread?).
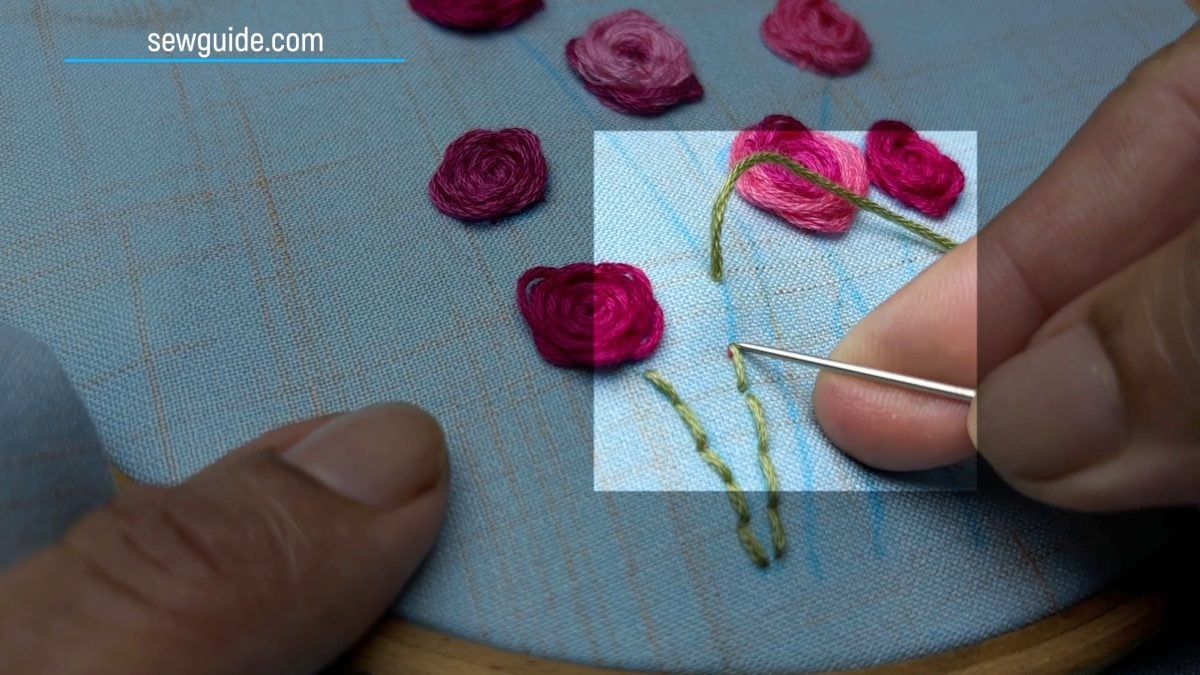
In embroidery you can use this primarily to outline embroidery designs. But it can also be used to fill a design in a symmetrical pattern.
Related posts: Outline stitching ; List of other stitches in hand embroidery