When I was making bag handles earlier for my bags, I would consistently make fabric tubes and just turn them right side out by the dozen and edge stitch them to make fabric straps. Then I realised that there is more than one way of making those straps. And that the fabric straps I make so are not limited to bag handles. Anything but! They are used as ties first and foremost – waist ties, shoulder ties, side ties, back ties, halter straps, neckline ties, sleeve ties, and decorative straps on dresses and tops, and also in home decor as cushion ties, curtain tiebacks, table-runner ties, storage-basket handles, fabric-bin handles, hanging loops. I can go on… You can surely think of many more ways. And all of them can be made in different ways. Here are my favourites.
Lace trimmed fabric strap
Lace can be added to the edges – this is the most common way of decorating a strap. You make this strap by combining a simple fabric base with lace trim for a decorative finish.
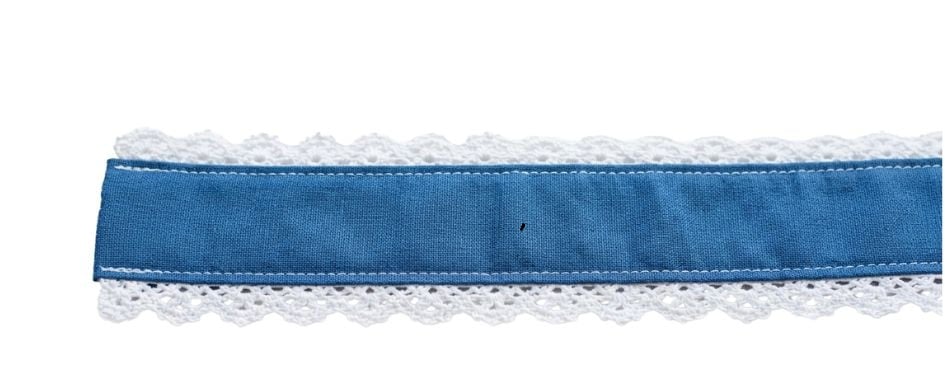
But this is the most basic decoration. You can do so much more with your fabric strap.
But what I like is to make a trim with the lace as a part of the strap.
Like this – narrow lace trims become a part of the handle and it looks beautiful.
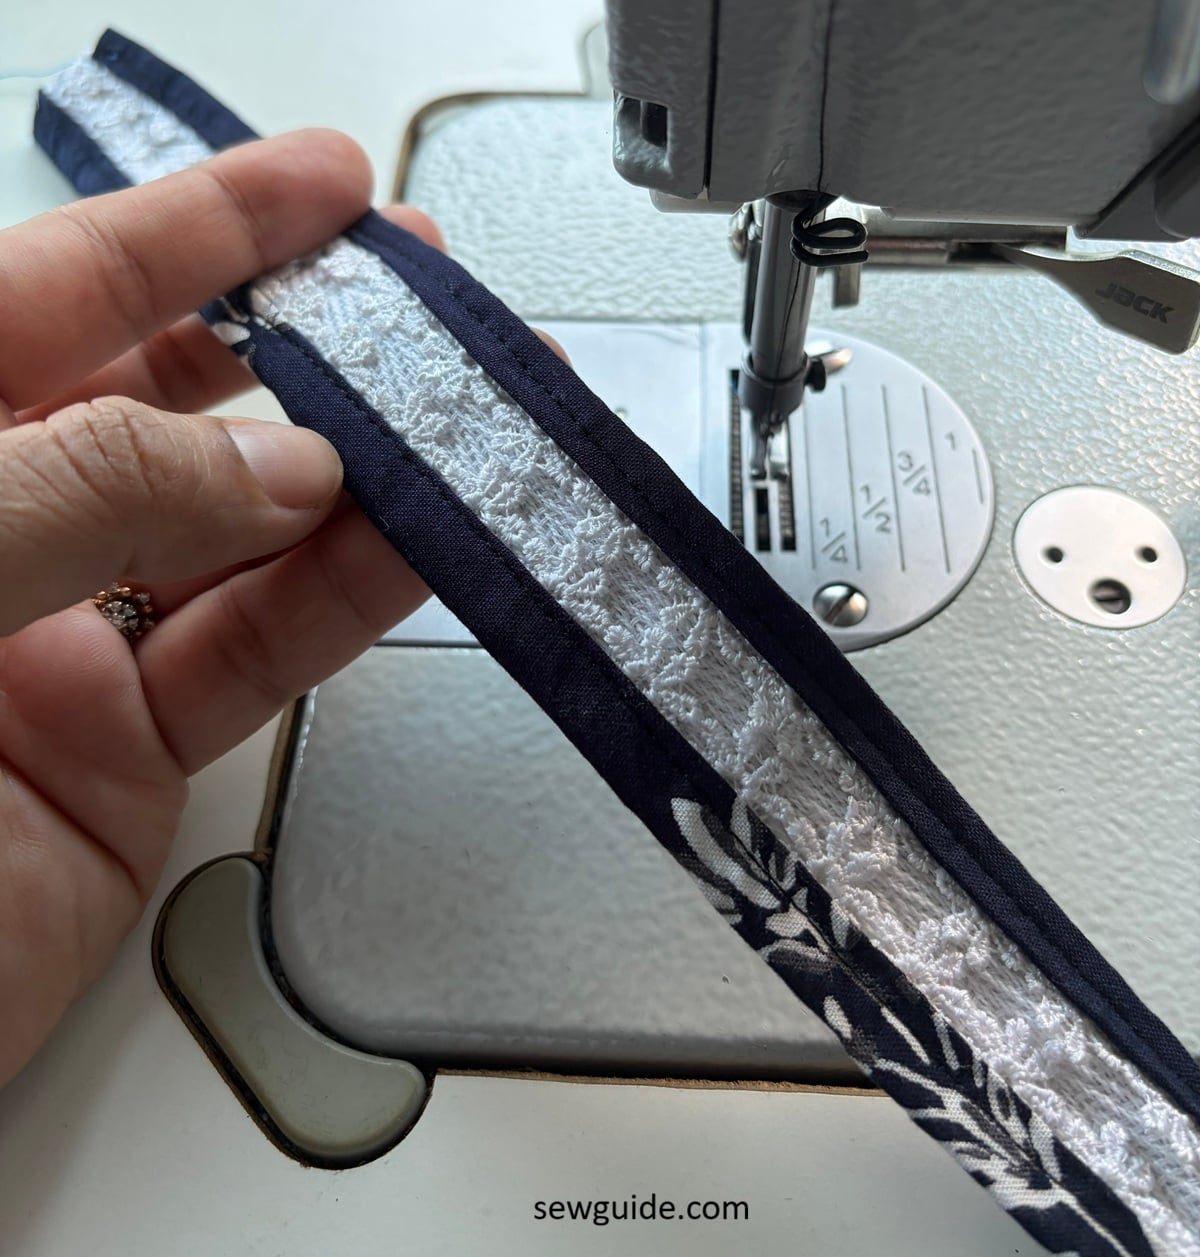
Here is how to make it.
To make this fabric strap you need to cut out fabric piece which is the width of the strap plus 1 inch extra. You need this long strip to be wide enough to wrap neatly around the twill tape. You also need two pieces of lace slightly longer than the finished strap.
You can use twill tape inside the strap for added strength or use another fabric piece.
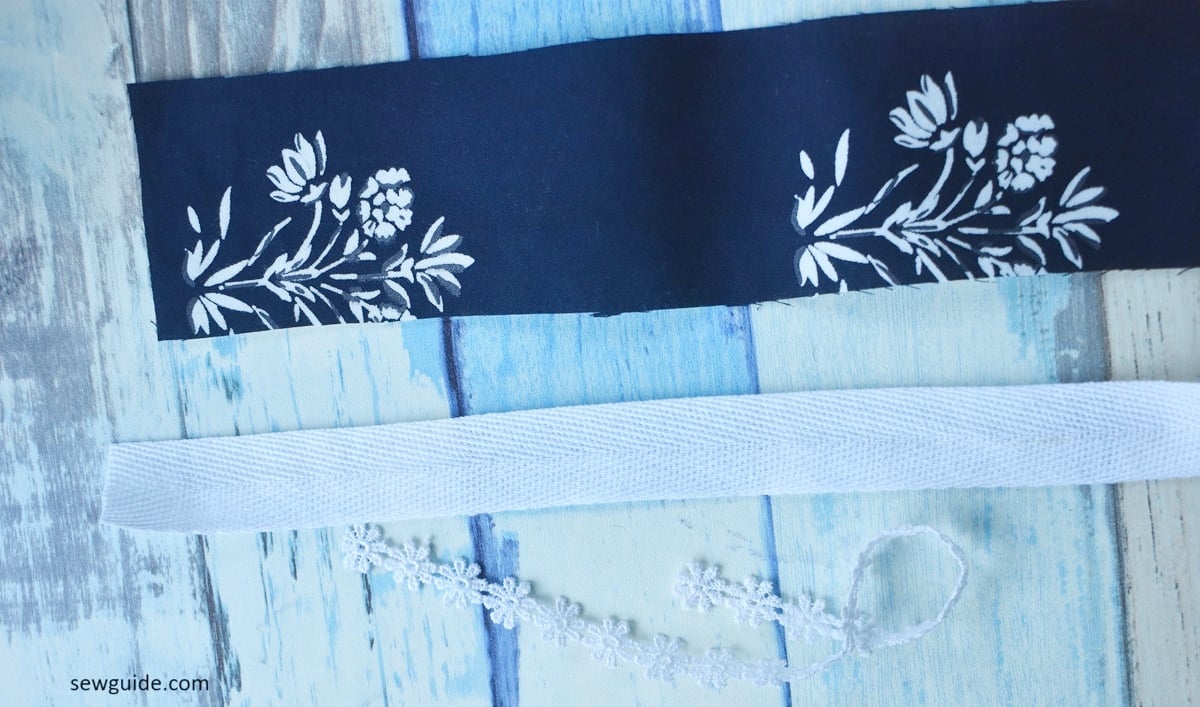
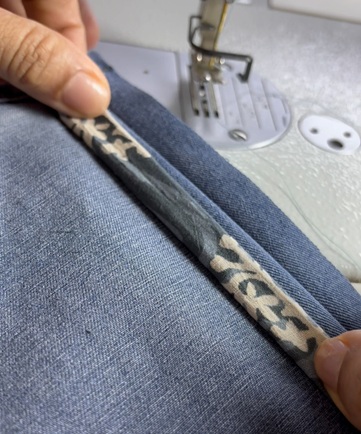
Fold and stitch the fabric over the twill tape. Place one piece of lace along each folded edge of the fabric.
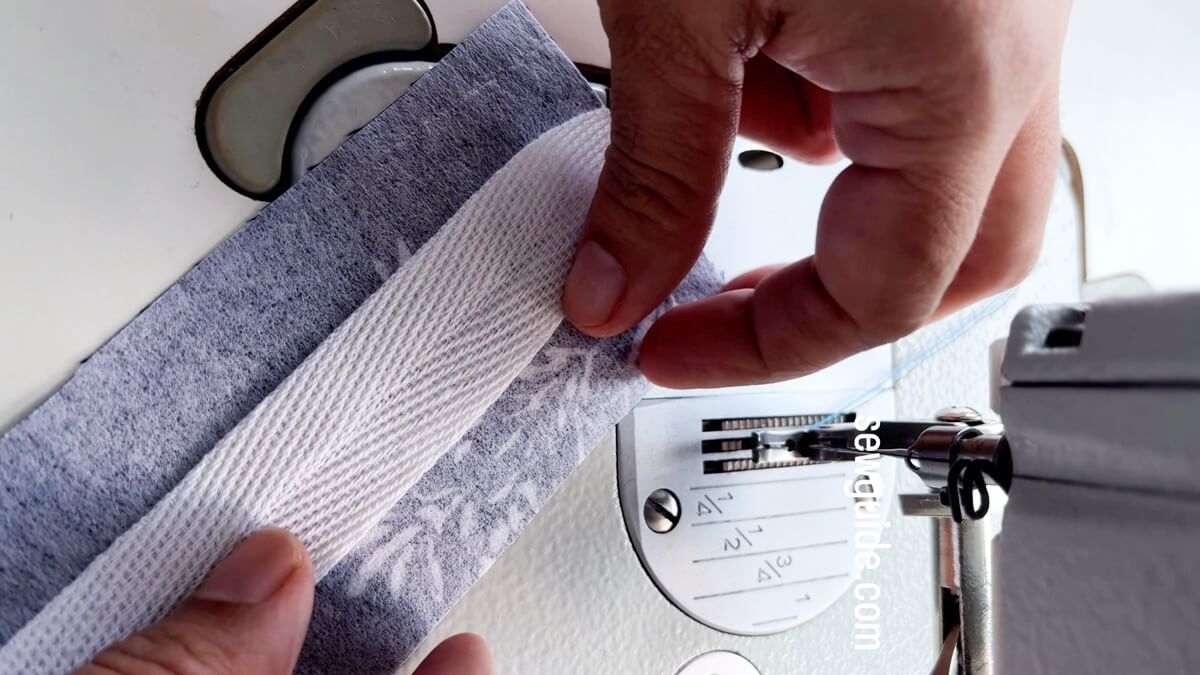
You need to keep the trim inside the fold as you sew.
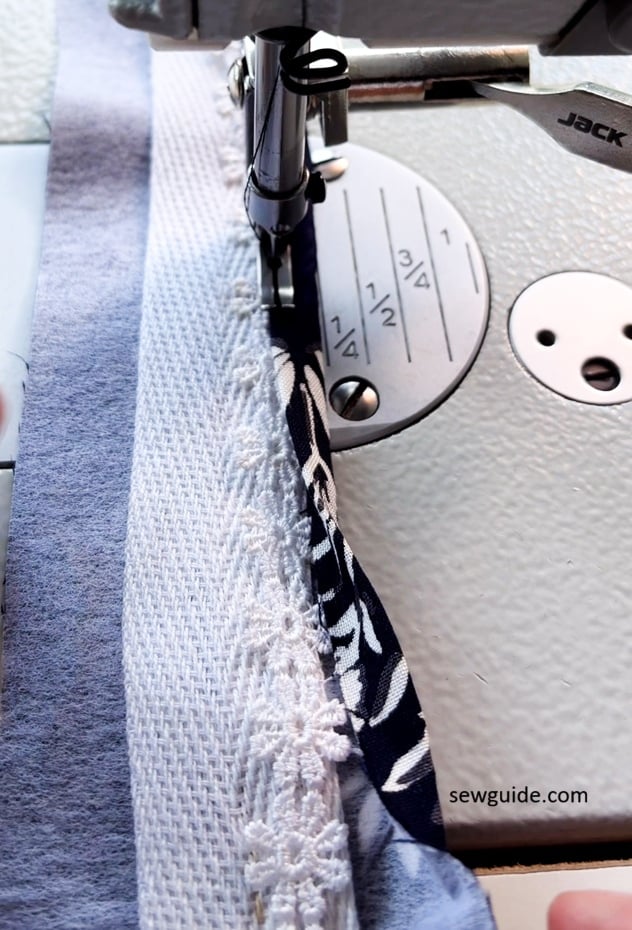
Sew along both long edges of the strap, catching the lace, fabric and twill tape. Keep on sewing over the fold making sure that the trim is visible. You have to sew the other edge also the same way
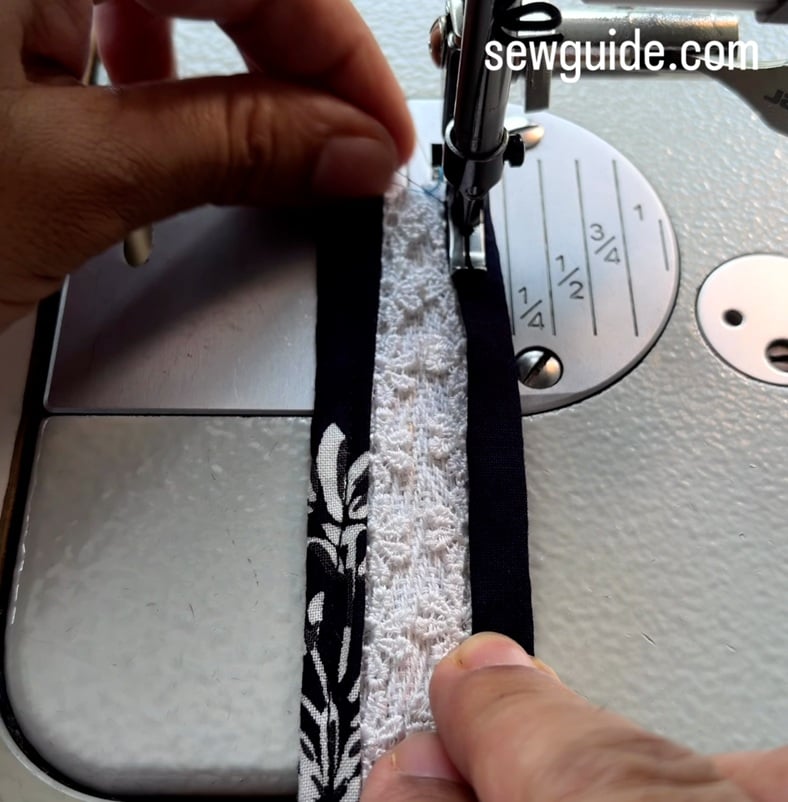
It is a lovely way to turn leftover fabric and narrow lace into a custom strap for bags, pouches, garments and accessories.
Contrast straps – faux piping look
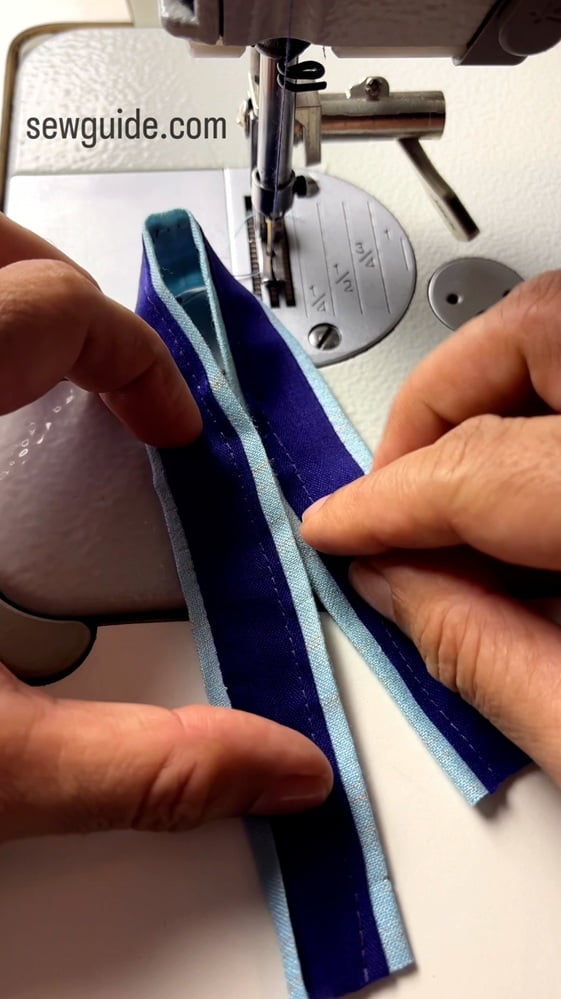
Watch this video to see how this strap is made:
This is another decorative strap made with a contrasting fabric. You get a fabric strap with a piping look
Cut your contrast fabric a little wider than the top fabric
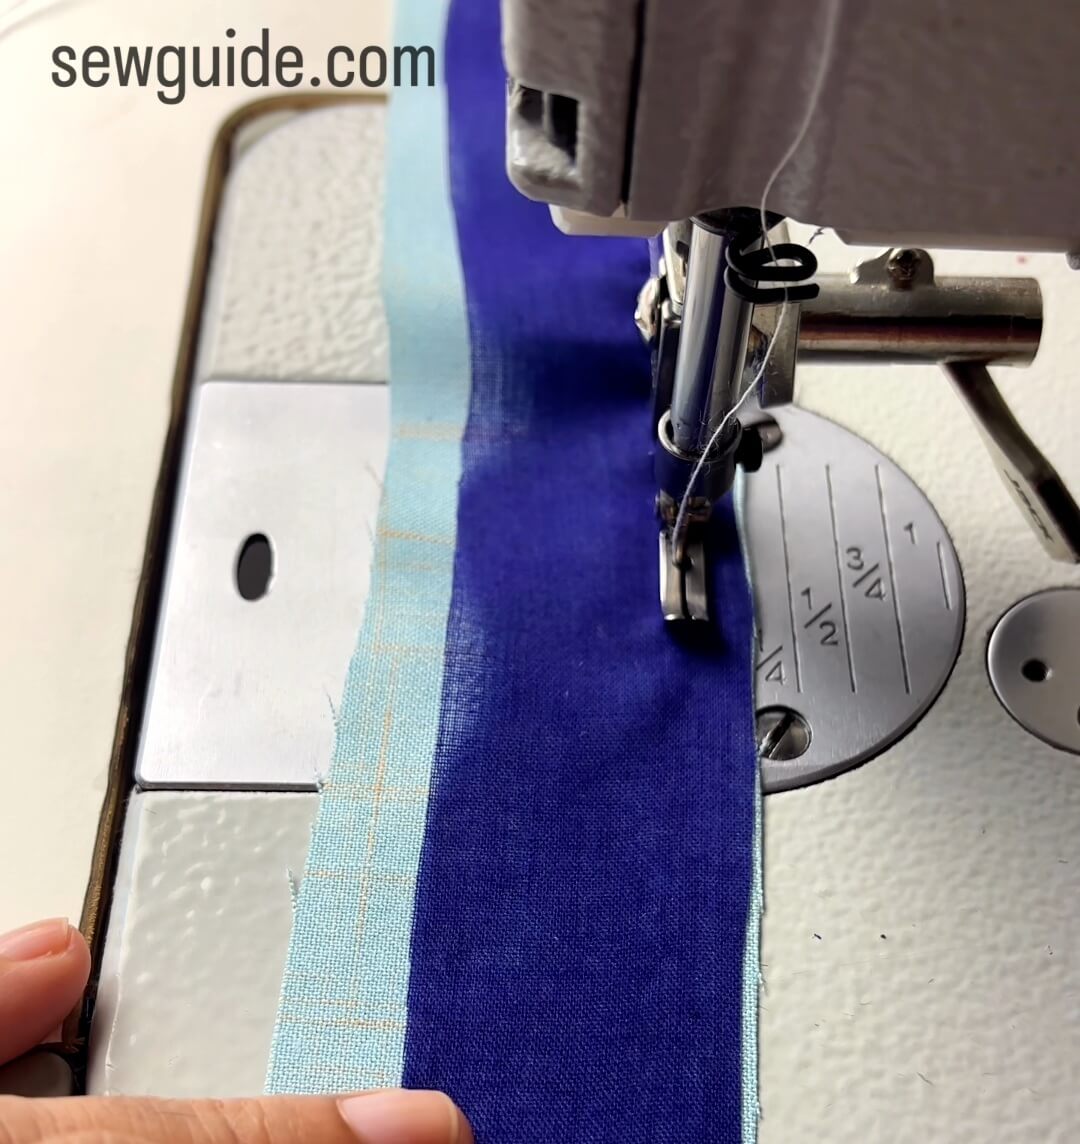
Sew them together along the long edge
Pull the fabric strip on the back rightside out and fold the fabric over the top fabric.
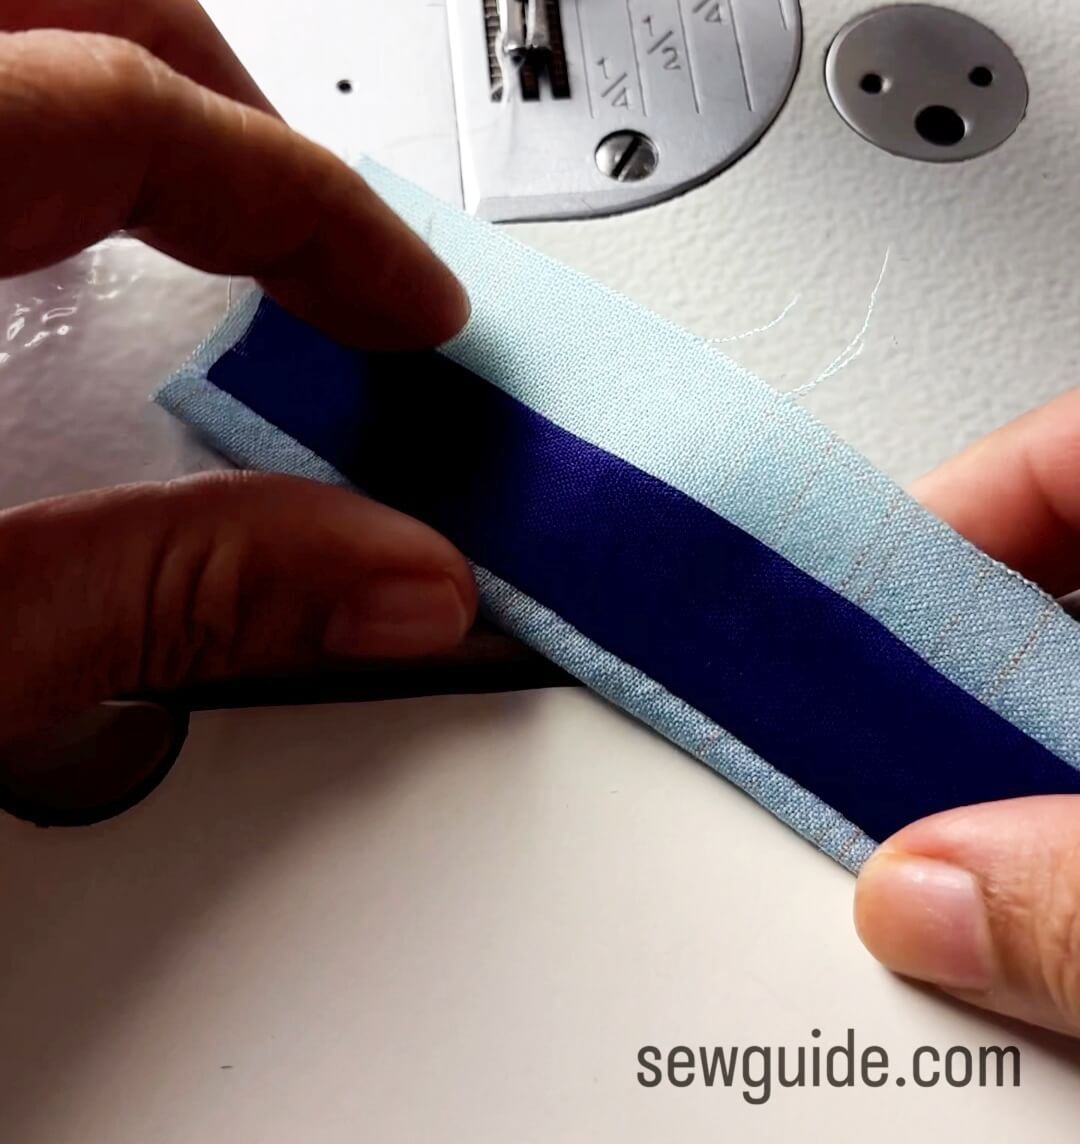
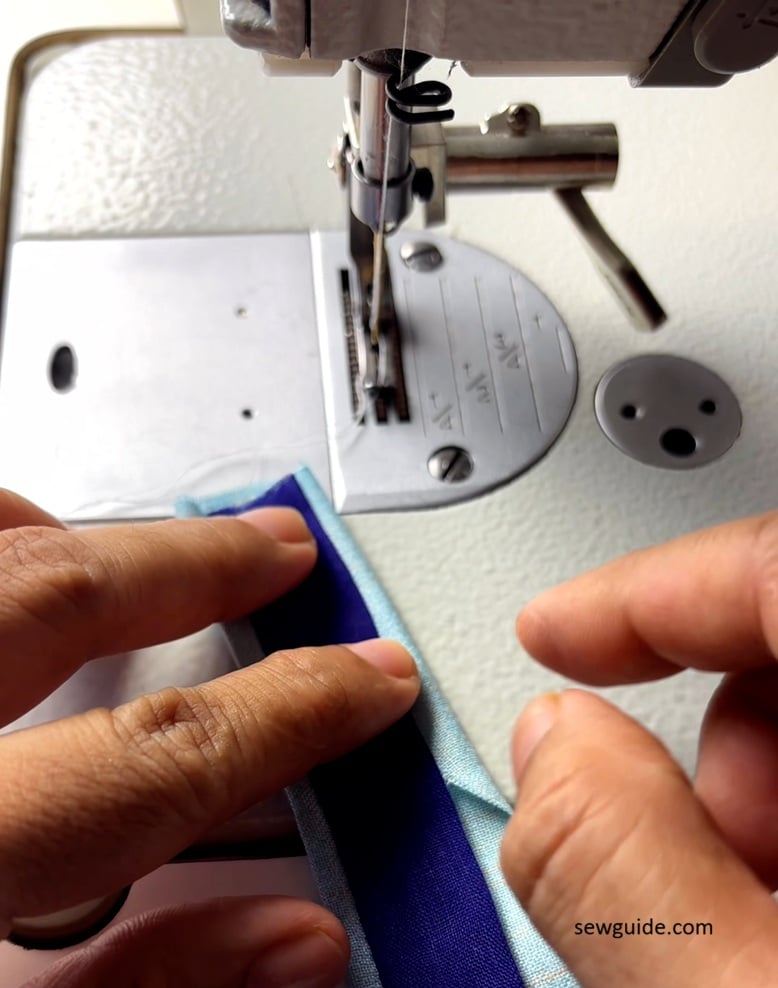
Fold the edge of the top fabric and then push the edge of contrast fabric under the fabric and stitch in place.
The fabric strap you get is one with a pretty one that looks as if you put piping in between the edge, with less work.
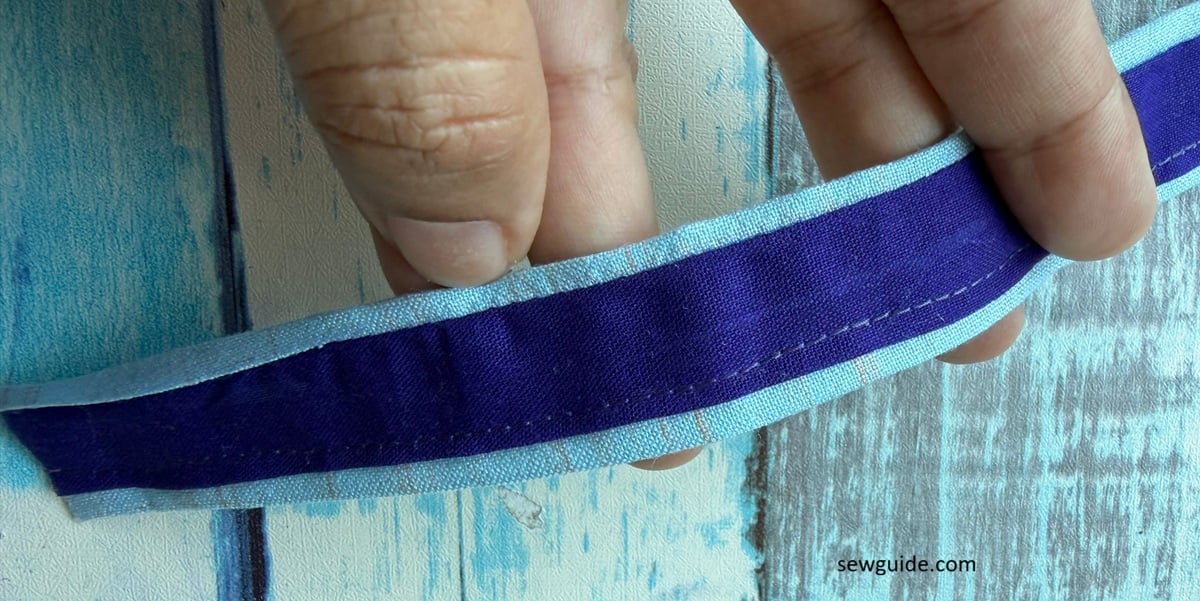
Though I said contrast fabric, use two different shades of the same colour for a subtle effect – I think that will look better .
Watch the video of how this strap is folded
Denim strap with dual tones – 2 ways
For making this strap – you need only one piece of denim. But the caveat is that you need it to have a different shade on the back. Not all denim fabrics are like this, so you will have to look at the back and choose the ones with lighter shade inside to get this effect. When the inside is a shade (or more) lighter, the strap looks even more decorative.
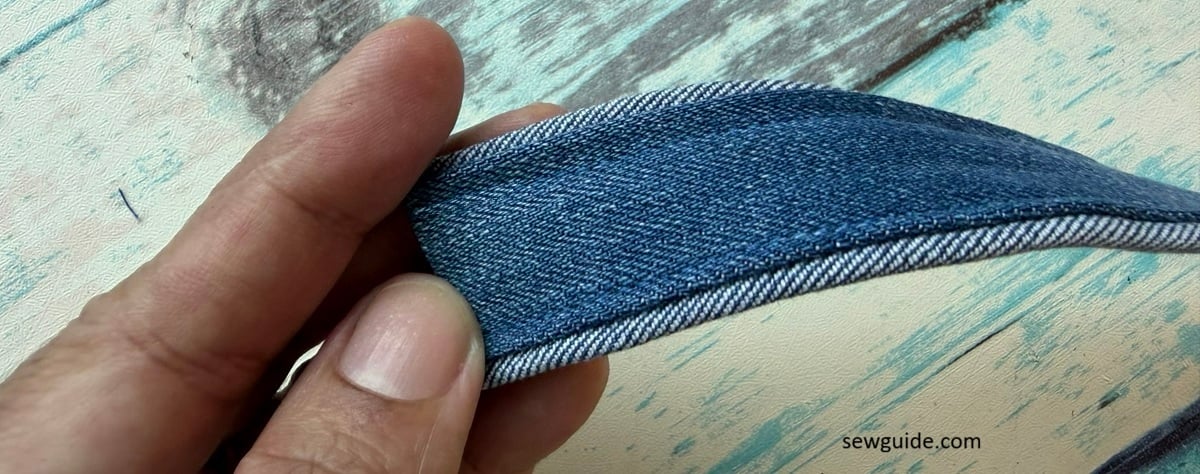
Making this is a matter of cutting a fabric around 4 inches wide.
Checkout this video to see how this strap is made:
Fold the fabric by the middle and stitch 1 inch from the fold in a straight line along the length.
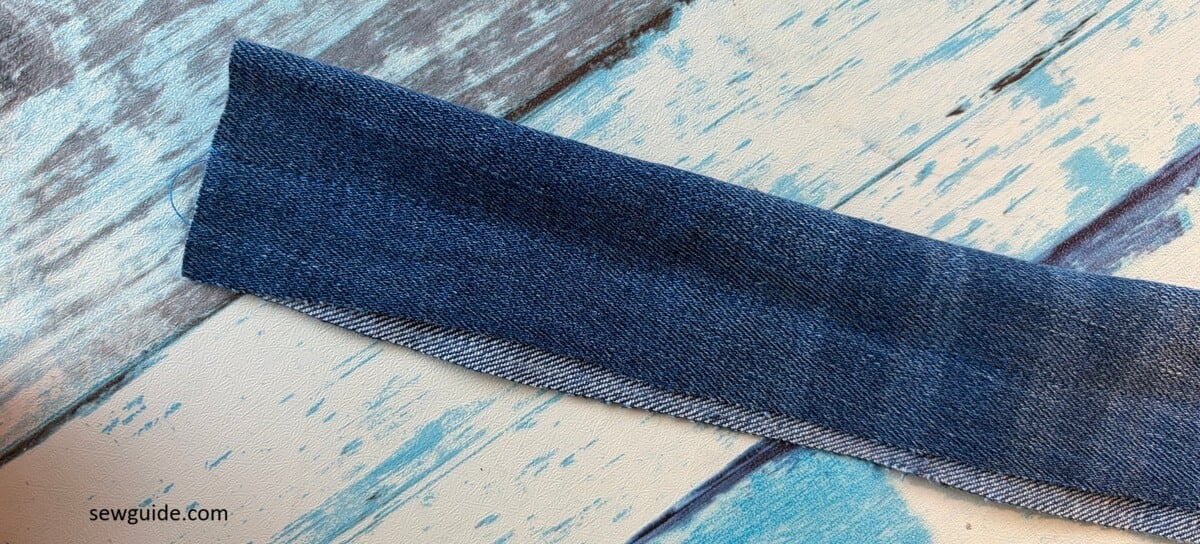
Press the folded part flat. Now brind the edges over and tuck under the fold
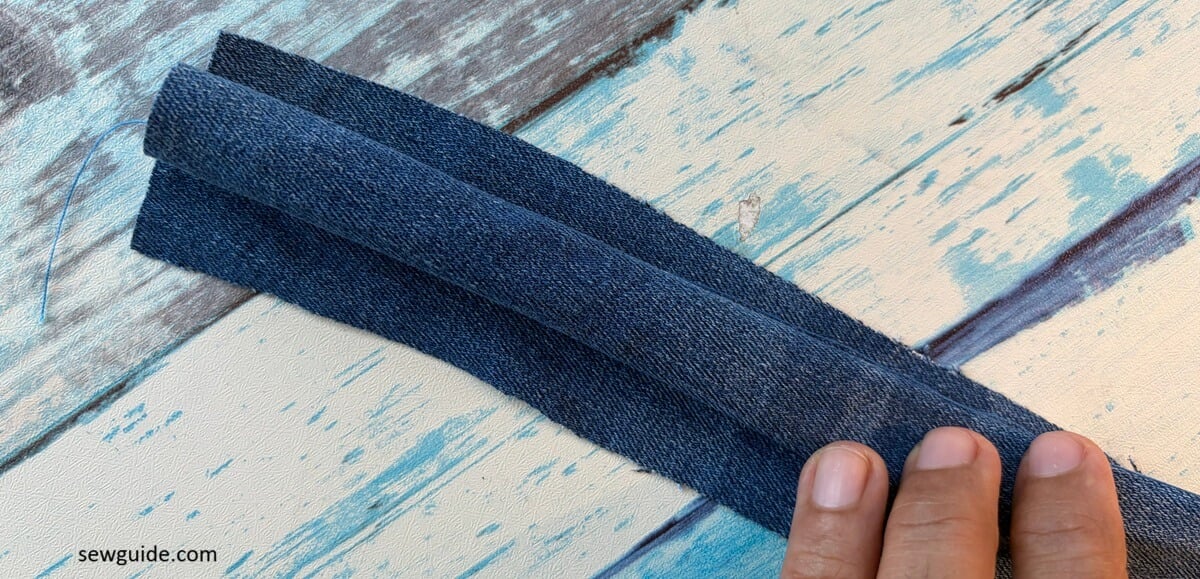
When you tuck it, the lighter shaded back will form a piping (like-effect) on the edges.
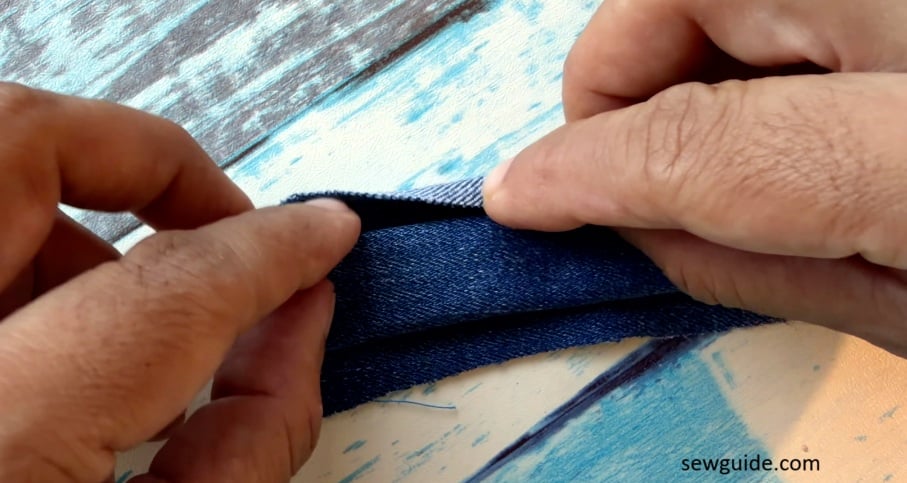
You can do the reverse and you get a different effect altogether.
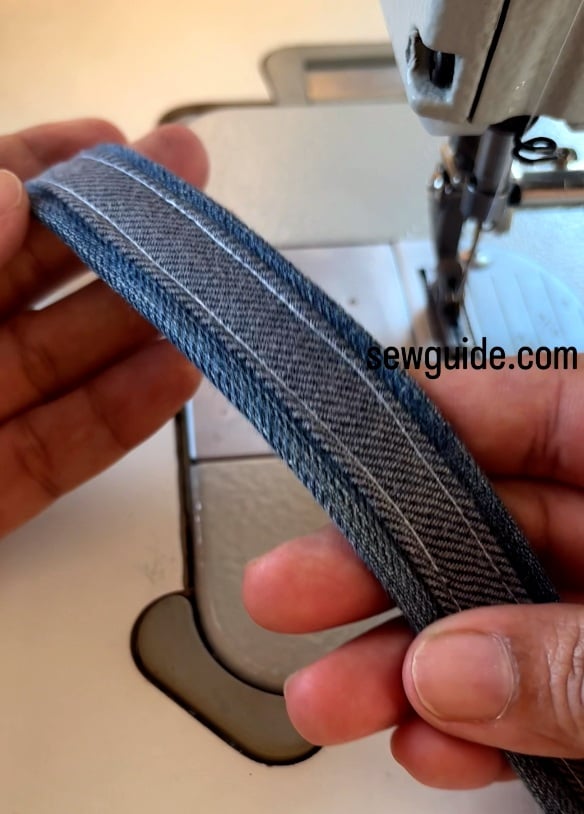
My machine was feeling not so good, so the stitches look wonky and ugly. Try to maintain an equal distance from each edge so your strap looks neat and professional. If the denim is very thick some machines will anyway throw tantrums.
Fabric – Nylon webbing
I think this is the easiest and the strongest. You have nylon webbing backing your strap. And the easiest to make.
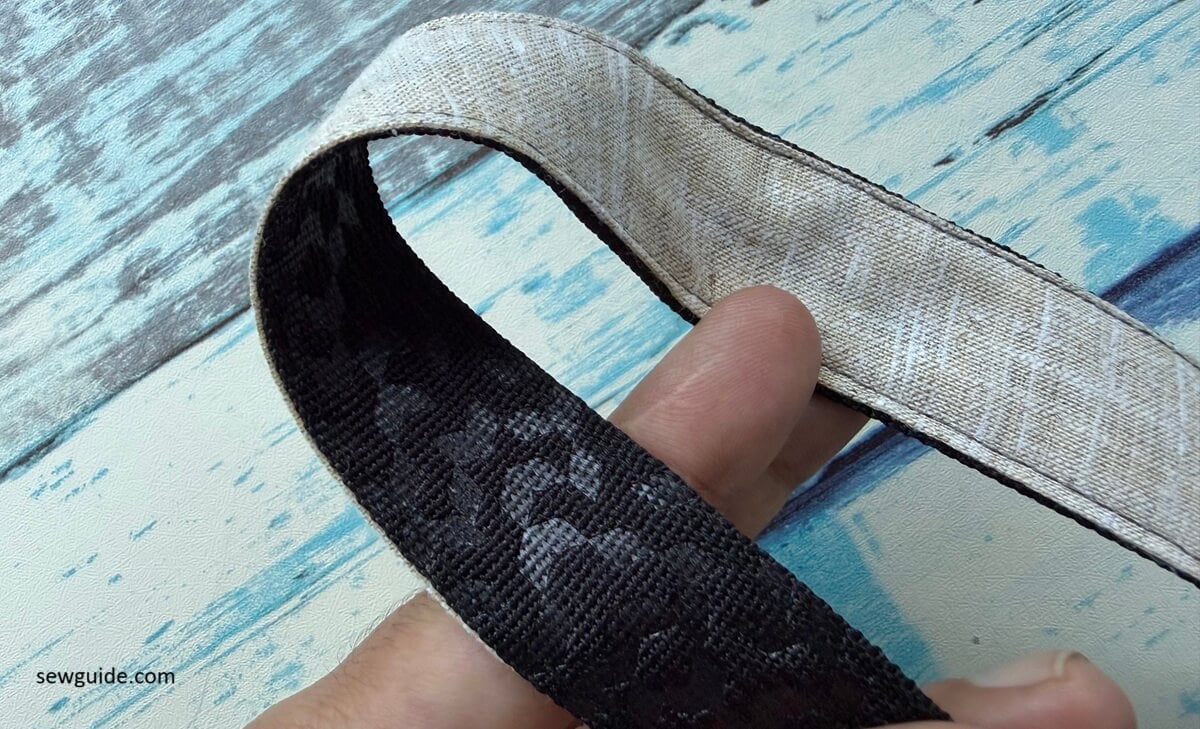
Just fold pretty fabric under your nylon webbing
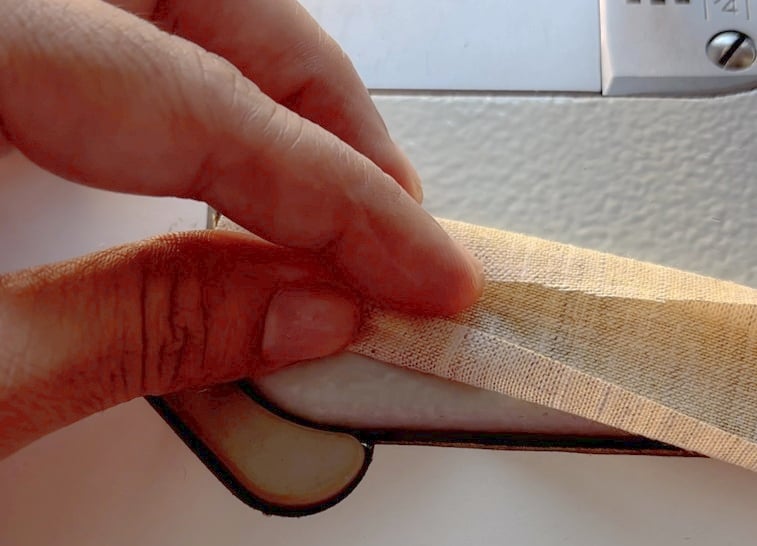
Keep the nylon webbing positioned just under your fabric
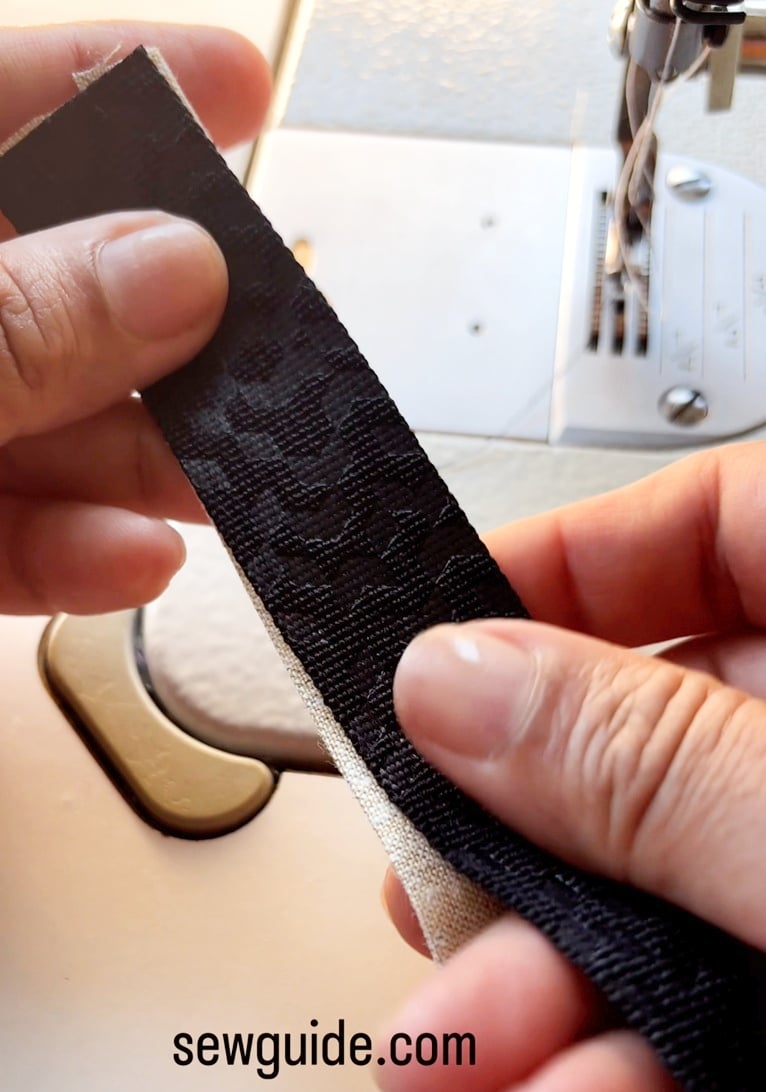
and stitch in place.
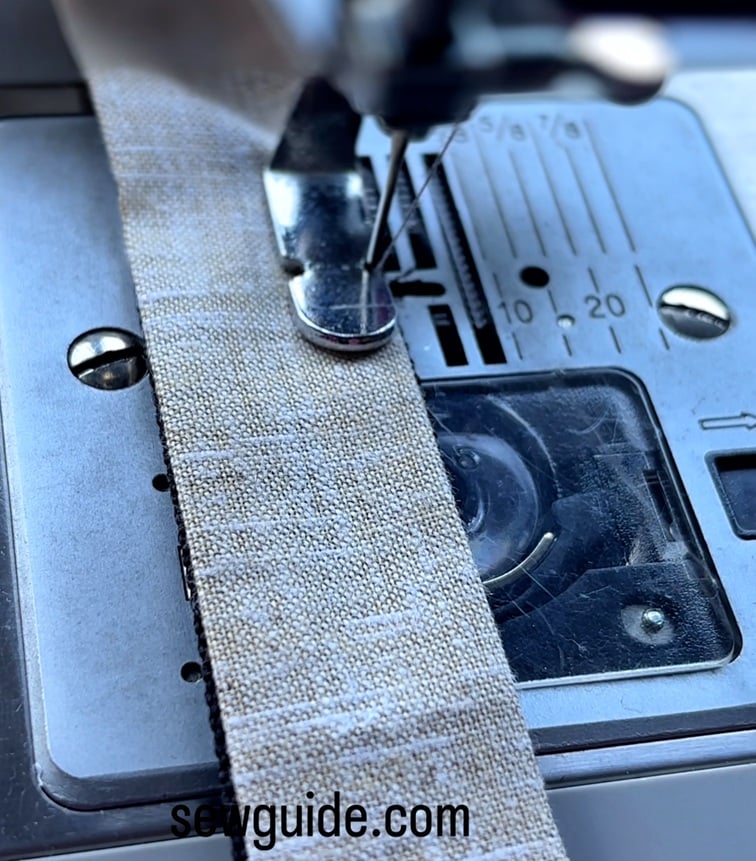
Now on to finishing the edge of your fabric strap
Fabric stap end finishing
This is how I would finish the edge of the fabric strap, so that it looks good on its own, without any of the gimmicks I showed earlier.
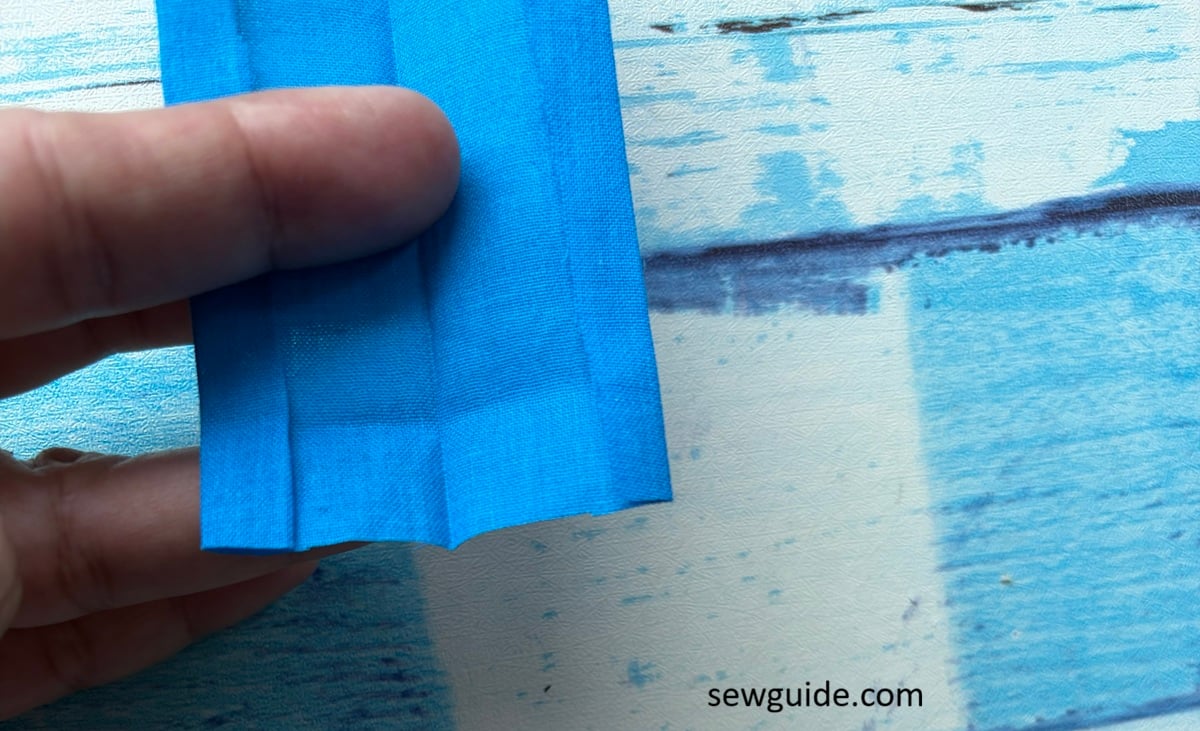
Fold the short edge from one side.
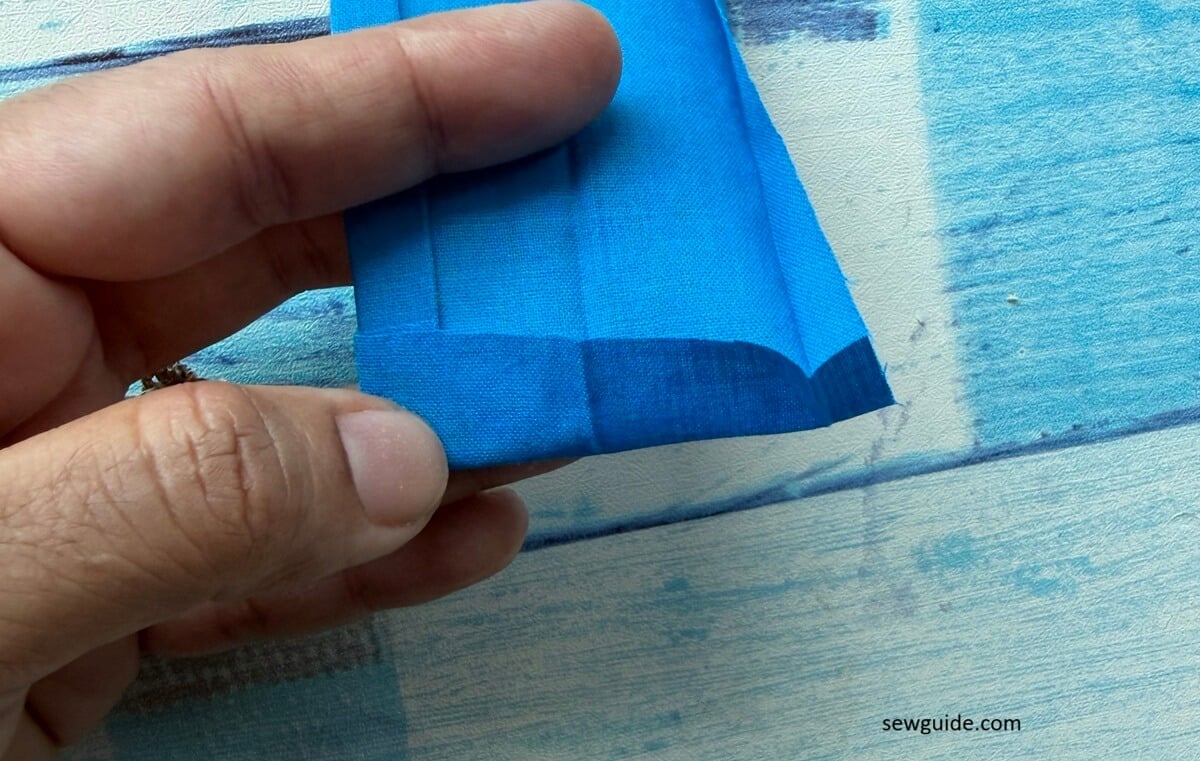
Push the other edge of the fabric inside the groove of the fabric fold you just made. (I have videos of me doing this manoeuvre on this site)
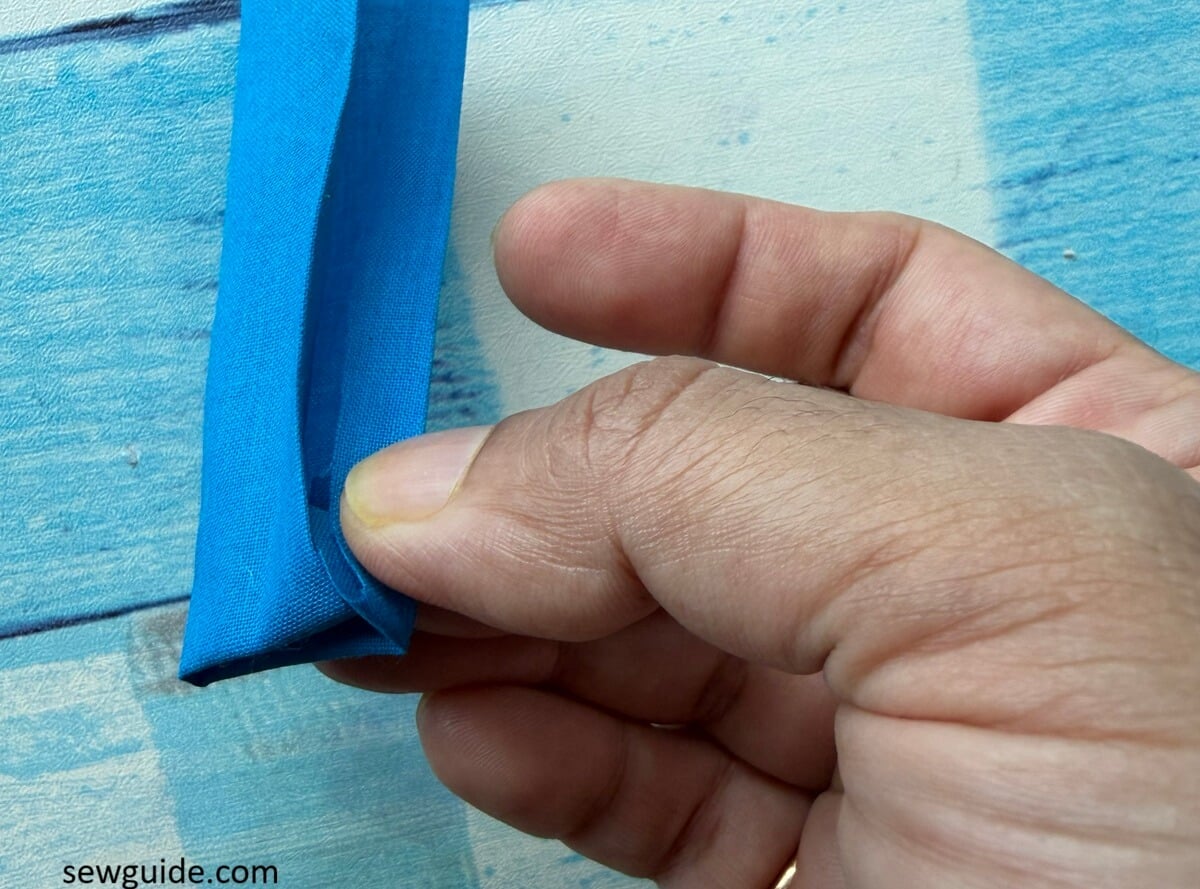
This is how your fabric strap looks. Pretty good on its own, doesn’t it. Now it will look even better after you topstitch it. Neat and all tucked in
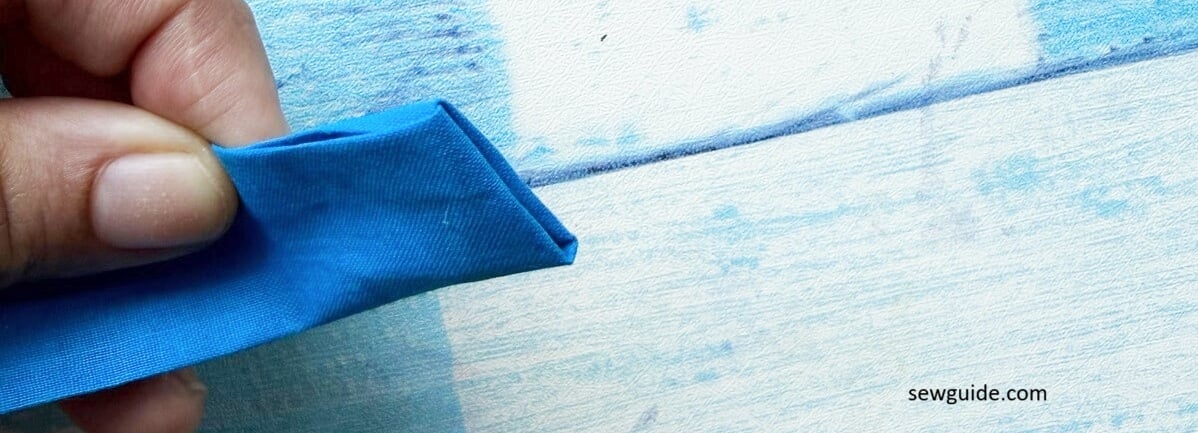
Related post : How to make fabric tubes


🤗I always learn something new here even though I’ve been sewing for years now!
Thanks Sarina
Yes, there are so many ways of sewing. I am learning these things with you 🙂 thanks for the kind words