Darts are used to control excess fabric and shape a garment to the body. Usually they’re added during the making of a garment (at the pattern drafting time), but we do not always have that option. You may have a store-bought top that fits like a shapeless bag, and adding darts can completely change its fit.
In a simple world, you wing the darts and sew it. But life is never that simple!. Darts are unforgiving. They have to be symmetrical and almost invisible. And also you cannot disturb main design lines like the neckline, armhole etc as it will be difficult to make it look seamless.
There are some tricks that seasoned sewists use to make your garment look shapely while making you believe that there are no darts whatsoever. Though I am not in that category, I know the theory and here it is.
Which darts can be added to an already sewn Top
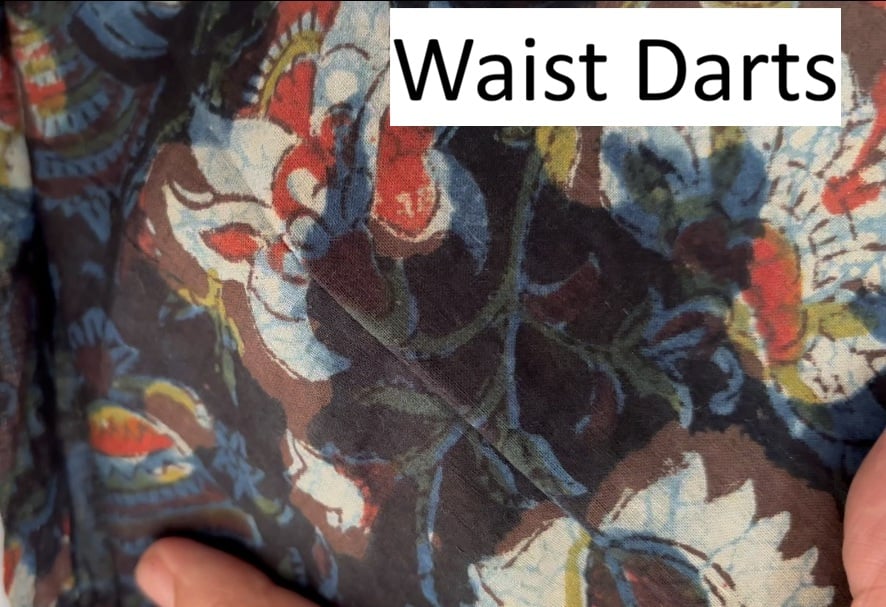
On ready made or already sewn tops there are 2 darts that you can sew to reduce the waist ; the single point waist dart which is best for short tops (Those that end near the waist); these are best for light shaping of your top near the waist.
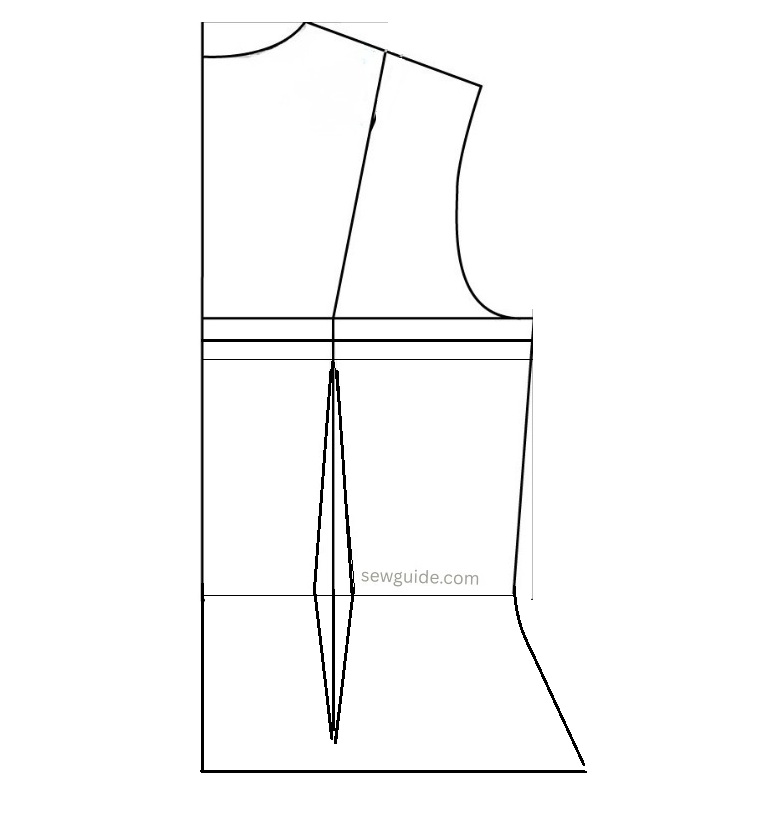
And Double point contour darts (also called fish darts) for longer tops. These are extended or mirrored single point darts extending above and below the waistline.
Measuring and marking the single point waist dart
Dart width : How wide you mark the darts depend on the fitting you need. Usually around 1 or 1.5 inches or so is taken out with one dart – (that is, ½–1 inch on each side of the dart fold). When you make 4 such darts – 2 on the front and 2 on the back – you get to take out around 6 inches maximum. So accordingly calculate how much you will mark each individual dart.
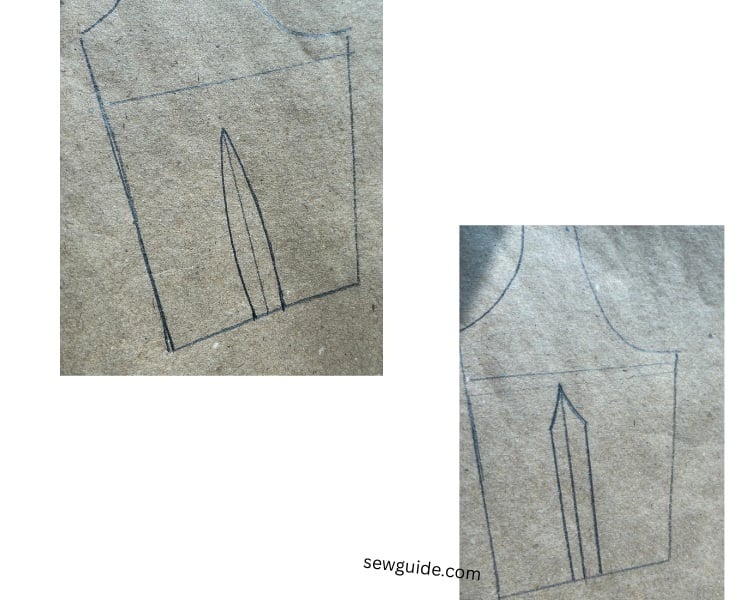
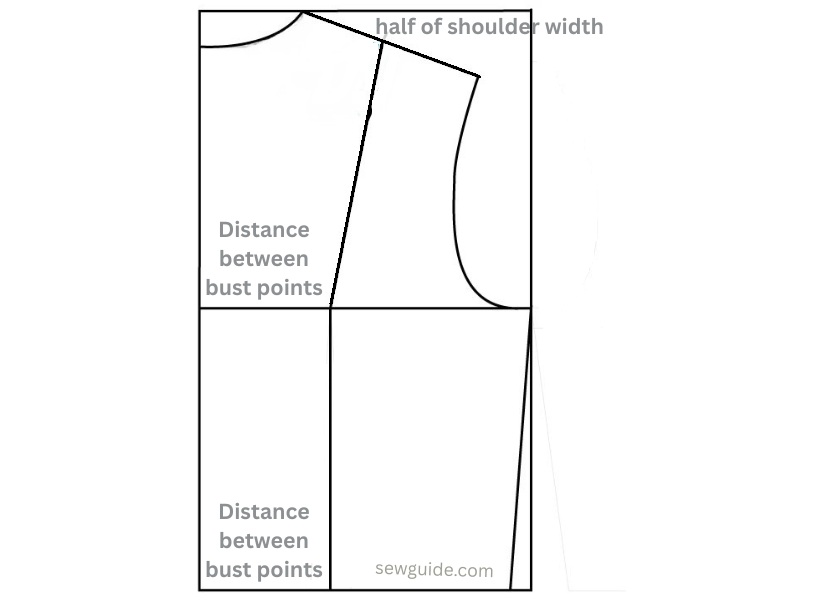
Dart length : On a pattern usally the dart point is marked as follows ; the same principle can be used in your top too. One principle holds : You never marks the dart till the nipple point. Mark one inch short of the nipple point
The process of marking the dart goes like this. Measure the distance between your bust points first. Measure your bust round, waist round and hip round.
Wear your top inside out. Pinch the extra with your hands. You will know how much total you will need to reduce with the dart. Divide this by 4 (or 2 if you are only making darts in the front). Remember – A 1-inch dart means ½ inch on each side of the dart center line.
In my expeireince, it is better to use more darts that are narrower than one very wide dart. Any dart more than 1.5 to 2 inch can be problematic. Wide darts can look bulky and create sharp points – there may be a visible bubble which is not a good look. Multiple smaller darts ( ie 2 on either side) give smoother shaping, especially if your top fabric is thick, stiff or even textured.
How far a dart should stop before the bust is a very logical question – the answer is “atleast 1 inch away from the bust point”. If the dart ends on the bustline, it creates a pointy look there which is not appealing.

For this you have to measure the disance between your bust points (nipple points) on the body and then on your top lightly mark this 1 inch under the armhole line(Bust line).
And from this bust line, mark 1″down – this where your dart should end (which you start from the waist up). If you want a very tight fit for the top, you can sew a more deeper dart or multiple darts. It is advisable not to make the darts more than 1.5″ wide.
For back darts you can go as high as the shoulder. Back darts are centred between the side seam and centre back.
Measuring and marking the Double point waist dart (Fish dart)
For longer tops which extend beyond the natural waist you have to add the contour darts – for this first locate and mark the natural waistline of your top. The contour dart will be widest at this line.
You can wear your top and find the smallest part of your body at the waist -mark with a pin or chalk at this point. Pinch how much you need to take in with the dart. Measure this – divide by 4
Mark the dart points as per the direction given above. Draw a vertical line at the position of the dart. ack darts you can go as high as the shoulder. Mark the dart width which will be half of the number you got earlier. Mark this on either side of the line – ie. Half the dart width to the left of the centre line and half to the right.
Length of the front fish dart : Upper part of the dart – stop 1 or 2 inches below the bust point. And for back, you can extend up till the shoulder blade. Under the waist line : You can give 2 to 4 inches length under the waistline for the front fish dart and for back fish dart this can be 3 to 5 inches
ark the dart points as per the direction given above. Draw a vertical line at the position of the dart. ack darts you can go as high as the shoulder. Mark the dart width which will be half of the number you got earlier. Mark this on either side of the line – ie. Half the dart width to the left of the centre line and half to the right.
Connec the dart legs .
GENERAL PRINCIPLES WHEN SEWING DARTS
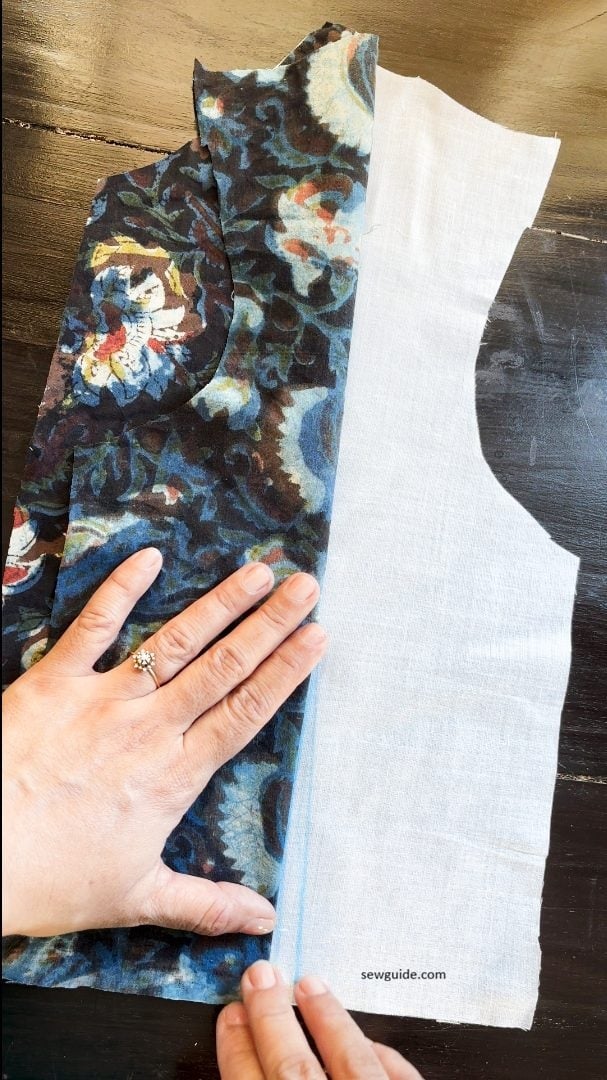
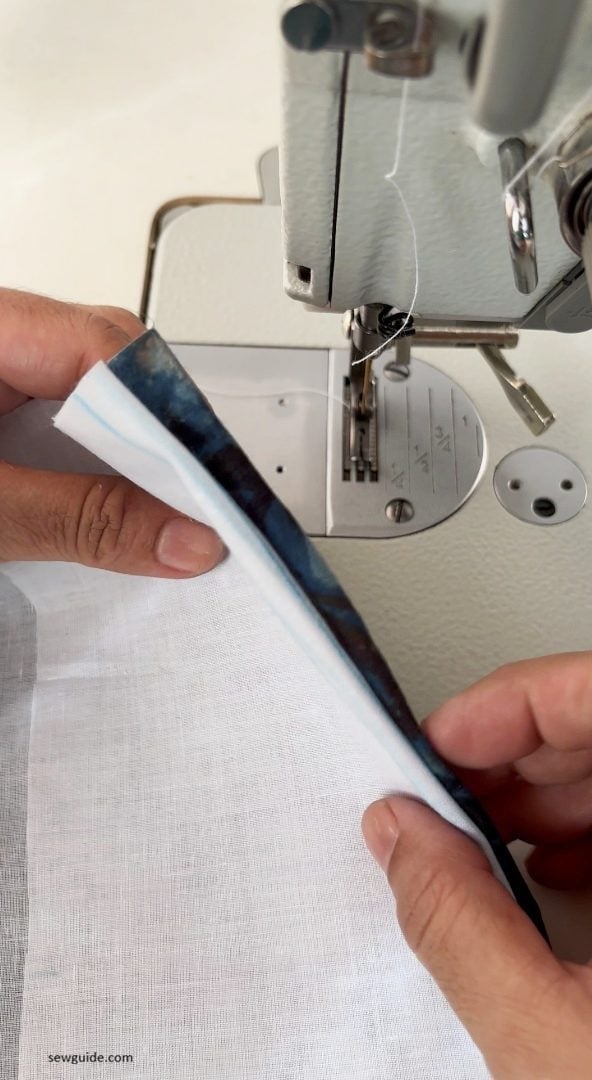
The correct way to sew darts is to mark the dart and with the fabric kept rights sides together, fold the fabric through the center of the dart, matching the markings and the stitching lines. Pin in place or hand stitch with basting stitches.
The principles in sewing darts universally are these:
Always sew the dart from the wide end to the narrow end point.

If you are unsure, make hand basting stitches – this will make your machine sewing smoother.
Align the dart legs together and make running stitches. Another sure shot method is to make ladder stitches connecting the two dart legs – this will automatically connect the dart legs and you will not go astray from the marked lines.

Start sewing the dart with backstitching at the wide part.
Adjust your stitch length to short stitches as you reach the apex of the dart and stitch very slowly
Reduce the speed of the machine as you reach the tip of the dart and use the hand wheel to slowly guide the needle.

At the narrow end, never back stitch. Back stitching distorts the dart point. end stitching leaving long tails of thread.
Leave a long thread tail and tie the ends of the thread tails.
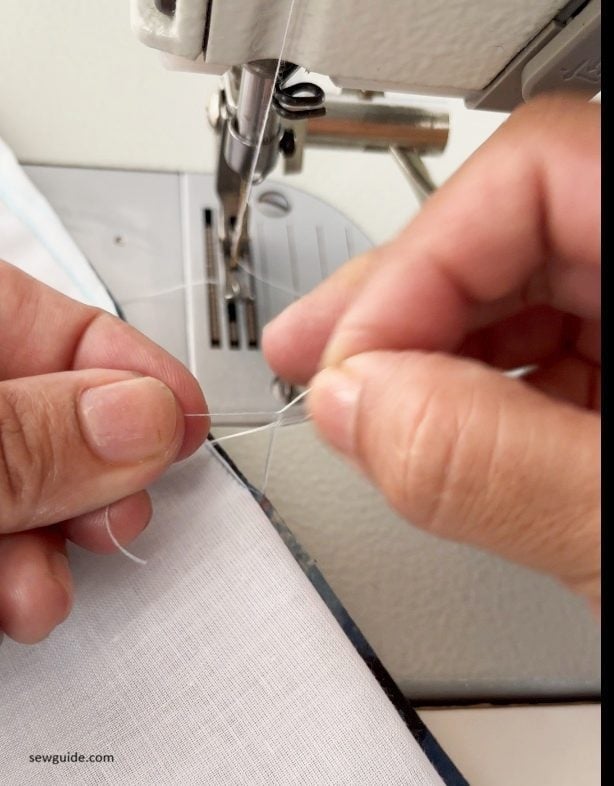
Remove the cloth from the machine and tie these thread tails in a knot.
The tip to getting a perfect dart point is to sew the dart in a slightly curved way so that near the tip you will be sewing very close to the fold till the tip. Stitch the last 4-5 stitches along the fold of the fabric, then stitch past the tip.
Another option to finish the dart at the points is to reduce the stitch length to close to zero as you reach the point. Yet another one is to reach the point and then backstitch onto the extra seam allowance of the dart.

Snip the fold of the fish dart at the waistline so that it does not stretch and cause wrinkles. The snip must be very small. You may have to finish the fabric edges to avoid fraying – you can make small overcast stitches there..
If it is a wide dart or made of heavy fabric, you may want to avoid dart bulk by cutting the inside of the dart before sewing it; you will have to slit through the fold of the dart; finish the fabric edges with over cast stitch and then press it open.
In her book, Sewing A-Z Nancy Zieman gives a tip to mark the dart lines with a small snip at the start and end and then keep a thread aligned on these snips and use this as the guideline for sewing the dart.
How to sew contour darts
For a double-pointed dart, you will have to stitch it in two parts – First, start sewing from the widest part in the middle and then sew to the point and then start from the middle and sew to the other point.
When sewing these darts just think of these as two single darts combined. Begin sewing the double darts from the middle and sew to one end. Come back to the middle and sew to the other end. Ensure that the middle stitching is overlapping and without distortion.
However you sew your darts, do not sew them like the picture below. (picture of a dress altered to be tight by sewing darts)

The professionals always mark the dart with tailor tacks – this will ensure that you get the point exactly in the same place on both sides of the garment
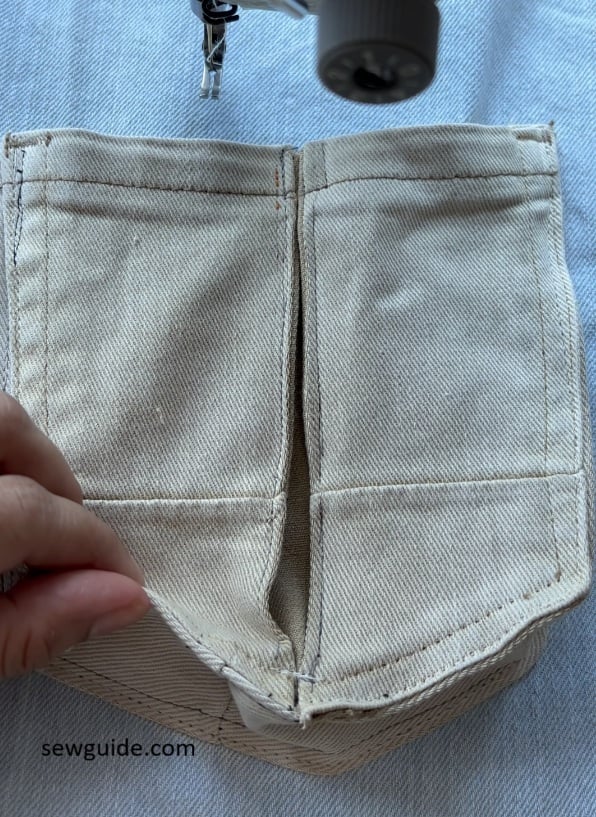
How to sew waist darts on lined tops
If you have a lined top there is a way to sew the lining and outerfabric together at the dart seamlessly – The outer bodice and lining are treated as one unit. With this method you do not have to worry about whether the darts on the outer and inner fabric will match or not.
Checkout the video for sewing this :
To sew this, keep the outer bodice and the lining together, with the wrong sides facing inward. Mark the dart on the lining only.
Then fold both layers together along the dart centre line, matching the dart legs. Stitch through both layers along the marked dart line.
When you turn the bodice right side out, the dart will be formed cleanly on both the outer fabric and the lining.
How to press darts properly
Pressing the darts is the most important element in making them look good. As soon as you have sewn a dart – press it. Do not wait for the whole garment to be finished.
If you have a pressing ham, well and good. Otherwise, use the end of the sewing table to press the curve of the dart.
Press Darts on the wrong side of the dart. It would be best if you pressed waist darts towards the center of the garment.
Press bust darts down.
Usually, sewing books say: vertical darts are pressed towards the center, and horizontal darts are pressed downward. If you have cut open darts, press seam allowances to either side.
Usually, sewing books say: vertical darts are pressed towards the center, and horizontal darts are pressed downward. If you have cut open darts, press seam allowances to either side.
Problems when sewing darts
Wrinkles at the tip – This means that you didnot make the stitches smaller as you reached the tip. Or that you back stitched at the tip. You should do neither. Do not backstitch at the dart tip. Just leave thread tails and tie them off. If you keep the same stitch length all the way to the tip, the dart often ends abruptly and puckers. Gradually stitching closer to the fold (and often slightly shortening stitches) helps the dart fade out smoothly.
Check if the dart is too wide. If it is more than 1.5 inches wide, it is better to reduce and add another dart adjacently.
If you have wrinkles along the length – This means that there is uneven stitching or poor pressing. You can guide your stitching by holding a thread along the dart legs or use a scale or something to make sure that your dart is perfect
For Horizontal wrinkles –This may mean that dart is too short
If there are Diagonal drag lines, this is a dart placement issue – remember that dart should be going to the fullest part of the body.