I have been reading and talking a lot about embroidery machines and how they work and have gathered some gems of wisdom from experienced people who work daily with machine embroidery (and from the mishaps and failures I have had at my own machine).

Embroidery designs
You can use any of the stock designs available on the machine itself – most have them in the hundreds or buy digitized embroidery designs that are commercially available or get a design customized from an artwork you have made or photograph you have taken.
There are specialized digitizing shops/freelancers for this. Search for ‘Embroidery Digitizing firms’ or on fiverr for small projects. They will do the digitizing and convert the design into the format your machine will take (eg. Janome machine only takes .jef format) and in the design size (height and width) you want.
Embroidery Software
If you are adventurous and have a lot of time at hand, you can try the digitizing yourself. Checkout this post on the most popular embroidery softwares.
As a beginner complex designs are out of my scope. Simple designs are great for a beginner. Once you have a machine, you will learn that you can do any type of design that you want as long as you have the right to use the design, a suitable hoop for it and the best looking thread for it – and the software to edit/design it.
Before getting an embroidery machine I was under the impression that I can just take any design in jpeg or vector format and get it inside my machine and sew it into beautiful embroidery – nada. It is not easy as that – not at all. Digitizing software is very costly. Unless you have the money or a means to get money out of it or you are willing to pinch pennies for your passion, you would not buy a digitizing software.
But you will need Editing software -to change the size of your design, reposition it etc. Everything cannot be done on the embroidery machine. A lot of machines come with free editing software which can be installed in your machine – my Janome comes with Artistic Designer Jr. Or, there are affordable ones out there. Embird, Embrilliance, Hatch, Wilcom and Brother PE design all have beginner level editing versions.
The next thing is to decide on the position of the design on the garment / fabric. There are plastic templates available for marking these on t-shirts – if you do a lot of t-shirt embroidery they are worth the cost.

Thread used for machine embroidery
As soon as I got an embroidery machine, I bought a number of high-use color threads in black, white, beige, navy, gray, red, green, gold, silver, and my favourite – a lot of blues.
The only caveat in selecting the top thread is that, you need a thread which will stand up to high-speed stitching without breaking or fraying, be colorfast and withstand many washings without damage to colour or stitches and give good fabric coverage. I have learned that the quality of the thread is dependent on how old the thread is – and this is very important. Even the best brands get damaged with time. So, you have to ensure that you are using new thread. I guess buying from a popular shop with fast moving goods does the trick of ensuring that the thread is new.
There are three choices for top thread – Rayon embroidery thread; Polyester thread ; Cotton thread. If you want a shiny look you can use rayon or polyester threads. Rayon thread is an all-time favorite of most machine embroidery enthusiasts as it has a beautiful sheen and, if it is good quality, the thread does not break or fray. You will get a variety of solid, variegated, and twist colors (with two colors entwined together to create a shading effect).
You can also use normal cotton sewing thread for embroidery – it will look matte and not so glamorous. The sheen is more muted.
A polyester thread is also equally appealing especially because it is cheaper than rayon thread. A highly recommended brand on Amazon is Brothread.
Bobbin thread : Use embroidery-specific bobbin thread to maintain tension. The bobbin thread used for sewing machine embroidery is preferably of lighter weight (usually 60wt) than the top thread.
Plastic bobbin it is for all flat bed machines, I think. And you can use the ones you use for the other sewing machines (Again, I think).
For convenience’s sake, buy pre-wound bobbins in white or grey. Pre-wound bobbins save time, winding your own saves money. You just have to ensure that they are the correct bobbin size and thread weight for your machine. For multi-needle machines the bobbins are different.
Knowing about thread weight is also important. If you have a design which needs to be stitched densely, use a thinner thread otherwise it will be too bulky. The higher the number on the thread lighter the weight of the thread.
Needle
You can use 75/11 for most fabrics; Thick fabrics like denim will need a thicker needle (#16). Organ needles, Schmetz are the most popular brands.
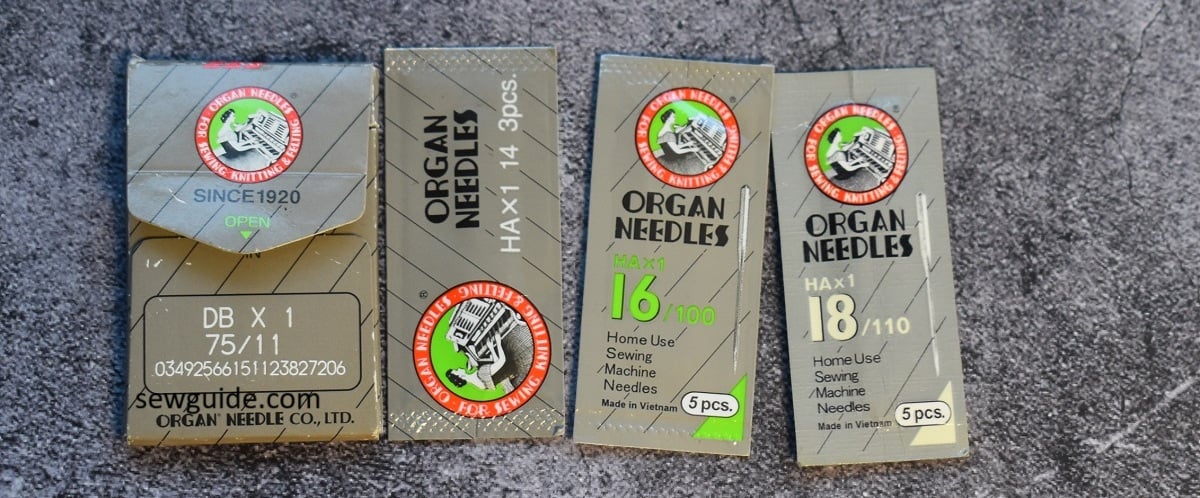
According to what I read, you should be changing your needle after every 8 hours of sewing. If you are using metallic thread you will need to get a special metallic thread needle.
Stabilizer
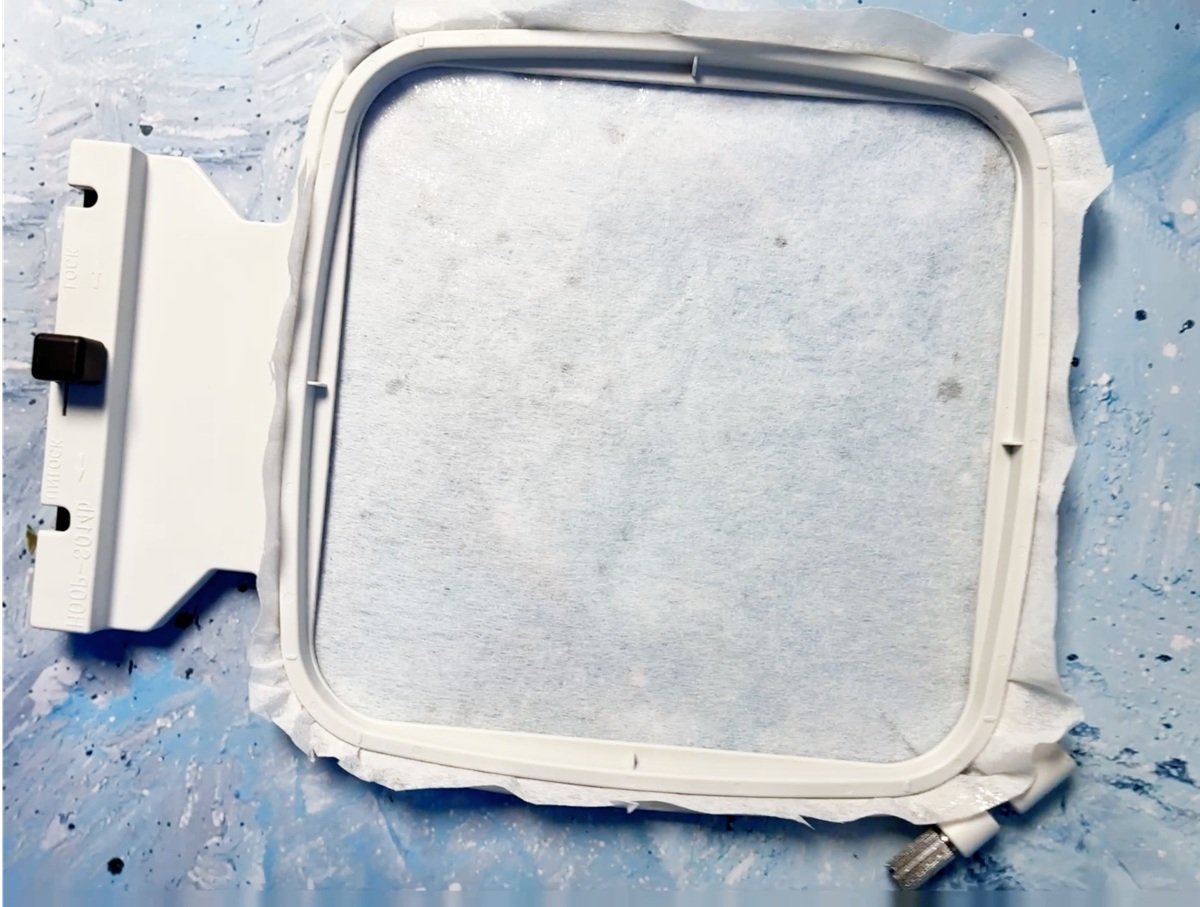
Choosing the correct backing depends on the weight and transparency of the fabric and if the design is supposed to be very dense in stitches or not. For eg. semi transparent, soft and lightweight no-show mesh is the preferred backing for in-the-hoop projects. You can’t easily tear away or cut away the stabilizer from the back of the finished object – it is permanent.
The backing can be hooped with the fabric or it can be hooped on the hoop and then the garment or fabric is kept on top with glue or basting stitches (a method called floating)
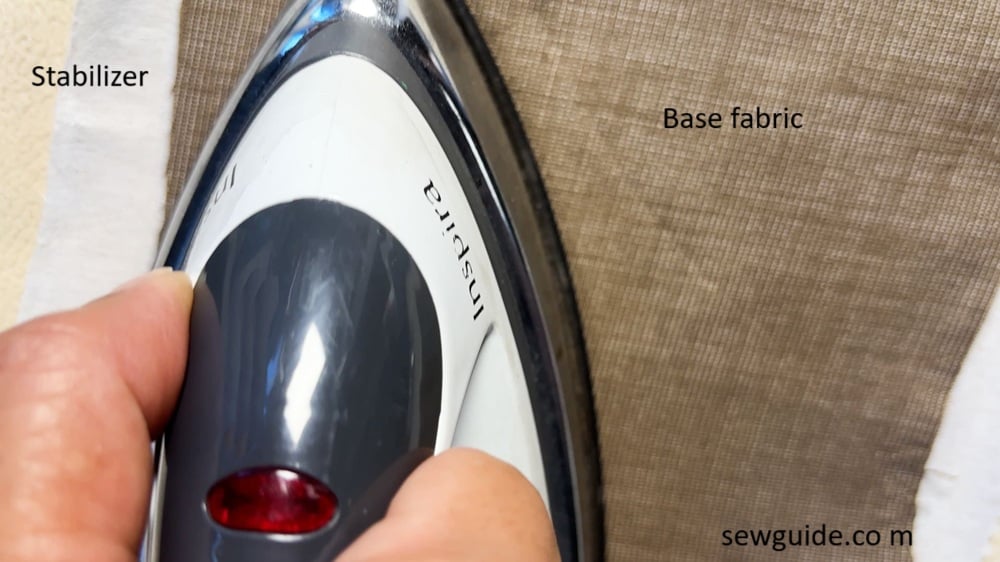
The most commonly used stabilizers are cut away and tear away. A fusible iron on cutaway stabilizer is used for fabric with even the smallest of stretch. You can also use no-show-mesh. For all others, a tear-away stabilizer can be used as well as a cutaway. After the work is done the extra stabilizer is cut away from the back of the design.
If you have option to buy only one stabilizer, buy medium weight tearaway stabilizer. And if you do not plan to buy one, you can use regular copy paper as a stabilizer or butter paper (as a temperory hack), but use it, you must.

For sheer see-through fabrics you should use a dissolving stabilizer or tear away stabilizer because the stabilizer will show through the transparent fabric and it has to be cut away completely outside the design from the back. For a design with a heavy stitch count, you need a dense stabilizer. For making patches, you can buy heat n bond.
Simthread, NewBrothread and Sulky are popular brands
Related post : fabric backing for sewing.
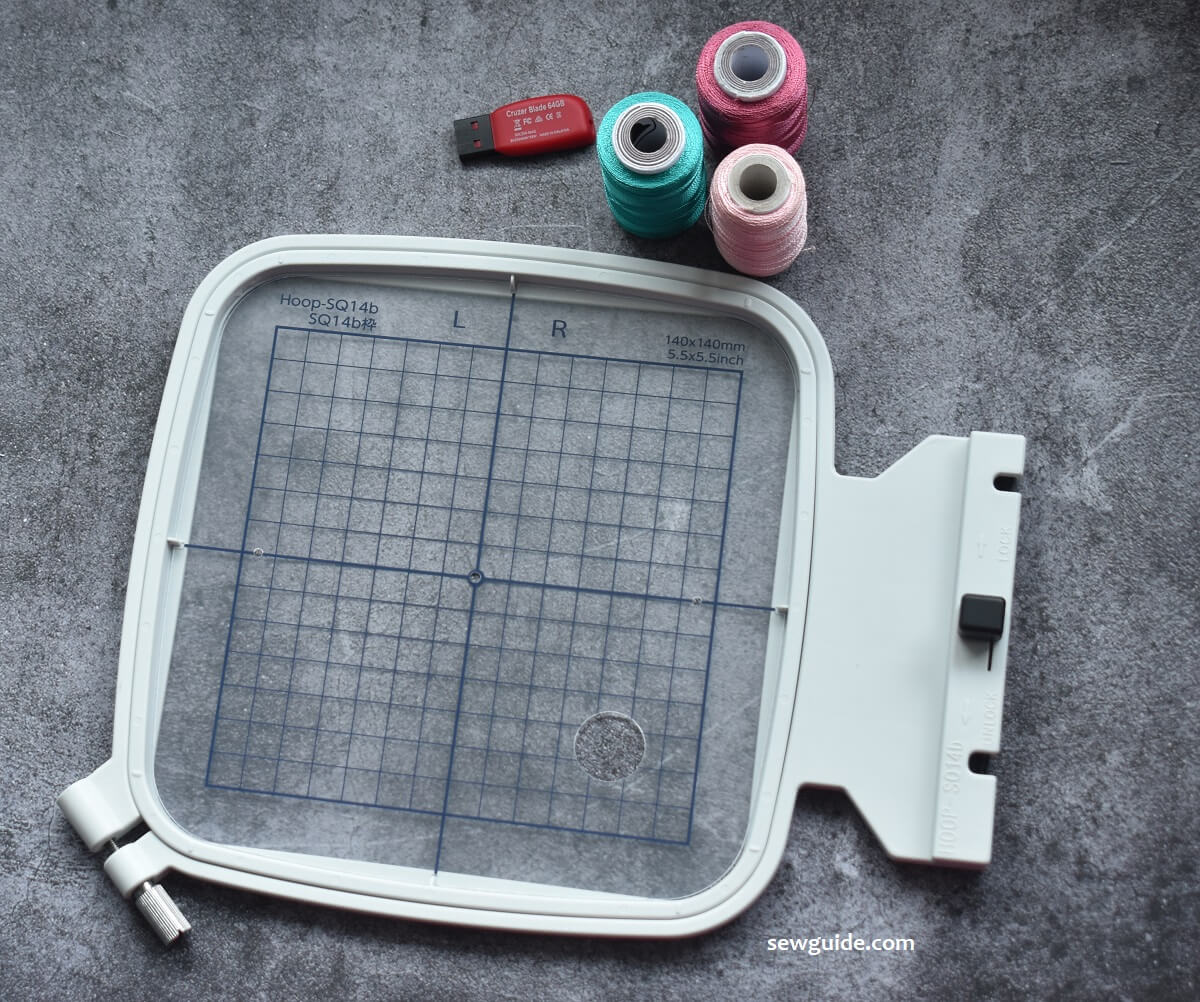
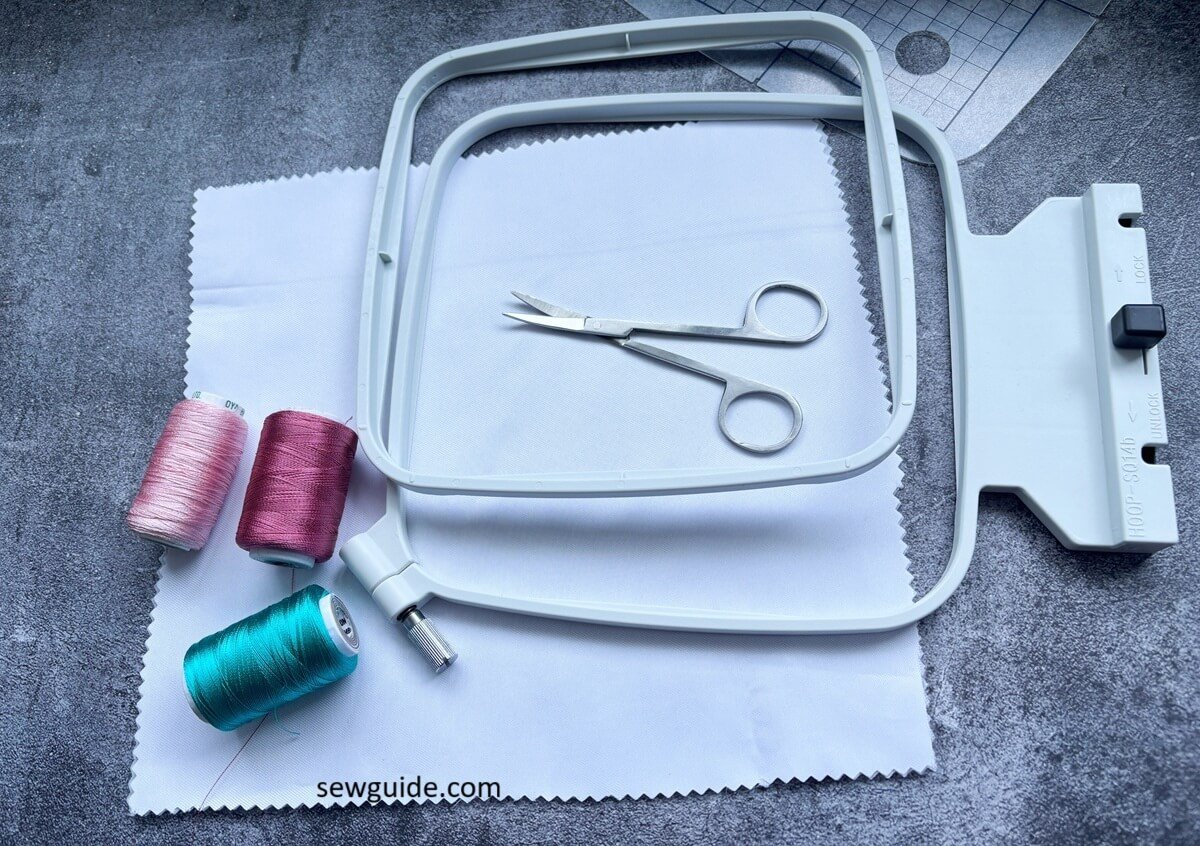
Hoops
There is not much choice here- it all depends on the machine you buy. You may have got a plastic hoop or metal hoop : metal is prefered for obvious reasons. You may have a magnetic self-hooping hoop, or the regular one or one with a latch……The most standard ones are 4″ × 4″ or 5″ × 5″, 5″ × 7″ and 8″× 11″.
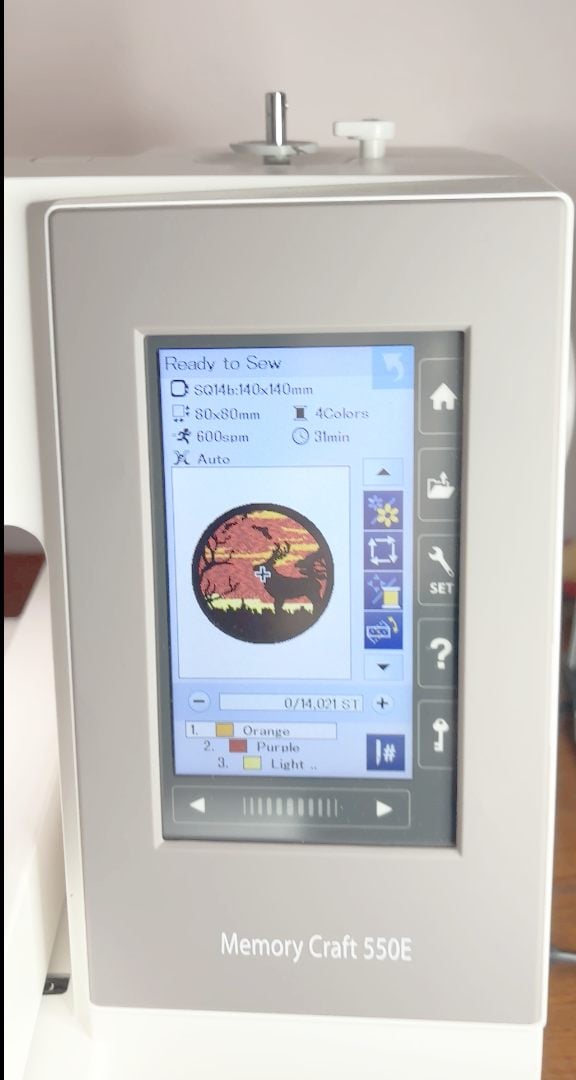
And on selecting the hoop – the general principal is this – what size is your design? Your machine will recommend to you which hoop will be suitable for the design you have feeded into the machine – as simple as that.
Related post : Different types of hoops used in embroidery.
Fabric
The effect of an embroidery design will finally depend a lot on the fabric on which the embroidery is done. Some of the most commonly embroidered fabrics like t-shirt knits, wedding fabrics like organza, taffeta, crepe, metallic fabrics are all quite challenging. Some are slippery, some see through, some stretch out of shape. But there are some easy roundabouts to all these problems – must be, because people are always embroidering something or the other on these.
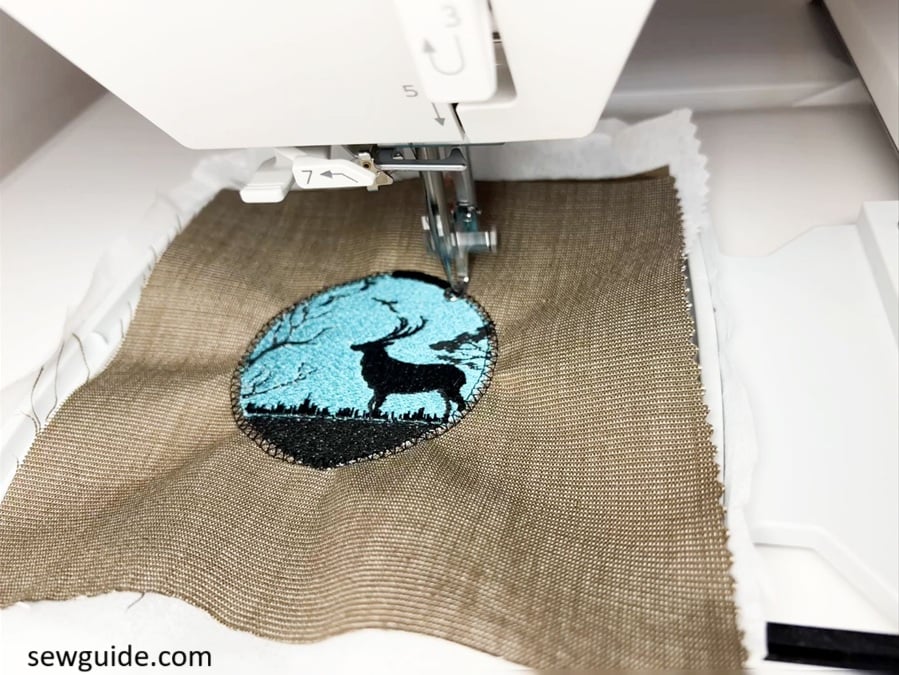
Nowadays the buzz is all for embroidering patches or on Nylon mesh and then using this on whatever garment or accessory you want – just applique it, wherever you want it. The advantage of this method is that you do not have to unpick the countless stitches just in case you do not like the initial placement. No fear of puckering as well.
Related post : Fabric for embroidery.
Scissors for finishing
And finally, after the design is embroidered you will have to use small sharp scissors and cut out the extra stabilizer. And in applique you have to cut out the extra top fabric outside of the applique area.
Pressing tools
A household iron is a must ; even better is a heat press (for making patches etc).
Unlike other home sewing machines, these machines will have to be oiled – experts recommend to oil machines every 6 months or after 5-8 hrs of continours work. So you need to stock up the oil.
If you didnot get a cover with the machine, please do buy or make a machine cover – non negotiable to cover it to protect the precious one from humidity, dust etc.
My machine comes with a small spool holder and if I want to place big spools (they are economical) I will need to buy a seperate Spool holder/stand.
Other extra essentials are seam ripper, gas lighter with flame or soldering iron for thread ends, pegboard for thread storage (yes, you will soon run out of ground storage).
After the design is embroidered you will have to use small sharp scissors and cut out the extra stabilizer. And in applique you have to cut out the extra top fabric outside of the applique area – curved scissors/duckbill scissors are best for this.

PenDrivE/ USB DRIVe
After you have got a design you have to transfer it to your machine. A pen drive is needed for this. And I also bought a small extender for USB – this is supposed to prevent the port from getting damaged everytime I take out the pendrive.
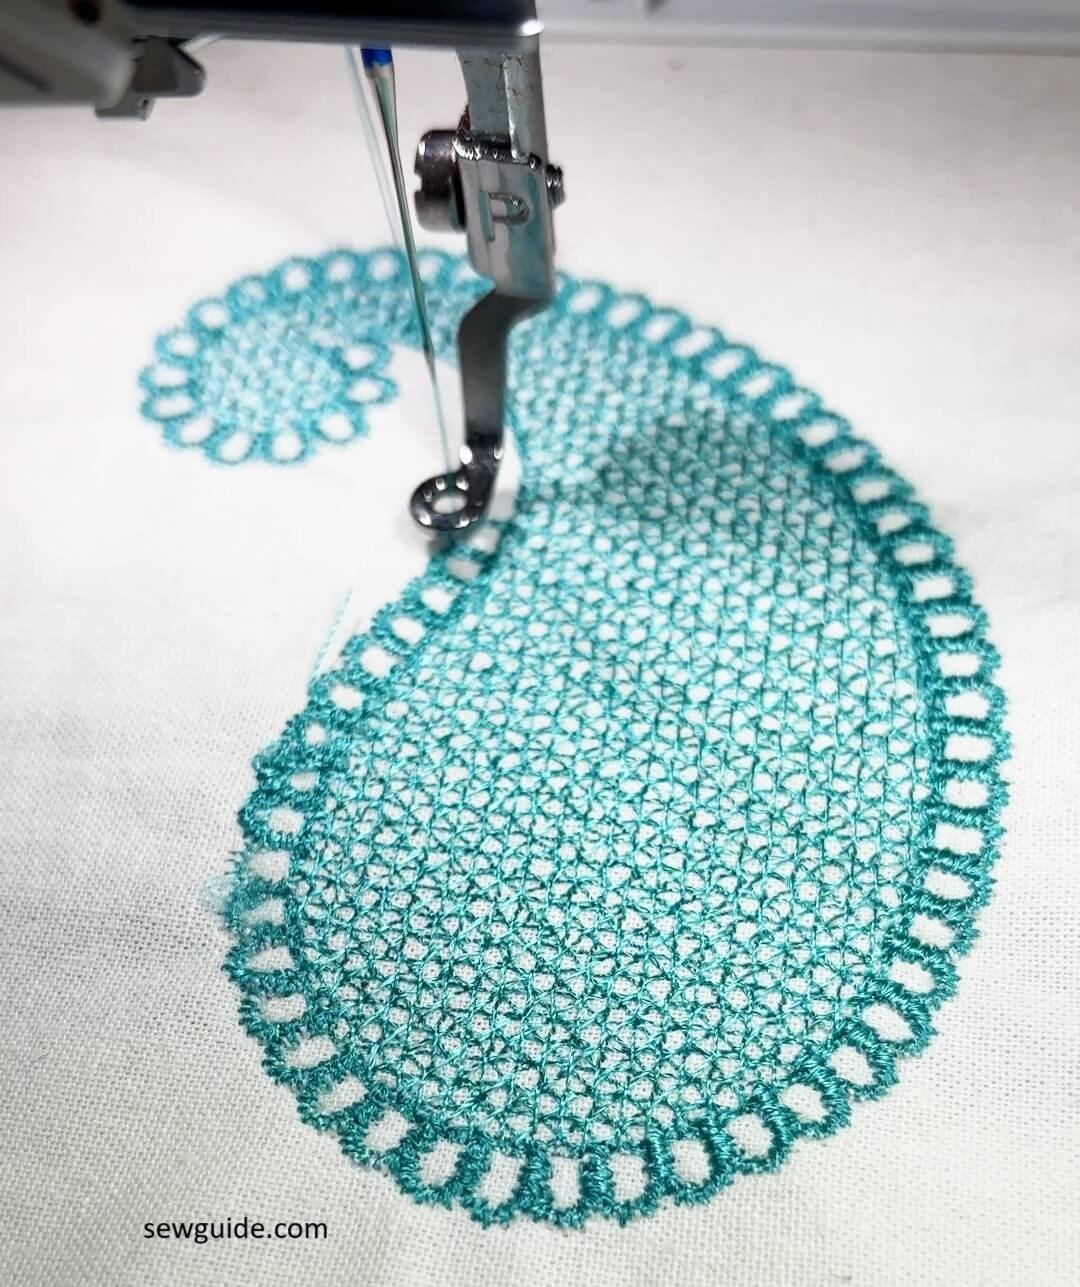
Free style Machine Embroidery
In free-Style Machine Embroidery (Free motion embroidery) you will be doing the embroidery work with your regular sewing machine with straight or zig-zag stitches. The feed dogs are lowered to prevent the fabric from moving forward as it does in ordinary sewing and the regular presser feet are removed. The fabric is kept on a hoop and we will be controlling the movement of the fabric while the freestyle stitching is done. To do this work you need a sewing machine with a drop-feed control or a plate that covers the feed dogs. You can learn more about this work in this post on Free style Machine Embroidery

Amazon Affiliate Disclaimer : I may earn a commission if you buy any product through reference from this page, at no extra cost to you


This page is loaded with ads so it was next to impossible to read the article.