Nowadays designing your own fabric can be as simple as typing a prompt (or even saying it). But nothing beats a design that comes out of your own brain – this goes for every sawist, textile lover and designer with a motif in mind and dreams of seeing it printed on a fabric. Using the tools available to get there is a no-brainer. Here are the 2 easiest ways to bring your motif to life on your own fabric – one using Canva and one with illustrator.
Step 1: Design your motifs / Patterns
Choosing the aesthetics you are aiming for with the new pattern : The first step is deciding what you’re designing for. Actually when you do this, it is best if you have a sewing project in mind. And your preferences ofcourse. I love all kinds of flower patterns, but you may be into fold art designs. Each to his own…. and all that.
Creating the elements : I am talking about the building blocks of your pattern: the motifs.
Usually most of the patterns start as floral sketches; everyone likes floral and botanical motifs. You can either use just the outlines or be elaborate with colors and details. The scale of the individual motif you design is more important than you know. The motif that looks ok on the computer screen can look completely different when it is printed on a fabric. One reason is that scale of the motif changes the appearance.
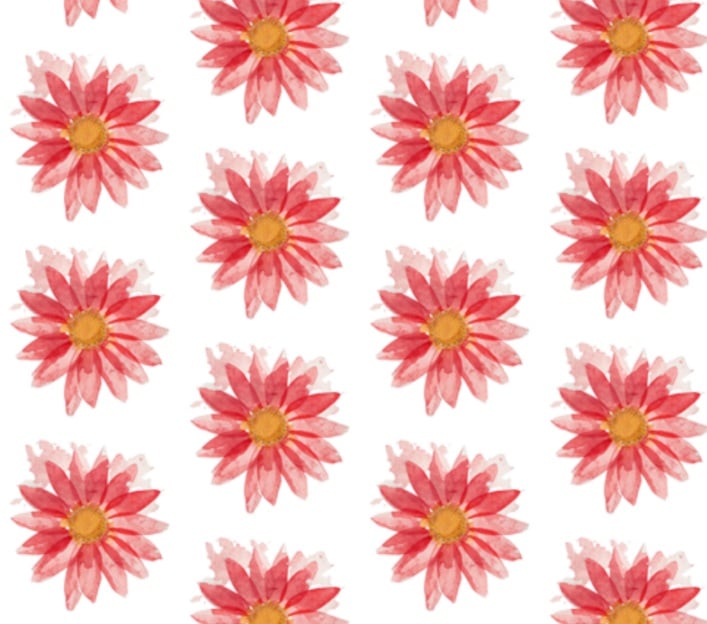
Imaging placing lots of motifs larger than 5 cm allover your dress. It can look stunning on your screen, but maybe too overwhelming and even busy on your body. What you can do is to take a print out of a part of the design, at 100% scale to see how it will look when printed. You do not want to be surprised.
Step 2: Digitizing your Sketches
Once sketches are ready, it’s time to digitize them.
I use Adobe Illustrator to vectorize my sketches, but Photoshop works too. If you have a graphic tablet, it makes drawing directly into Illustrator much easier. I use the app Illustrator for ipad and use the ipad pencil to draw the elements. You can first make original sketches on fabric and then draw it as final on the ipad.
There are 2 ways you do it digitally – make it into a pixel based artwork on photoshop or use a vector tool like Illustrator.
Pixel programs have one big advantage: texture. You can create endless effects, from painterly textures to photo-realistic images. But here’s the truth: Photoshop has never been my strong suit. My knowledge of it is basic at best, and I’ve never been deeply drawn to it.
Vector graphics are point-based, like coordinates on a graph, and you can move, fill, or outline them however you like. The draw for me is how incredibly geometric and precise they are. It definitely feeds my perfectionist tendencies. Vector based tools give you crisp, clean lines – however big or small you want to resize.
Step 3: Building a Repeat Pattern Tile
This I think, is where the fun starts , if you havent been there already. Your digitized motif has to be arranged in a repeat pattern. You can adjust scale – making the print bigger or smaller depending your final design
A repeat tile ensures your design looks continuous when printed on fabric. The design sits within a square (or rectangle) tile.
This is where the magic happens: arranging motifs into a seamless repeat. The hard core designers are full hands-on. They produce a full repeat on paper, then use Photoshop to smooth the edges.
But for beginners and those who are in a hurry software tools can make the process a lot easier. I am talking about tools like Illustrator’s Pattern Tool or the Tile to pattern tool on canva
You can easily flip it reverse it, and spread theelements that way you want using Illustrator’s Pattern Tool. The software basically creates the repeat for you. As long as your artboard matches the repeat tile size, the export should come out seamless. Canva is more limiting but far easier.
How to create seamless patterns using Canva
Here is how I use the Canva tool to create one repeat tile
Prepare your motif and keep it ready. I prefer to delete all the extra space around the motifs but you can retain it if that is how you prefer it.
Watch the video on making the fabric pattern repeats on Canva:
In Canva, open a custom-size design. For example, use a 10 × 10 cm square. Select the app Tile to pattern and Add your motif and select the pattern repeat you want.
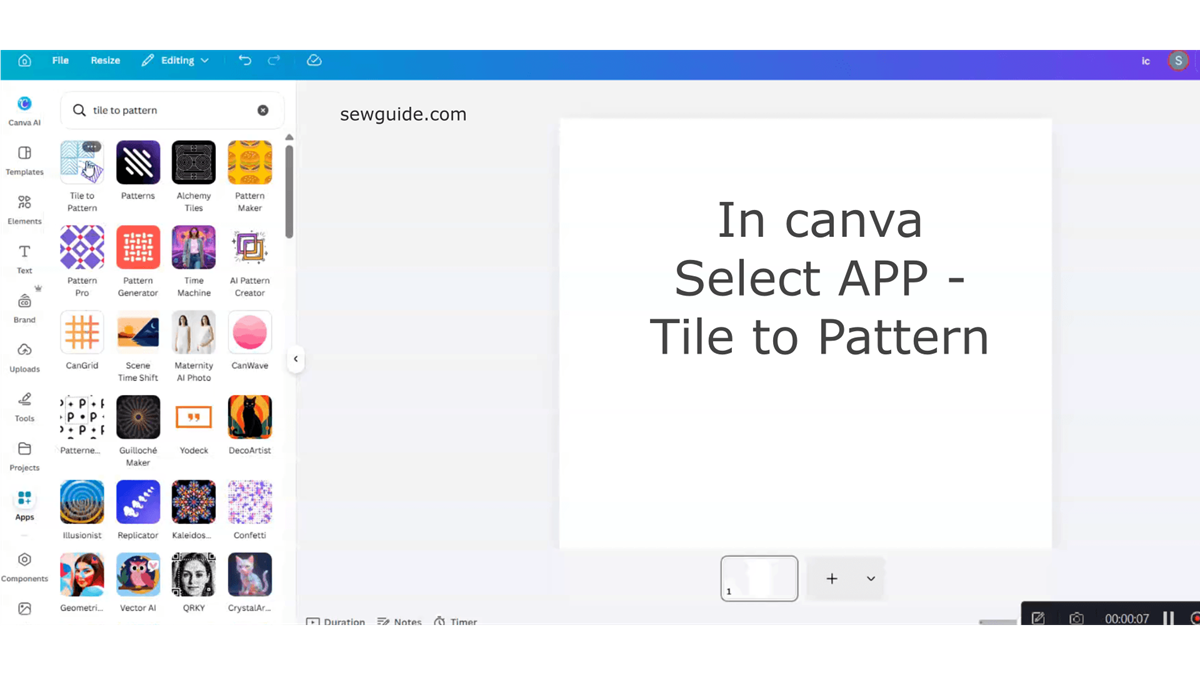
Straight repeat (full drop repeat)
Motifs line up vertically and horizontally in regular rows and columns.
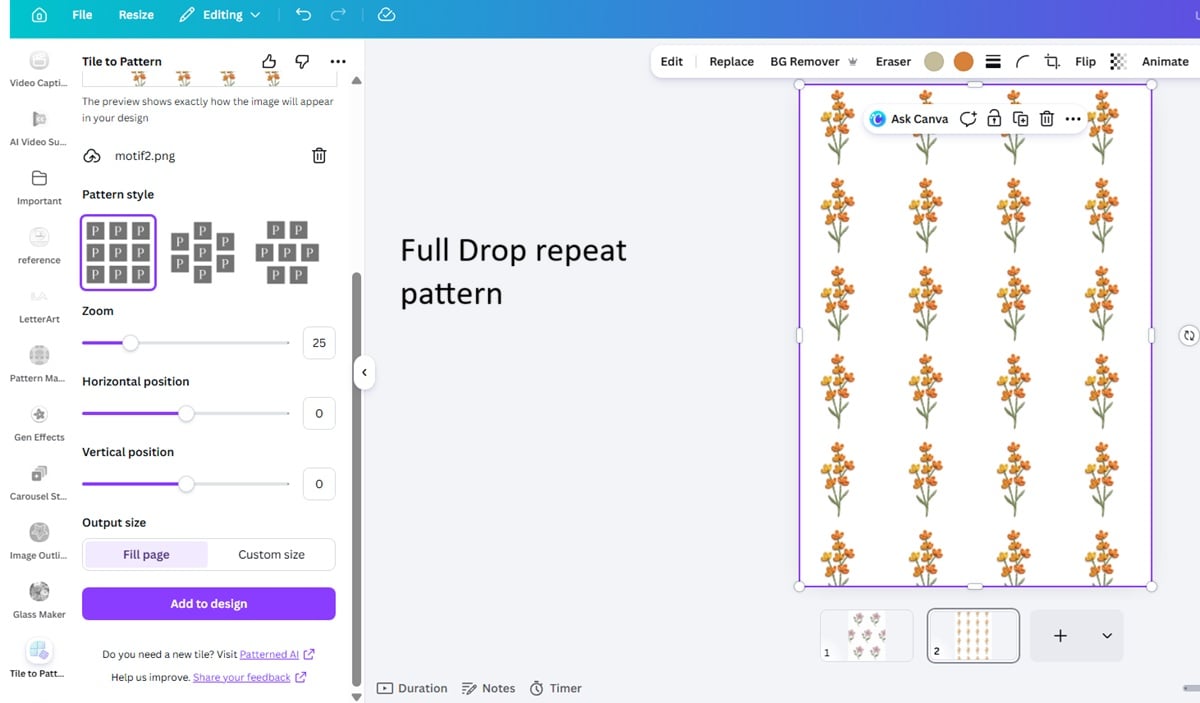
Half drop repeat
This is staggered arrangement of motifs on fabric with every alternate column shifted vertically by half the repeat height.
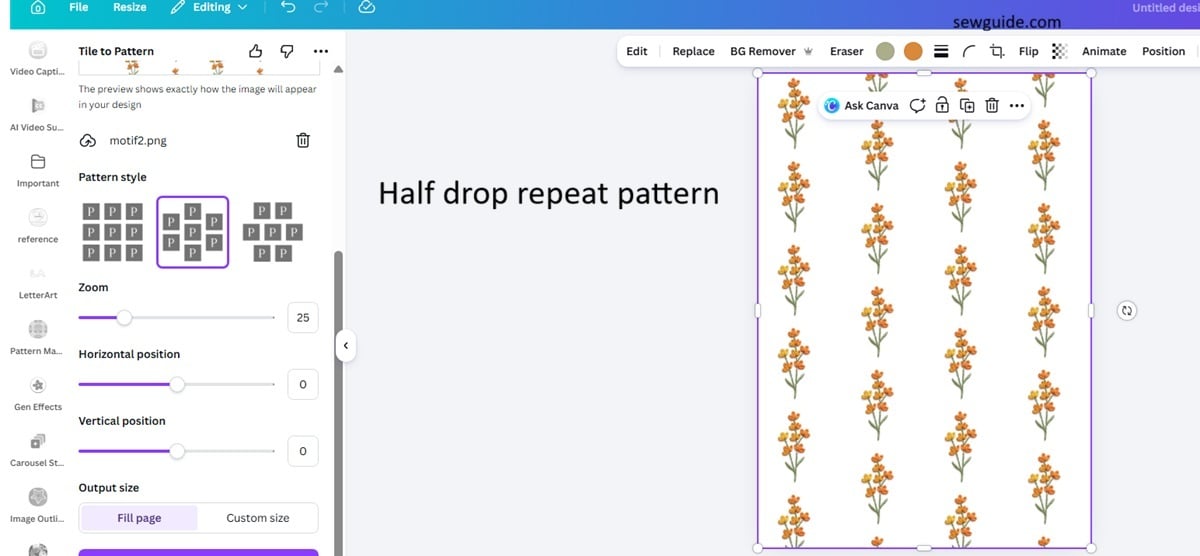
Brick repeat (half-brick repeat)
Alternate rows shift horizontally by half the repeat width, like bricks in a wall.
Creating Seamless repeat fabric patterns on Illustrator
Canva is a beginner tool for everything designing – a jack of all trades. But Illustrator is a ‘true-blue’ designer tool. It creates seamless fabric patterns more efficiently . Its Pattern Make tool is very easy to use.
First copy paste your design on the new file .
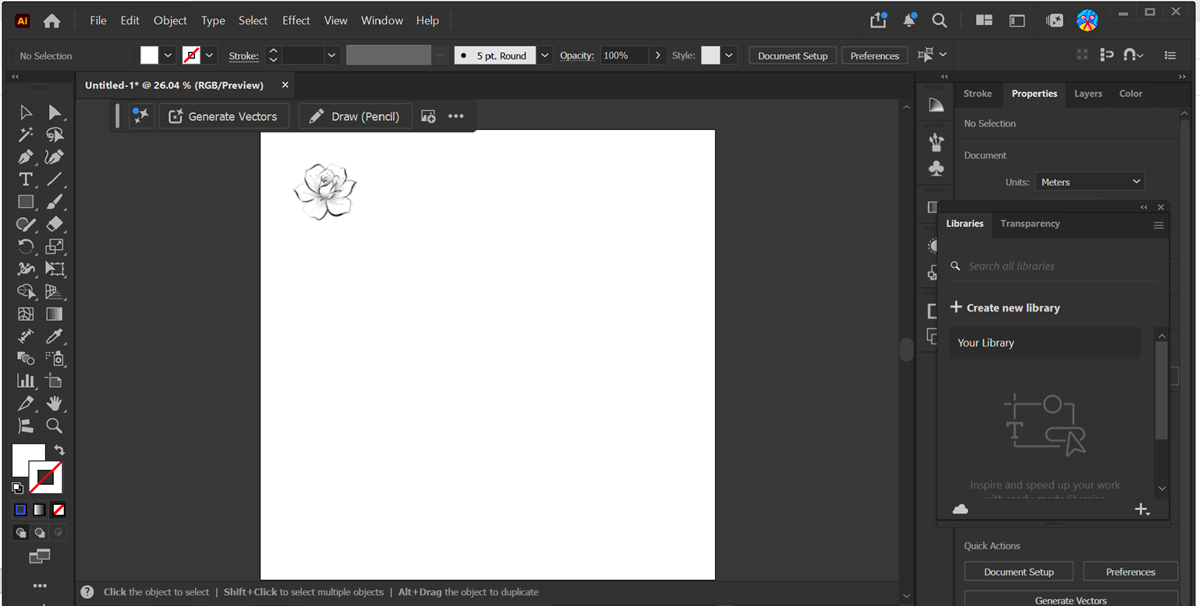
Click on object – then on pattern – then on make.
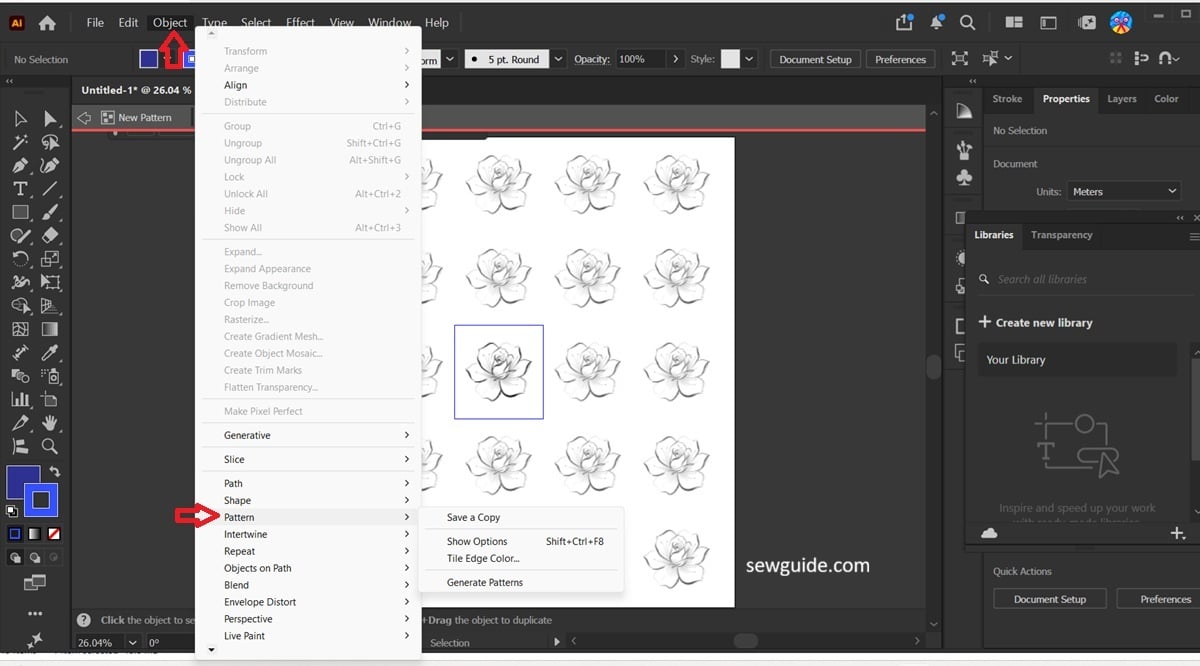
Just like that, the pattern forms
Change the pattern repeat on the window that appears. On the same window you can change the tile dimensions, spacing, overlap etc. Watch the video to see it in action.
For interwoven designs the process is a little more complicated. You will have to split the design appropriately and then repeat it as tiles.
It’s trickier but worth it for intricate, continuous patterns.
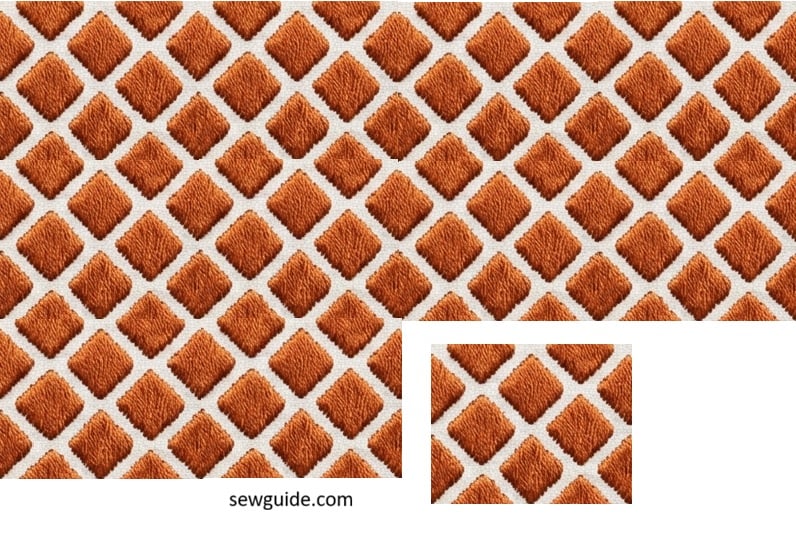
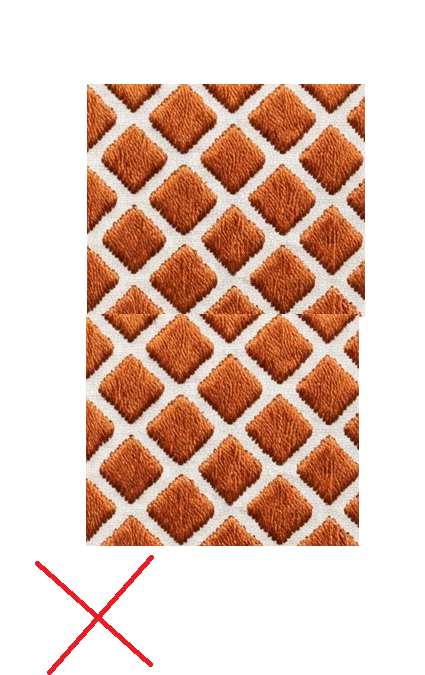
This design tile, if joined as such would not look seamless.
You have to cut out the tile so that it can be joined seamlessly.
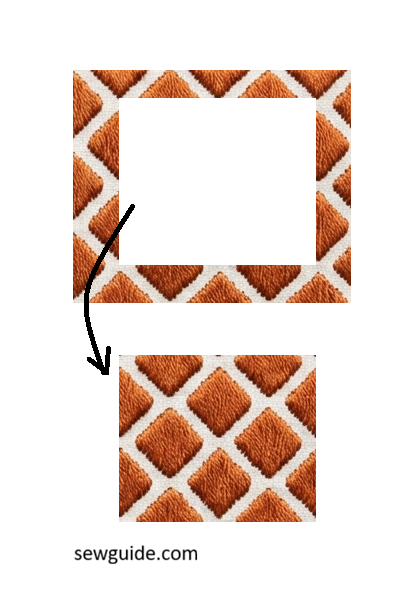
Join the tiles appropriately.
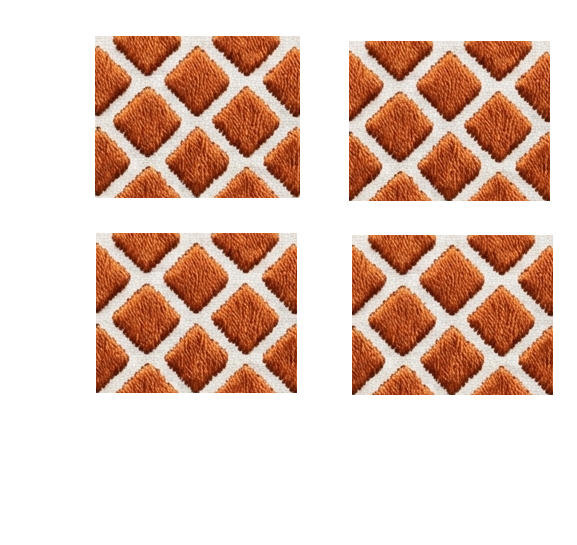
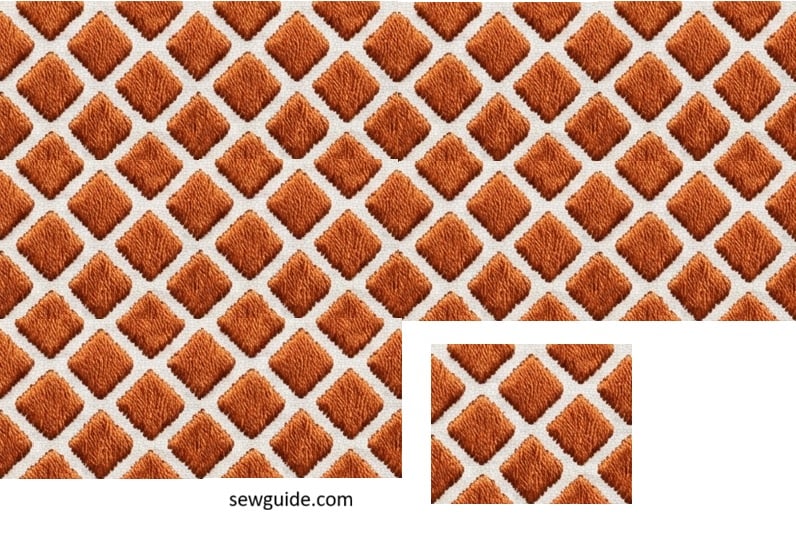
Actually this is a rather simple explanation of a rather complicated process, which fabric pattern designers are adept at. Making beautiful complex patterns require quite a large skillset and creativity than just cutting and pasting. You will have to deal with different layers of elements & motifs and then overlapping them and then making sure that the repeat is done seamlessly is nothing short of magic.
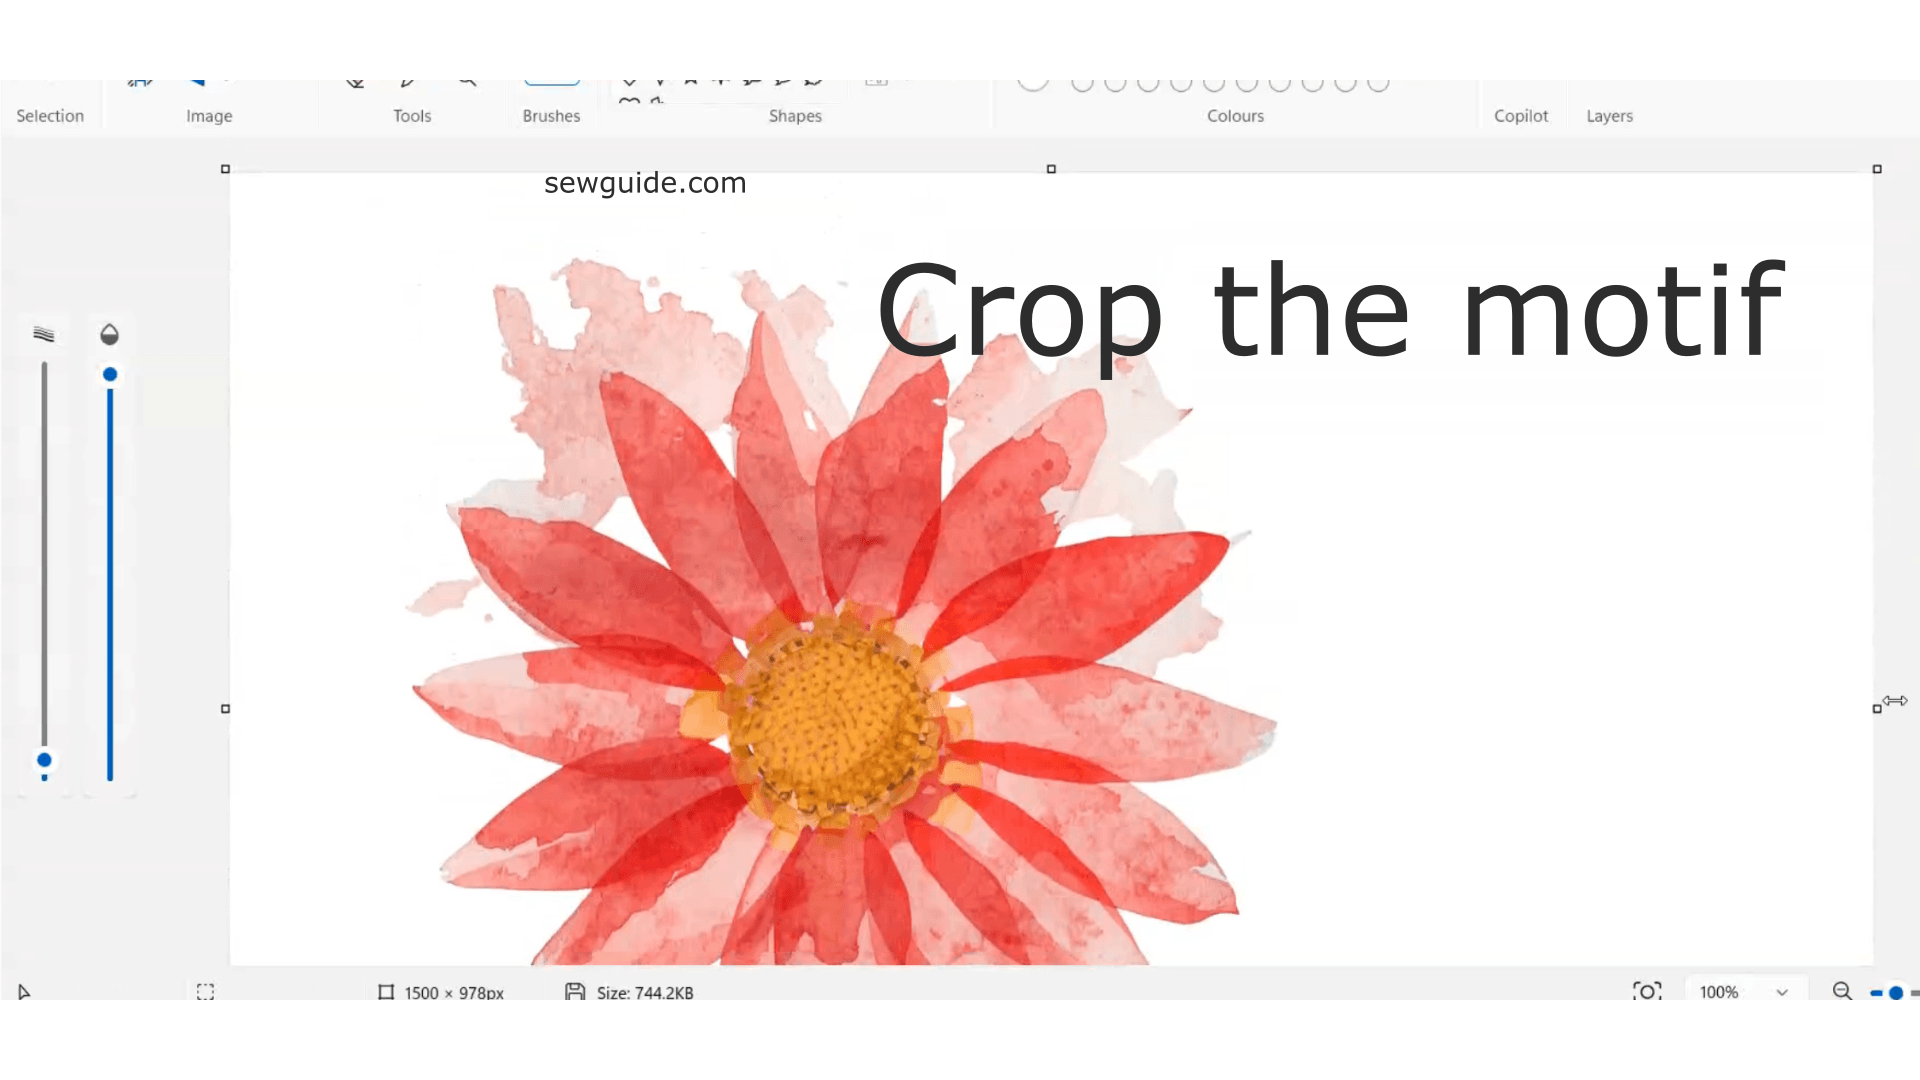
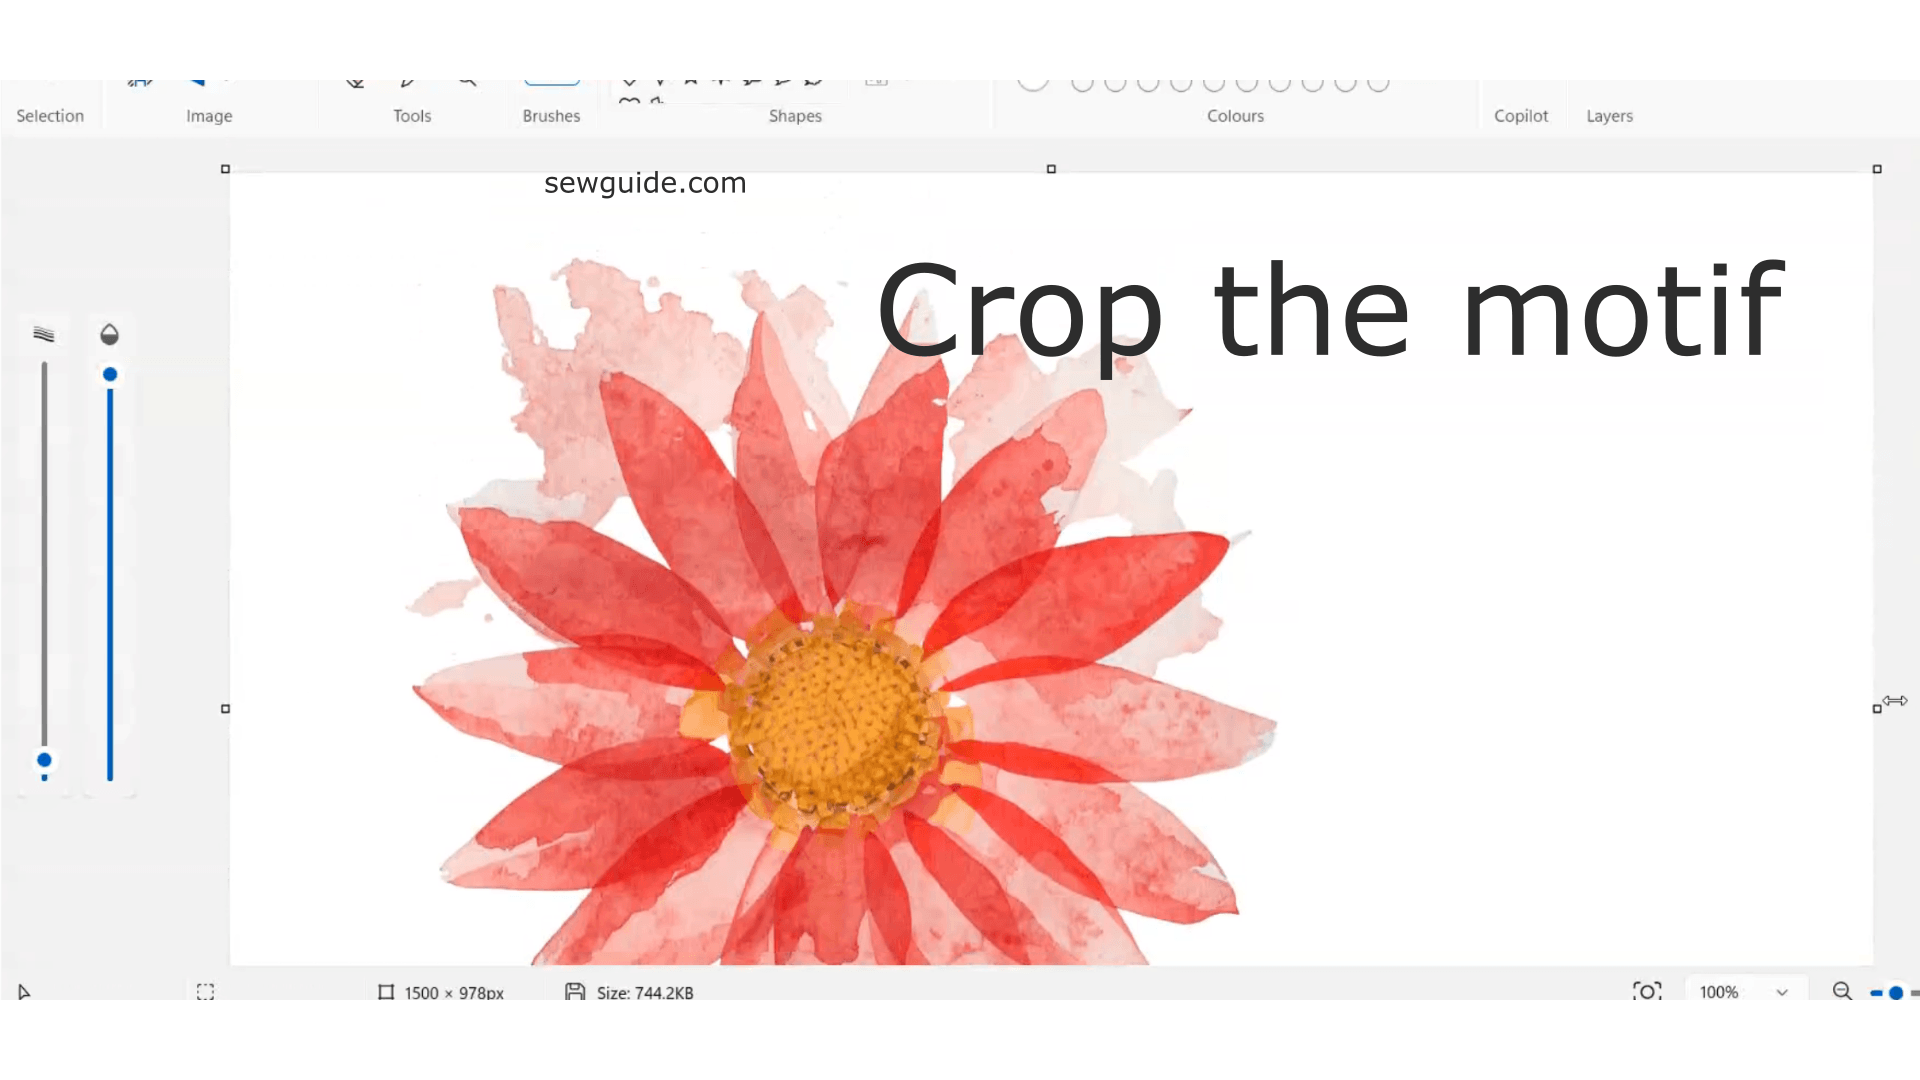
Anyways, Watch this video of making this simple enough pattern repeat in MS-paint.
Always double-check the repeat (If you have the adobe suit in Photoshop) to look out for overlaps or misses. You do not want your final printout to comeback with gaps or overlaps..
Step 4: Preparing the File for Printing
When your design is ready, export it as PNG at 300 dpi(or ask your printer) . Nowdays there are print shops which take lesser dpi and still give ok output but 300 dpi is the industry standard.
Related posts: What are the textile printing options you have ?
