
There are 2 ways to use your phone or tablet as a DIY light box-To trace a paper design and to trace a digital embroidery design. I use the second method – because then you have an unlimited choice of designs. Almost any image can be turned into an embroidery design and transferred.
I already have a post on the different methods for transferring designs to fabric for hand embroidery on this site. But you know what, I think for hobbyists doing small embroidery designs, those methods may seem elaborate and overrated. With my phone rarely leaving my hand for a single second, I think I will use it for embroidery too – and I did with great success. (Watch the videos on the page if you are a visual learner)
Here is how I ‘made’ my phone and tablet into a Light box (the kind that illuminates the design enough to make it easy to transfer). I found these popular hacks on instagram and it is my go-to now.
Turn your phone or tablet into a DIY Lightbox – with Video tutorials
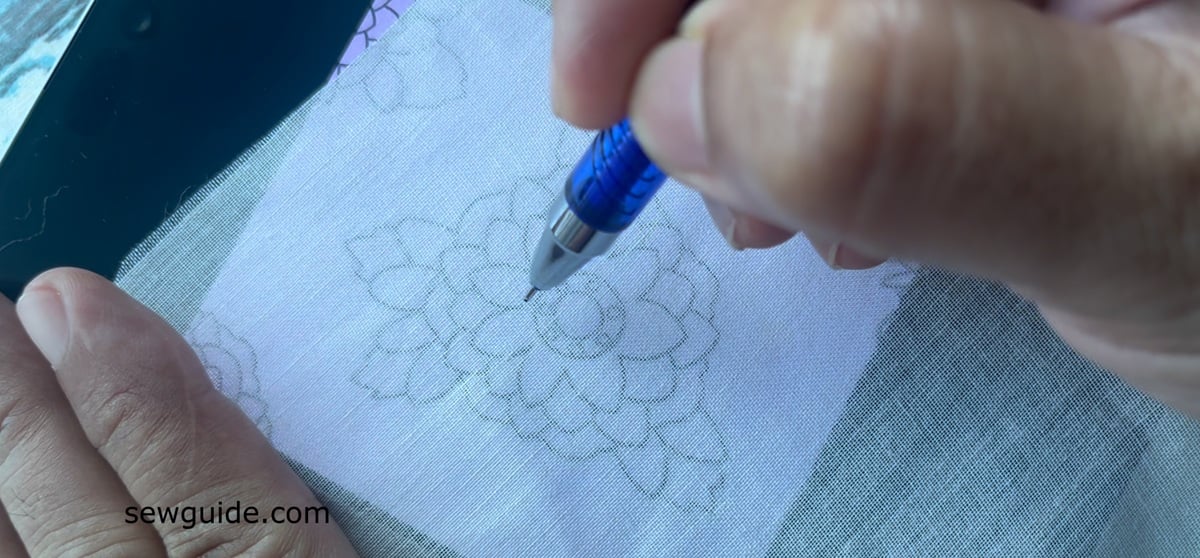
You can use your phone /tablet with either a printout or a digital file. If you are using it purely as a light box with a printed/your own design drawing, just increase the brightness in the settings (settings – display- brightness high) and then temporarily turn off the autolock.
Open a blank white page and keep embroidery design on top of the phone and trace it. The light from the screen turns your phone into a small light box. No need to strain on a window glass or get complicated light box set up.
And then, Turn Brightness to the maximum. This is essential for the light to travel through the fabric fibers. Go to settings, display and then take the brightness to the maximum it will go.
Note: When tracing use a soft tipped pencil or use a screen protector if you are using pen
If you want to use a digital file there is another important step -locking the screen.
Actually, the most important thing when using the phone or tablet as a light box for tracing is to lock your screen. You need to prepare your screen so it doesn’t move when you touch it. Locking the screen prevents the “frustration” of the image jumping around while you are mid-trace. Here are different ways to do this is on iphone, ipad and android phones.
First you need to make the file. If you do not already have a digital file of your drawing, make that first. It is just a matter of taking a picture of your drawing or from your favourite design book.
If you want to make your drawing from a real picture that is another process, because you want a drawing. If your design has fine detail on a busy background this drawing is manadatory. But it is quite easy to create one digitally, even if you can’t draw a circle by yourself. Checkout this post on making embroidery designs from photos using canva in this post. You can take any photo into canva app (or desktop version) and turn it into an image that is easy enough to be traced.
Other options are Apps like Clip2Comic, Prisma, or BeFunky. You can look for a filter called “Sketch,” “Line Art,” or “Stencil. on these apps. This will strip away the colors and leave you with just the outlines – just what you want for hand embroidery. Now you have to get it onto your fabric. Another tutorial I have on this site on turning photos to embroidery designs goes into details about this.
Make your Iphone /Ipad a light box
Select your design. Make sure the on-screen size matches your intended finished embroidery size. Zoom/pinch to the correct scale, or better, export the file at 100% actual-size dimensions.
To Lock the screen on iphone or ipad, go to settings and then accessibility and then turn on guided access.
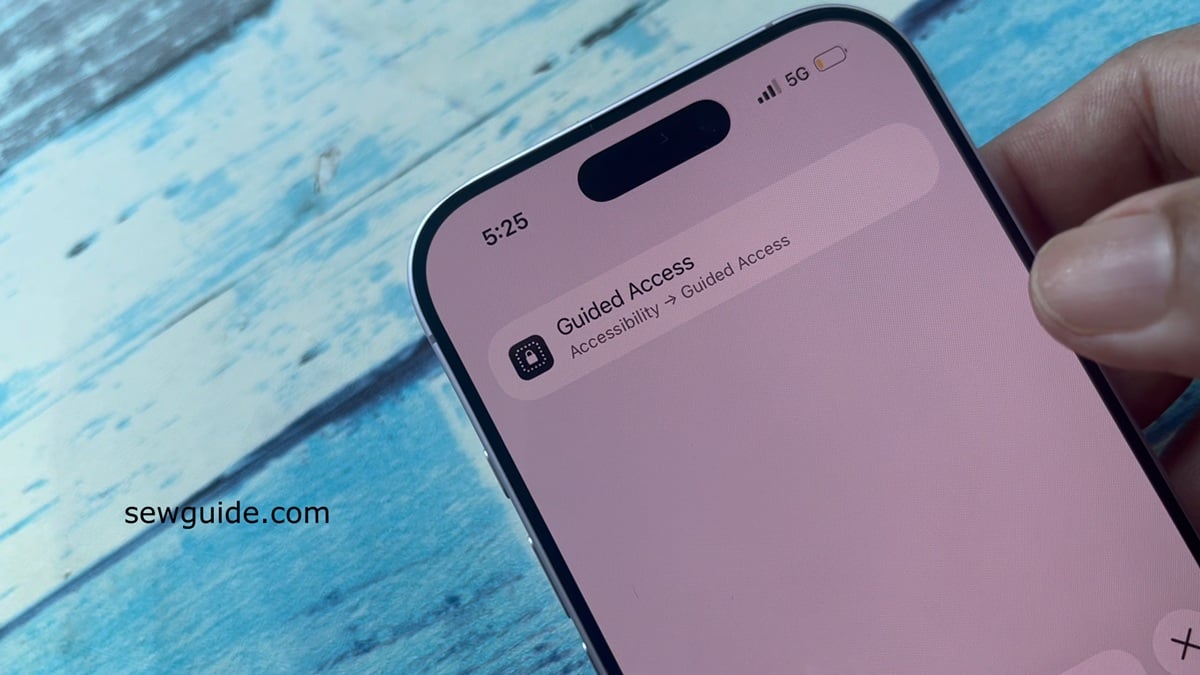
Go to Settings > Accessibility > Guided Access (Turn it ON).
I recorded a video to show you the exact steps for enabling guided access on iphone:
When your photo is open, triple-click the side button.
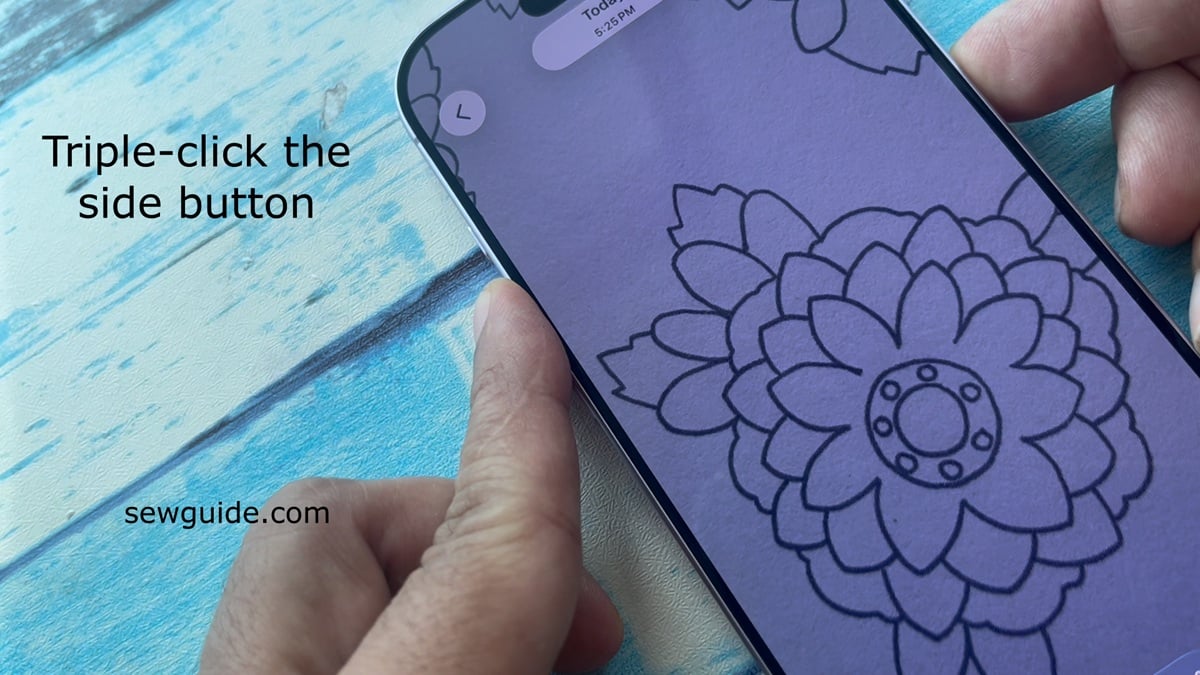
This locks the screen so that touching it with your pen or fabric won’t zoom or move the image.
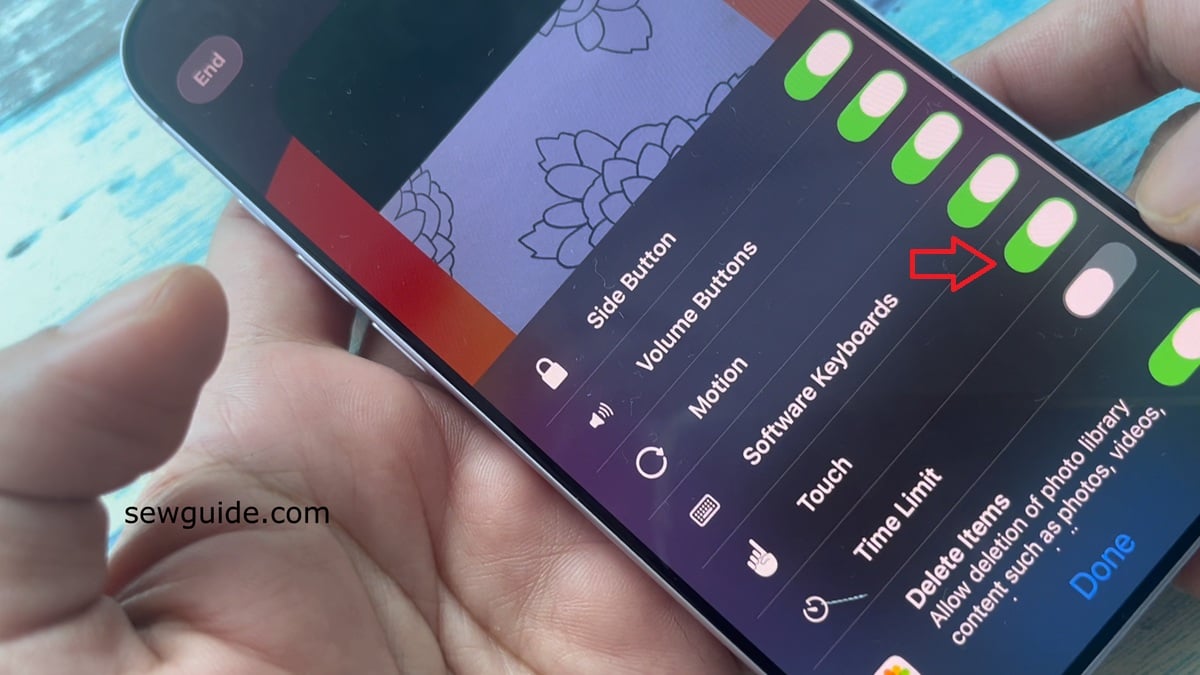
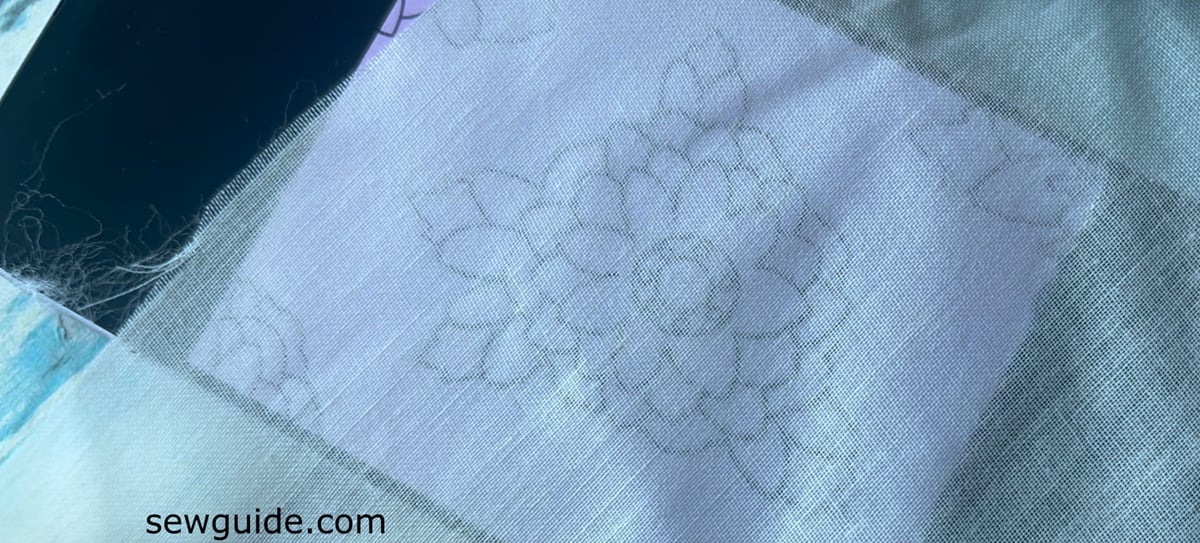
Now you can either use it with a print out or a digital file. Keep your fabric on top and trace it.
On Android phones
In android phones, there is no ‘disabling touch” switch. You will have to set the screen timeout to a longer duration, that is all. This is done using a setting called App pinning. Enable this under Settings, security and App pinning. (Go to Settings > Security > Advanced > App Pinning.)
Once enabled, open your image, open the Recent Apps screen, and select Pin.
Using apps
These are dedicated Tracing Apps like “Tracing Paper” or “Drawing Desk” which has a built-in lock feature designed for this exact purpose. But some of them gets stuck midway etc.
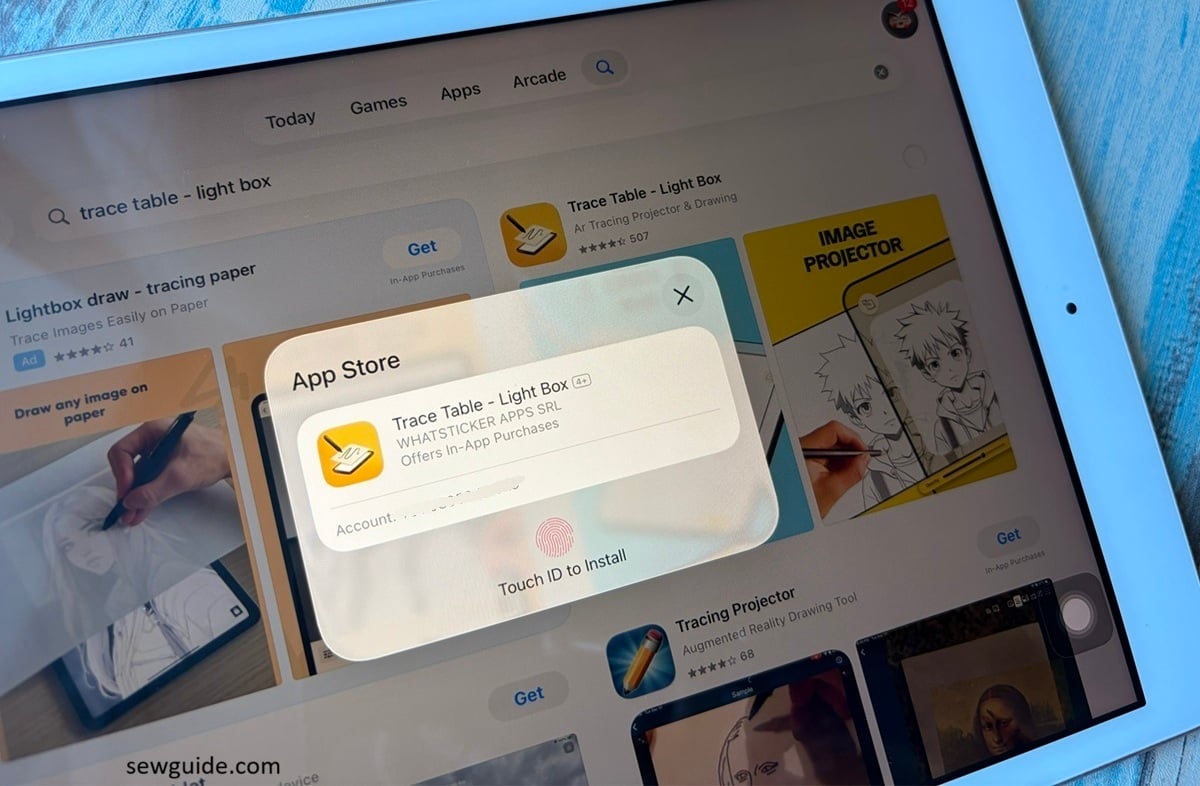
I found that the phone lock is the better way. But this one app was easy to use. You can watch the video for how to use the app – this feature is free to use.
Tracing to the fabric
Prepare the Fabric for tracing. Just make sure your fabric is flat. I always iron the fabric to make it smooth. If it’s very thin (like muslin), you can just lay it over. If it’s thicker, you may want to tape the edges of the fabric to the device so it doesn’t shift. And if the fabric is opaque you will not see the design- that is another thing to consider.
Use a Water-Soluble Marker / Heat erasable pens (lines disappear with water/heat) – this is the greatest hack in this whole method. I mean, it is such a boon in tracing designs. I don’t know how I survived all these years of tracing with pencil or chalk. But some pens leave a mark even after erasing it. So you will have to ensure that either you are not making a mistake or that your ink will indeed disappear.
I am a convert to the Heat-Erasable Pen (like the Pilot Frixion pen). It is great because once you finish your embroidery, you just hit the fabric with a hair dryer or iron and the lines vanish instantly.
Some people prefer a drawing with black background and white lines. You have to “Reverse” the Image or Invert Colors – – for making the background black and the lines white)
Now you get the lines to be white and on a black background. This makes the lines glow through the fabric like a neon sign. By inverting the colors to white-on-black, the light is concentrated only where you need to draw.
If you made your design on canva, and has a canva pro account – just ask the canva ai to do the invert and it does in one click.
I will tell you the method to do this same thing on a free canva plan : Open your project in the Canvaapp.
Tap on the image you want to invert so it is selected. Click on magic layers. This will deselect all the layers on your picture. Now delete the background layers. Change the color of the picture to white on the adjust setting and then change the background color to white. This works as neatly as with a canva pro account.
If you made the design on canva this is the easiet way.
If you already have the image on your phone, You just have to use the photos app in your phone.
On an iPhone/iPad, you can do this in the “Edit” settings of your photo app.
If you have android phone you can use an app like Adobe Lightroom or Photoshop Express and look for the “Invert” tool.
If you are looking for a Free Online Tool: You can upload the photo to a site like “PineTools” and select “Invert Colors.” Here is how to use it
Go to the website PineTools Invert Image on your phone.
Tap Choose File and select your photo from your gallery.
Once the image is uploaded, simply tap the green Invert! button at the bottom.
The inverted image will appear. Tap PNG, JPG, or WEBP to download the new version to your phone.
If your fabric is quite dark or thick, do this in a dark room. It will make the “glowing” white lines on your screen even more visible through the threads.


