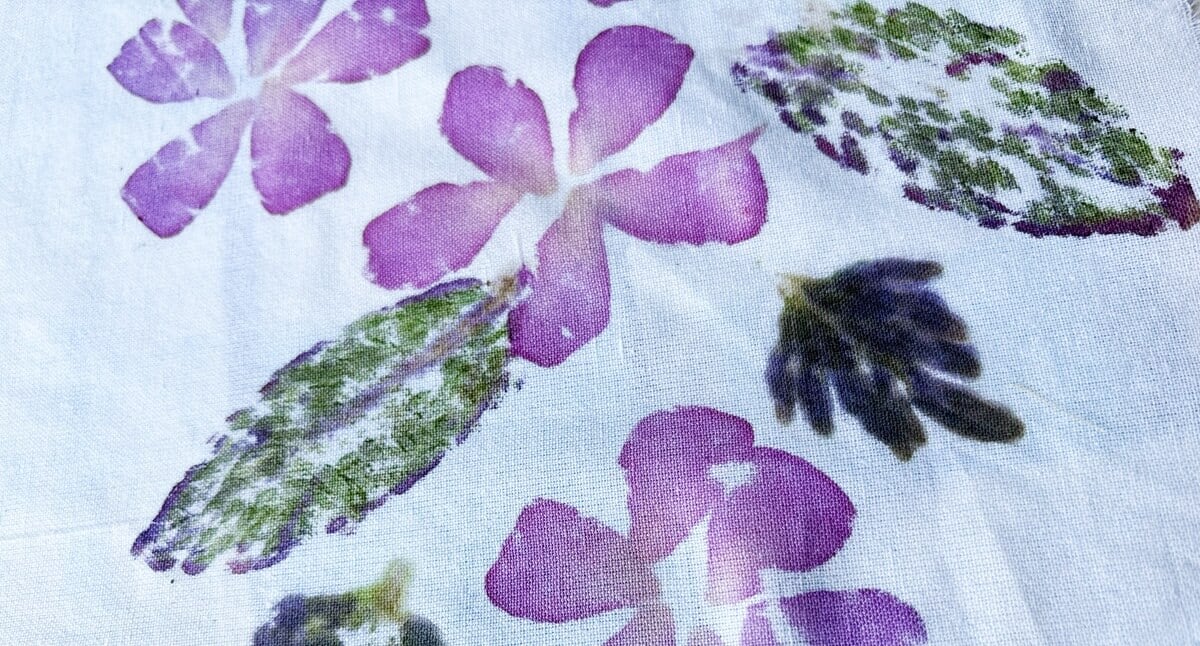
I love all kinds of printing on textiles and love all things sustainable and also love all things botanical (read: looking at flowers). So it was a given that I would also love eco-printing. But… reality proved to be a bit more nuanced than “love.” “Passable,” more like. Maybe because all those influencers teaching me eco-printing on Instagram were hiding something about preparing the fabric, choosing leaves, and controlling the chemistry that I didn’t know.
Anyways, I found a workaround and loved another technique even more than the way experienced textile artists recommended doing eco-printing. Here is my experience.
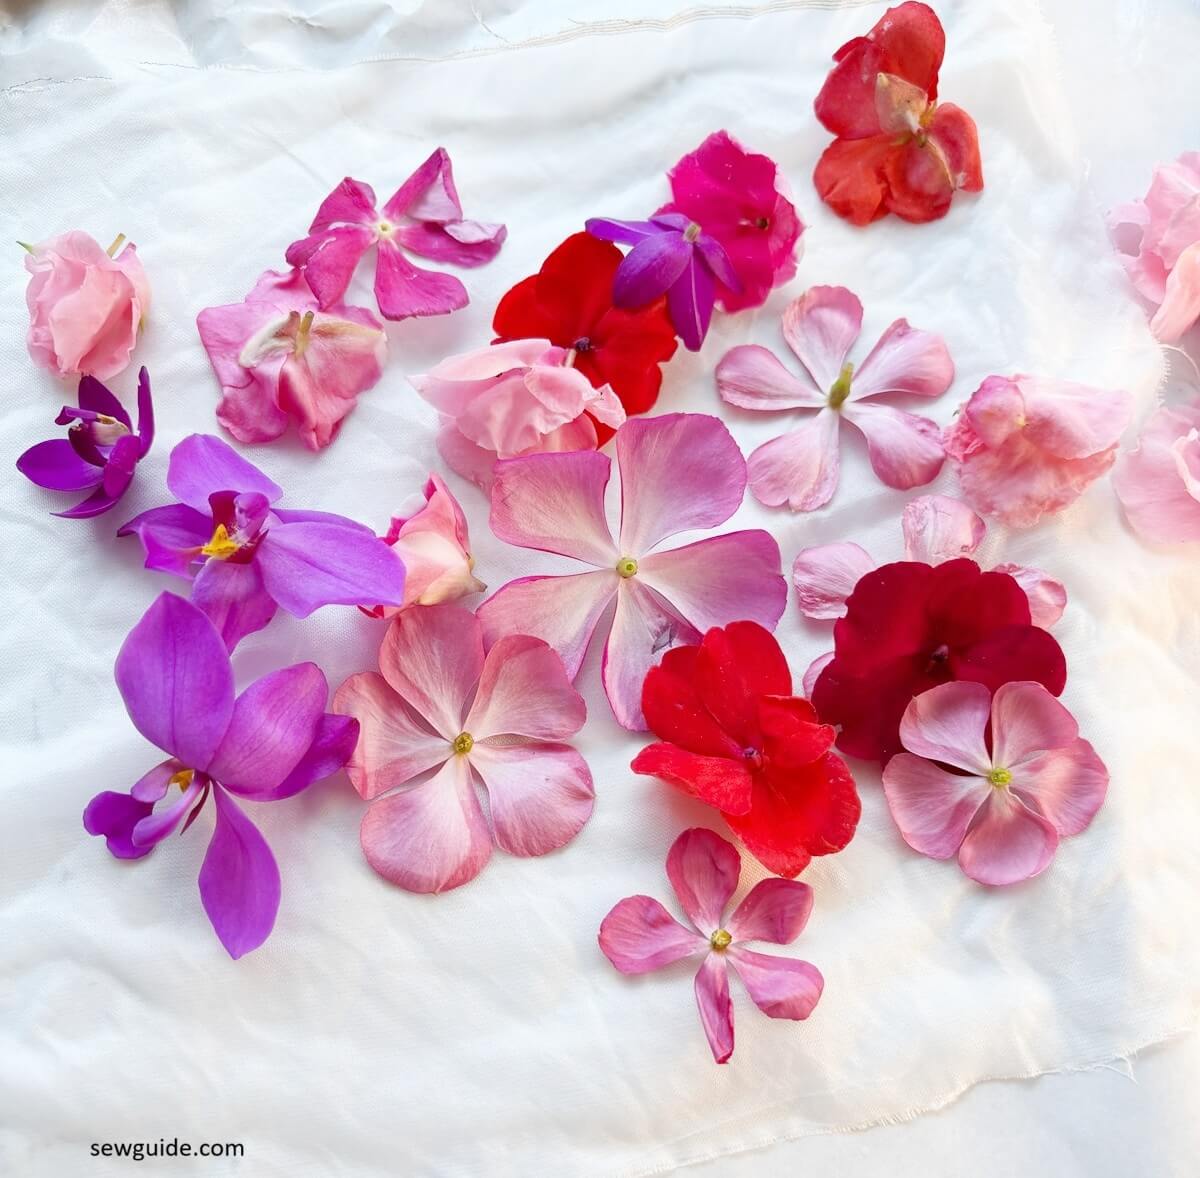
So, for eco-printing, what you need first and foremost are suitable leaves and flowers. I have those in plenty. I have a garden full of colorful flowers and even more colorful leaves.
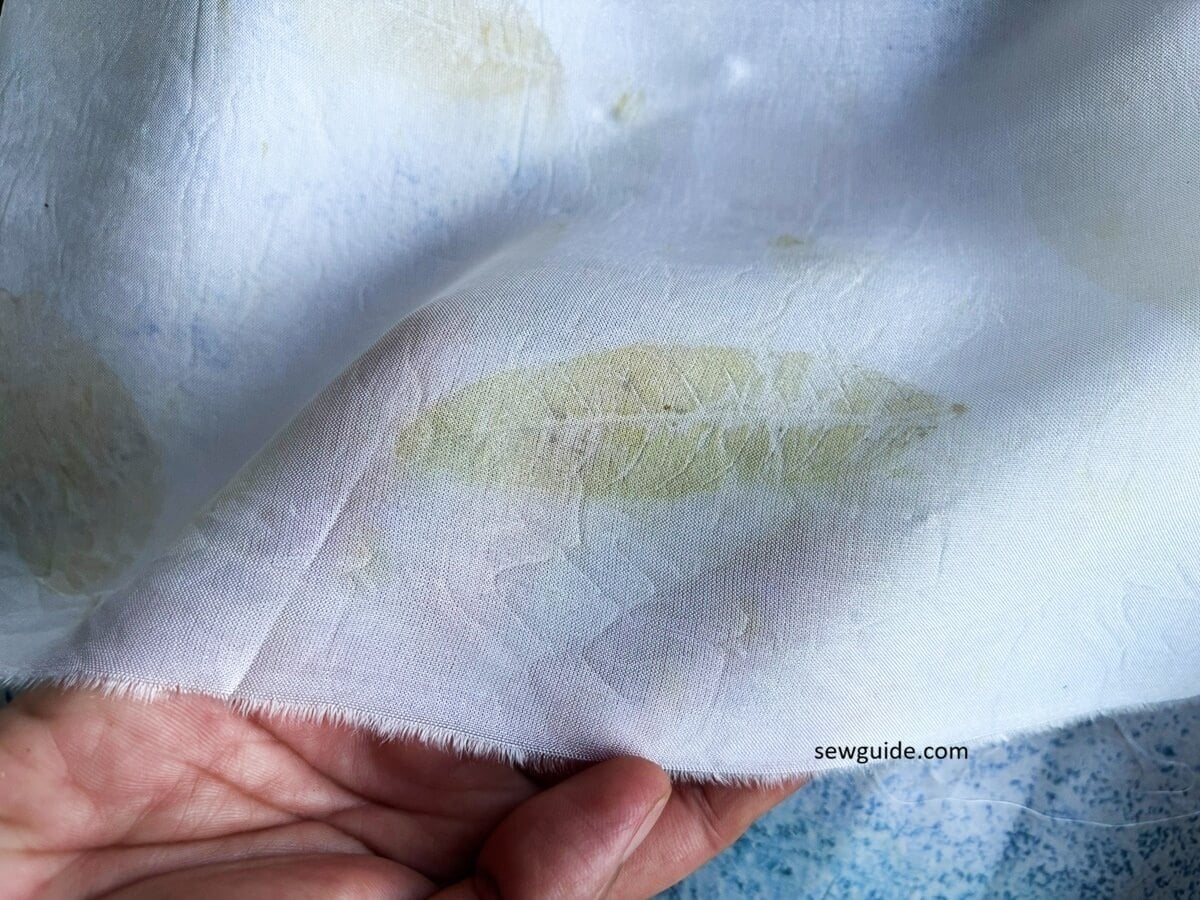
But, apparently, that did not mean that I could use all of them. The first time I tried eco-printing, I used leaves which I “thought” would work the best- those with fleshy bodies. Sorry to say, it was a waste of time and energy – it did not translate to colors on the fabric exactly.
What I learned was that thick, fleshy leaves often contain lots of moisture but not necessarily enough tannins to leave a clear print.
Then I used a method which anyone would use in this day and age – ask an AI agent. I opened Gemini and clicked a photo of my plant and asked, “Tell me, genie in a bottle, isn’t this the prettiest leaf in the whole world, and wouldn’t it make the most printable of them all?” But the result came back “negative.”
Gemini says that not every leaf or flower is suitable. It should be one that naturally contains enough pigments and tannins to leave a clear print on the fabric.
So I went back and used some mango leaves – I found that those Mango leaves gave me a much clearer print than the super fleshy leaves I tried first, but not as much colorful as some other leaves.
Here is the whole process of eco-printing
Things you need to start eco-printing
A bamboo rod, an extra fabric for rolling the fabric and protecting it, a steamer that will fit the rod, alum powder, lots of leaves and flowers, and cord.
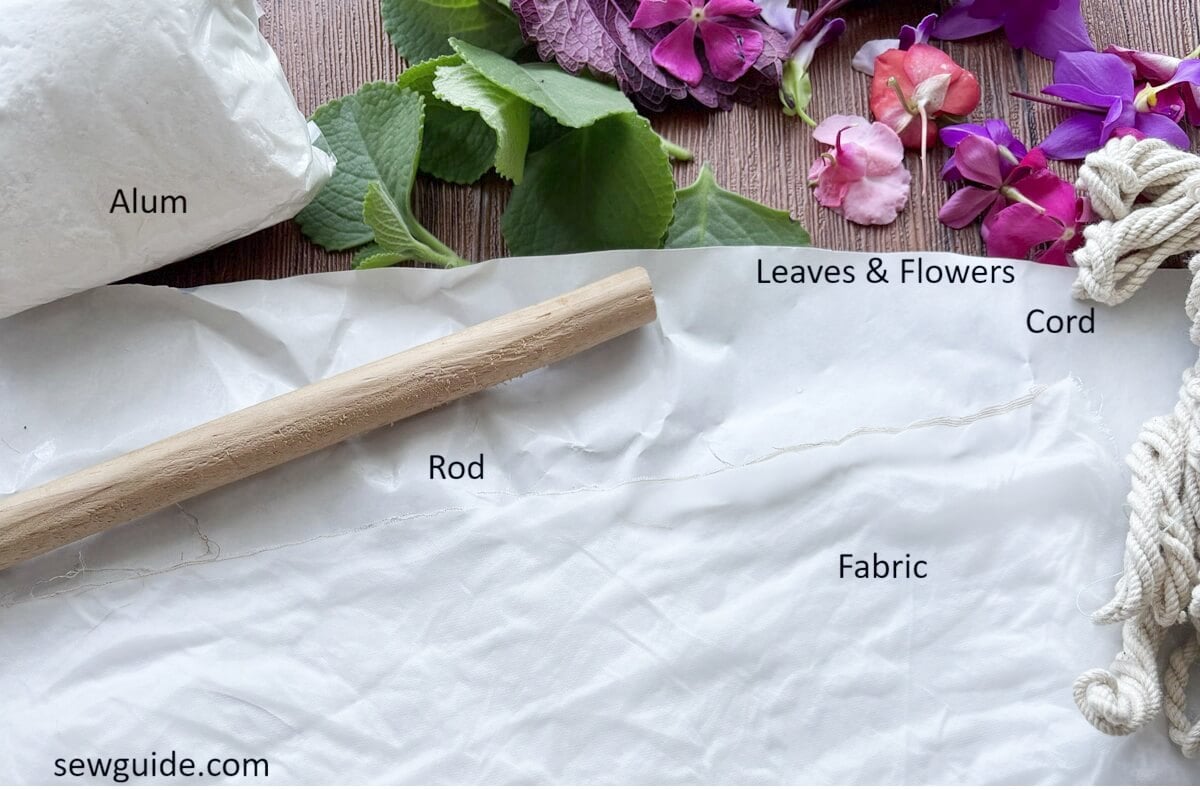
Step 1. Selecting the fabric
Choose natural fabrics like cotton, linen, silk, and wool. These fabrics are considered the best for eco-printing. I haven’t read a single tutorial that says you should use polyester. Maybe because this printing involves steaming and you are not supposed to heat up plastic – ahem, polyester. Nylon and acrylic are included in this “avoid” list.
Silk variants like habotai and even blends are supposed to work.
You should prewash the fabric in warm water with washing soda, synthrapol or your regular detergent. Use a ph negative detergent for silk fabrics.
Step 2. Mordanting the fabric
This refers to making the fabric ready to absorb the colors. I used alum powder as recommended by all. You have to calculate 10% of the dry weight of the fabric and use this measurement for the alum powder. Dissolve this in enough water to submerge the fabric.
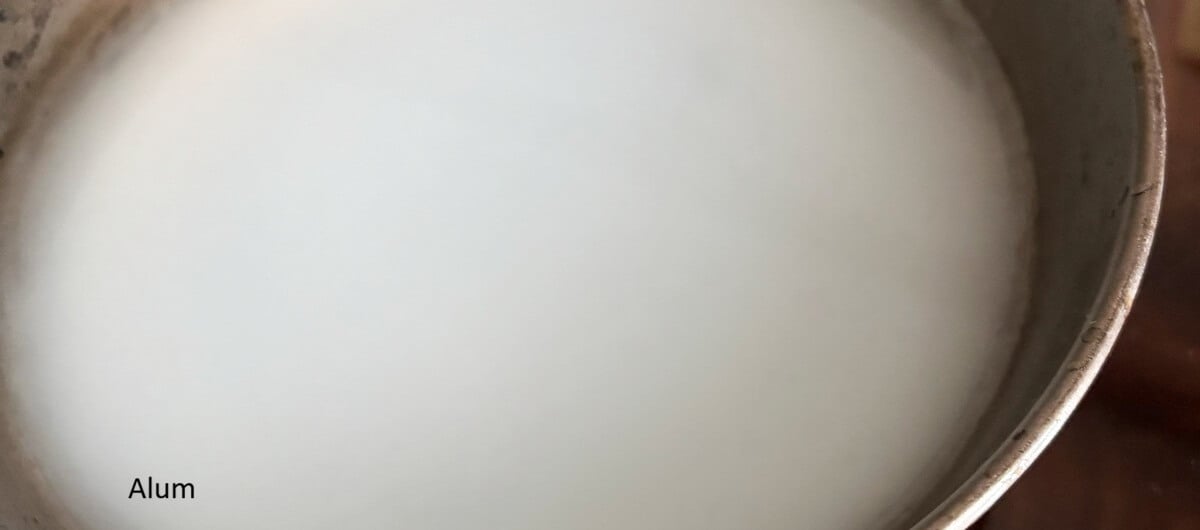
Heat it up and boil the fabric in this solution.
Rinse the fabric lightly to remove the streaks of alum. Use it straight from this process and proceed to the next step.
Step 3. Keep all your eco-printing dye materials ready
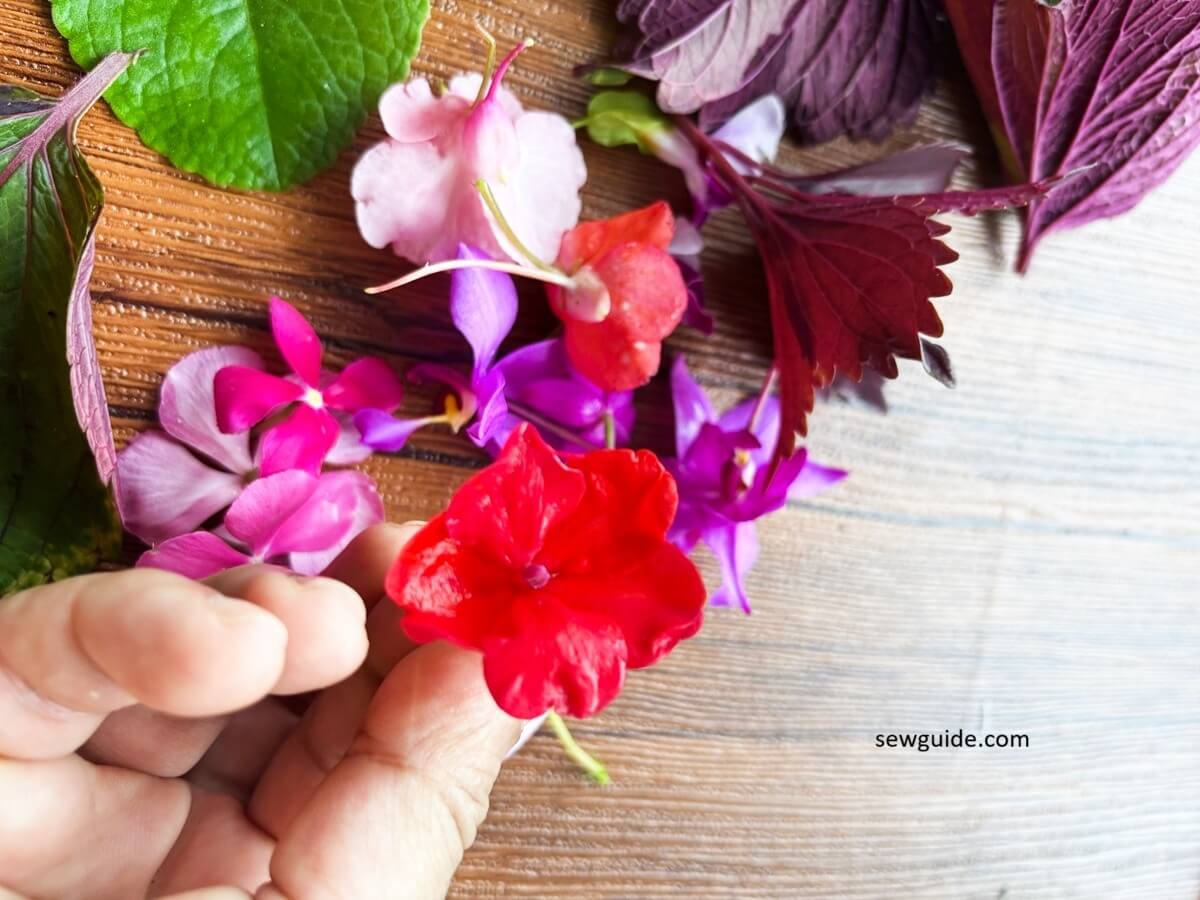
Collect your flowers and leaves. From my experience, this is better done after some experimentation. Not all plants give you the same result. One pink flower left me with a yellow color. And some leaves that look dark leave the lightest of colors. If you are going to print your costly white T-shirt, do not start without experimenting on a similar fabric first.
Leaves of oak, maple, walnut, eucalyptus, and teak are supposed to be the best. You can also use rose leaves and ferns. But you need not limit yourself to leaves and flowers. Other botanical products you can use are onion skins, turmeric, and pomegranate rind – all full of dye.
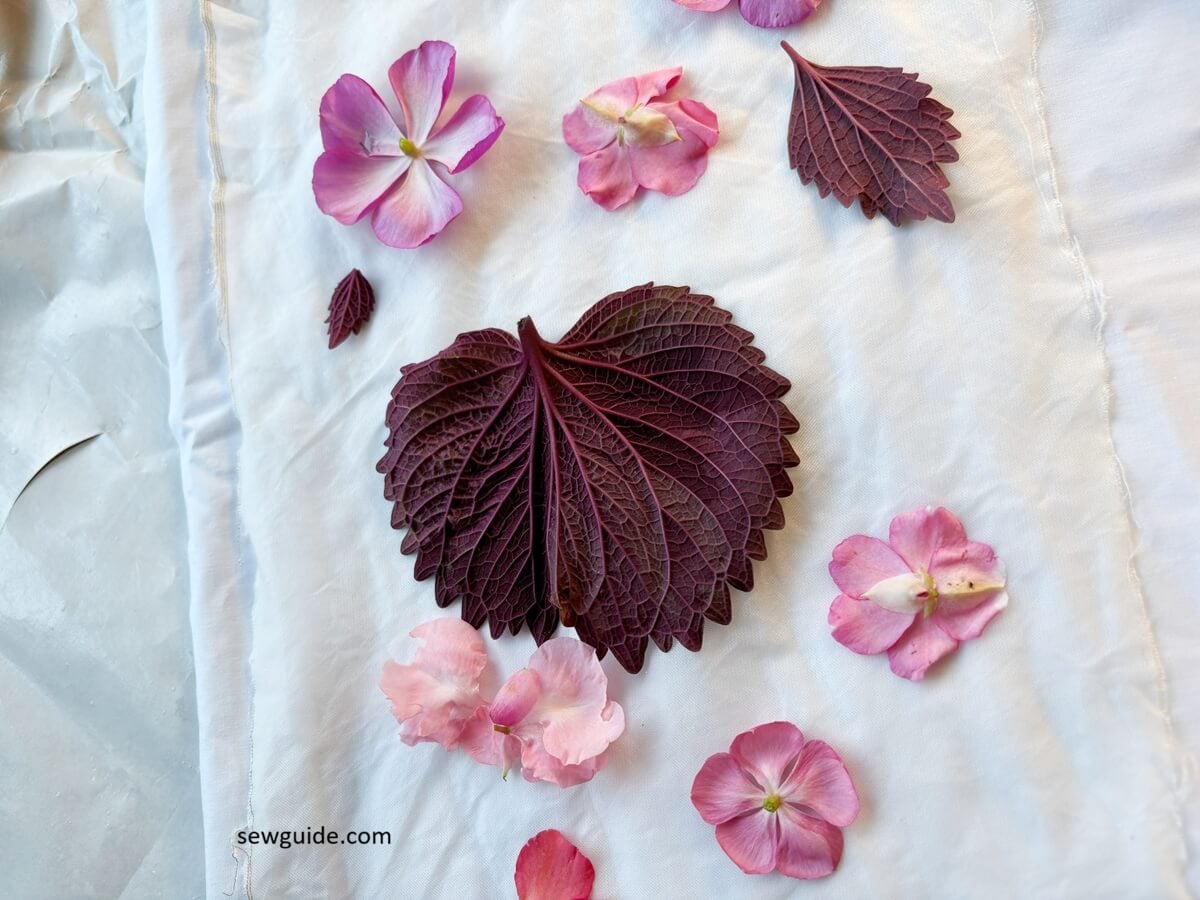
Flowers and leaf arranged on fabric
Step 4. Roll it up and steam
Keep the fabric, the leaves and flowers arranged on the fabric, then keep the extra fabric on top, and then the bamboo rod on top at one end. Now start rolling the fabric on to the bamboo rod from one end, till you roll the whole fabric on the rod.
Roll it up tightly. Rolling the fabric tightly like this around the rod helps keep the leaves pressed firmly against the fabric while steaming.
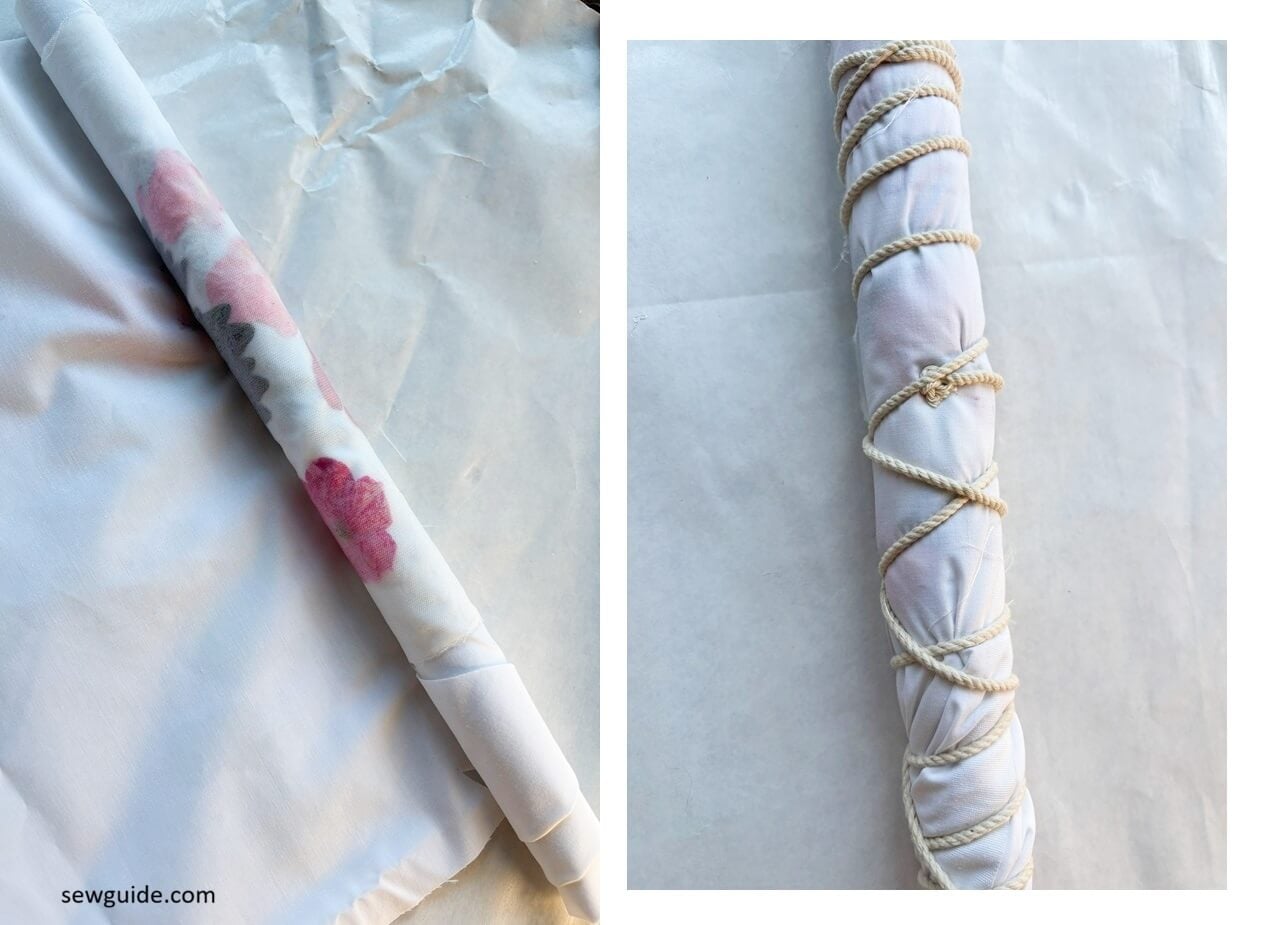
And then wind the whole thing with string or cord.
Then put it in a steamer and steam for… I think this is where I stumbled. My tutorial told me I was supposed to steam it for one hour. In these times of fuel and electricity shortages, how am I supposed to use my cooktop to steam for one hour? I may have steamed it for 30 minutes.
And then, I did another blunder. I read later that it is recommended to leave the bundle overnight before opening. I read that some textile prinitng experts leave the fabric untouched for even 3 to 7 days.
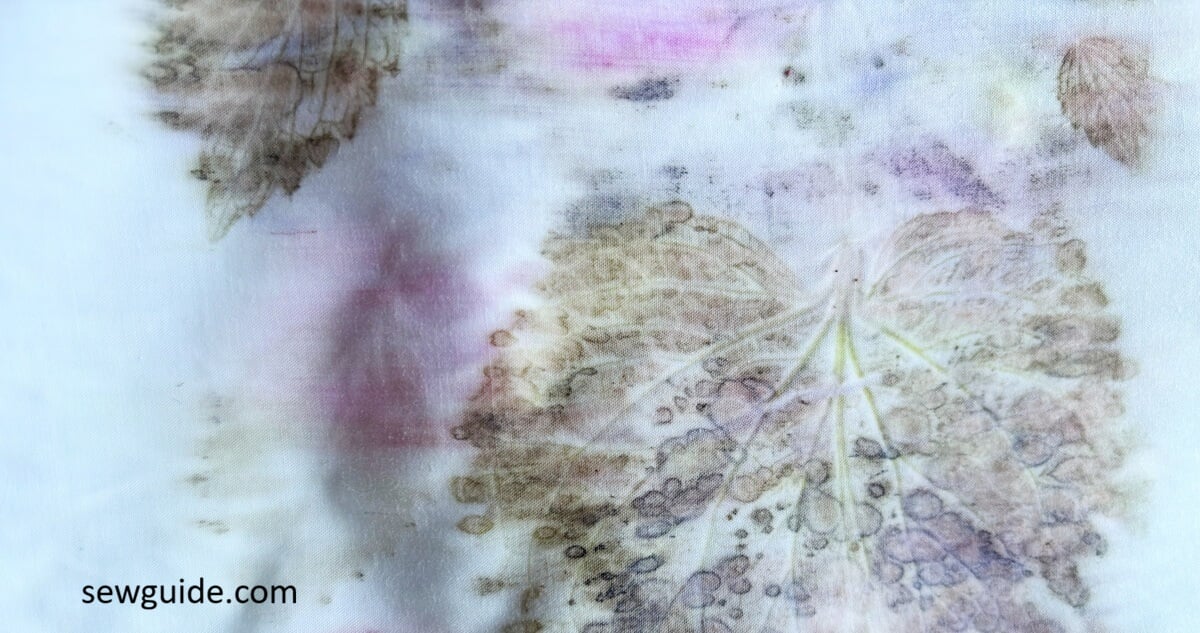
And when I opened my fabric, this is how it looked.
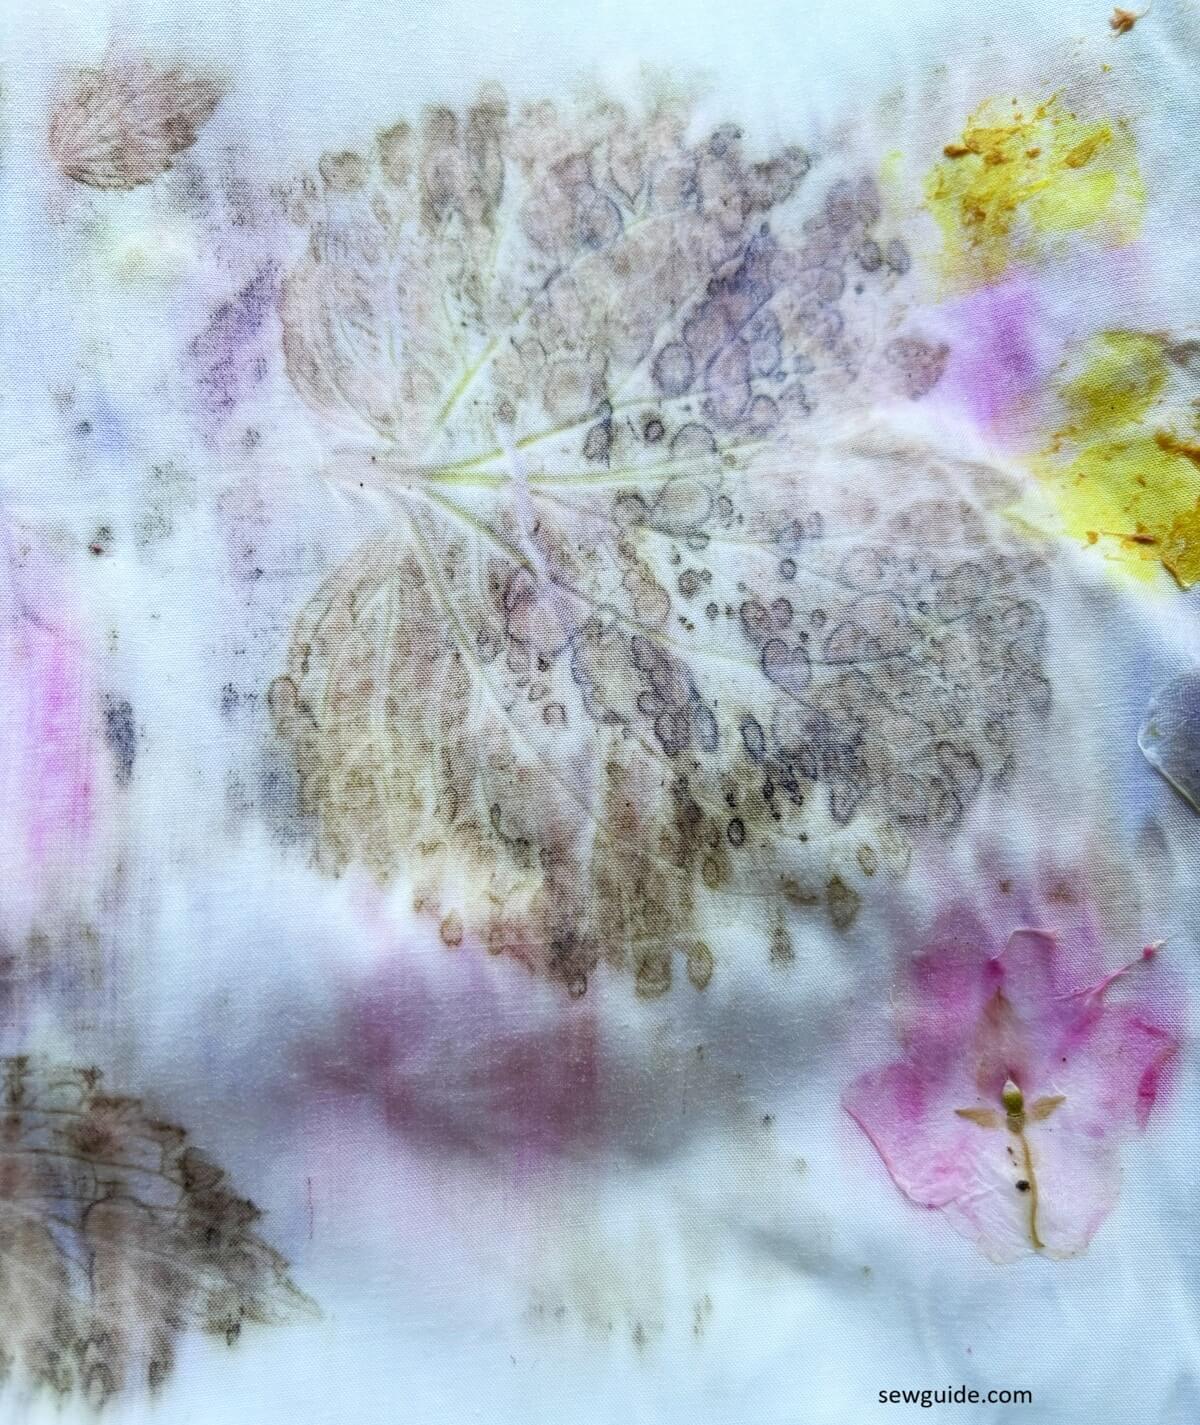
The color faded a lot more when I rinsed it. I didn’t think that all that effort was worth these faint prints.
Anyways you do and learn; Now on to the technique that worked for me.
I used the Hapazome technique. It works by transferring the color of the leaves and flowers by hammering- yes, literally using a hammer and pounding the color onto the fabric. I thought of someone I loathed and pounded with all my energy -you can try it. It is a great stress buster.
Remember that you do not pound the leaves directly on to the fabric – contrary to what the picture below shows. You keep another fabric in between and pound. And you may want to just use a rolling pin or rubber mallet instead of the iron one I used.
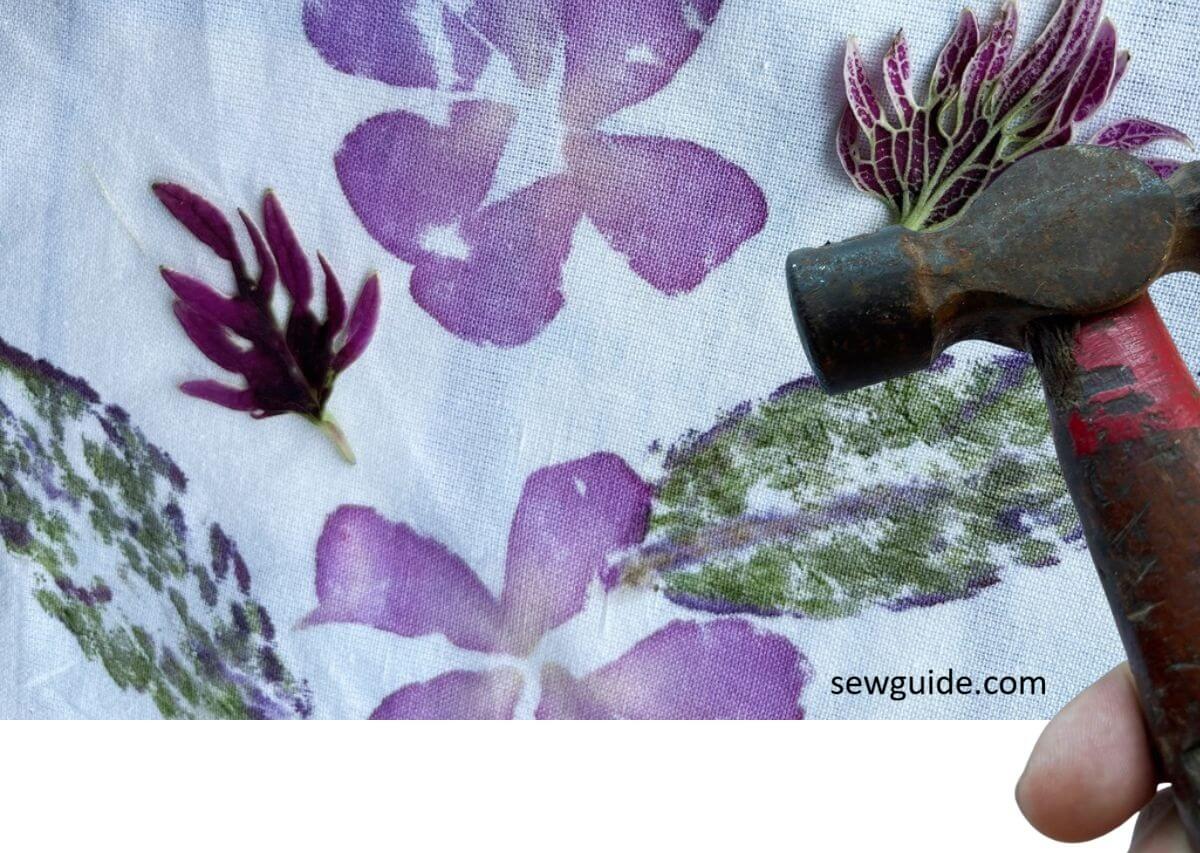
One thing to note- Place the side of the leaf with the more prominent veins against the fabric. (This is also worth experimenting – maybe you will like the other side effect better). Use brightly colored petals like that of pansies, geraniums, and marigolds and bright and colorful leaves
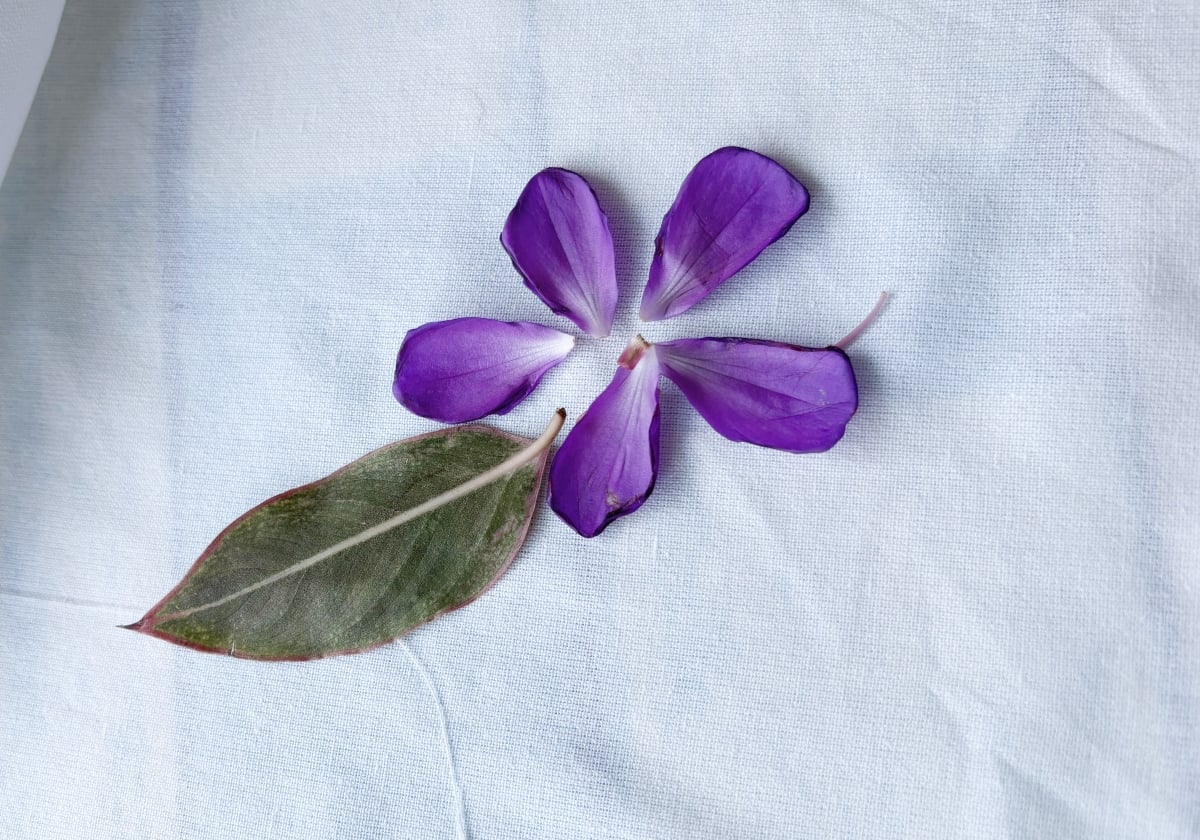
There are some basic rules in this pounding technique to get the best results: Get the fresh flowers – and use it immediately. DO NOT wait for the wilt. And better to get it on a fresh summer day.
When hammering, start from the edges first. This prevents the color smudging out from the center which is more fleshy.
This is what I got after I hammered the lovely flower in my garden to its last breath and carefully scraped off the squashed plant remains. One more thing to note : Wait till the petal is dried to remove it off the fabric. Otherwise the colors may smudge.
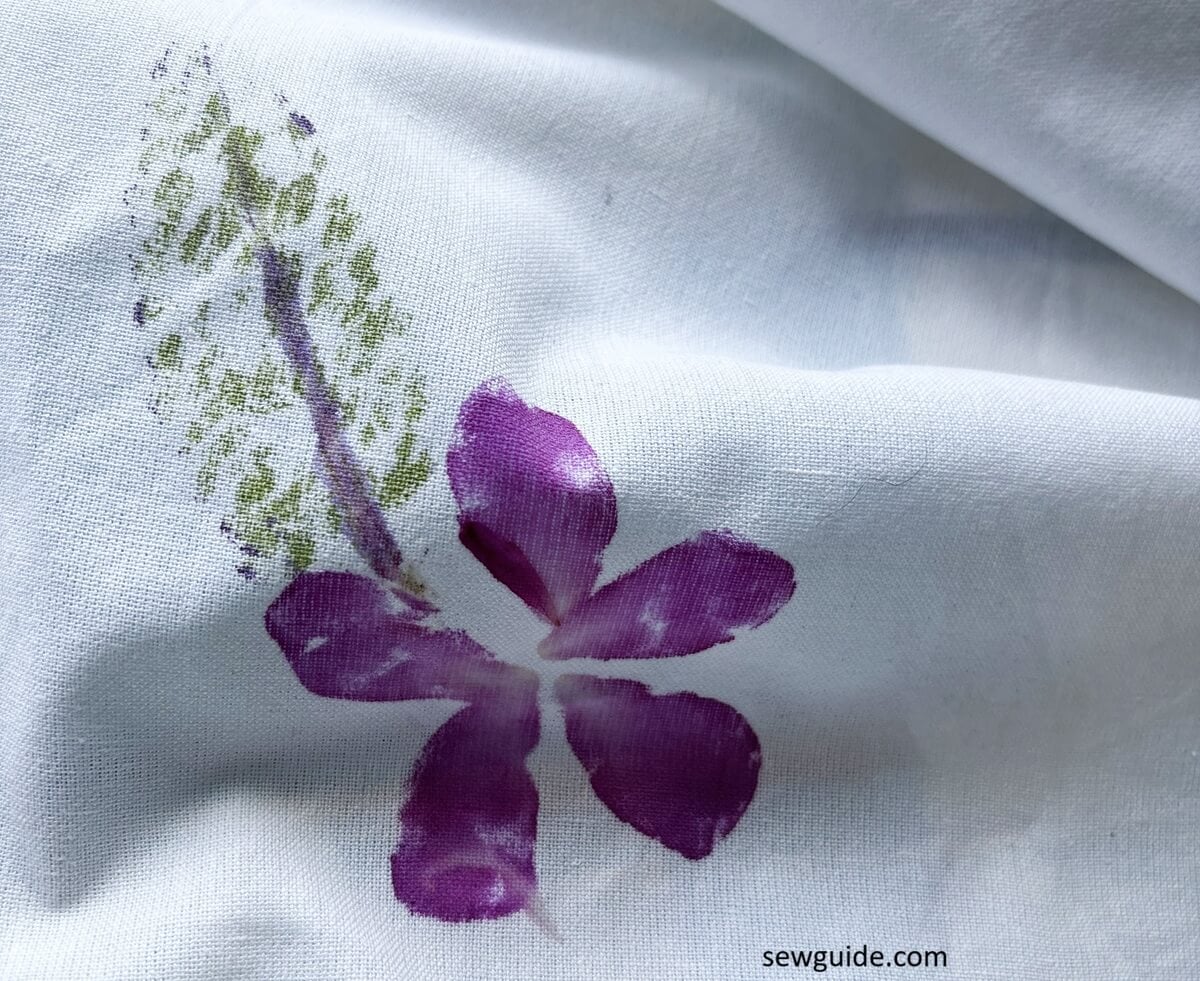
All the lovely color and shape transferred onto my fabric… I am in love again with eco-printing. Suffice to say – After trying traditional eco-printing, I found that Hapa Zome eco-printing suited me much better..
If you want to make symmetrical designs with it, just do not use another fabric as a barrier. Fold over your fabric and then pound over it – when you fold it over and bash it, the print will mirror onto the other side.
Additional notes on Mordants you can use for eco-printing
Alum
Alum is the mordant most beginners start with because it is easy to use. I bought a small packet of Alum powder and it is going to last for some more printing. ALum helps produce bright, clear colours, especially yellows, greens and oranges, without changing the character of the fabric.
Iron
Iron darkens natural colours, turning them into greys, blacks and olive greens, and can make leaf details appear sharper and more dramatic. But do not use too much. Just a rusted nail is enough. Too much iron can weaken natural fibres and make the fabric feel stiff or brittle over time.
Copper
Copper also changes the colours produced by leaves and plants. It often shifts them towards olive greens, warm browns and, with some plants, soft turquoise or blue-green tones. Like iron, it is generally used in small amounts to influence colour rather than as the main mordant.
Tannin
Tannins is what you get from your leaves and flowers- and you should select ones with tannin to get the best results. Things with tannin are oak galls, black tea, pomegranate rind and sumac. Many experienced eco printers first treat their fabrics with tannin and then follow with an alum mordant. This two-step process helps the fabric absorb more colour and usually results in clearer, longer-lasting prints than using alum alone. Maybe I should have done this.
Post Eco-printing Process
What you do with the fabric afterwards is very important in eco-printing , as in any printing and dyeing. Checkout this post on making the printing permenant. In a nutshell – After you have opened up the fabric (leaving it in for days), rinse the fabric gently in cool water to remove any loose plant material. Wash it by hand with a mild detergent for the first few washes. You also have to avoid prolonged direct sunlight, as natural dyes can fade.
As for the fabric I printed with hapa zome technique, I do not think the color will last a wash. It is only for sewing projects like a pouch or an embroidery display which will never get washed.
Related posts : Most popular Textile printing techniques ; Have you tried bleach printing – you can try it with leaf – not necessarily eco-printing, but gives a nice look.



I really liked your article until you admitted to using a robot to scrape the internet for you rather than do your own legwork researching.
I use tools to help me gather and organize information faster, just like I use sewing tools to help me sew faster. I know it is not the same, because of what it is doing to the world. But sometimes convenience precedes sentiment. And I like to see whether the things I do are correct or not.
I get why that line gave you pause, though. I appreciate you for telling me.