To tell you the truth, the headline I wrote is a little misleading. There is no way that you can add studs to clothes without leaving holes. But there are methods you can follow to minimize the damage. And the beauty of studs and the way light reflects off them may make you leave them on your clothes – because the best way to avoid holes is simply never to remove them. Problem solved.
It is another matter if your goal is to add studs securely to clothes without having them fall off – you just need to follow the procedure. That is all.
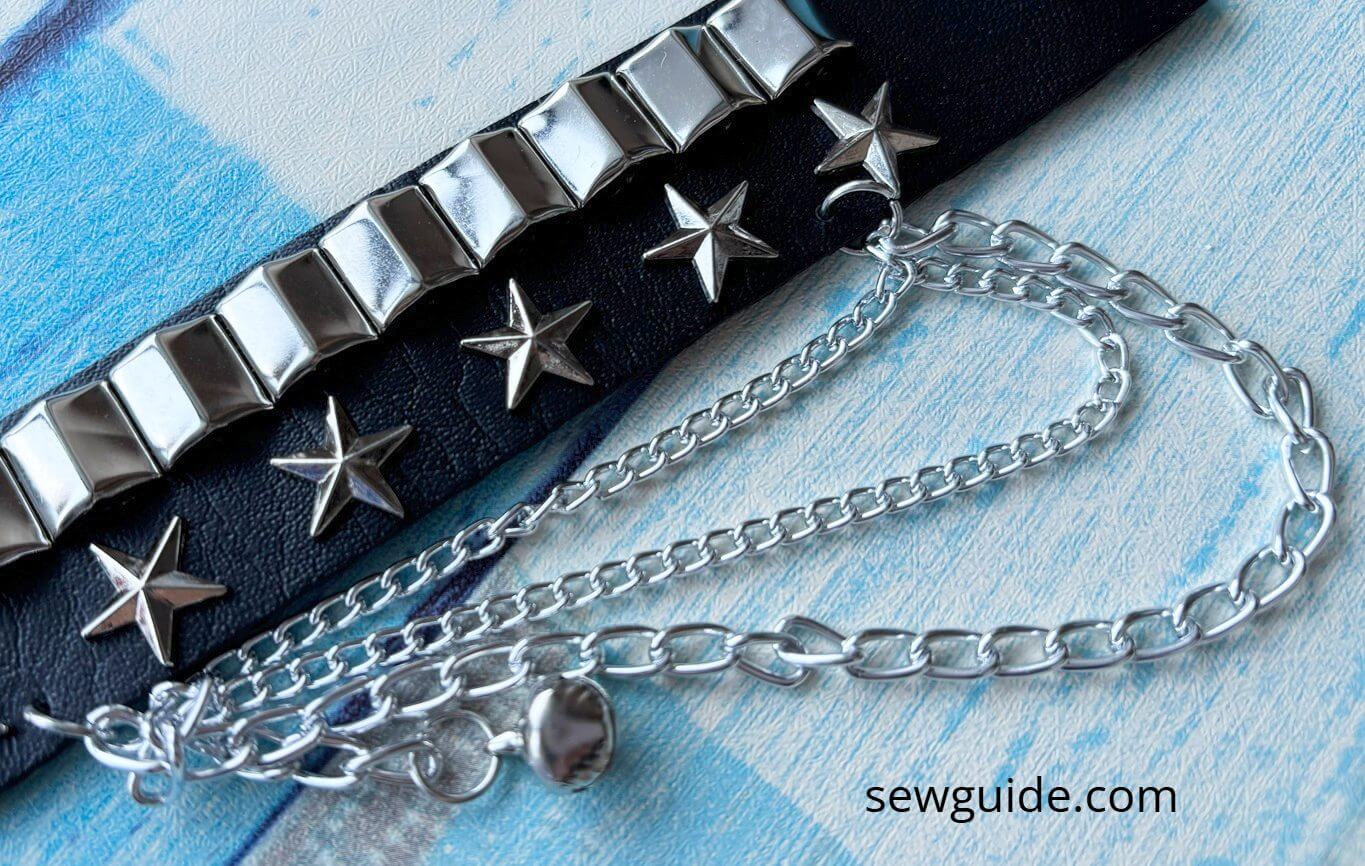
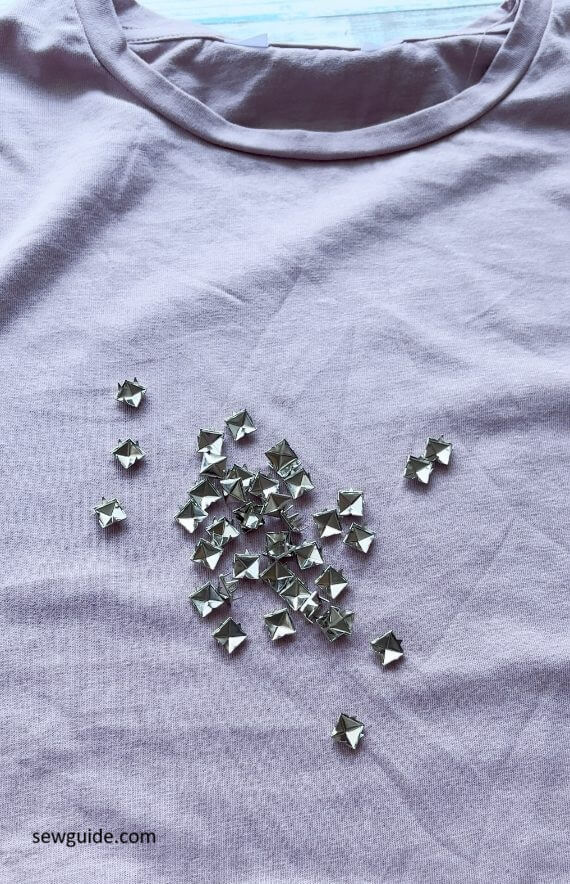
There are many different types of studs you can use on clothes and accessories. The spiky kind, which my punk-influenced daughter bought a lot, is on my least preferred list.

Punk cuffs and spiked chokers are staples of punk fashion.
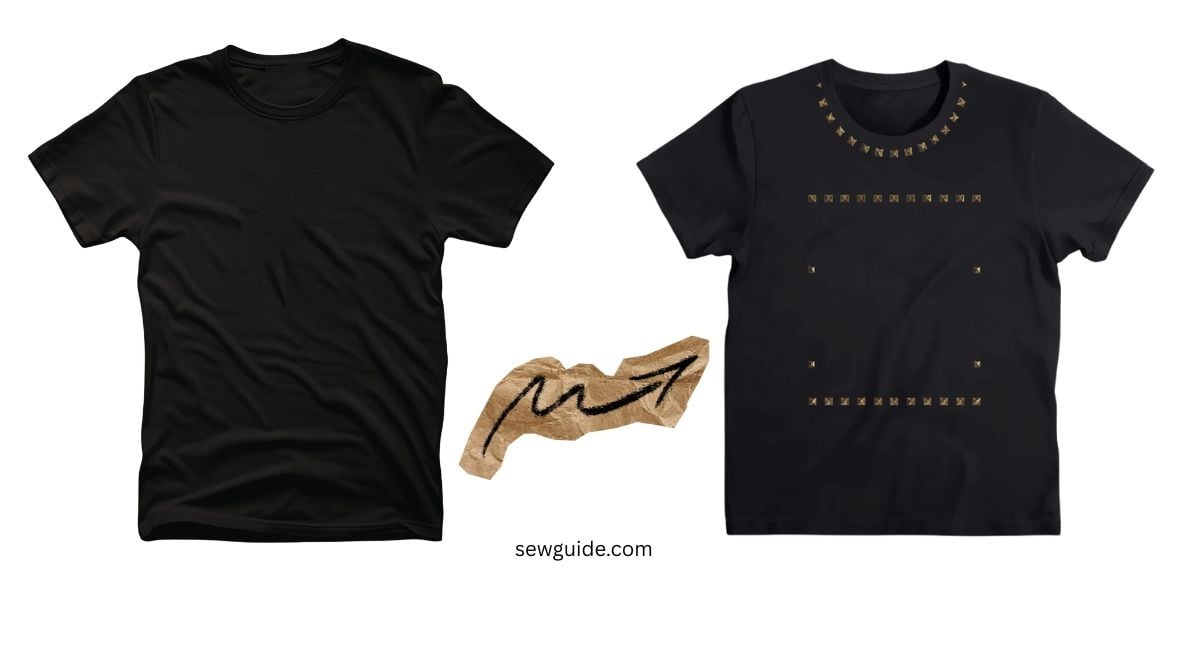
There are some which looks especially pretty: looking like rhinestones. The softness of fabric and the contrast the metal embellishment bring to the table is what attracts people to studs. Just add some studs to your denim jacket or denim and see the difference.
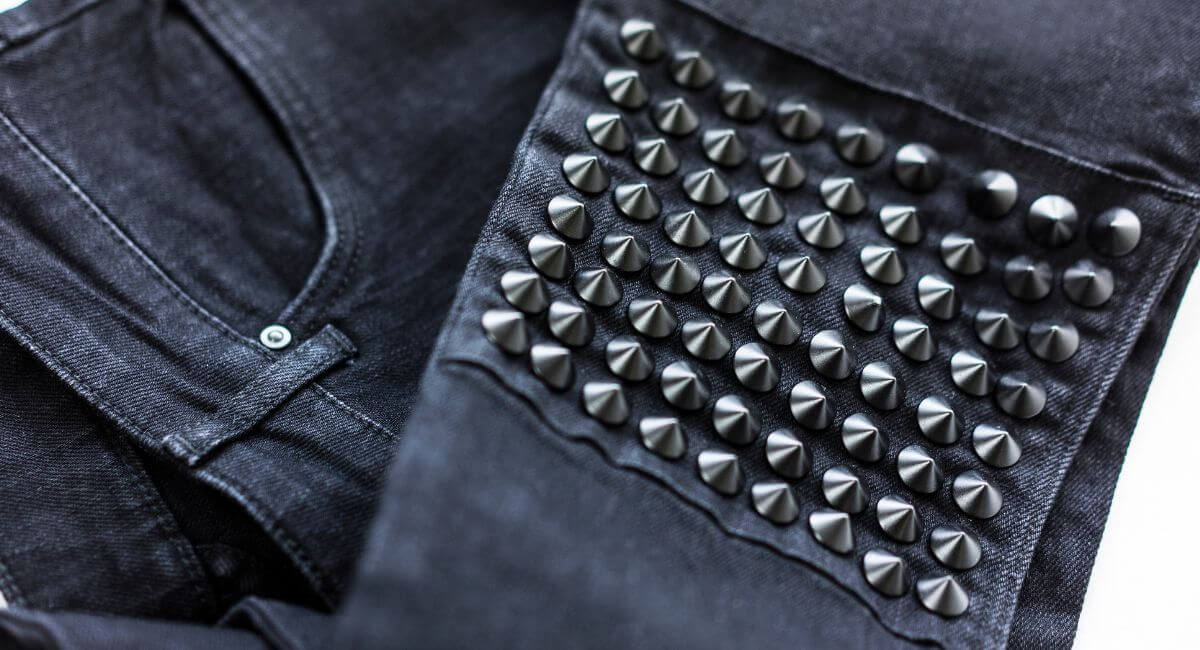
People like studs not just for their prettiness, I guess. It is the attitude that they like. They are strongly associated with some aesthetics like punk and biker fashion. To turn your denim into punk style, you don’t even have to distress it; just add some studs…that is all.
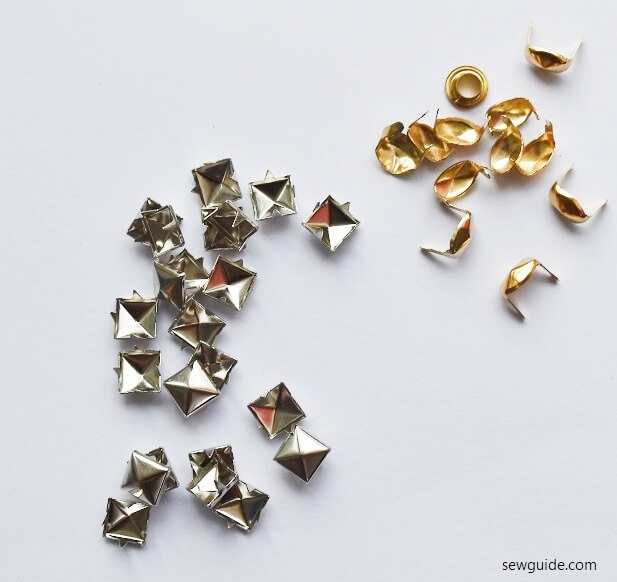
Prong (claw) studs
These are the most common type of studs. They have small metal claws on the back that fold inside the fabric.
The ones I bought had the smallest claws and had difficulty folding on to the fabric. And they were refusing to go through thick layers, once I had added interfacing. When buying these, do check for the length of the claws.
Screw-back studs
I like these better as there is less chance of error -as these come in two parts: the top and a screw, and they are very good at holding on to the fabric from both sides. They are even good for thick fabrics like denim or leather.
Iron-on studs
These are applied using heat. They are quick to use. But, yes there is always a but, they are not as durable as other types.
Watch the video for attaching the studs with claws:
Step-by-step method for adding prong studs
You may want to use flat nose pliers to apply them, especially on edges but I could get my hands only on an awl needle and I used it . You can also use the tip of scissors too. Basically something strong and metal.
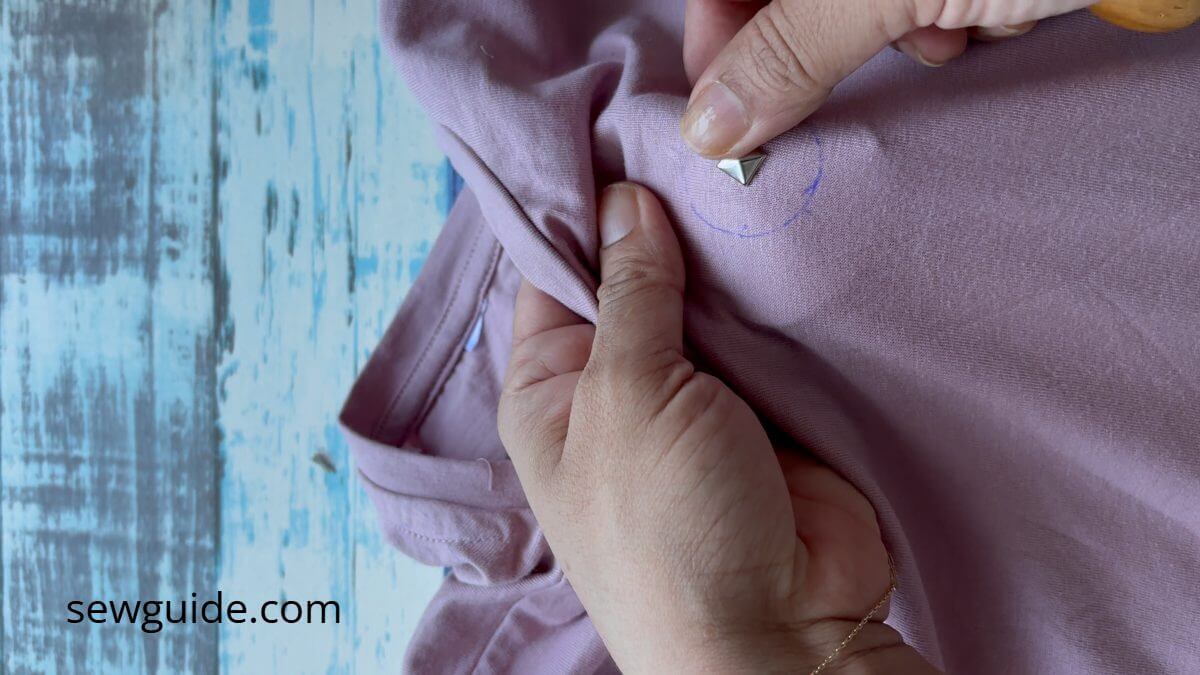
Mark your design.
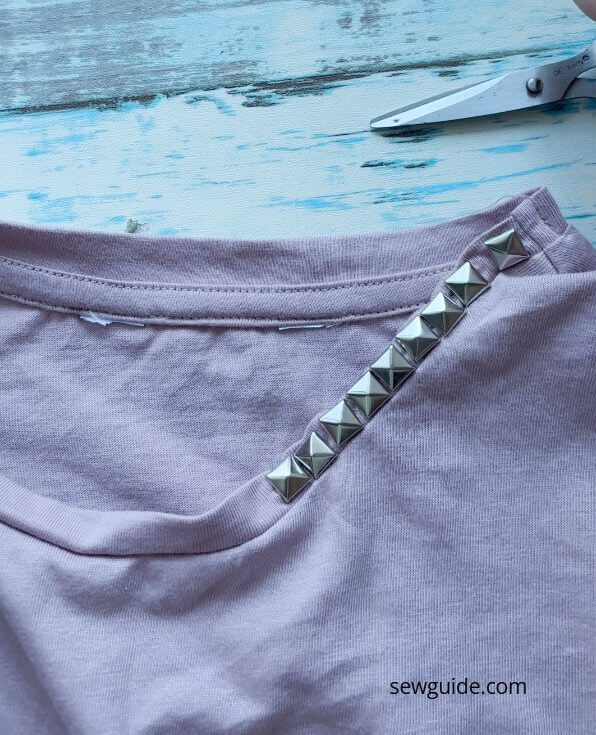
You may want to skip this step but not a wise thing to do. You will get uneven design. Usually they are arranged in lines or grids.
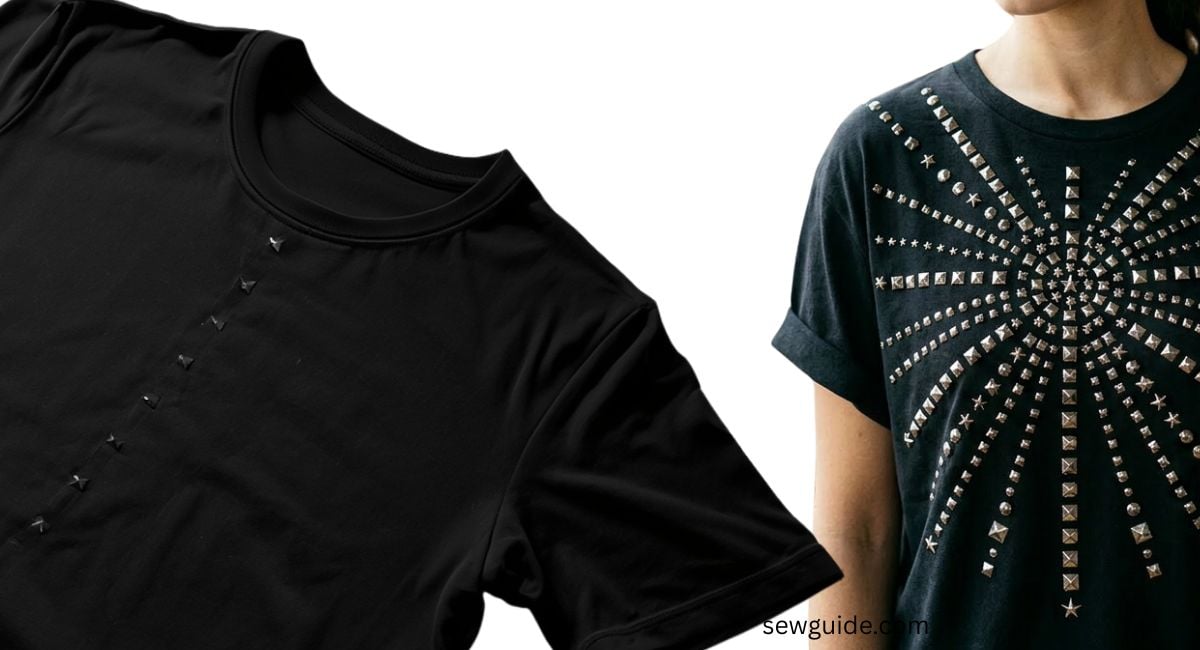
This regular pattern creates a beautiful recurring pattern on clothes. But sometimes scattered designs can also look good. You can also decide on how much to add. A few will add a subtle decoration where as if you are aiming for a statement piece, add a lot.
The claws can also irritate skin, so keep that in mind. If you have sensitive skin think twice about where the back of the studs will touch your skin.
Another thing is to check the design on the studs. The studs I bought had a pattern and I skipped one and attached in another direction – it made the design a little less pretty.
Backing
Keep a similar drape fabric as the clothing to use as interfacing . Especially on weak areas like knit fabrics (read tshirts).
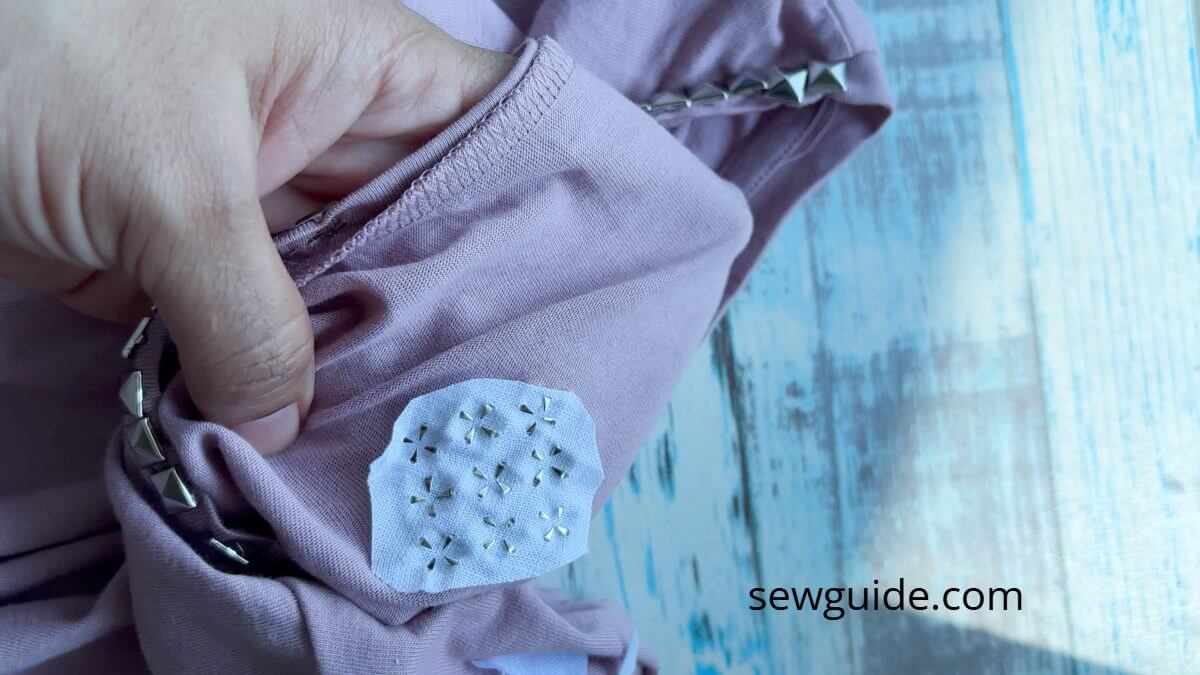
This is the secret I told you about- the one that will reduce the damage to fabric.
Press metal studs through fabric using stud prongs.
Use the tip of scissors or an awl to make very small holes. Do not cut large holes – they will only get bigger. The holes should be just big enough for the tip of the claws. On thin fabrics, you may just have to press with the prongs and holes will automatically be made.
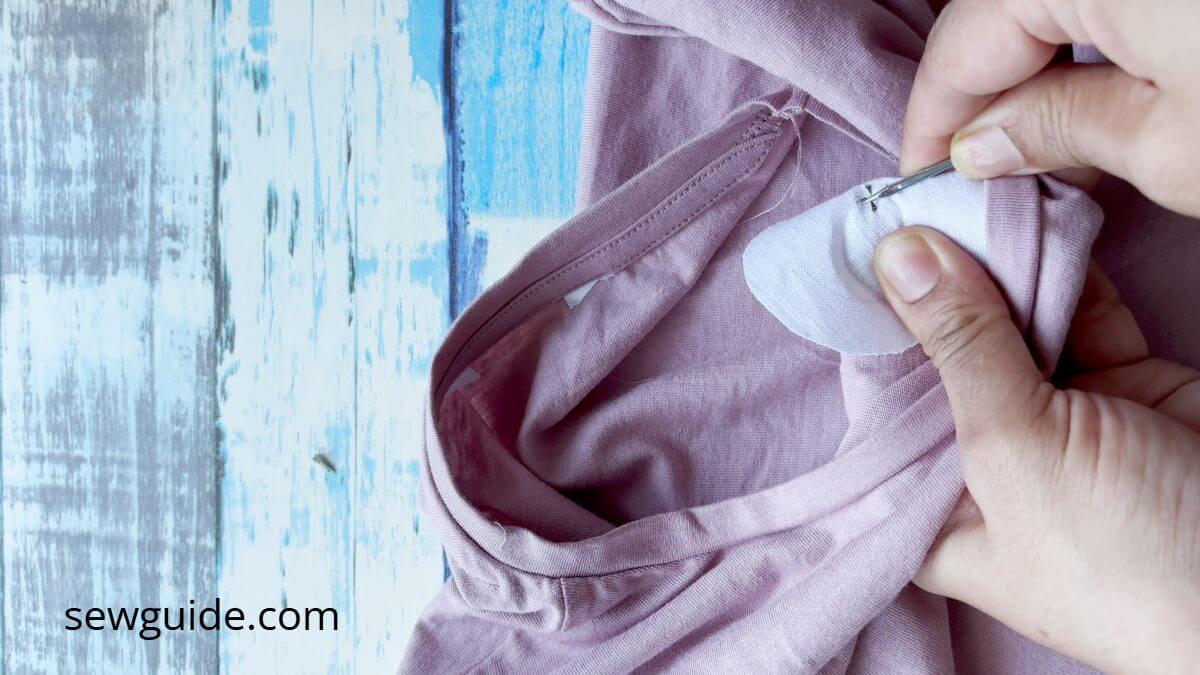
Push the prongs through the fabric from the front side.
Turn the fabric over. Use pliers to bend the prongs flat against the back of the fabric. Press firmly but gently. If the prongs are not bent tightly, they may fall off. All the four claws should be tight on the fabric. But if they are overly tight wrinkles will form. So it is tight rope. Especially on tshirts. Denim is thick and this is a no issue on jeans.
Pull lightly on the stud to make sure it is secure. If it feels loose, press the prongs tighter.