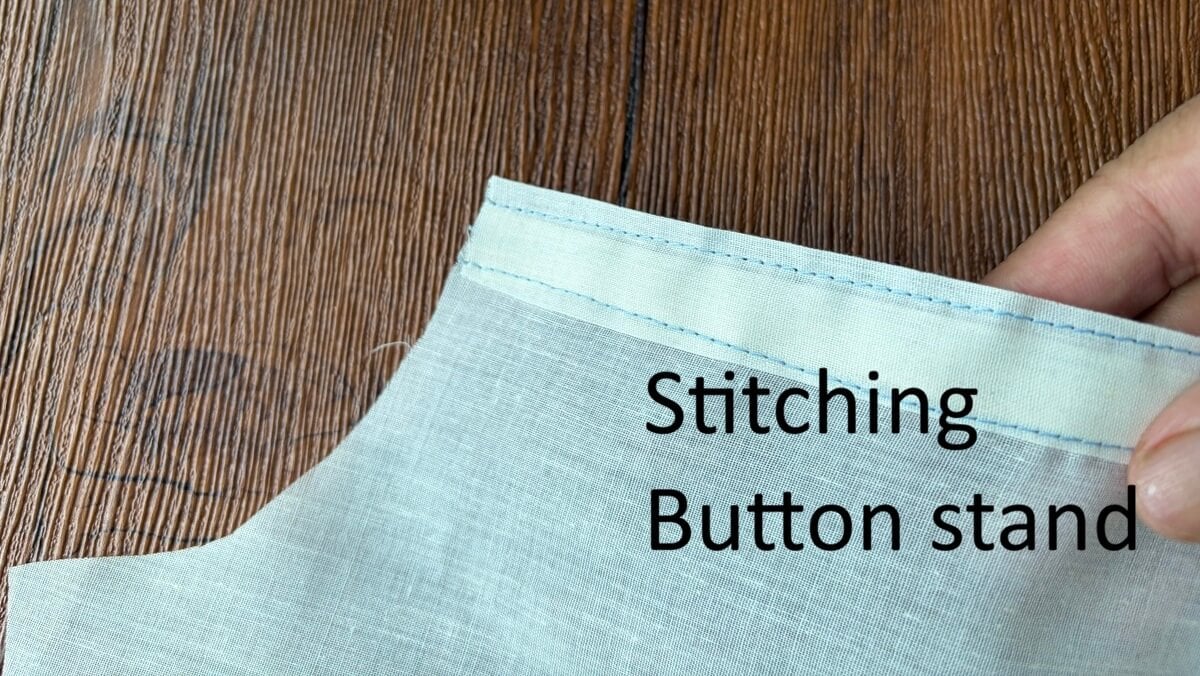
A button stand is needed as a stable base to attach buttons on the front of your garment as well as to give your buttonhole the needed strength to withstand the pull of the buttons. There are more than one way of sewing these stands, including just folding the center fabric edge back to form the most basic extended buttonstand to making a separate button hole stand with a separate fabric.
But as someone somewhat terrified of messing up sewing buttonholes, the star of this post is the no-sew buttonhole stand – -where you sew a stand, but not the buttonholes, never the buttonholes. The stand acts as buttonholes. Read on to know more.
How to Make a Button Stand: Easy Methods
Simple fold over button stand
This is the most simple method, as the button stand is cut as an extension of the bodice. When you cut the garment front, the center cut is extended beyond the opening and this extended portion is folded back to create the stand.
The way you stitch the facing determines how neat it looks.
Here is how I do it when there is a facing to sew for the neckline. Cut out the bodice with extra for the button stand – double the width of the stand and 1/4 inch extra for seam allowance. Attach interfacing to the back of the buttonstand fabric.
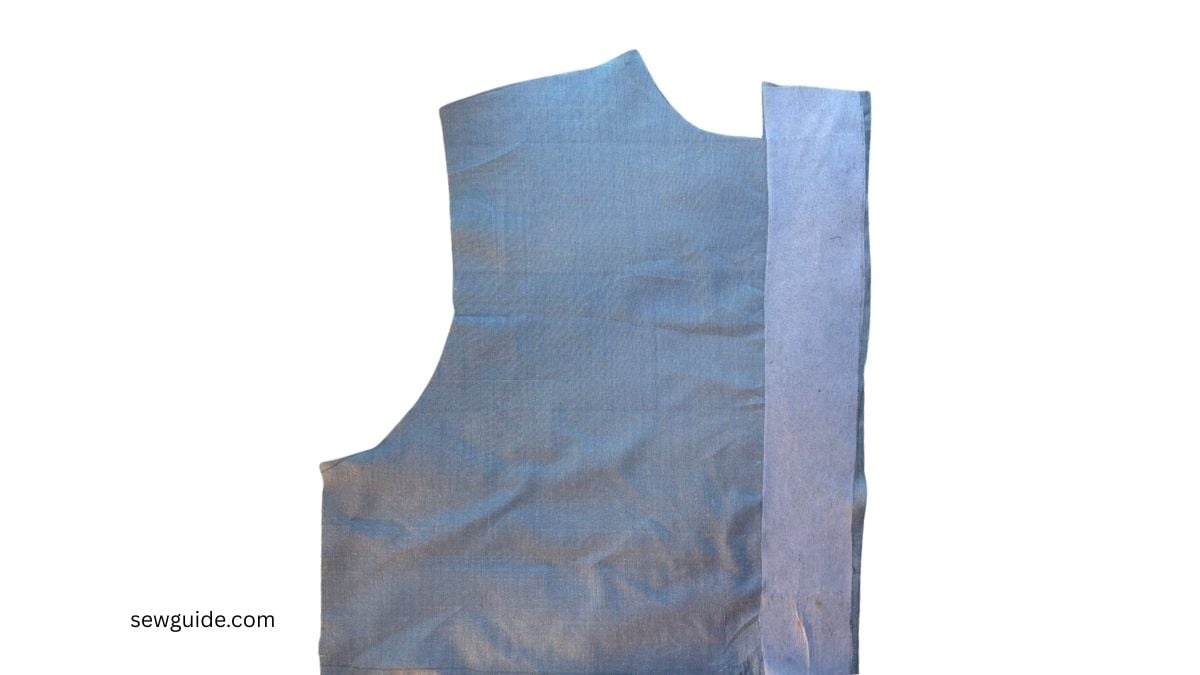
Cut your facing for the neckline. Keep the facing on the neckline. Fold the stand part back to the bodice as in the picture below. Cut off the extra from the top following the curve of the facing .
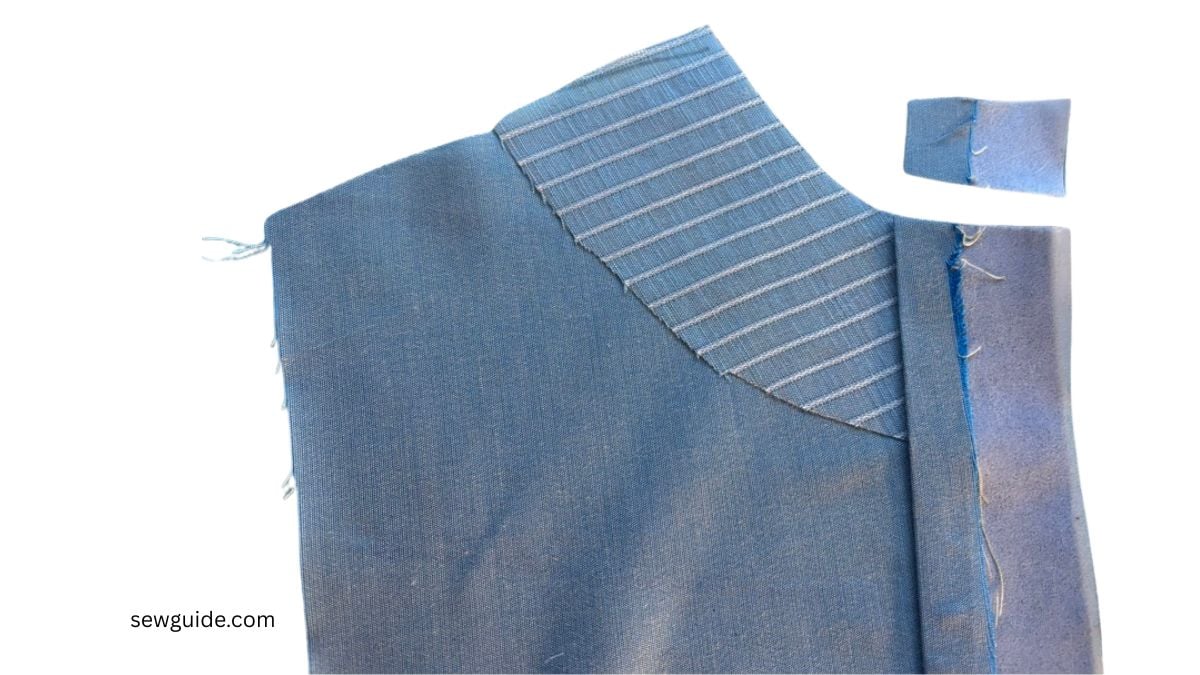
Place the facing over the folded button stand extension, right sides together. Sew the facing in place over the folded fabric and along the neckline.
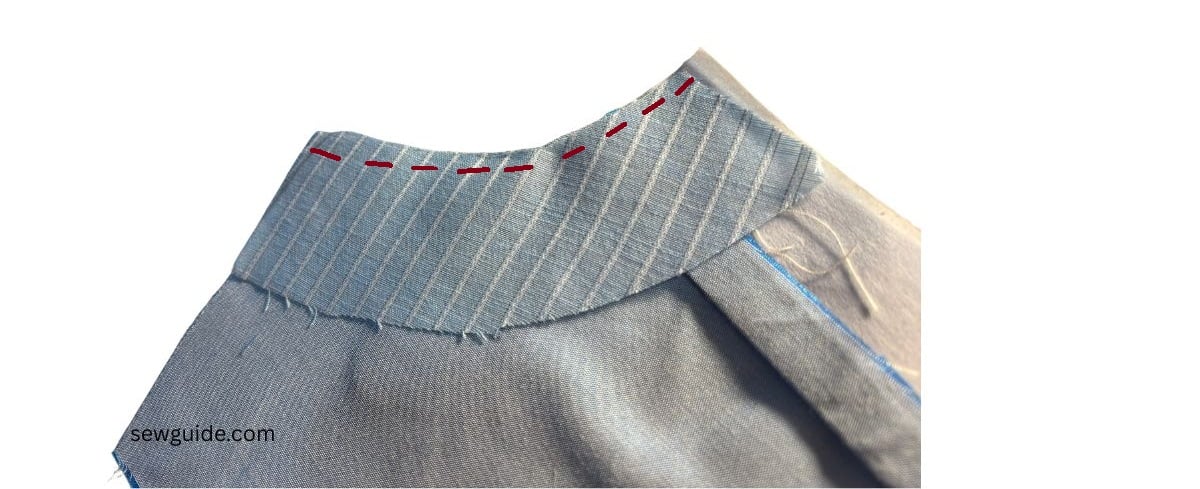
Bring it all, rightside out.
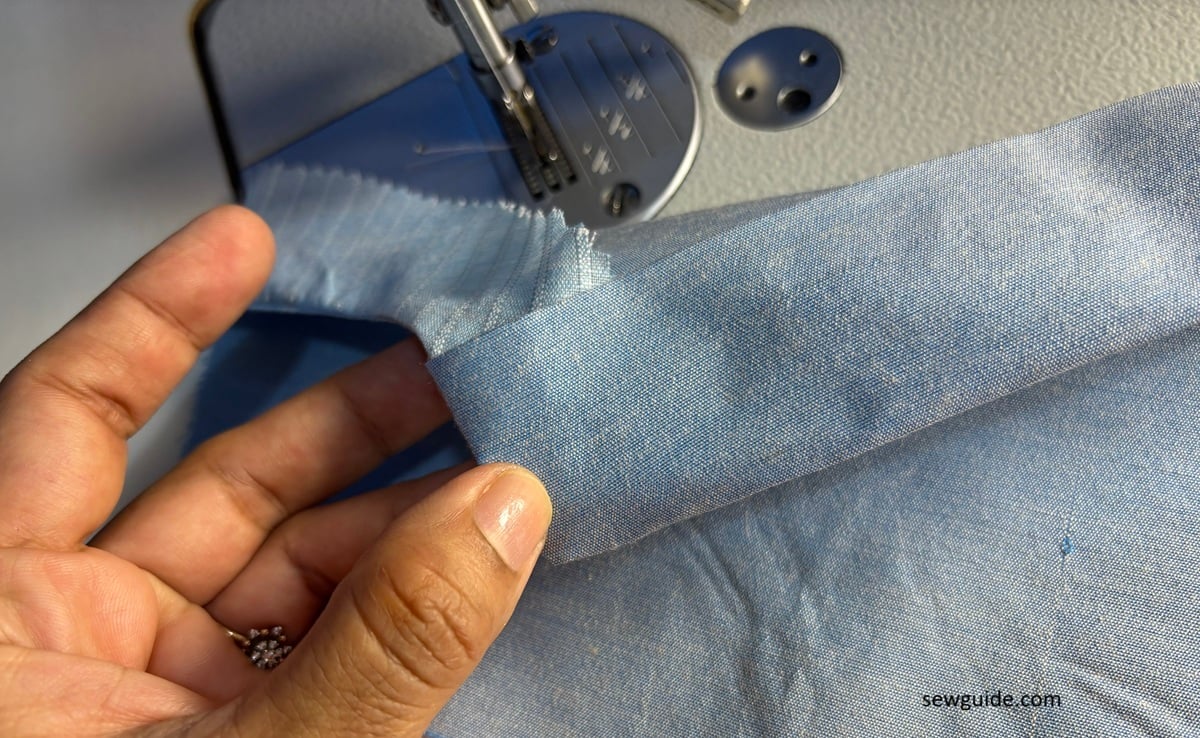
Fold over box pleat-style stand
This is another simple construction. This method uses the extension as earlier, but here the extra fabric at the center front is folded to create a box like part, which is used as a button-stand.
Cut your bodice with the extra extension for the buttonstand. Cut the garment front with enough extra fabric to make the button stand plus the seam allowance
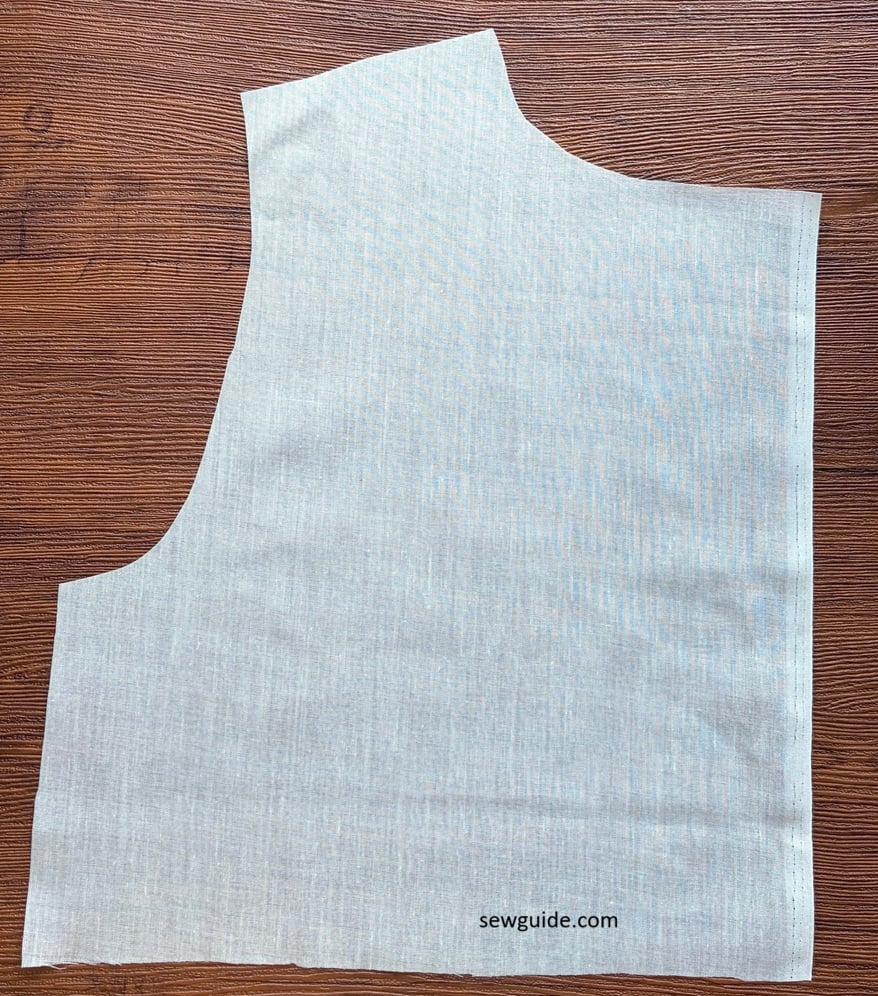
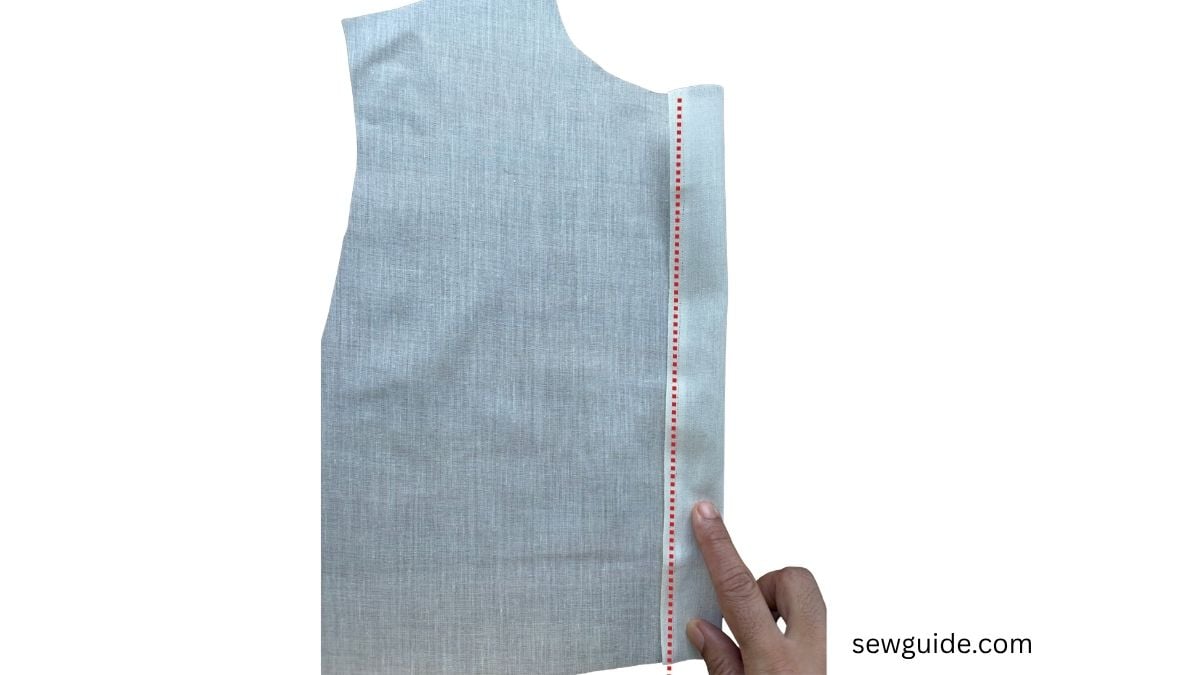
As the first step, keep your bodice right side up. Fold the edge to the inside and stitch in place. As in the picture below
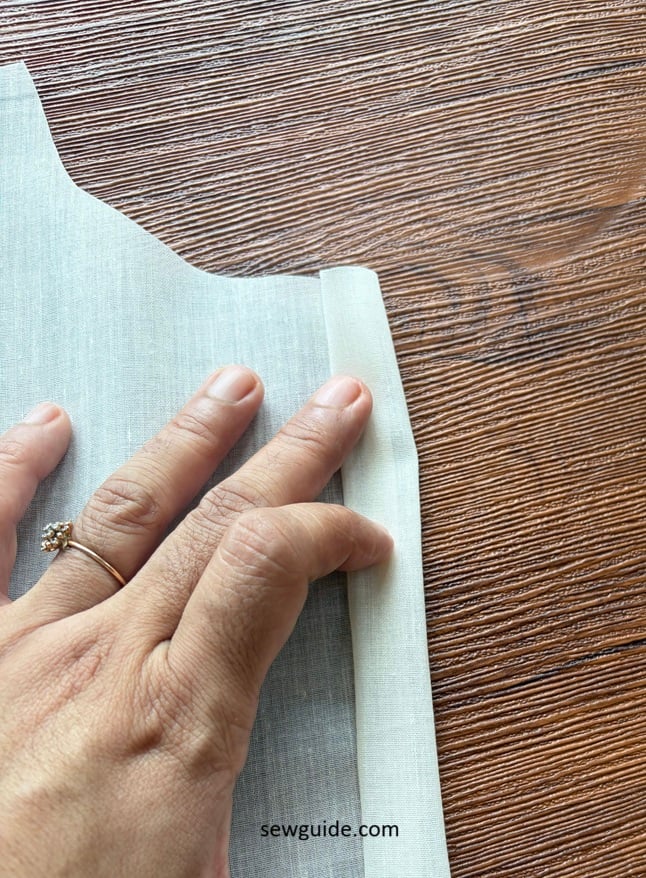
Then, You just fold the extra fabric at the folded edge flat so that it forms your buttonstand. Isn’t that the simplest.
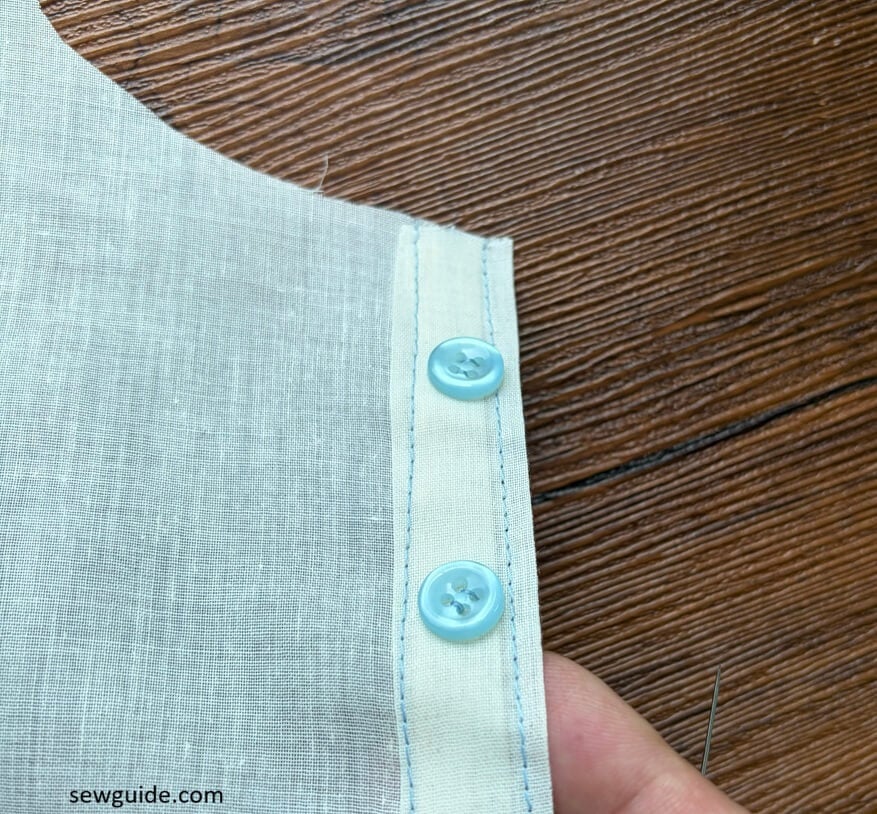
Press the folded edge flat and you get the extended part. Top stitch over the edges.
After top stitching, stitch your buttons or the buttonholes.
Separate buttonhole stand
This is where you use a contrasting fabric to make the buttonstand. It is quite easy to sew – just insert the fabric edge inside the placket fabric and stitch.
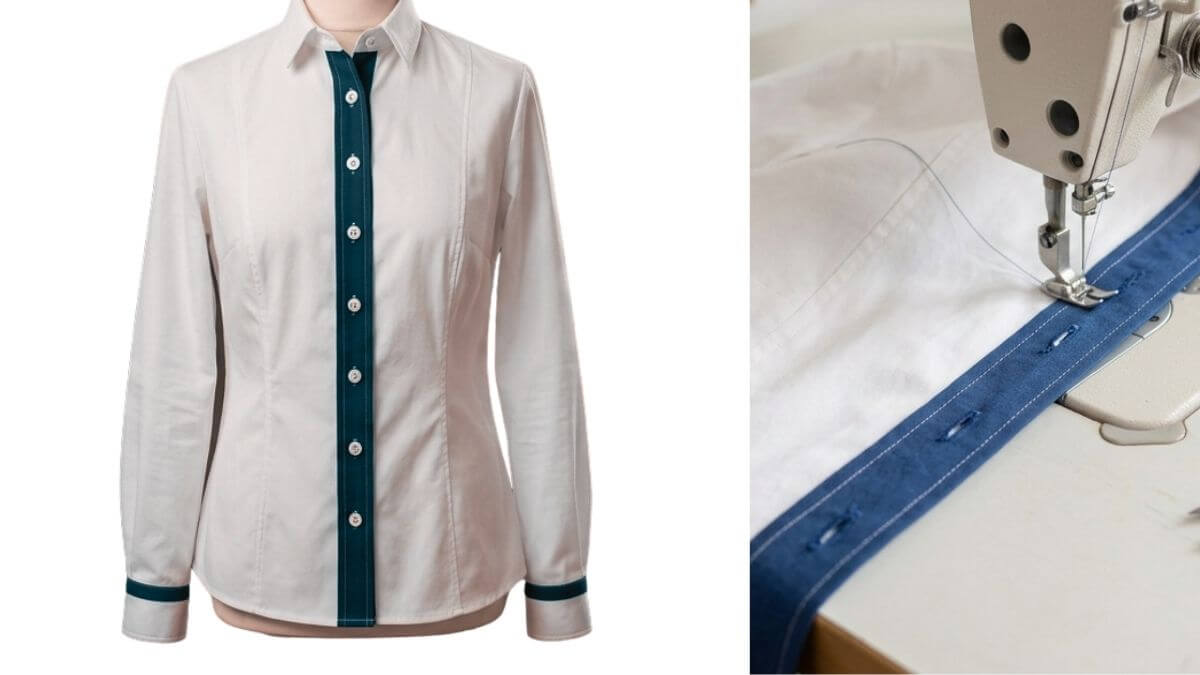
Cut the separate stand fabric and then, Place the placket along the center-front edge and stitch it securely. Use contrast thread for maximum impact.
Separate button stand – as a placket
You know plackets, those most useful edge finishing for slits – here they serve to anchor your buttons and buttonholes.
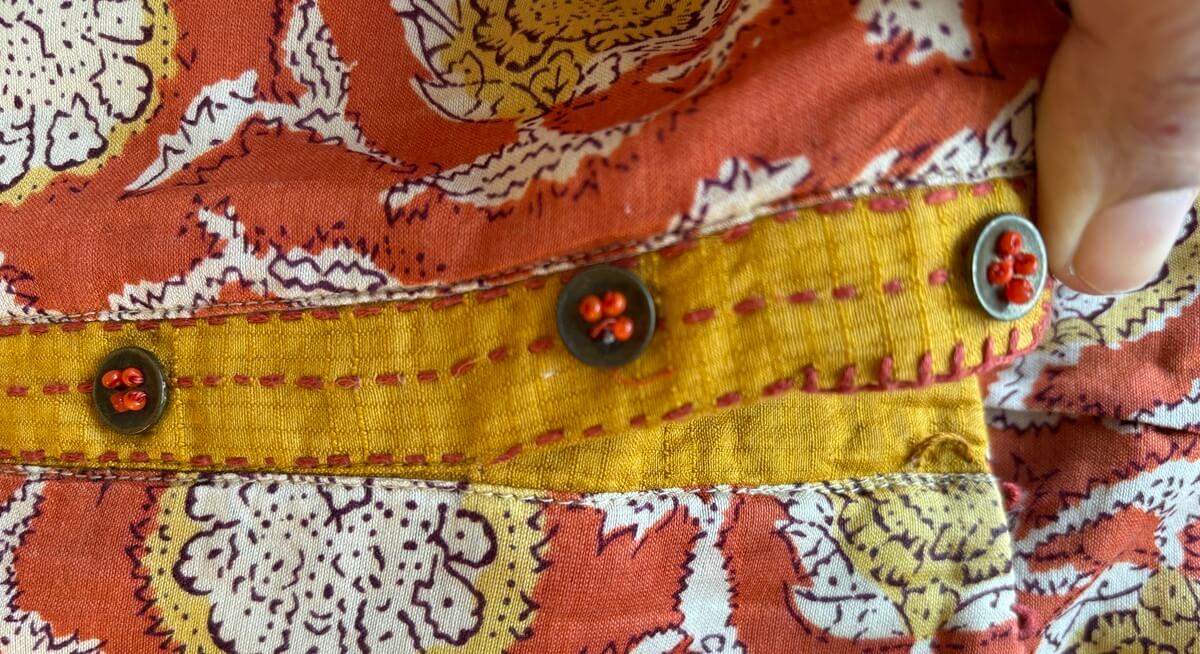
Checkout this post for more details on sewing these slit button plackets.
No-sew button-hole stand
Let me be clear on this – this is not a conventional buttonhole stand. This is an In-the-seam buttonhole stand – I learned this online and this seems to me the solution to my buttonhole phobia . No need to fiddle with the buttonhole feet or test my zig zag stitch mastery to make the buttonhole perfectly balanced. The opening for the buttonholes are incorporated into an existing seam, with clever folding technique.
Cut out extra fabric for making the buttonstand.
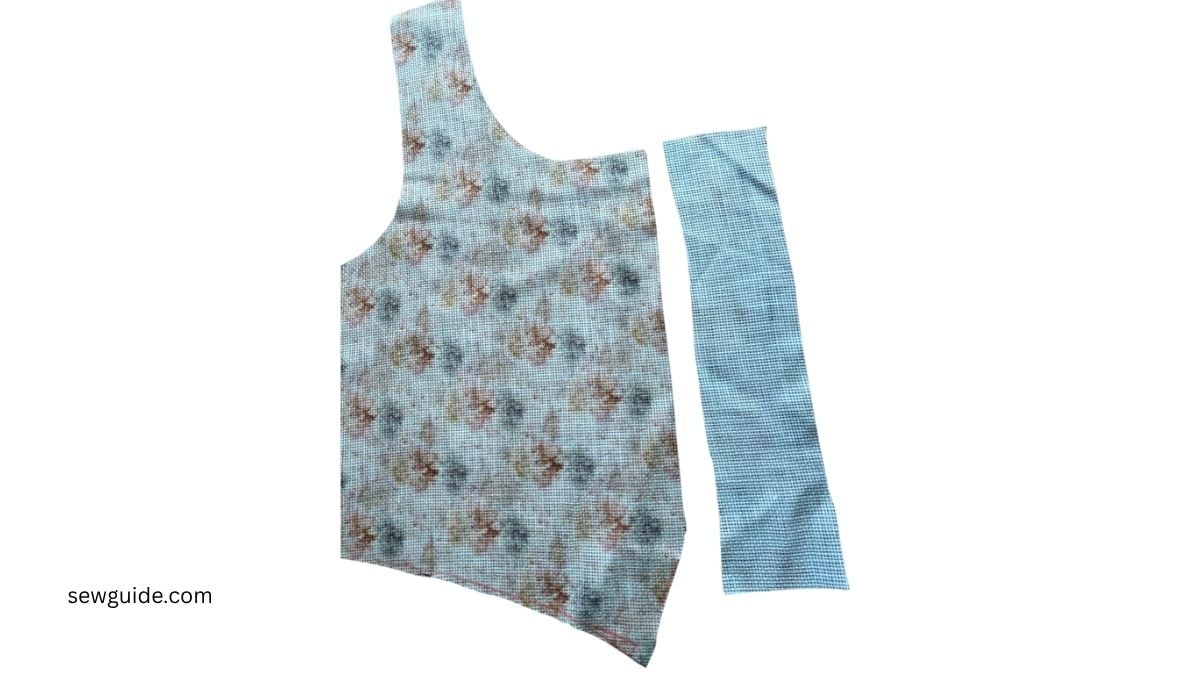
Mark your button holes on the stand fabric.
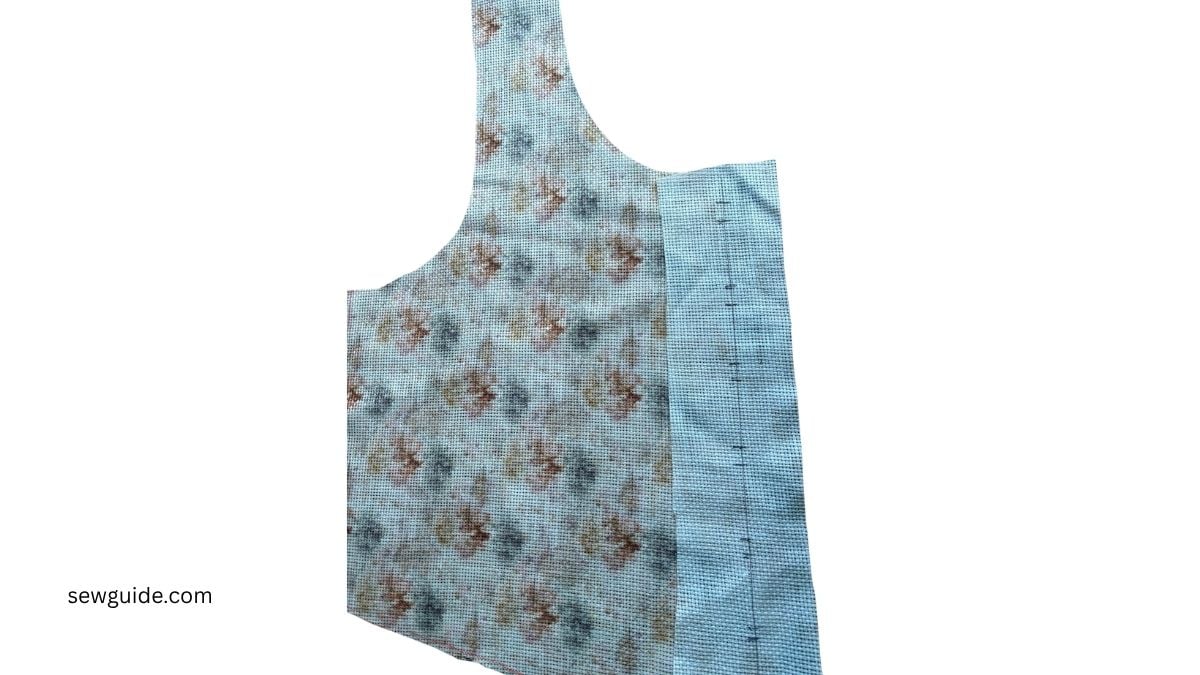
Stitch in between as in the picture.
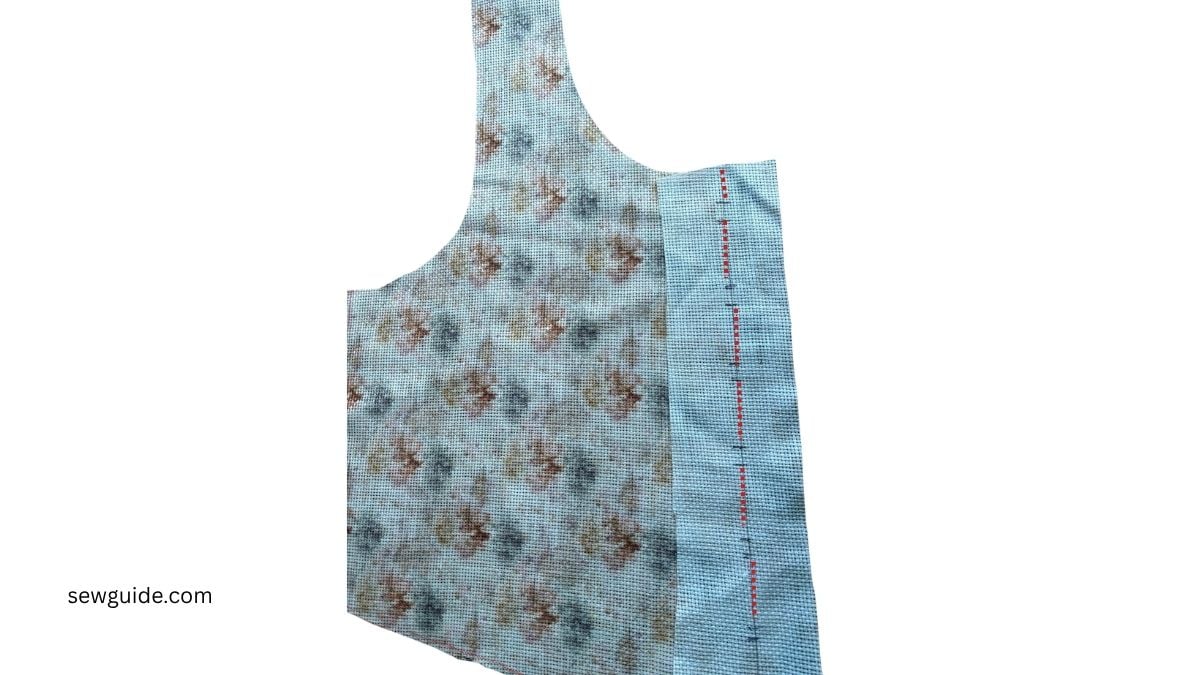
Now turn the extra fabric, to the one side (the bodice fabric stays the same) and the edge to the back and stitch in place. This will create small holes in the seam which can be used to fasten your buttons.
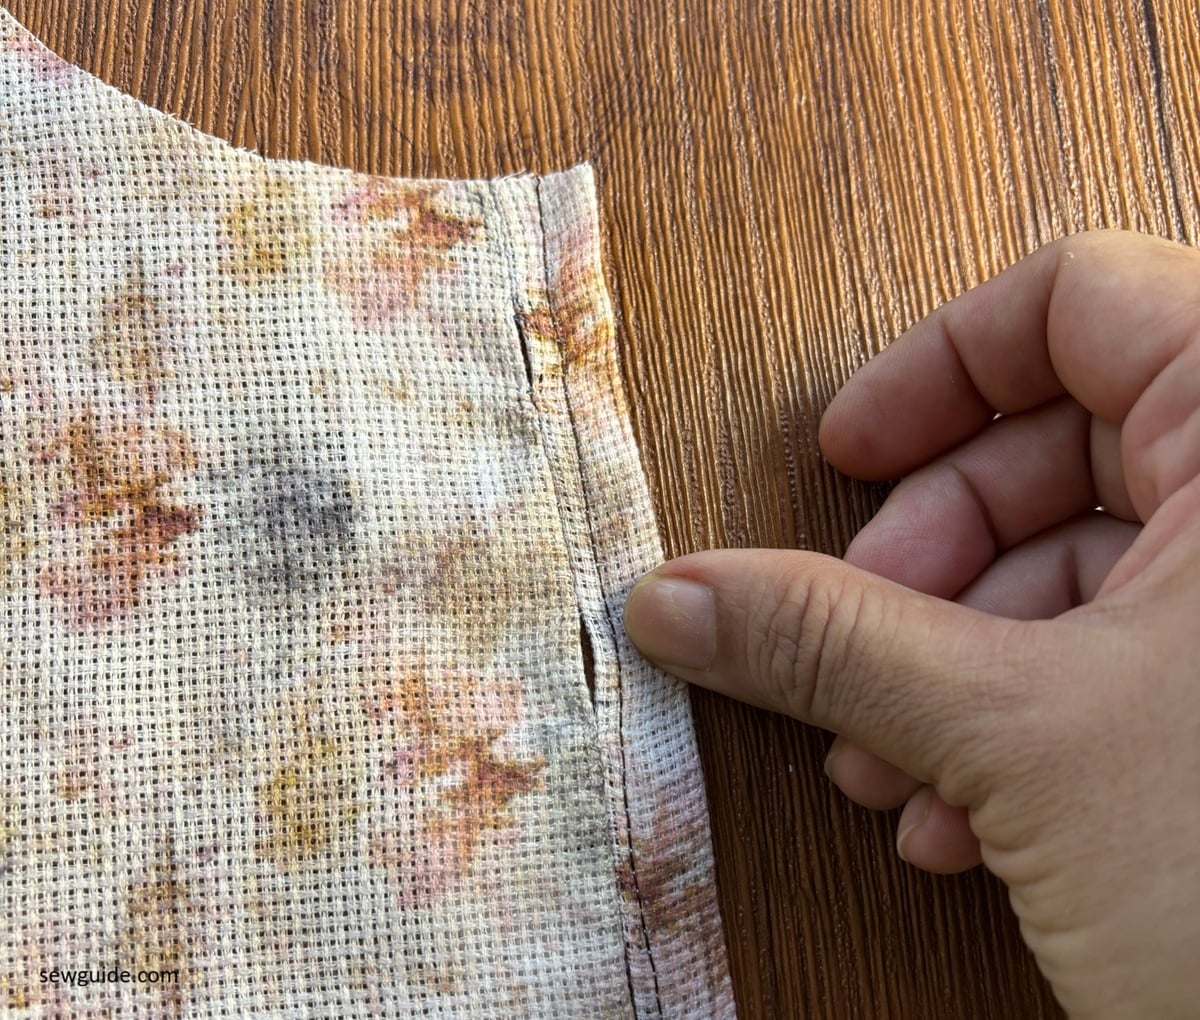
Concealed button stand
This is a variation of the extended faced buttonhole but an additional fold hides the buttons or buttonholes from the outside. The flap is over the buttonstand. And when you look from the outside it is as if there is no buttonstand. But there are buttons in there! ( Actually it should be the buttonholes – the buttonholes are stitched on the on the buttonhole stand underneath the flap, and the buttons are on the opposite front)
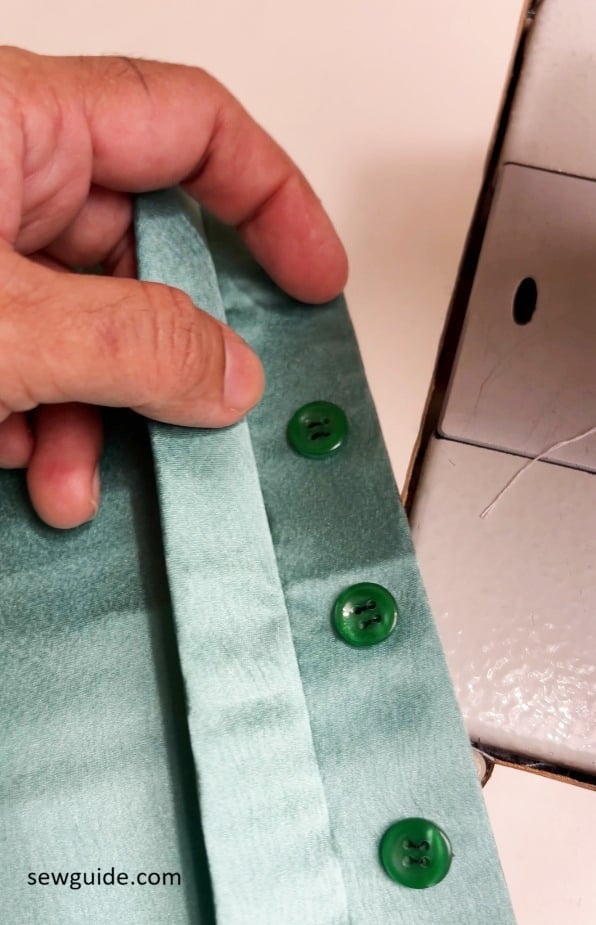
Making this button stand is just a matter or folding the extended fabric the right way.
Cut the garment front with enough additional fabric to create the button stand and the covering flap (double the stand width) . You need enough width for both the functional buttonhole area and the section that will fold over it.
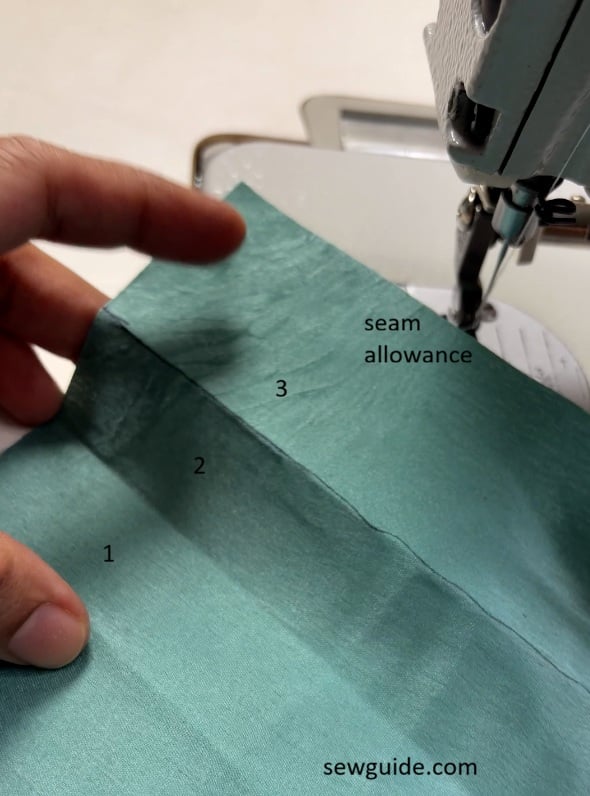
Mark the button stand area and the folds accurately on your extended fabric. Fold the extended fabric toward the inside along the marked fold line.
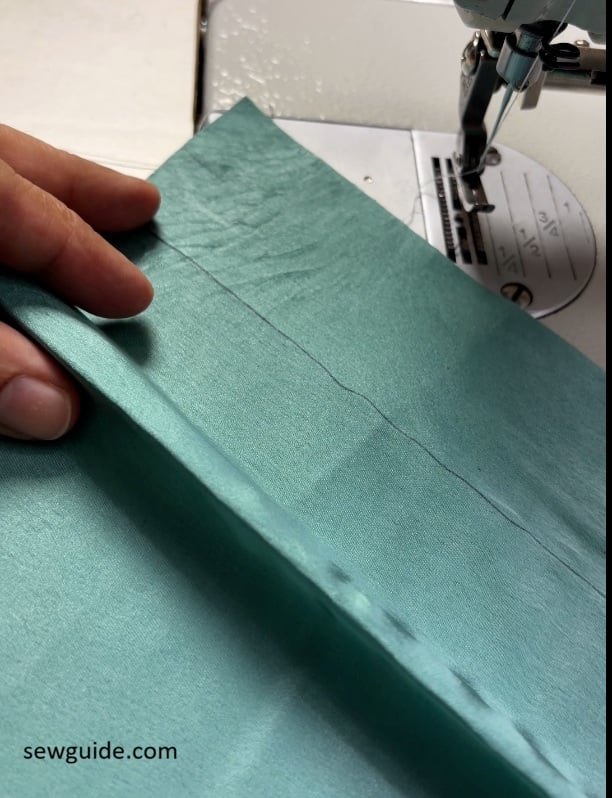
Fold the fabric again so that one layer covers the buttonhole area.
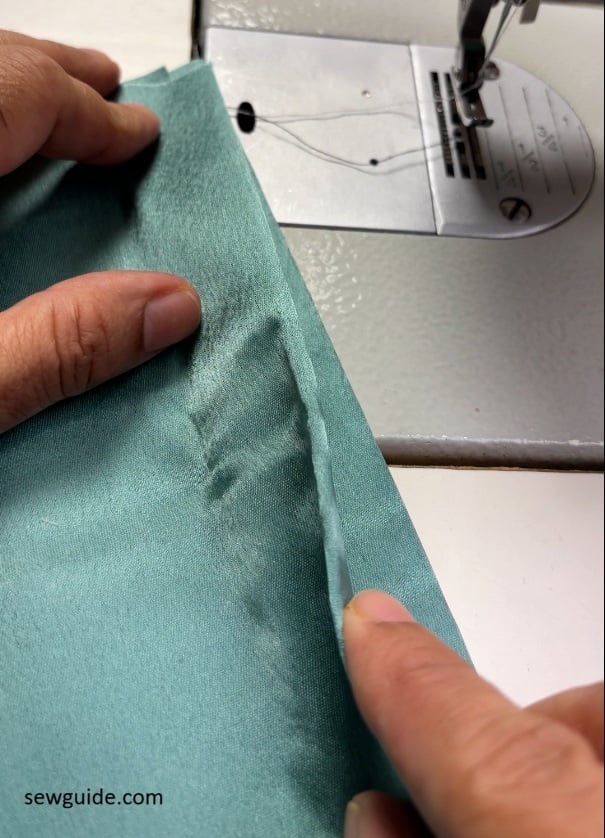
This second fold is what creates the concealed section.
Tuck the fabric edge inside from the back.
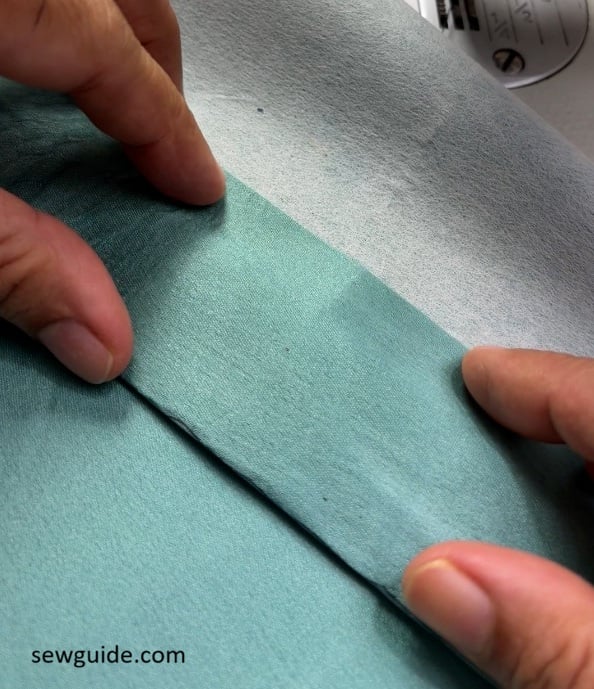
Stitch this from the back so that the folds will hold.
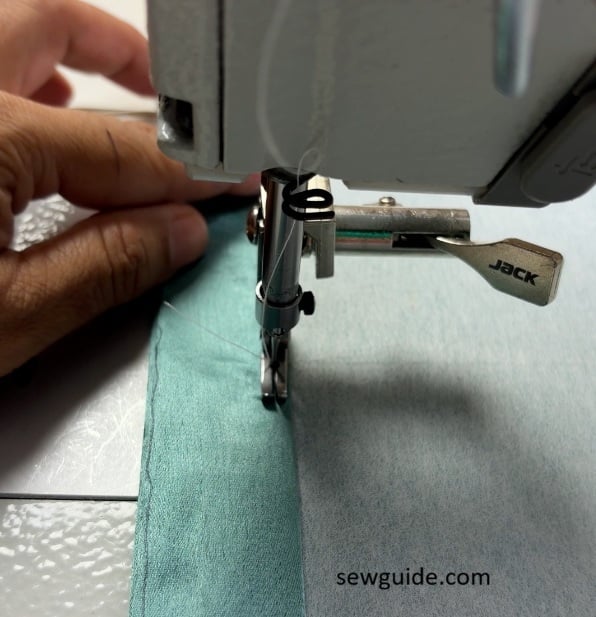
Usually buttonholes are sewn on the concealed stand and the buttonholes are concealed by the flap. But, You can put either sew the buttons or the buttonholes on this stand, depending on which side of the garment it is.
Note: Interfacing the buttonstand is non-negotiable. Remember that the button stand is a structural part of the garment closure: it needs enough stability to withstand the pulling at it when buttons are opened and closed.
Related posts: How to sew a button properly