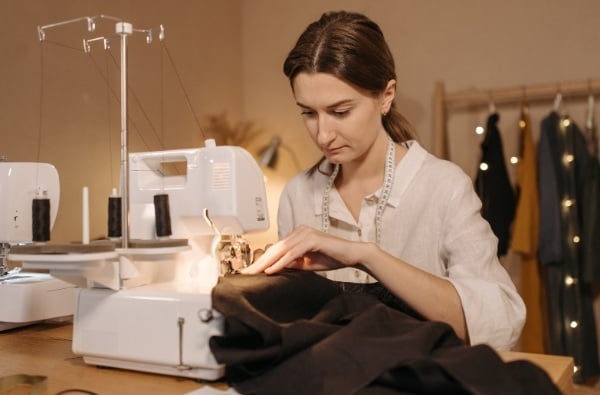
Do you film sewing tutorials for online classes or as reels for social media? Or make and sell sewn things like bags and film them being made for promoting on social media ? If yes, you may have a nice setup which optimizes the light and recording, already. Let me share what I have experienced – not that I am a pro, far from it, but I am learning, and that makes me qualified to share what I learned.
When I shifted residence a few months back, I had to leave behind a nice setup I had and start from scratch. One big advantage in the new place is that I have a large glass window giving me day long natural sunlight (and great calming view). The biggest concern I had was where to place the sewing machine table!! Toward the natural light I have coming from a big window?, or toward the center of the room where I can put up artificial light.
Then I learned that natural light is the best for any kind of photo shoots or video recording, and to utilize it the best, it should fall from the left of the sewing machine. If you do not have window/sunlight, then place the main light on the left side of the machine.
But that is not all. Light falling from just one side will cause unwanted shadows. To prevent shadows, you should place another light source on the opposite side. This ensures that there is no shadow falling on your hands or obscuring your work.
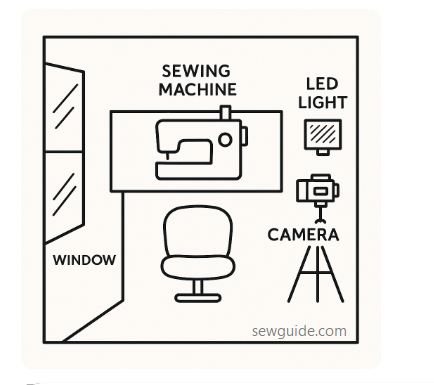
Another problem is harshness of the light. Sunlight can be very bright at certain times in the morning. When sunlight is too strong, even balanced lighting may cause shadows or glare. To soften this, use diffusers – a white foam board or reflector on the opposite side (right)
Note: Turn off or dim the built-in light of the sewing machine light while recording your video
What color temperature should the lights be?
For sewing filming, the usual ring light will be insufficient. You should have LED panel light which is consistent, and flicker-free with a temperature of 5000K to 5500K which mimics daylight. You may be able to adjust it to your liking. This light may be labeled as neutral white.
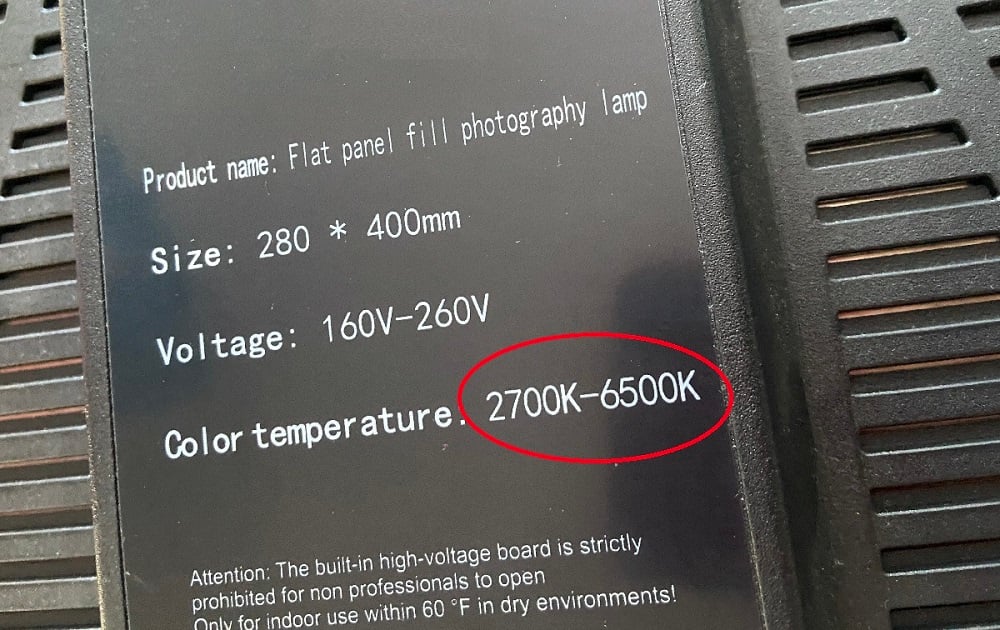
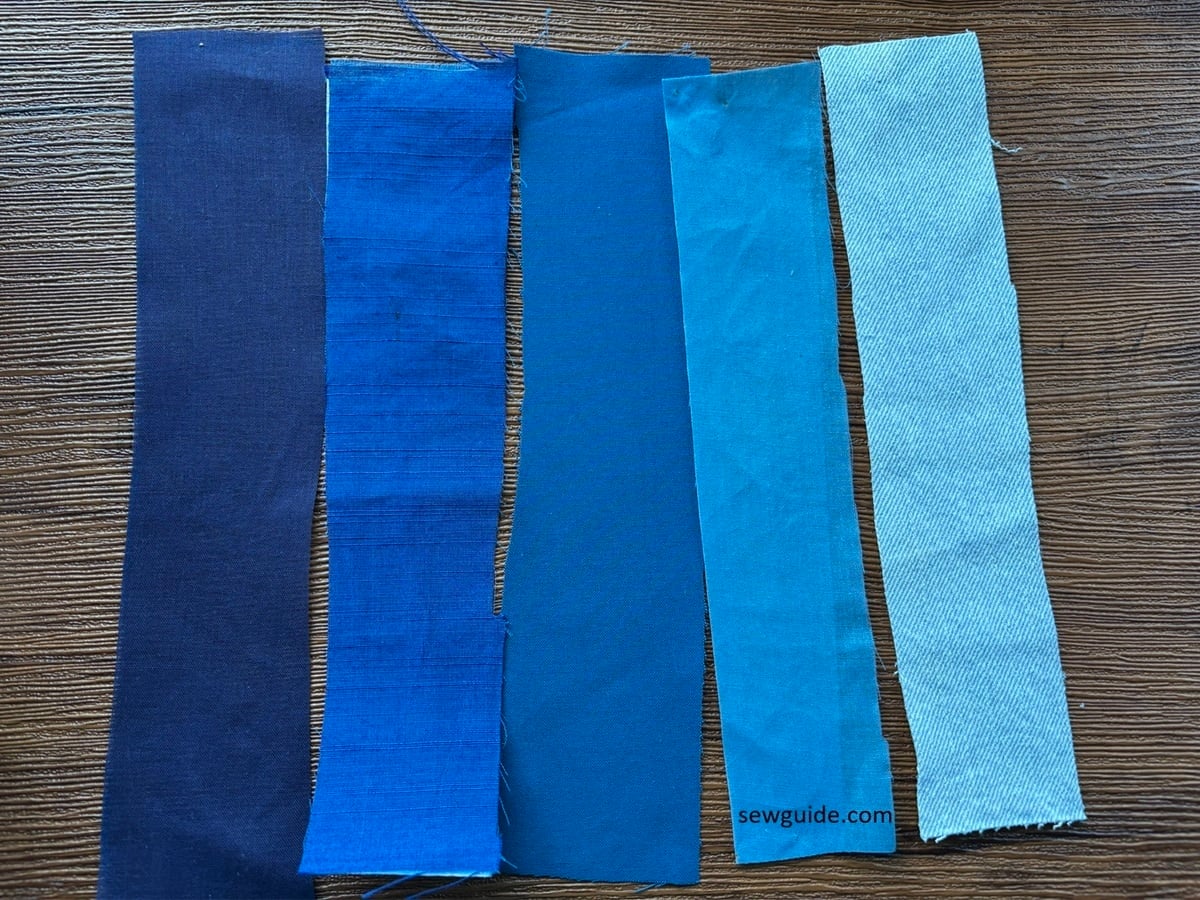
Warmer lights (2700K–3500K) make whites look yellow and reds look dull. Cooler lights (6000K+) can make skin and thread look bluish. So avoid warm light and cool light, unless you want some weird color cast on the fabric.
Camera angles
Test out the following camera angles
Wide angle
When you are cutting fabric, you will need a wide angle shot to get the full range. A corner diagonal view usually works for these.(Overhead also does). Keep the camera at an angle to your cutting table.
You also use a wide angle shot for getting everything in a shot- you, your machine, the stitching…
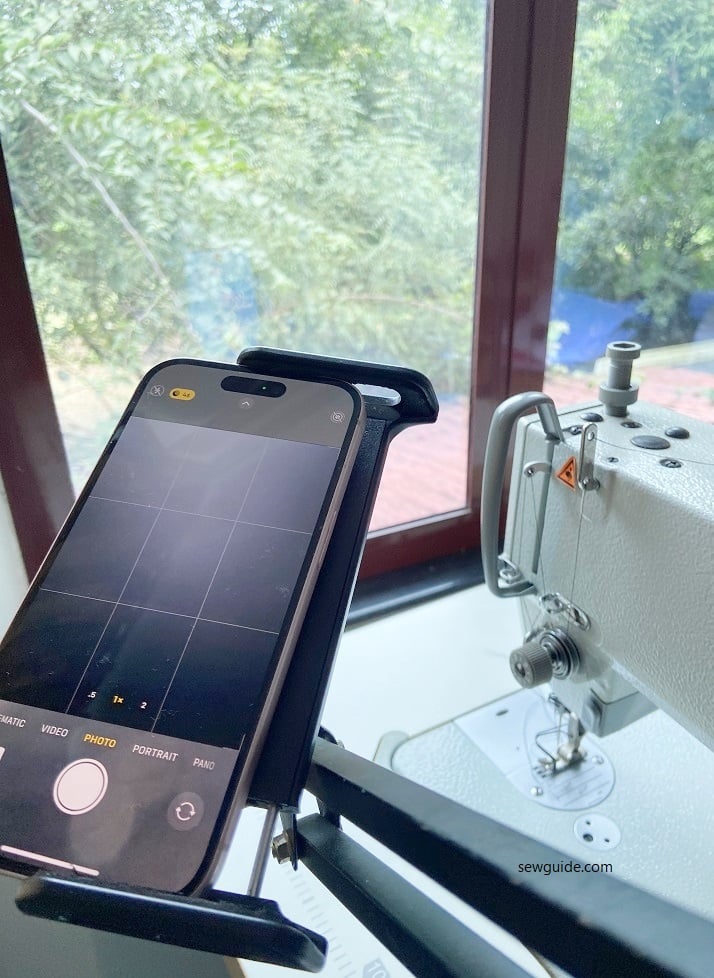
Keep your camera on a tripod or tall phone stand, directly in front of your sewing table (4–6 feet away), at or slightly above eye level, angled slightly downward.
For recording yourself for a talking segment, keep the camera directly in front of the machine, slightly higher than the table level, pointing at you.
You also use a wide angle for photographing the finished Project for display in a mannequin. Keep camera 4-5 feet away from the project and mount it at chest level or higher. If you want to make the mannequin look very tall, keep the camera slightly above head height, angled down slightly.
Top down camera angle

Here camera is placed directly above your sewing table or machine, pointing straight down. For this topdown angle, you need a tripod with a boom arm, clamp mount, or overhead rig.
Diagonal Angle (30–45° from the front or back)
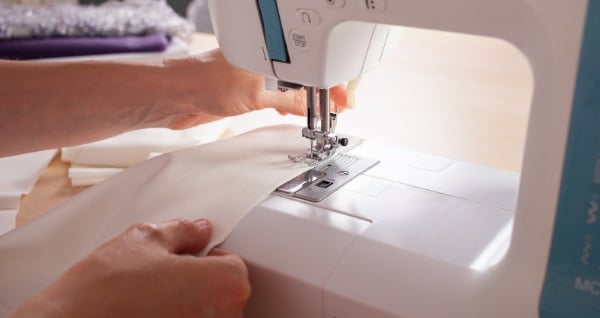
If you want to capture the stitching area clearly, place the camera diagonally in front of the sewing machine, at about a 30–45° angle from the front.
In this position you will be placing the camera just above table level or at presser-foot height, slightly to the left or right of the sewing machine, so your hands and the needle are both visible.
Place your camera on a sturdy tripod ; Keep the camera around the same height as the table or slightly above and 2–3 feet away from the sewing machine, to the left or right of your chair, parallel to the machine
Over the shoulder
This is a good position with the camera coming from over your shoulder, giving you a point of view angle. The audience will see what you see. This is a difficult angle in practise as you need special camera mounting equiment like the c-Stands with Boom Arms or you may try to achieve the look with flexible phone stands with clamps.
On a phone, the rear camera is always of better clarity.
Wherever you place the camera, you need to clearly see the needle, presser foot, fabric path, and thread movement.
Use voice commands to start and stop recording – this is a good habit that avoids the camera shaking every time you touch it.

If you are adding voiceovers and your mic setup is not good, or your machine makes unusual noises, leave the recording for after sewing. Record a voiceover later explaining the steps and mix it with the video when you are editing it.