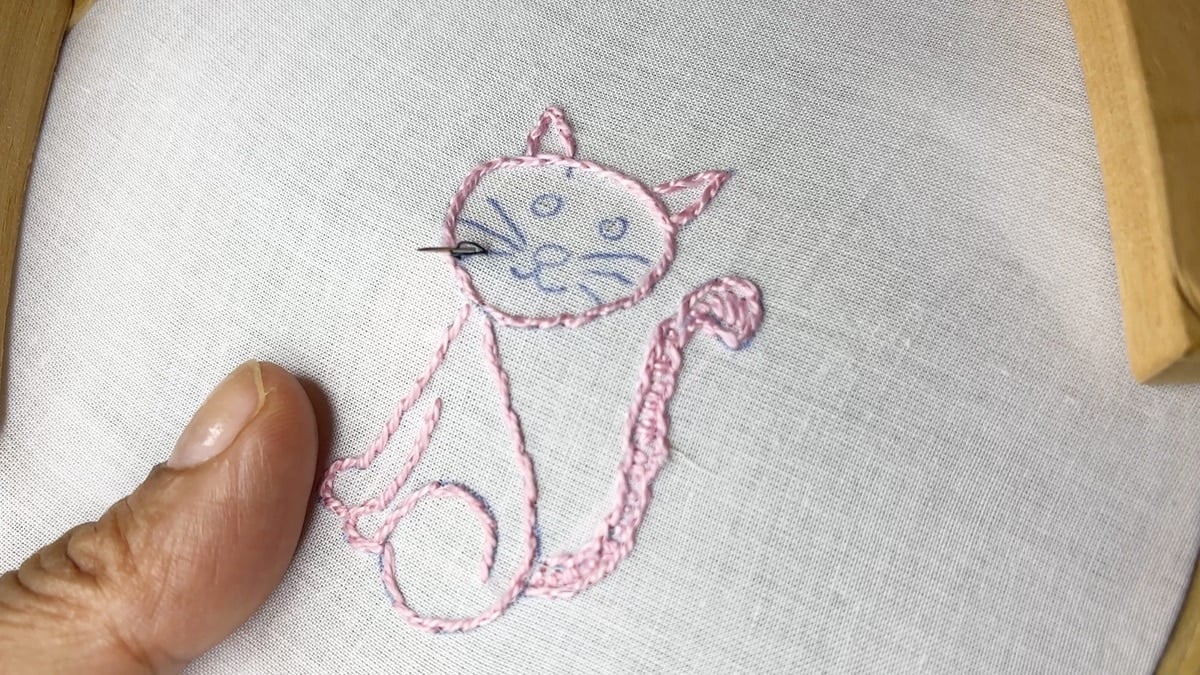
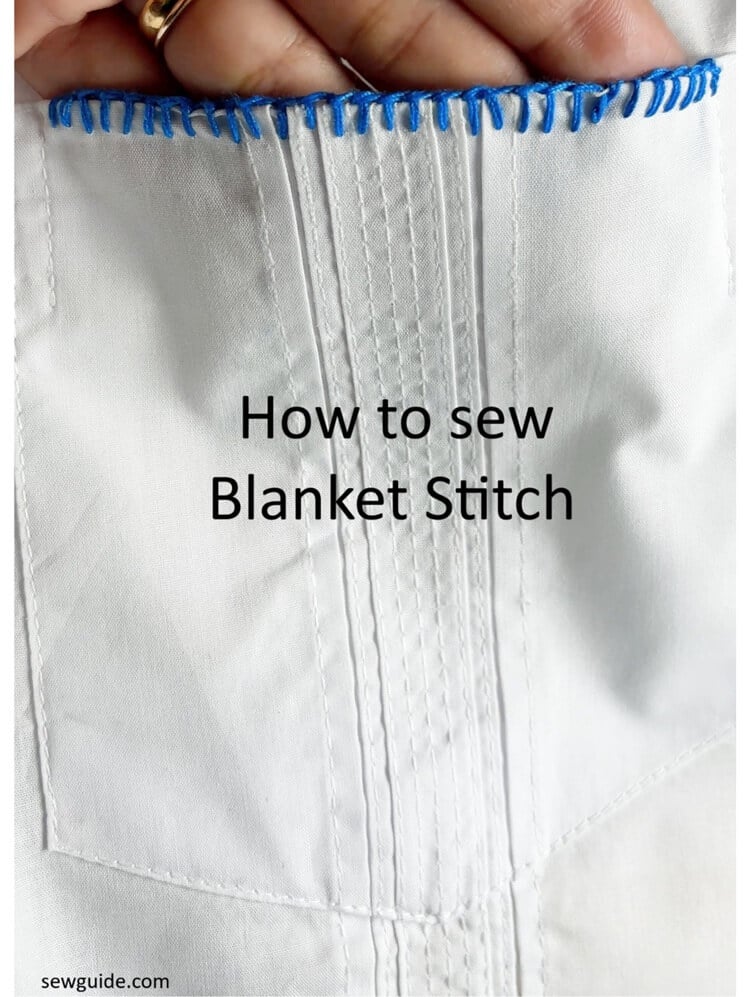
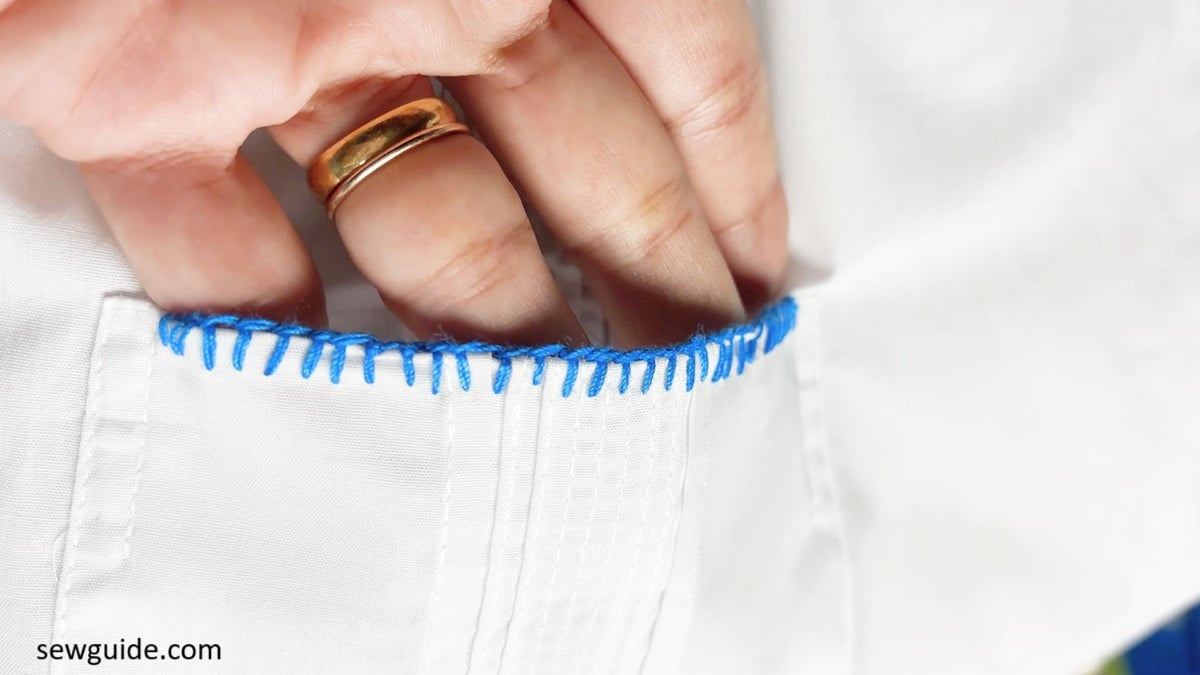
The blanket stitch is one of the most versatile stitches ever – for sewing two fabric pieces together, finishing the edges of fabric, doing applique easily or to decorate a garment edge – all easy with this simple enough stitch.
Sewing the blanket stitch is very simple. But starting it correctly is a challenge. Here is how to start with a full blanket stitch, and not a half blanket stitch.
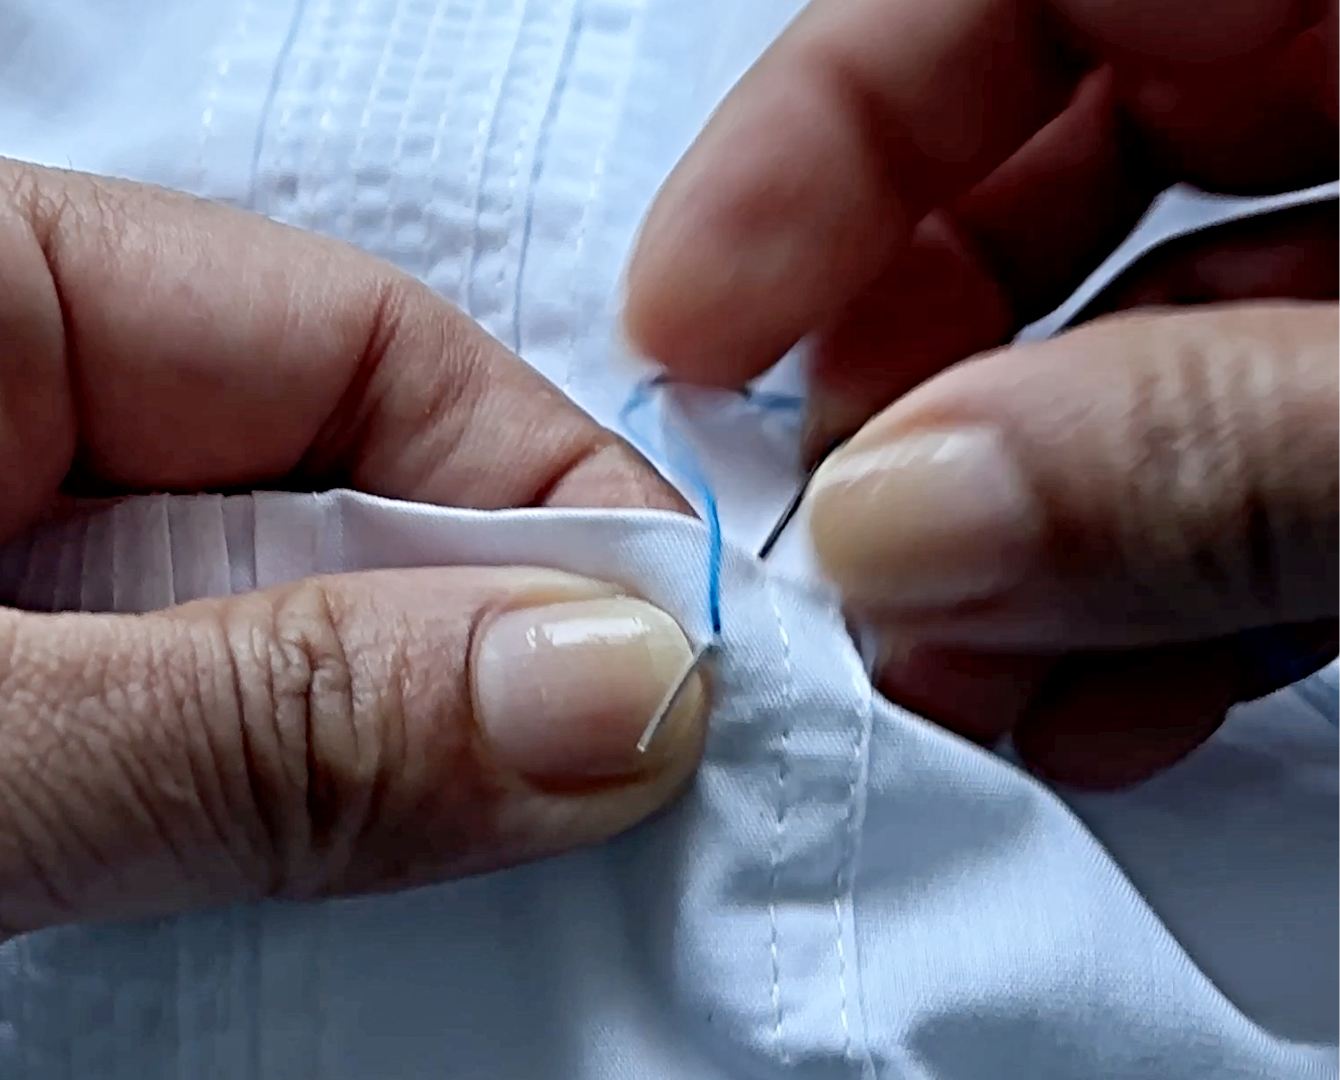
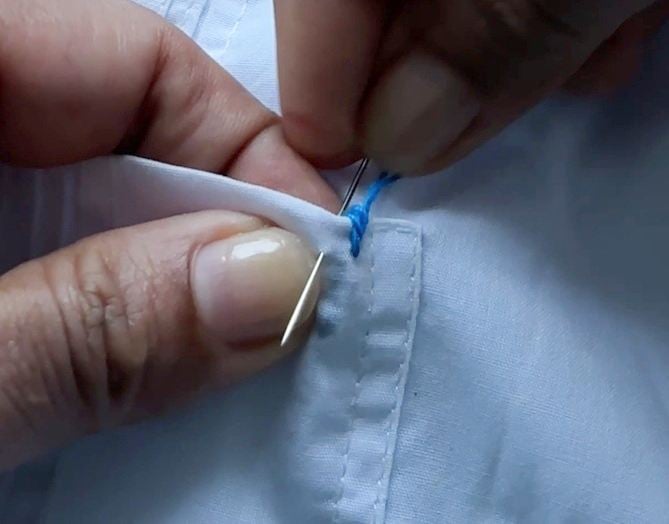
Step 1. Start making the stitch from right to left. Anchor the thread and the knot inside the edge, on the line of the blanket stitch. Bring the needle to the front.
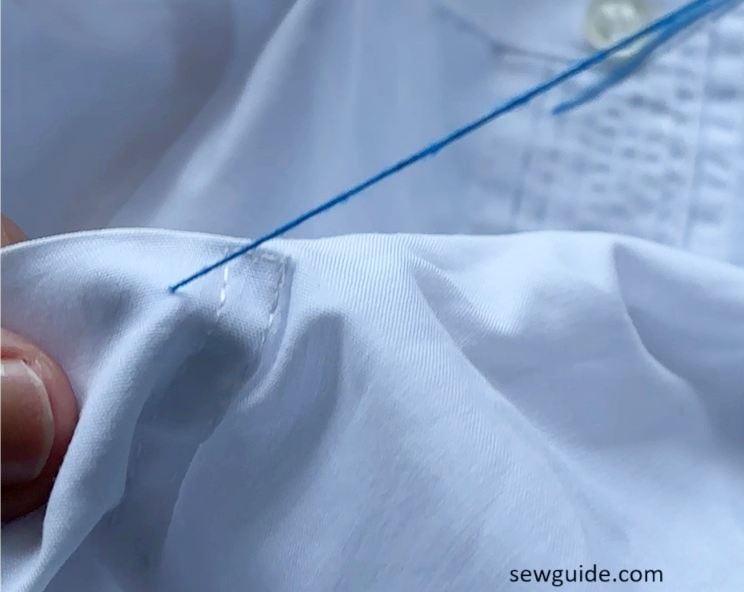
Step 2. Take up the thread over the fabric edge to the back
Step 3. Come up on the same spot that you came up earlier.
Pull it out.
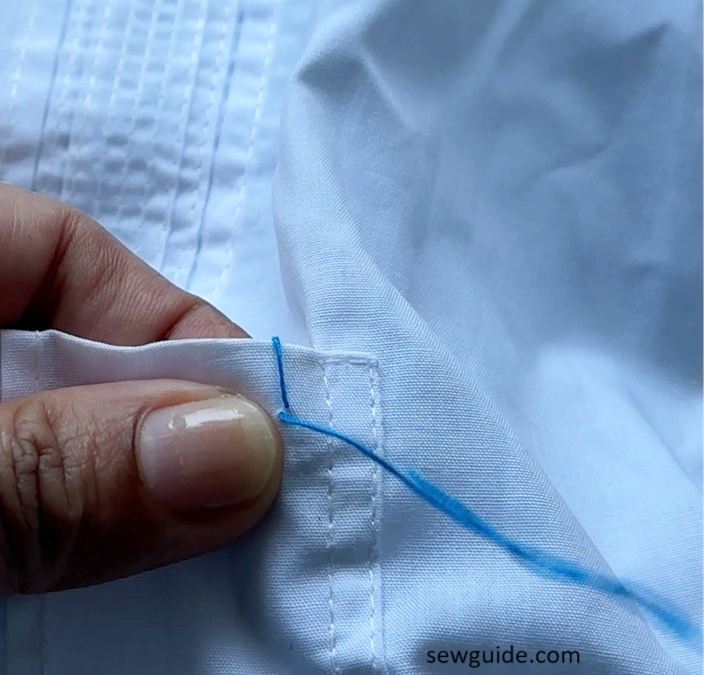
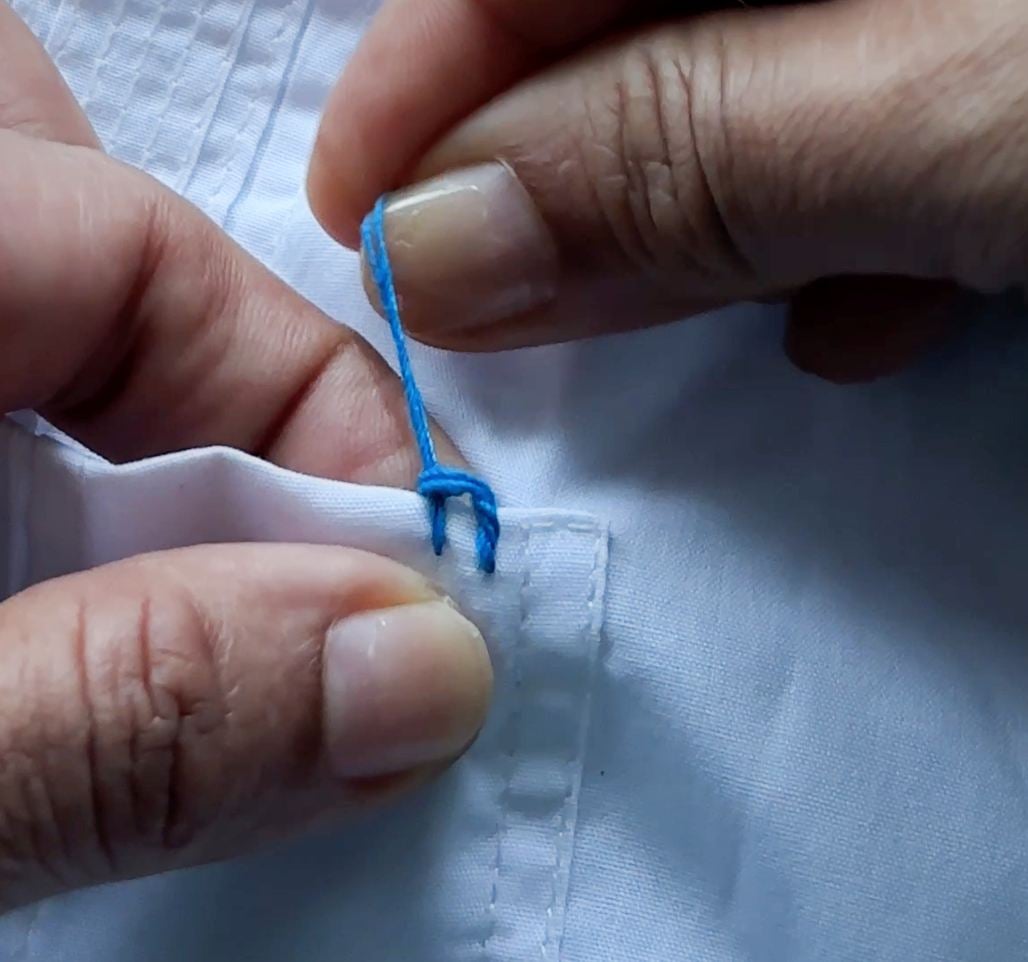
Step 4. Now there is a loop formed over the fabric edge.
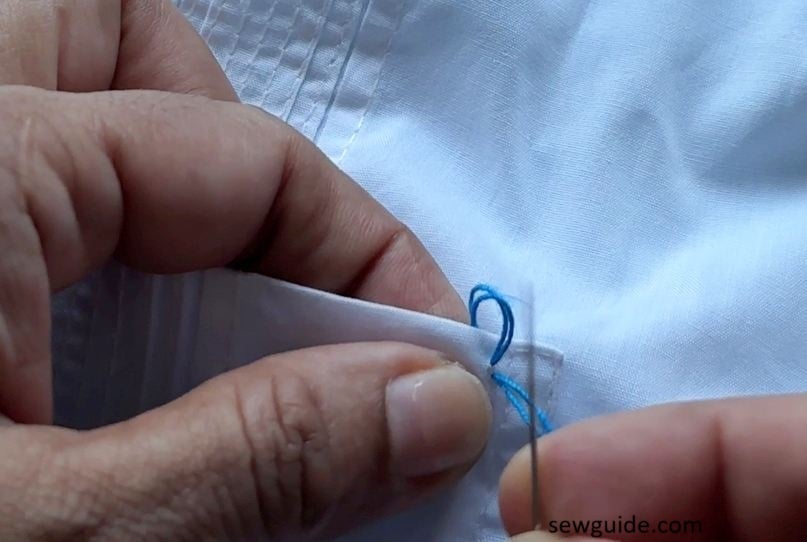
Step 5. Insert the needle through the loop formed above.
Pull it up.
This will form one vertical stitch – the beginning of your blanket stitch.
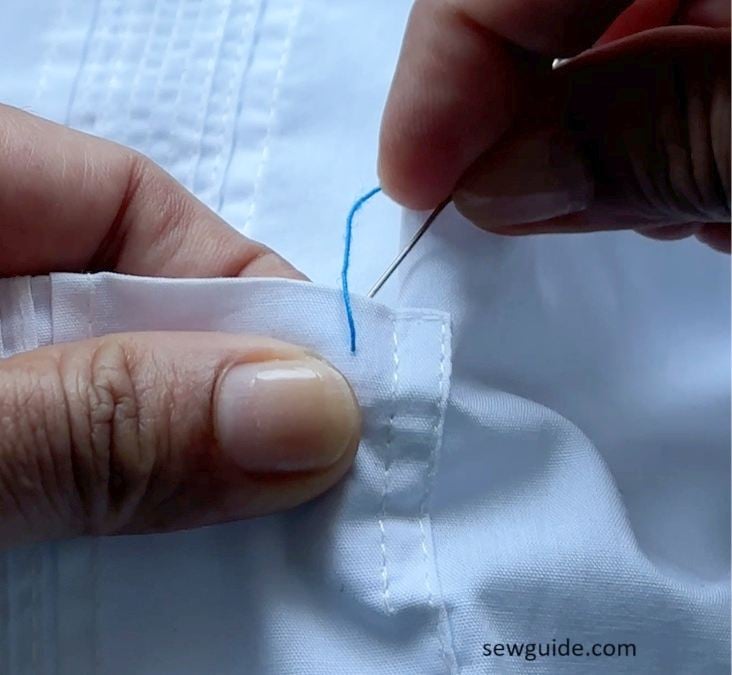
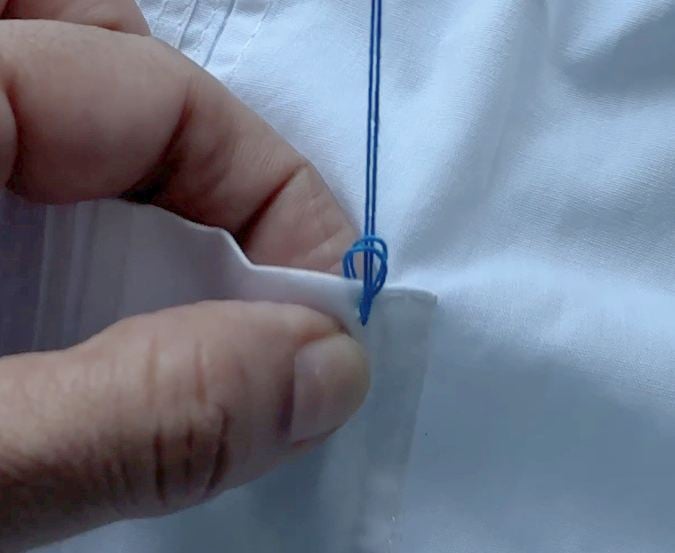
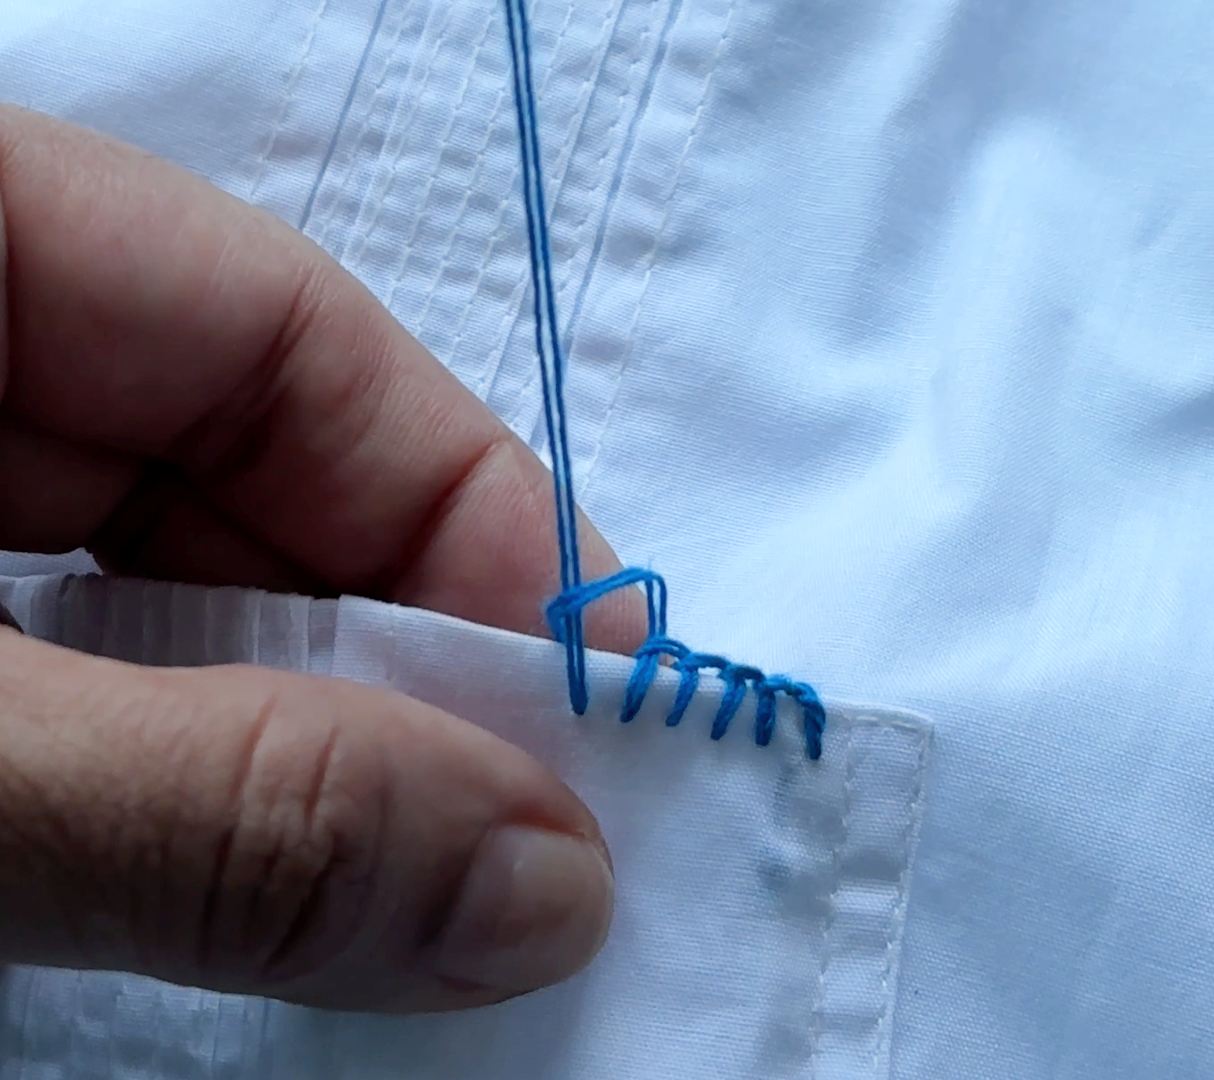
Step 6. Now insert the needle the distance of one stitch on your tool
and bring the needle to the front again.
Step 7. Pull it up and there is a loop on top. Insert the needle through the loop.

Pull it up. This will form one stitch
Step 8. Again, Insert the needle at the next mark on your tool, coming up with the thread looped under the needle so the stitch catches along the edge.
Repeat to form all your blanket stitches.
Note : Keep your thread tension consistent as you sew the stitches. Too tight and the stitches will pucker and Too loose and the edge will flare out.
When you reach the end, you should pass the needle under the last loop and secure on the back with two – three anchoring stitches ( if there is fabric on the back) or making a knot.
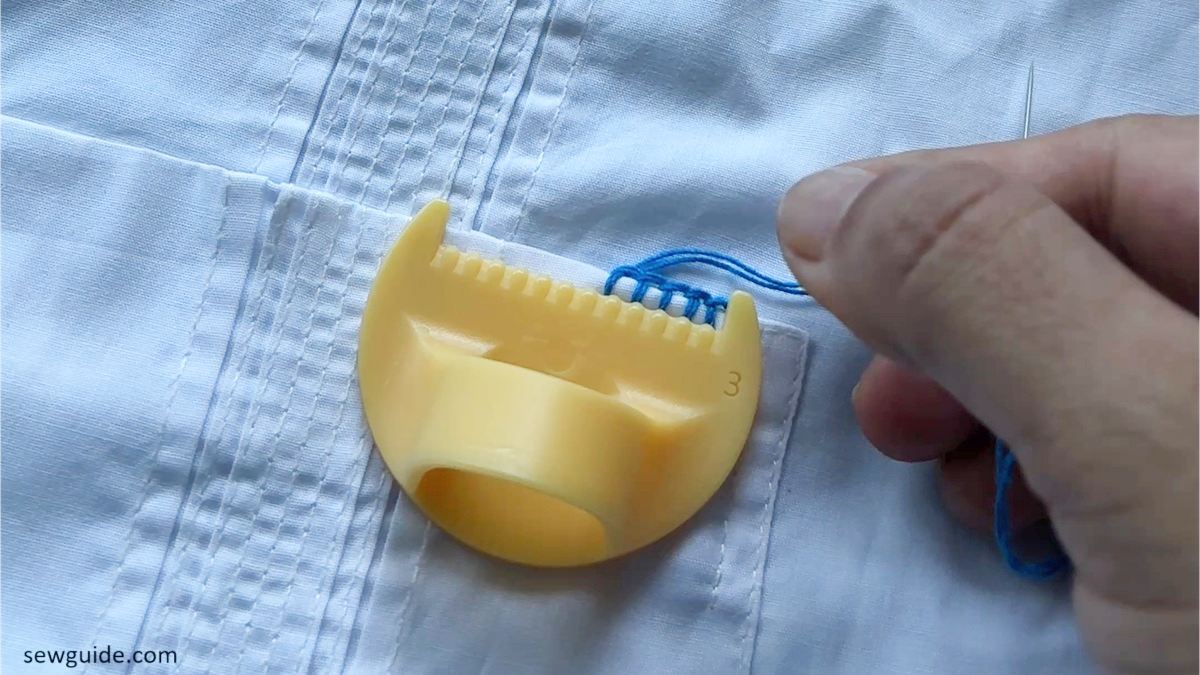
Many people mark every single stitch by hand, but I found a faster way…….Stitch Spacing tool. This helps keep the blanket stitch the same distance from the edge as well as equidistant from each other.

Check out the video for using the blanket stitch spacing tool that gave me perfect spacing without marking the fabric:
With the help of the tool you will be making similar, evenly made stitches – depending on the dexterity of your hand to make the stitches even.
How to sew the Blanket Stitch around Rounded Corners
If you are making blanket stitches around a small circle or curve, remember that the inside of the curve is shorter than the outside. So you will need to make the outer edge of your blanket stitch larger than the distance between the blanket stitch legs.
The key is to shorten your stitch length slightly as you go around the curve so the stitches “fan” evenly without leaving gaps.
How to sew this
Mark the curve; if needed cut the fabric. You may want to mark the inside edge of your blanket stitch with a fabric pen or chalk.
After each stitch, slightly rotate the fabric, so that you have clear access to stitch it properly.
Checkout this post on the 10 different variations of the same blanket stitch – you would be surprised at the versatility.