The Invisible zipper (also called the concealed zipper or the hidden zipper) is a dream come true for a true couturier who is looking for a perfect fastener. The best thing about invisible zippers is that when stitched on a seam, it looks like the seam and nothing like a zipper opening. It disappears into the seam but gives you a fantastic opening, with just a peep of the zipper pull.
There are many ways of attaching an invisible zipper. The simplest way is to attach it with a special invisible foot. But you can very well attach the invisible zipper with the ordinary zipper foot you get when you buy a sewing machine.

Here is a video explaining the steps in how to use an invisible zipper foot when the back is fully open :
The most important step in installing an invisible zipper is to straighten up the curved zipper teeth, before or as you sew along the teeth. You can either iron it or just finger press it- whatever you do, just make sure that you are sewing as close to the zipper teeth as possible – this is the best tip for that invisible look.
Steps for sewing invisible zipper with a zipper foot – for full open back
Cut out the back bodice
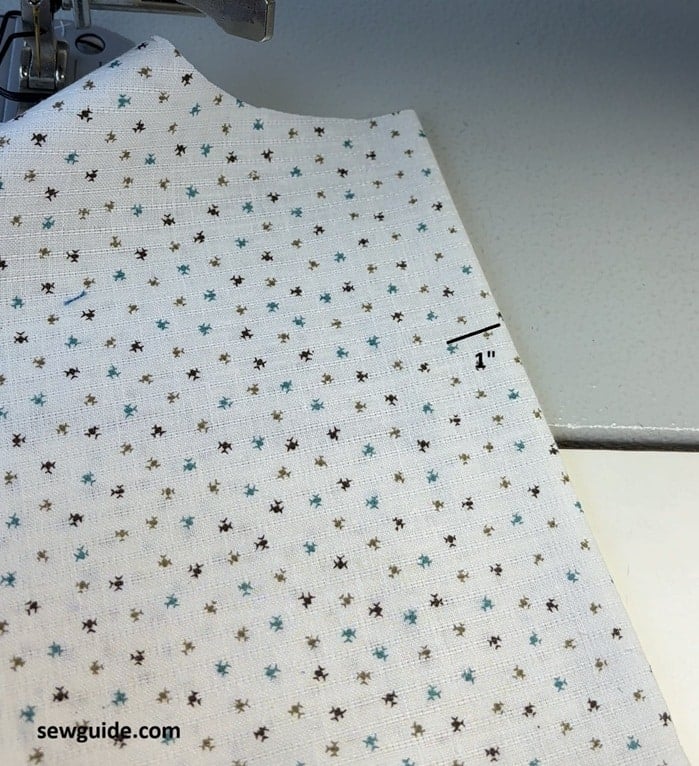
When you cut the back bodice you should leave extra allowance at the center for sewing the zipper
Cut the bodice by the center
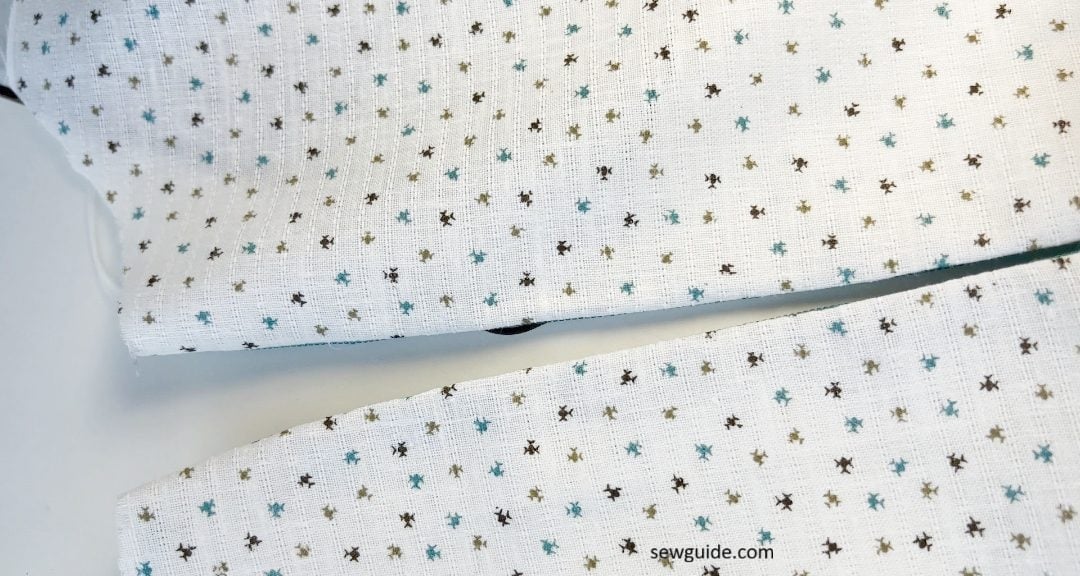
Sew the bodice pieces together
Keep the two back bodice pieces together, right sides to the inside; stitch them together with a 1″ seam allowance
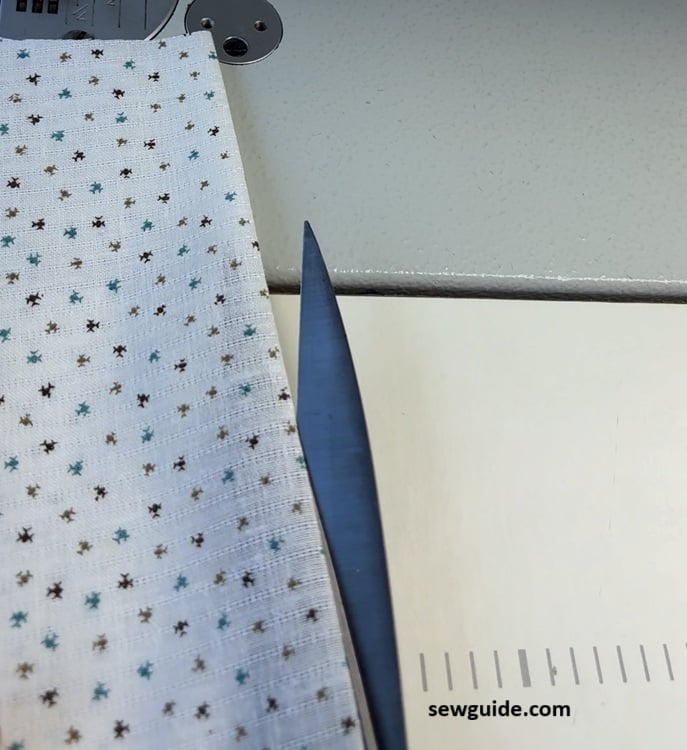
Sew zipper to either side of seam allowance
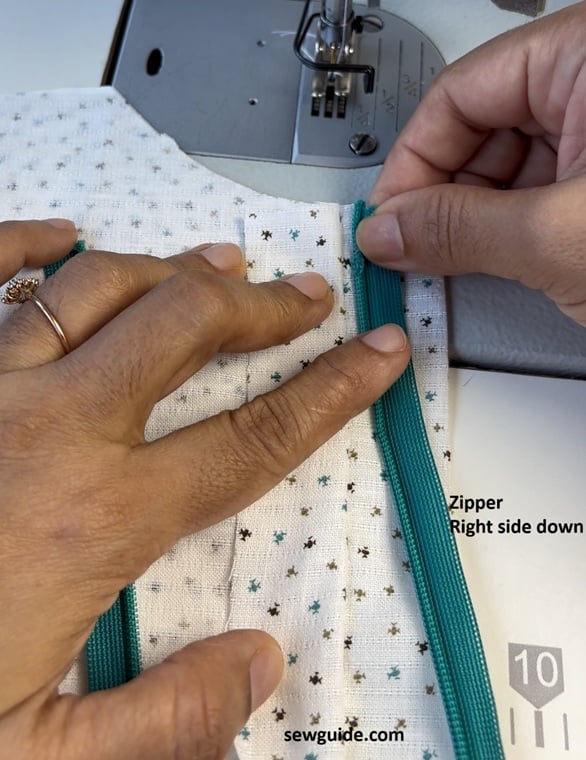
Keep the bodice back side up. Isolate seam allowance to one side. Use your regular presser foot for this.
Keep the zipper right side down. Sew the zipper to the seam allowance so that the zipper teeth is aligned with the seam line. As you sew you have to make sure about this.
Sew other side
The other side of seam allowance is isolated and the other side of zipper is sewn to this.
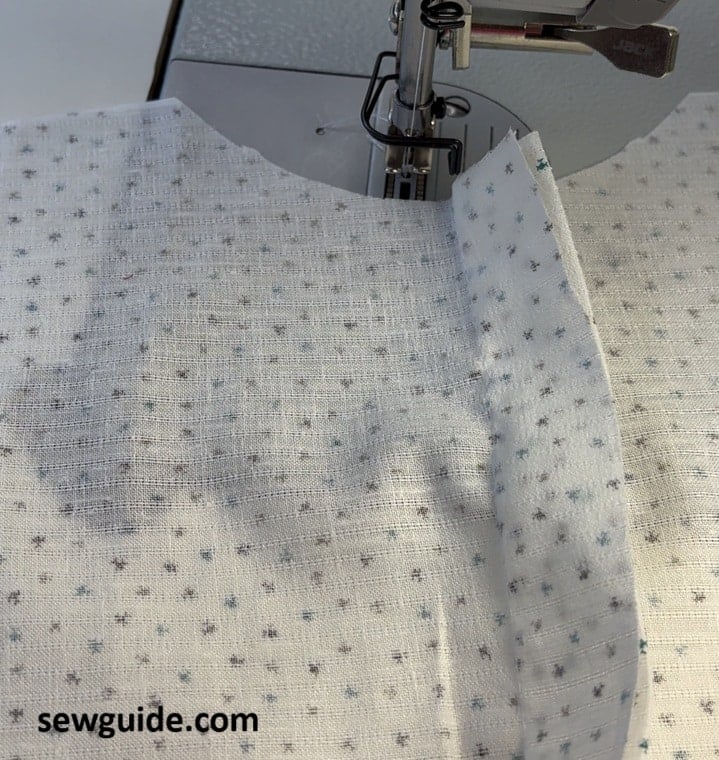
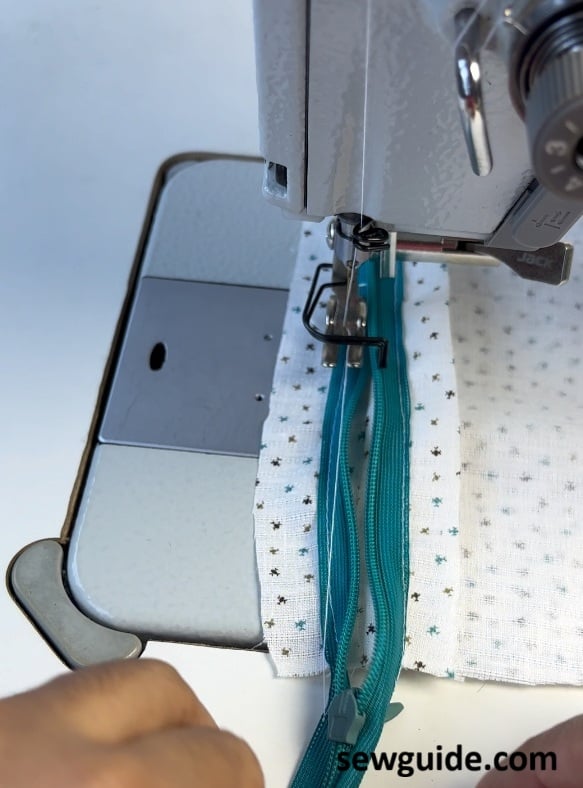
Sew the zipper with zipper foot
Now after the steps you followed to baste stitch the invisible zipper in place, on the seam allowance, you have to stitch it to your garment back. You have tp use a zipper foot for this.
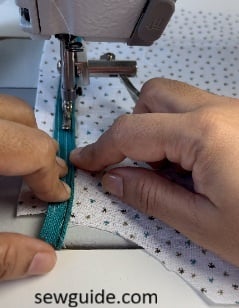
Using your hand or an iron press the zipper teeth straight- this is very important. Sew close to the zipper teeth, as much as you can, without sewing on top of the teeth. This step determines how hidden zipper is.
Sew the other side as well.
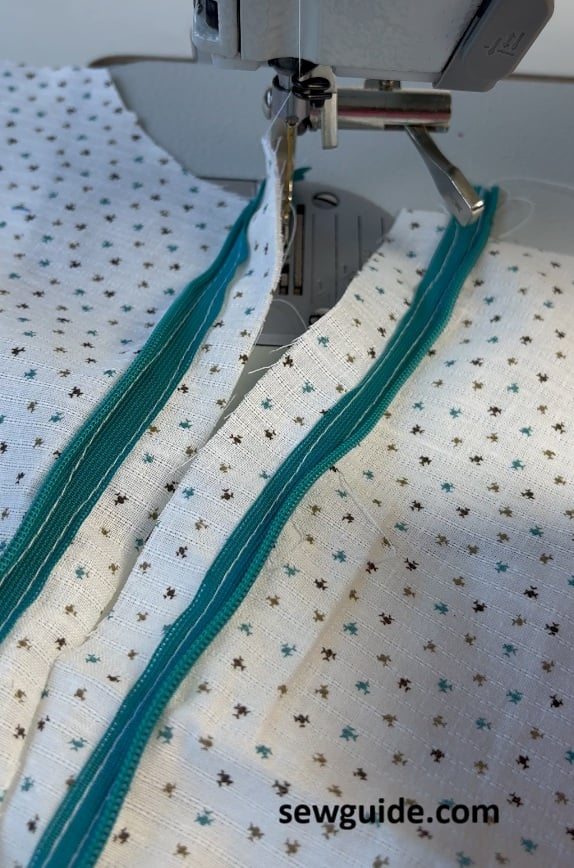
Now zip it up. You will have to turn the seam allowance to the inside and hand stitch it there.
steps for sewing invisible zipper- for partial open back
You need a zipper opening seam and a long invisible zipper (1 inch longer than the opening) in preferably the same colour as your fabric and a zipper foot on your sewing machine.
Interfacing strips for the zipper opening and hand sewing needle and thread are also welcome. If you interface the area behind the opening, it will give strength to the area. All experts interface zipper openings.


Steps to sewing invisible zip
Step 1
Mark a 1/2 inch or 5/8 inch seam allowance on both edges of the fabric. Mark the zipper opening (where you will be attaching the invisible zipper) as well about 1″ less than your invisible zipper. Mark this line about 1/8″ smaller than the regular seam beneath the zipper opening(refer to the picture below).
Finish the edges of the cut edges now.

You can attach / press an interfacing strip to the zipper opening seams on both sides. This will reinforce your seams.
This step is highly recommended on kids’ dresses and frequently worn clothes of adults as the zipper undergoes lots of pulls and pressures.
Step 2
Open the zipper and use an iron to press the tape flat, as the tape curls to the back from the coils. Do not press the plastic coils.
Step 3
Sew the seam closed with long basting stitches till the mark for the zipper opening.
The rest of the seam has to be sewn with regular stitches. Remember to start the ordinary seam with back stitching; otherwise, it will unravel when you open the zipper seam.

Press the seam open.
Step 4
Using a seam-ripper, cut the seam open for the zipper.

Step 5
Keep the zipper face down on the right side seam, right on the pressed fold of the fabric ( fabric is, ofcourse, right side up).
The coils should be running along the seam line ( over the pressed fold) and the tape should be within the seam allowance.
Using a hand sewing needle and thread (use a contrast coloured thread) baste stitch the zipper coil . You will remove this stitch later.

Step 6
Position your zipper foot on the LEFT side of the needle. Adjust the needle position so the needle will stitch along the teeth.
Stitch from the top along the tape as close as possible to the coils, all the way to end of the seam opening. As you stitch Uncurl the zipper tape with your fingertips, push them aside, then sew (this is important).
Back-stitch to reinforce the stitching. You should start with a backstitch to anchor the thread at the top. Stitch from top to down. When you reach the end of the zipper opening make a diagonal stitch to the zipper coil (or backstitch).
Step 7

Now close the zipper and pin / baste stitch the other side of the zipper coil to the other side of the opening from the back of the fabric as in the picture above.

Open the zipper. Move zipper foot to the other side of the needle and make sure that the lower edge of the garment is even.
Start stitching the other zipper coil (again very close to the zipper coil). Using your fingers roll the teeth away from the foot and sew close. You will have to close the zipper at one point as you continue stitching to the end

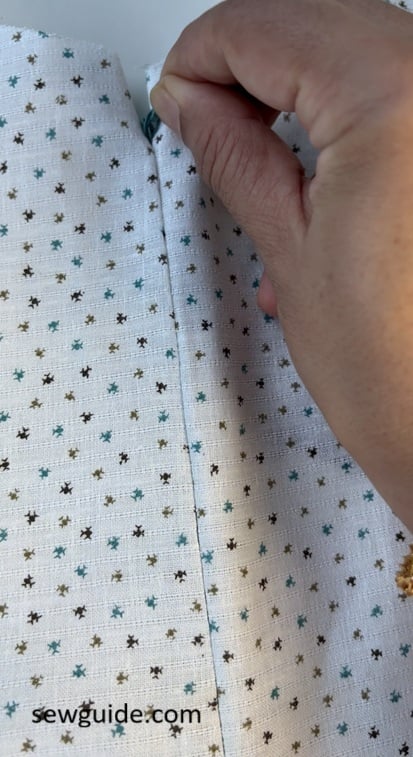
Close the zipper and see if everything is alright – the zipper tape and coil should be almost invisible from the outside except for the pull

Step 8
Pull the zipper end to the back neatly and hand stitch the free end at the bottom of each zipper tape to the seam allowance.
Add a fabric loop and a small button or a hook and eye at the top if you want a more secure opening. Some do this at the back as well.
- Selecting zippers for clothes
- How to put a zipper in a dresss
- DIY exposed zippers
- Fix zipper problems.
How to attach the invisible foot without finishing the full seam
If you haven’t bothered to finish the seam before attaching the invisible seam, very well – if that is how you prefer to do it.
Attach the invisible zipper first. Then finish the rest of the seam the following way – keep the fabric right sides together. Pull the zipper end to the right, out of the way of the seam.
Gently and carefully lower the needle by hand-turning the wheel to the last stitch you have made for the zipper. You can stitch 1/8 ” to the left of this last stitch. Back stitch and start stitching down to complete the seam.
You can learn more about sewing with invisible zipper foot and how to attach an invisible zipper on a skirt with a waistband here in this post on sewing a skirt with a flounce hem.

Checkout the related posts


I have never owned an invisible zipper foot, but have sewn a few invisible zippers before. It has been a while, so I don’t remember how I did it. I was looking for some good written instructions and finally came across this one in my search. The pictures are very clear and match with the written instructions. Thank you for taking the time to make this set of instructions.
Thanks
very good blss u people desiner on top
I am a sewing teacher I am very happy to find all the necessary information & my teaching data in one place that was very good and pleased me and it is organized my teaching topics
thank you very match