When I have to join fabric strips to make a long line of fabric tape the very obvious method is to make a simple diagonal joining – this avoids bulk and looks invisible – something which almost everyone who sews knows. The straight seam is avoided when sewing fabric strips because the seam bulk will be there on the straight line and it will add to the bulk. The diagonal seam distributes the seam bulk along the bias, so it doesn’t form a visible ridge. Though every experienced sewist knows this, there are some tricks of the trade that makes this join seamless. Here they are…….
How I sew this together
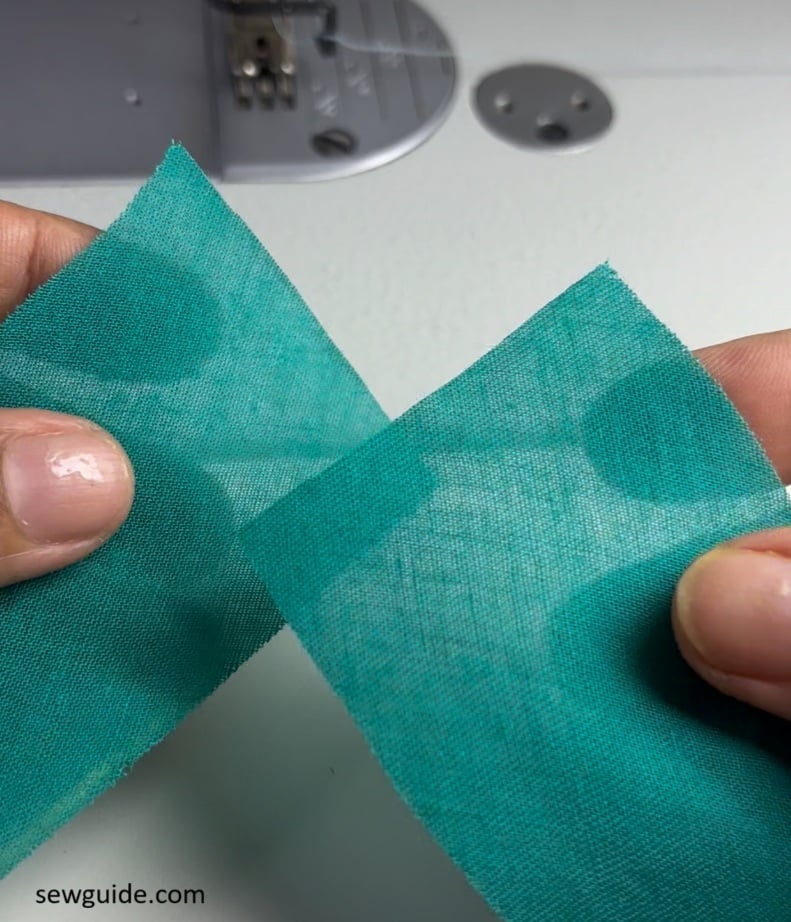
So you have these two fabric strips and you want to join them together.
Keep one fabric strip, rightside up.
Place the second strip rightside down – perpendicular to the first – this will form an L shape.
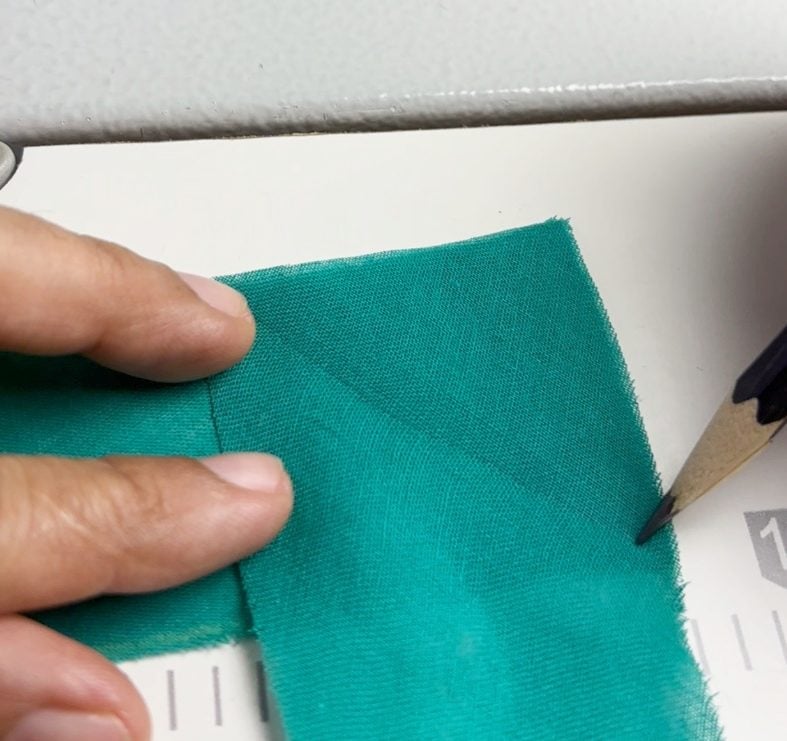
Mark a diagonal line from one corner to the other.
Cut it out.
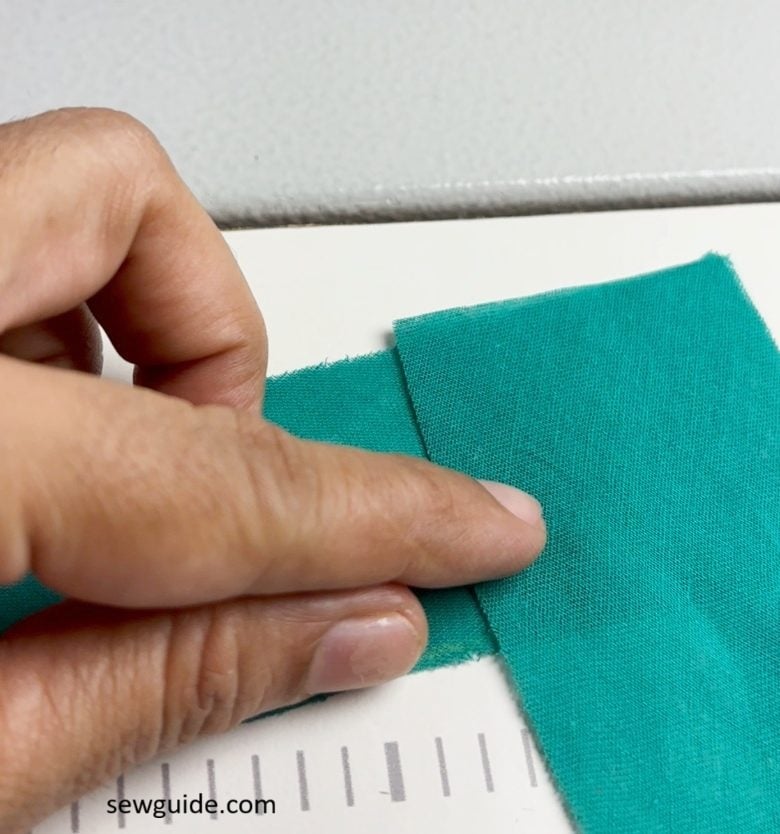
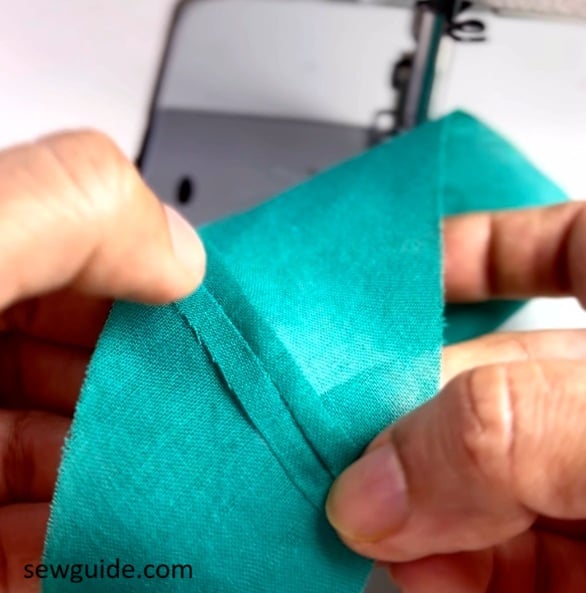
Lift up the fabric strip on top and place it 1/4 inch up, along the same line. Not like this :
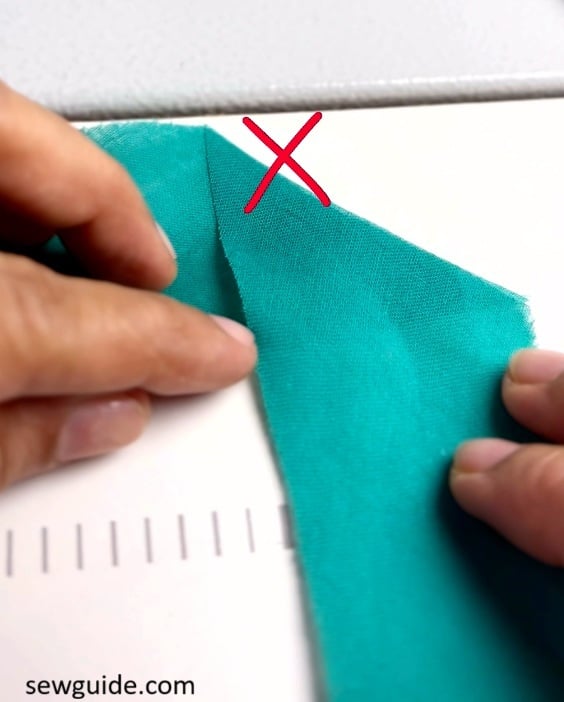
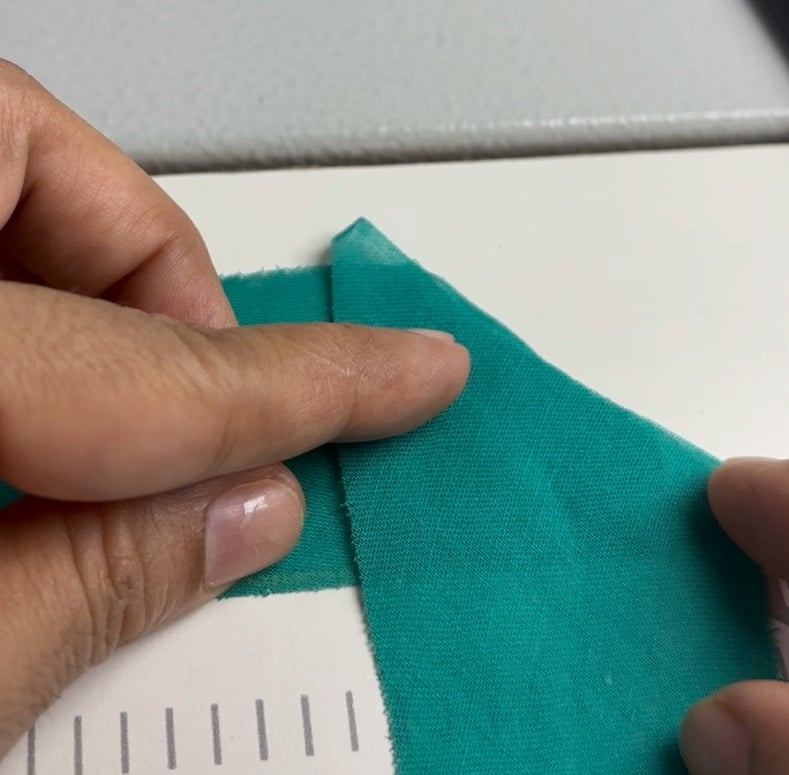
Like this : A little bit up.
Now sew along the edge. Press the seam allowance open.
Checkout this post on how to sew bias tape on edges.
After sewing it on fabric edge
This method is used when you have to join the edges of the fabric strip on a project – for example, you are sewing the fabric strip along the edge of a placemat and you have to join the fabric strip ends without too much bulk. As said already, if you join the fabric edges as it is with a straight line stitching, it looks somewhat conspicuous.
So the aim is to join them with a diagonal seam – but how to do it mid-seam? That is the question answered here.
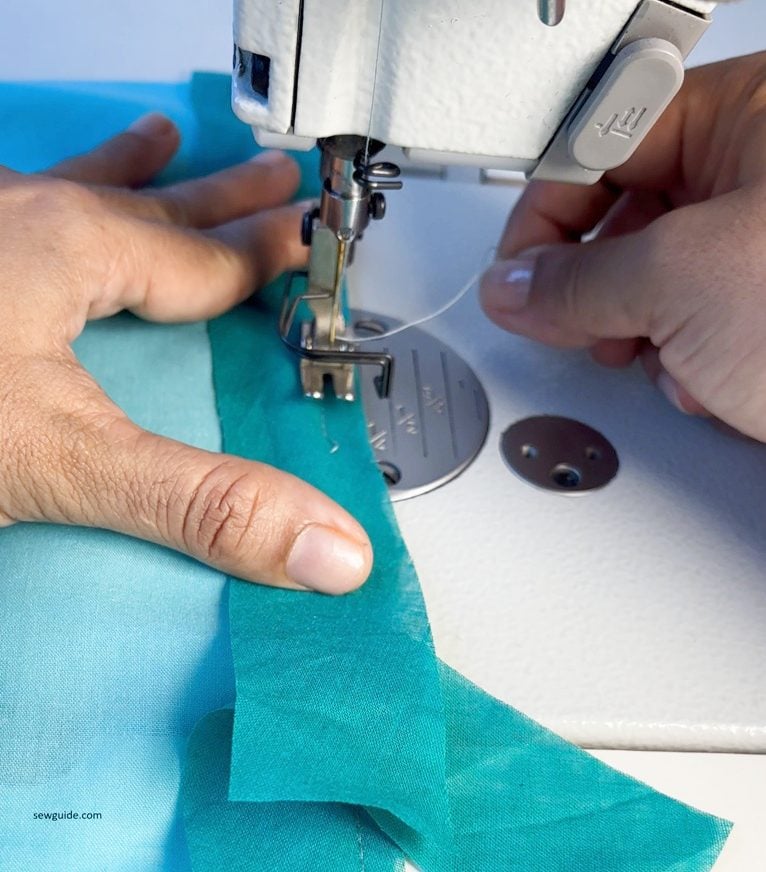
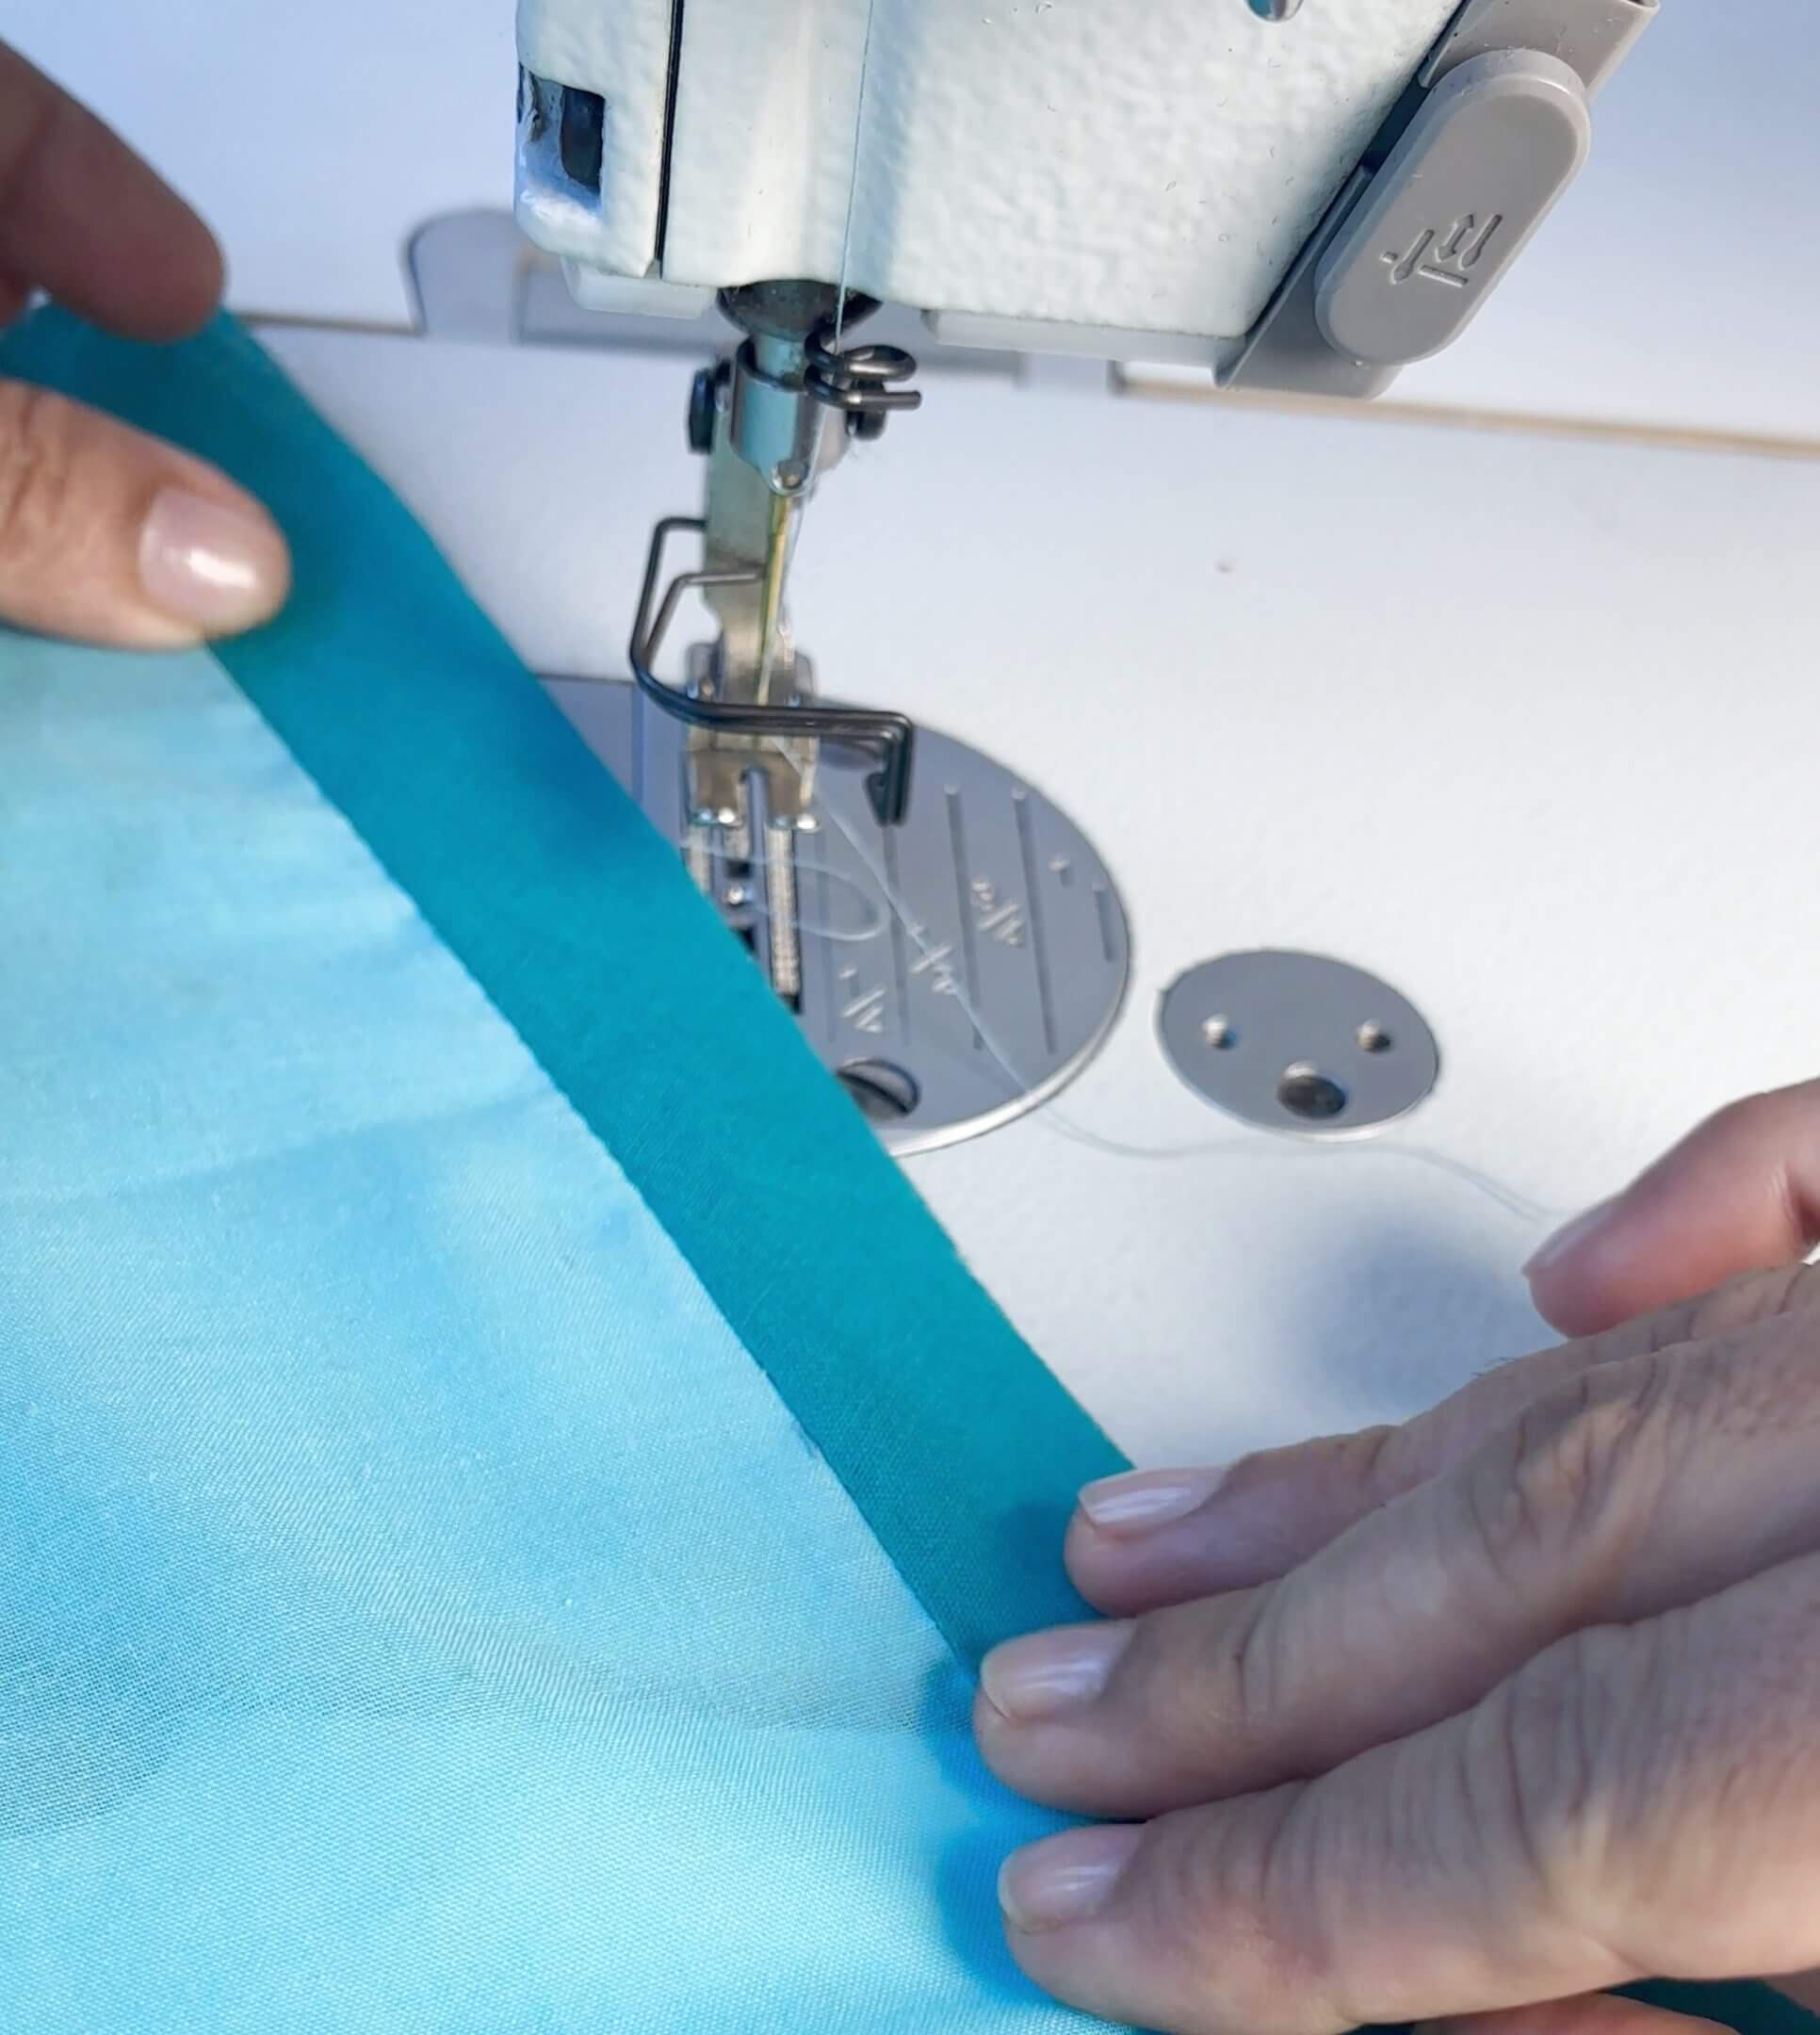
Lay one fabric strip rightside up on the fabric edge. Sew the fabric strip to the fabric edge with a 1/4 inch seam allowance. When you start (this is very important – leave some 2 inch extra tail unstitched)
When you reach the full edge, you will reach the place where you started. Cut off the end of the fabric strip with 2 inches extra.
Maybe you will understand this better from a video :
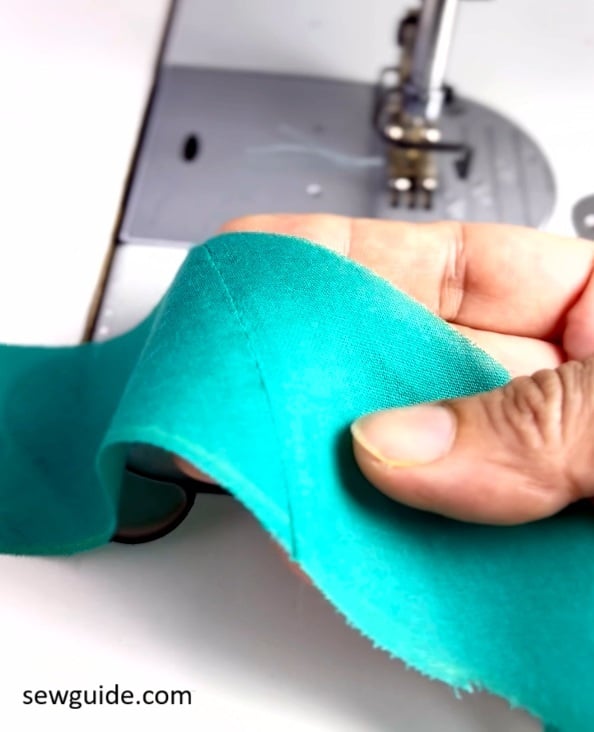
Make sure that you have sewn the fabric strip very close to each other – almost abutted.
Press the fabric strip to the other side.
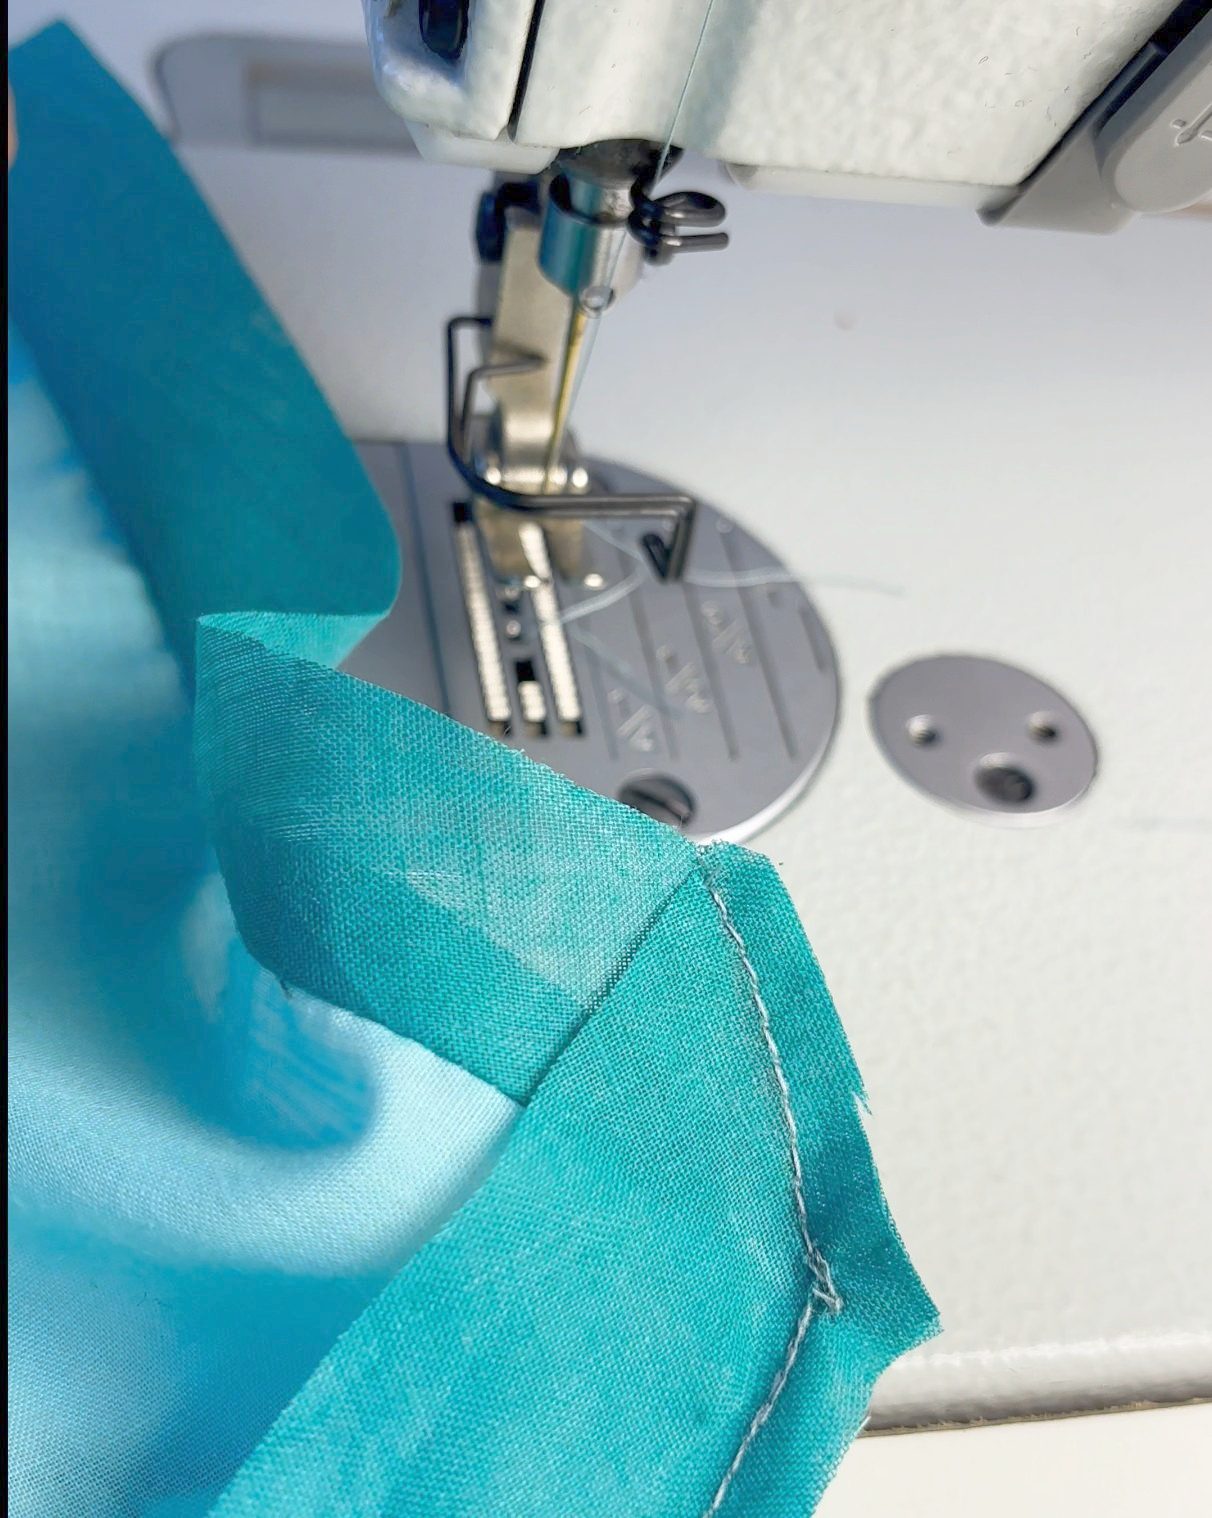
Move the second strip – that is, the end edge – so that it is now perpendicular to the first (forming an “L” shape).
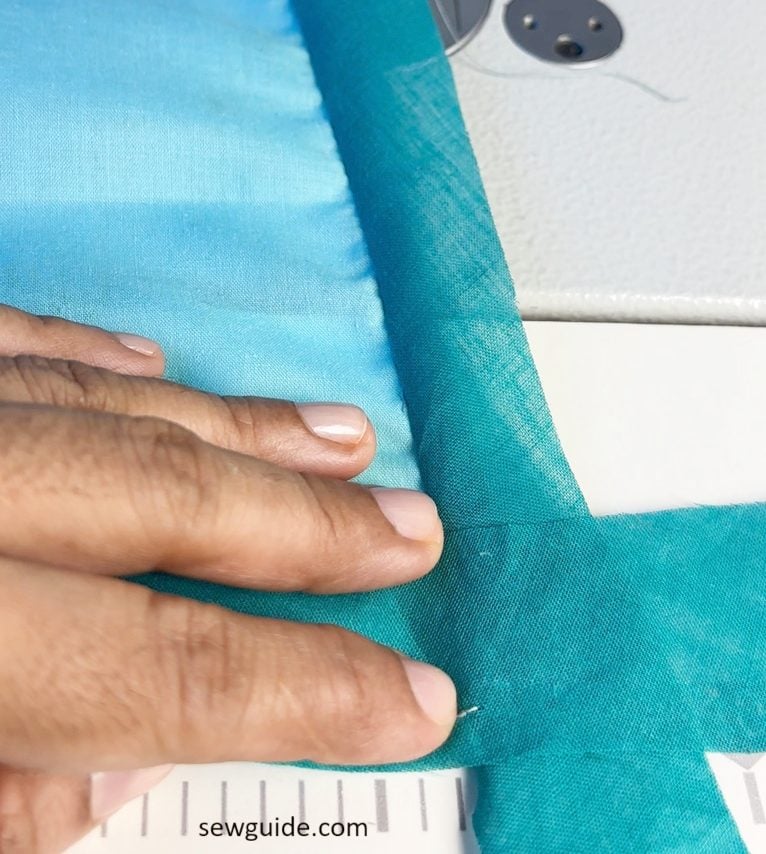
Mark a diagonal stitching line from corner to corner (like a 45° angle).
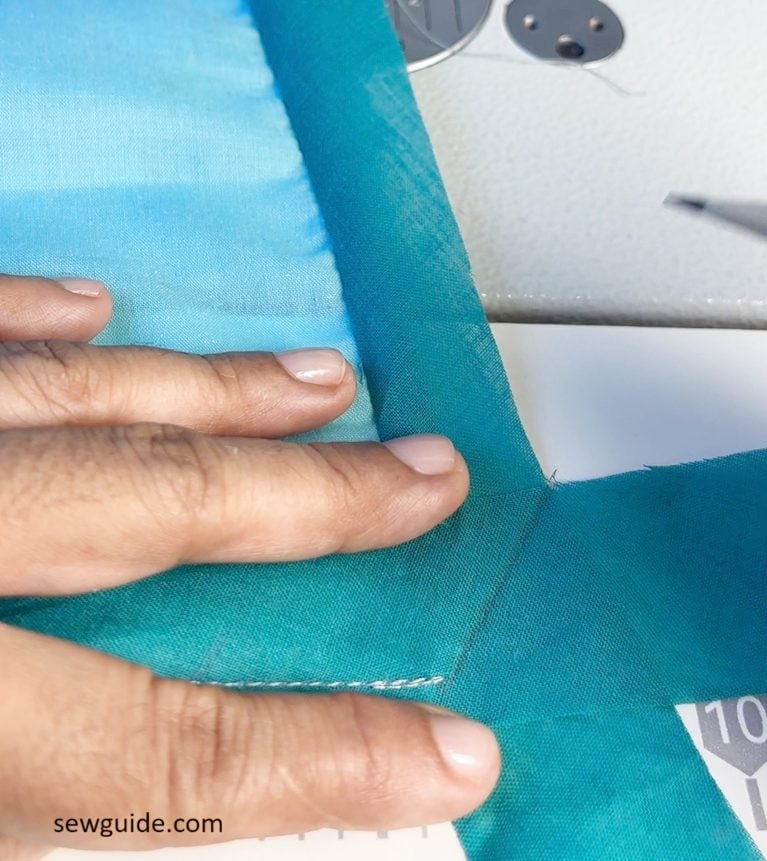
Sew along the diagonal line.
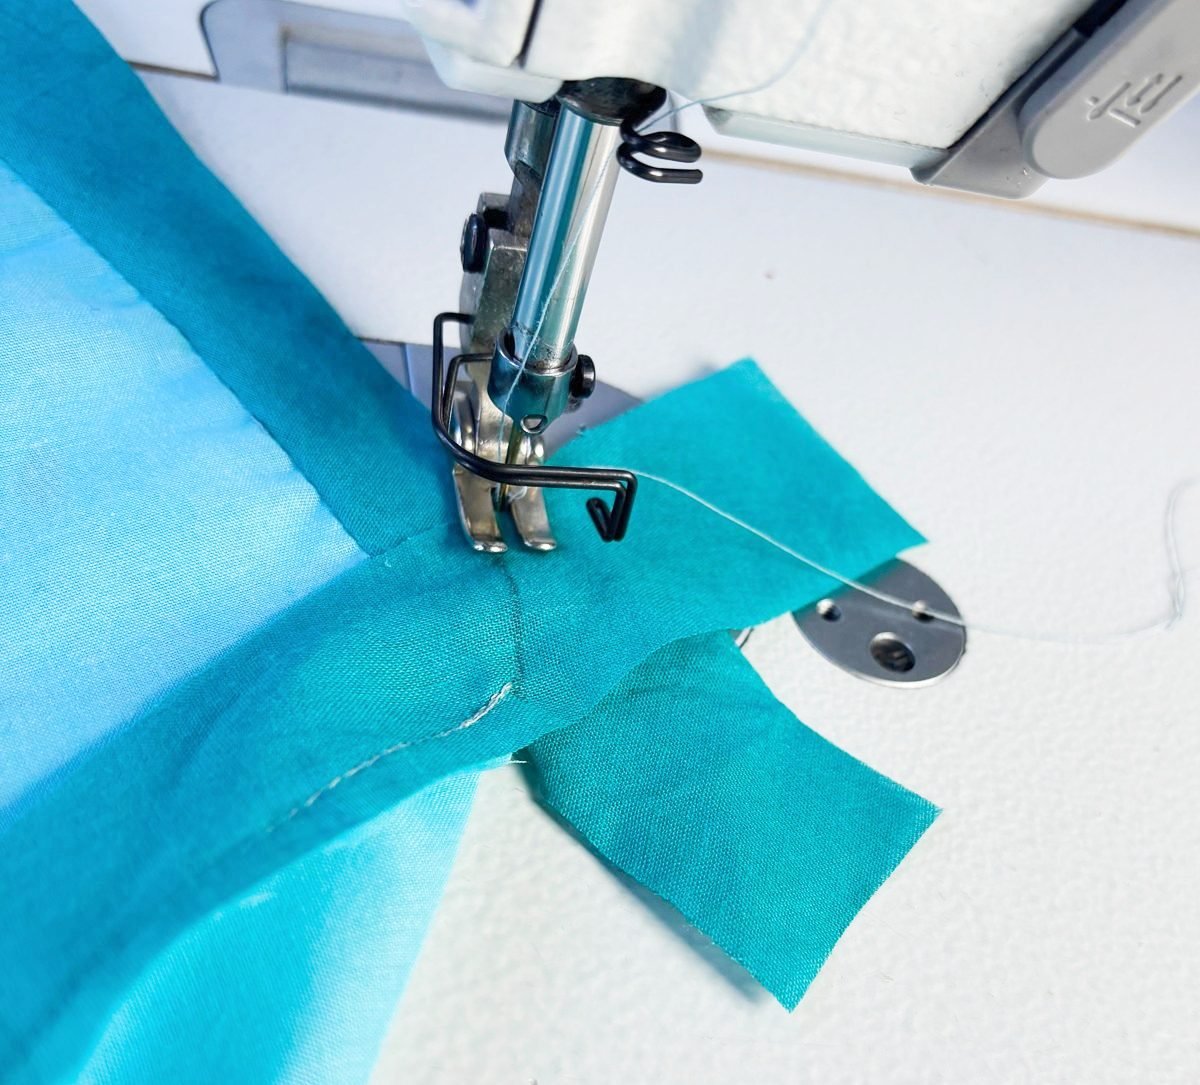
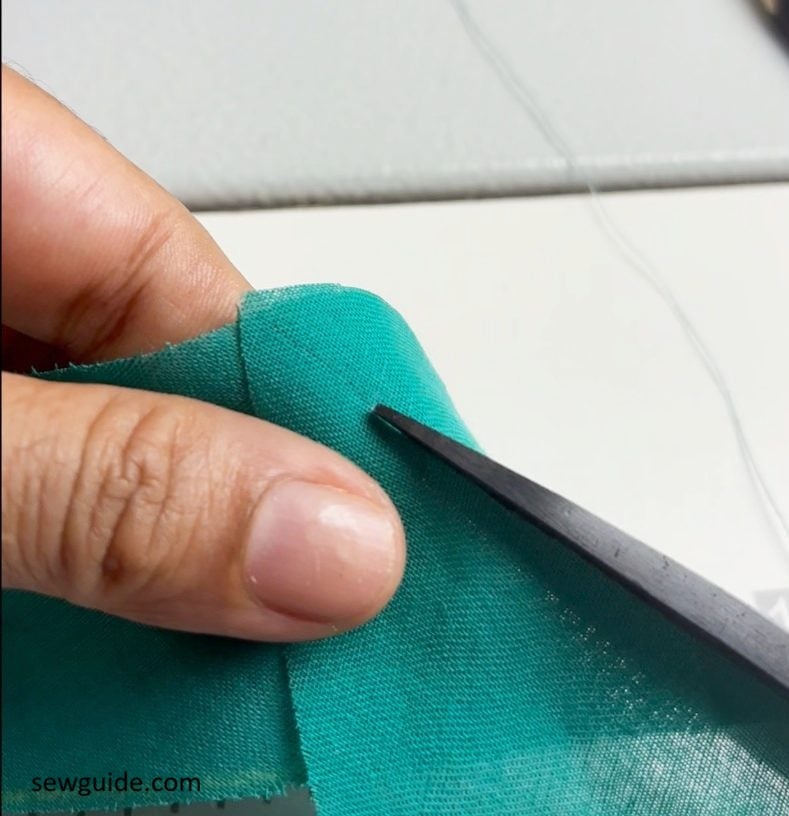
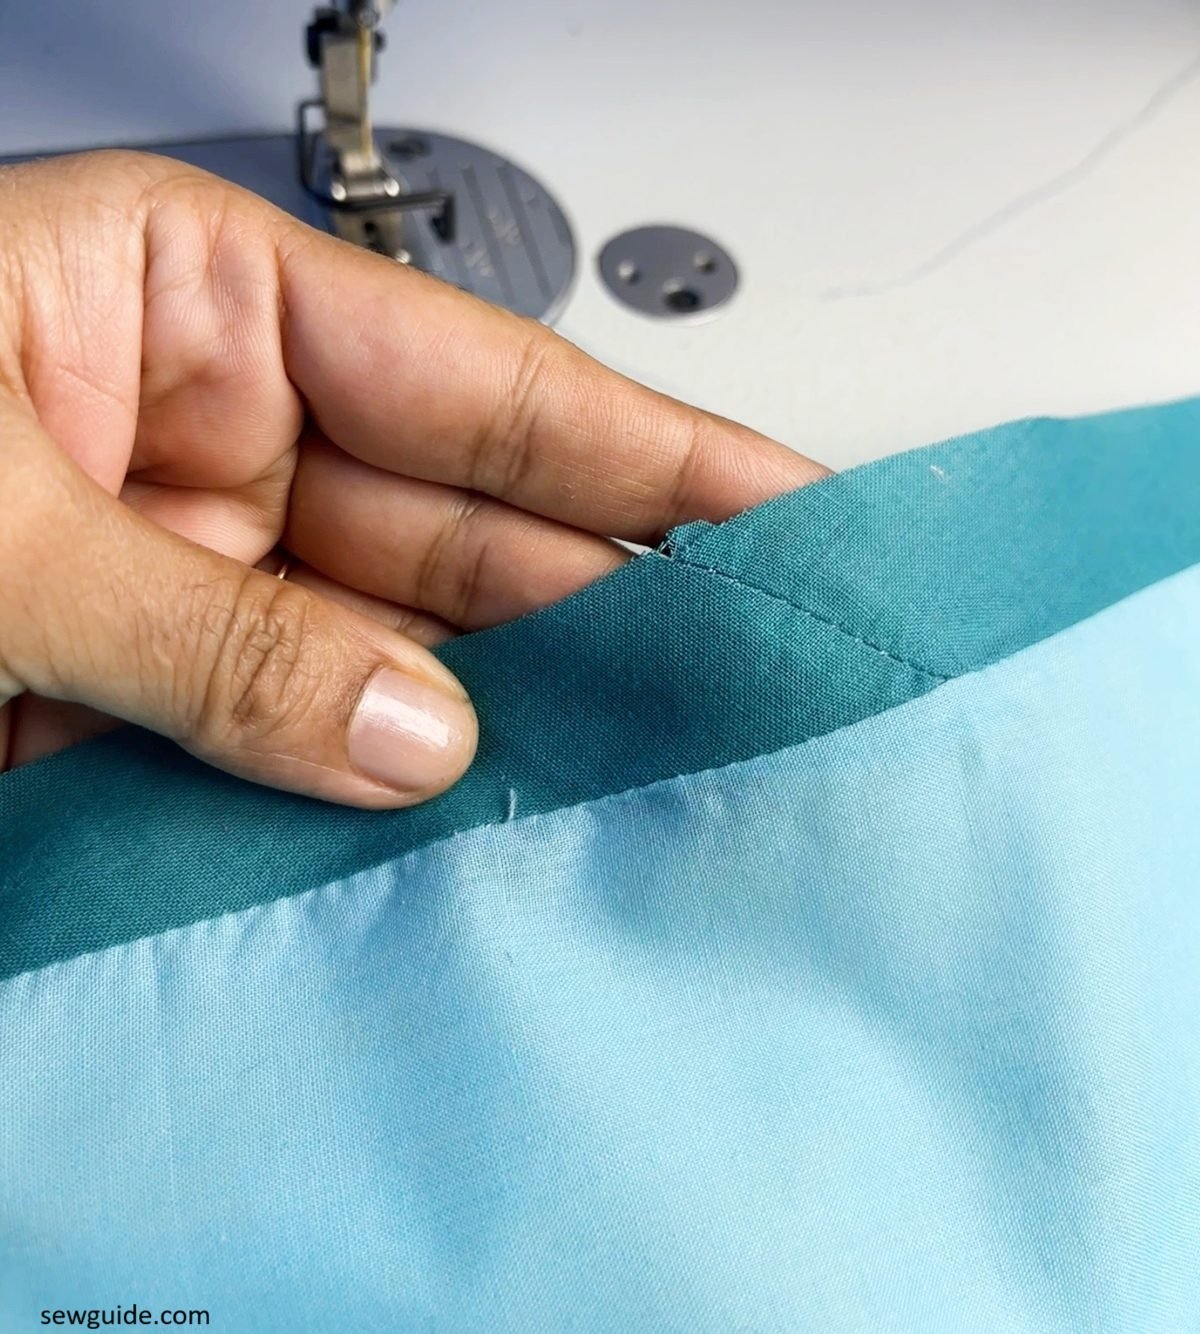
Cut off the extra seam allowance.
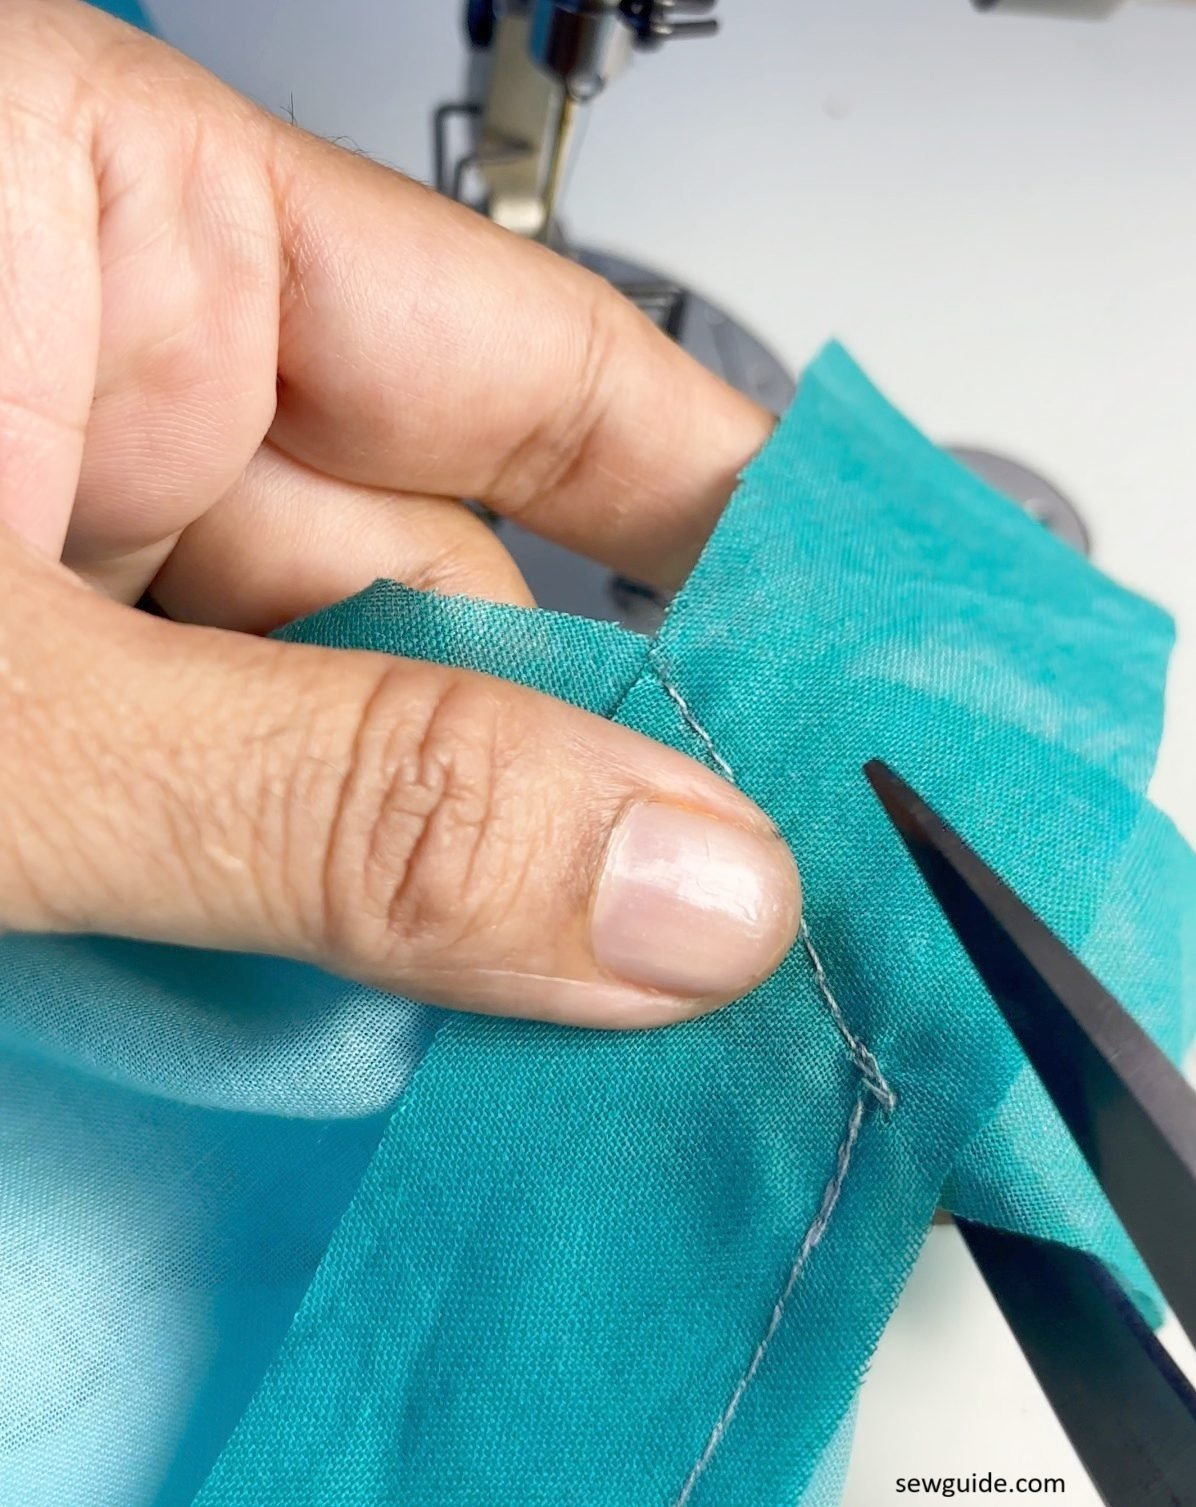
Then press the seam allowance open.
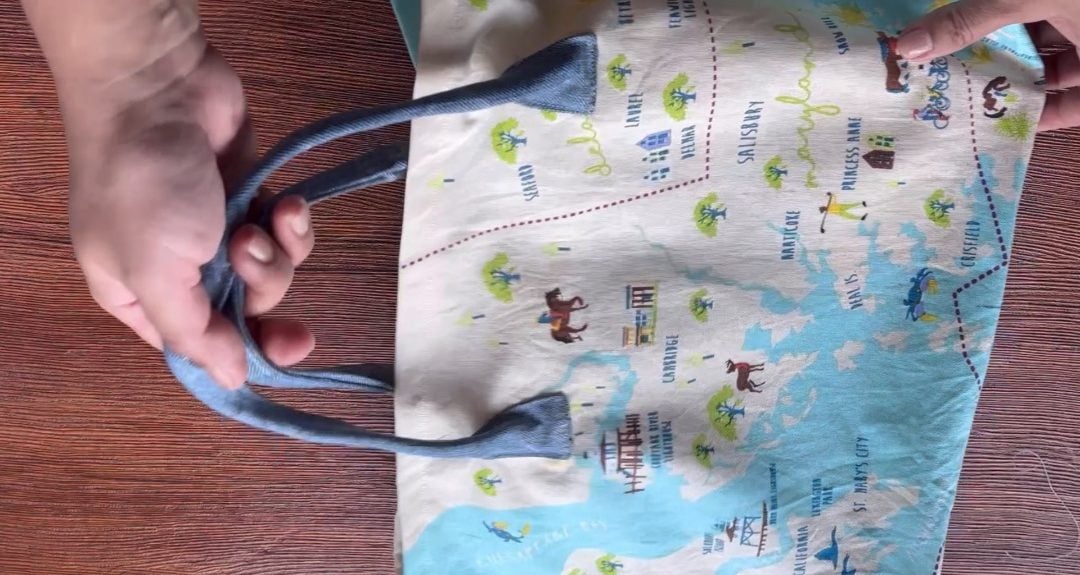
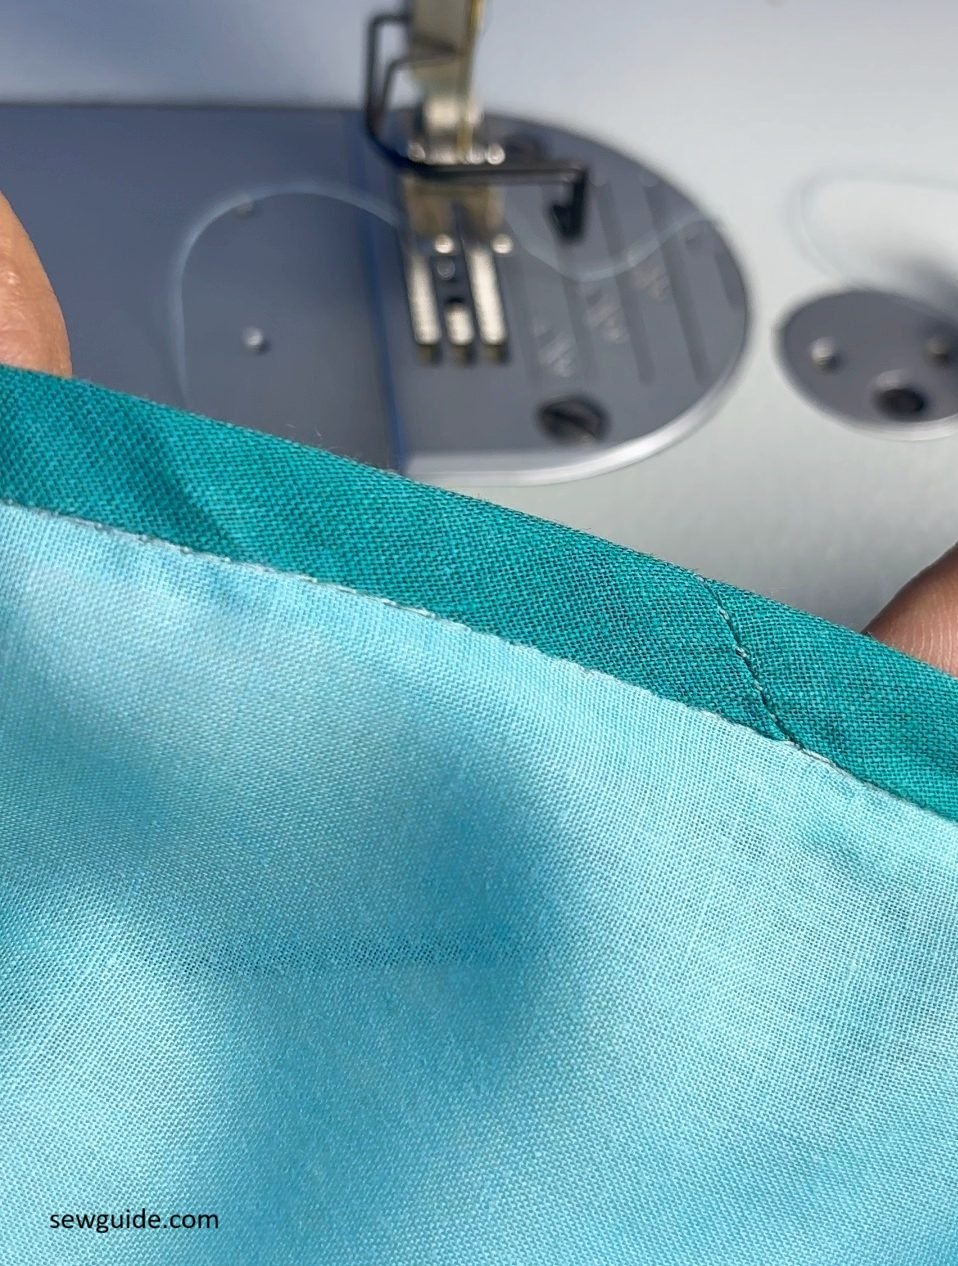
Your fabric tape is now joined without any bulk – looking almost invisible.
And when you fold the fabric tape to the back for binding, this method reduces the concentration of the seam allowance bulk in one place.
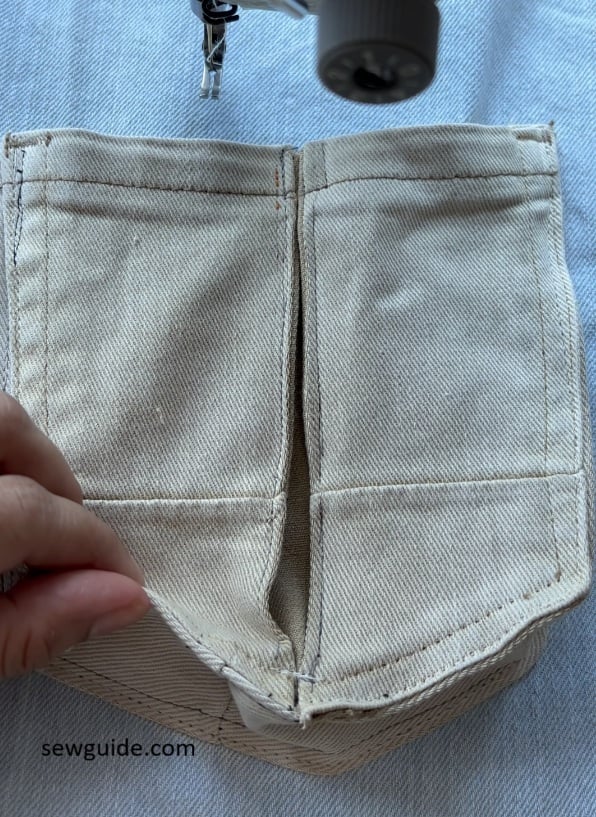
For thick fabric pieces like that of canvas, denim: trim the diagonal join seam allowance even narrower (⅛”) and press with a clapper. You can also heat and steam flatten the seam bulk.