Instructions to make the strap for the D-ring belt
Cut out fabric strip for the fabric belt – 3 inch wide and length equalling your waist round plus 10-12 inches extra. You can use any type of fabric to make this belt – I like a thick one as it needs no other structure. In case you are using thin fabric, you will need to interface the fabric to make the belt.
Now to make the fabric strap of your belt without the bulk of my fabric bothering me, I am using a trick I learned recently for turning fabric tubes on the go as I sew. This trick will ensure that the seam is not apparent from the front or the sides.
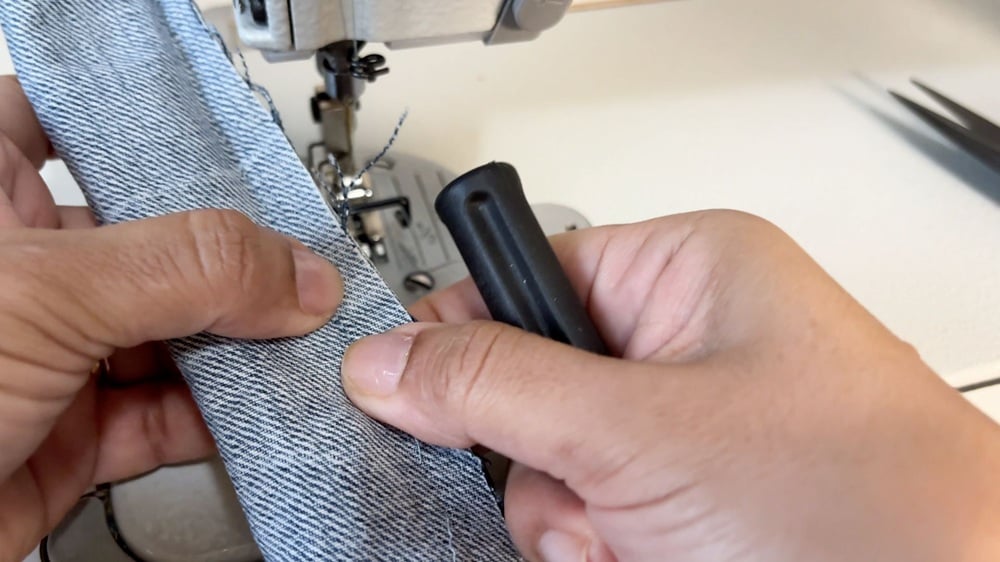
First turn the top edge of the right side of the fabric to the wrong side – about 1/2 inch. Press.

Now, fold the fabric piece half lengthwise (rightsides together).
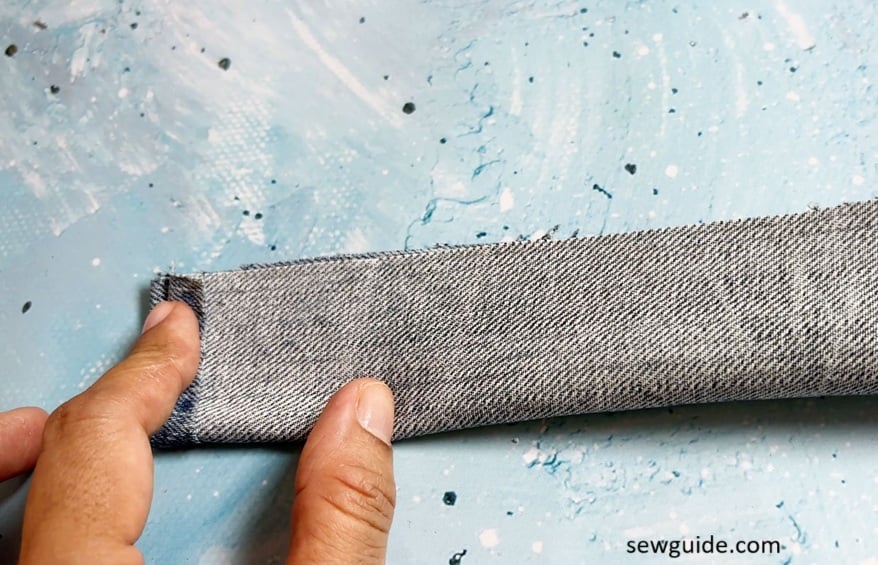
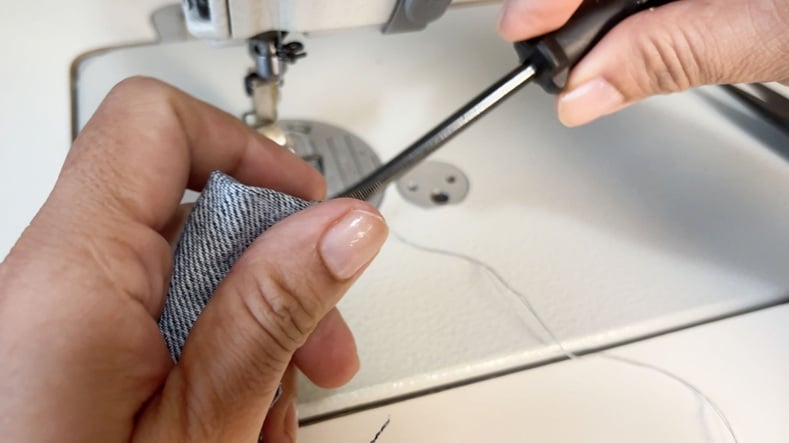
Now sew the long edges together for about 4 inches. Keep a screwdriver ready in your hand for the next maneuver.
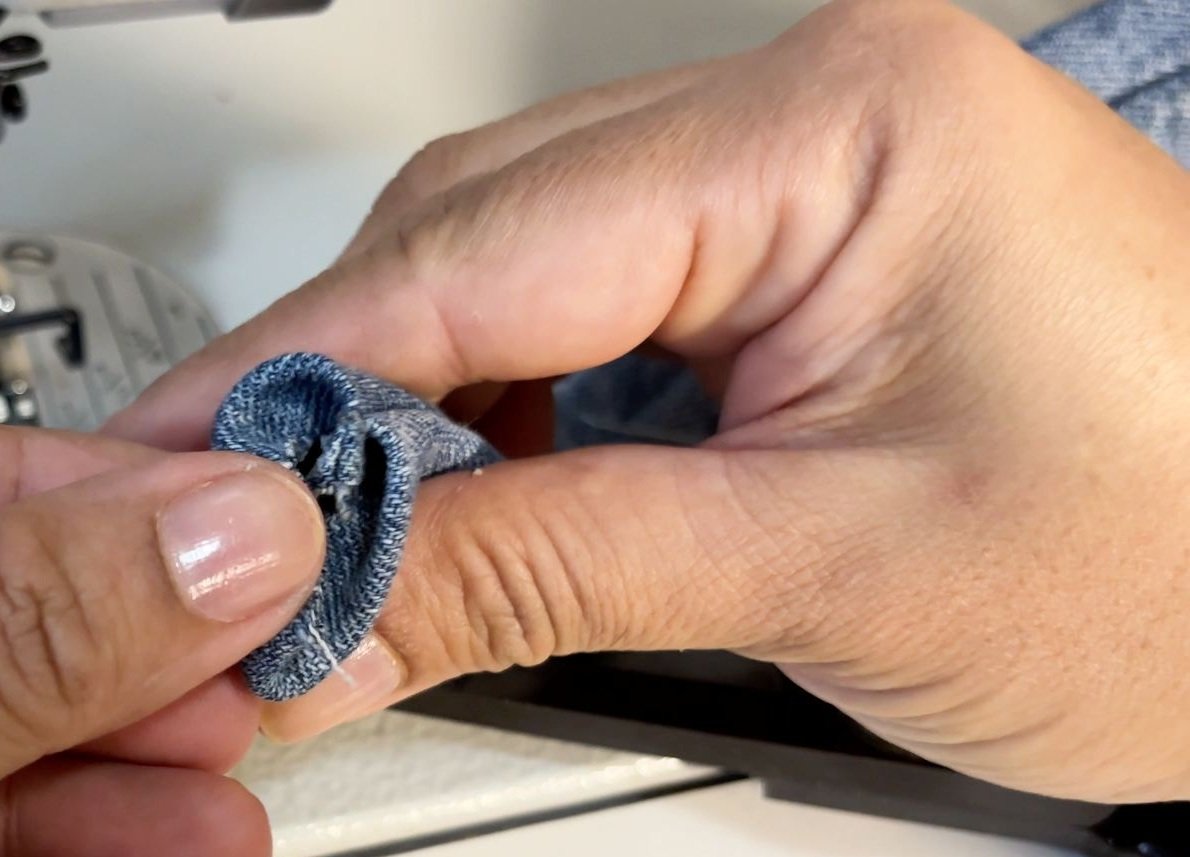
Bring the top edge of the tube inside through the top opening by shoving the top with the screwdriver.
When the top edge is somewhat inside, stop. Go back to the sewing machine and start joining the edges again. At the same time, you should be pulling the top edge down , as you sew. It is a simultaneous action – pull and sew, pull and sew.
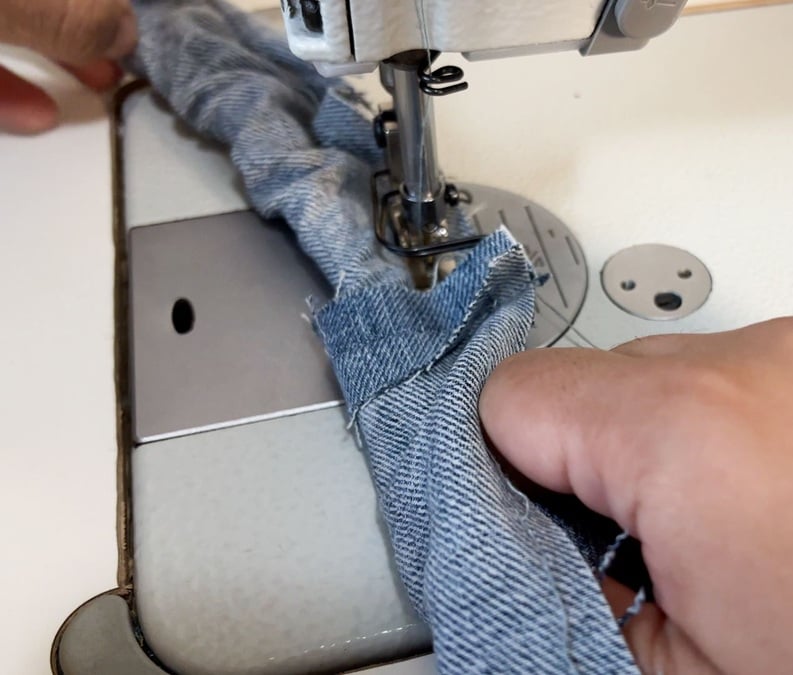
Continue doing this till you reach the end of the fabric tube.
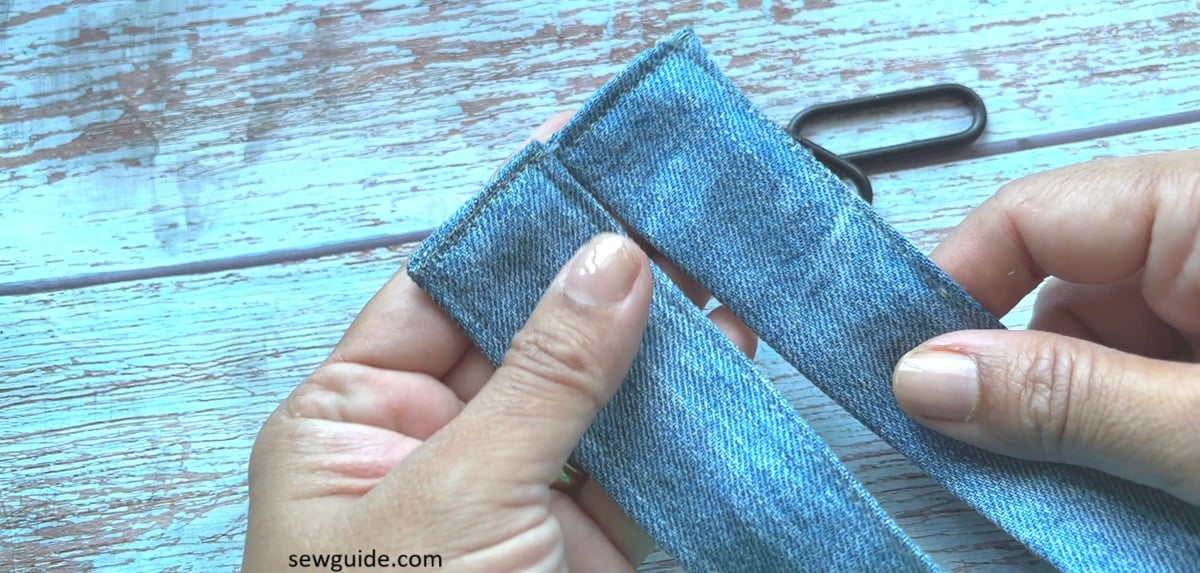
Now, continue pulling out the rest of the tube out of the fabric.
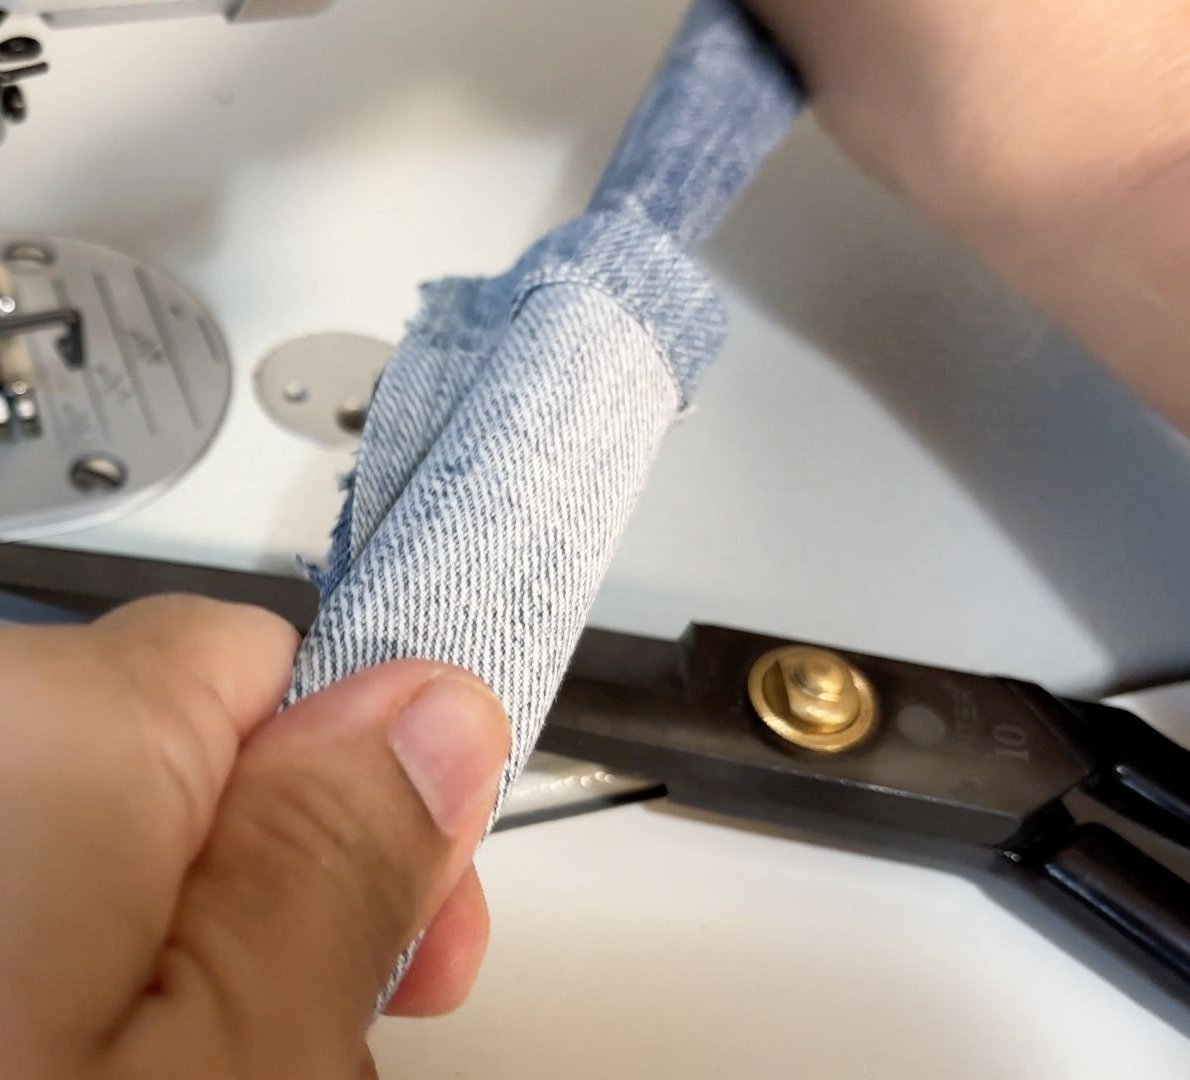
After the whole tube is brought out, close the top edge with a top stitch, ensuring that the seam is on the back.
If you find the instructions complicated, watch this video:
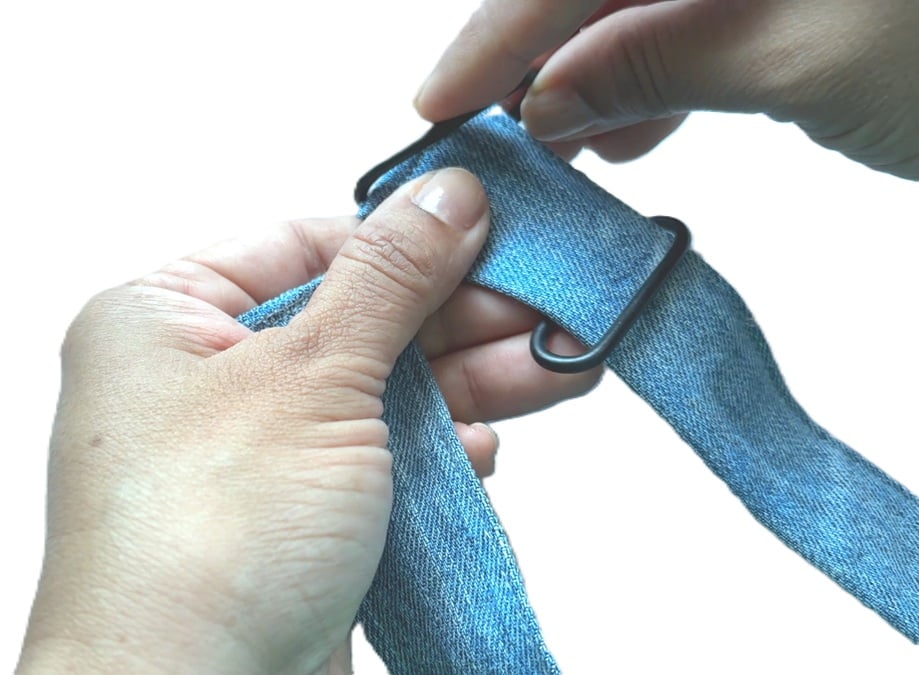
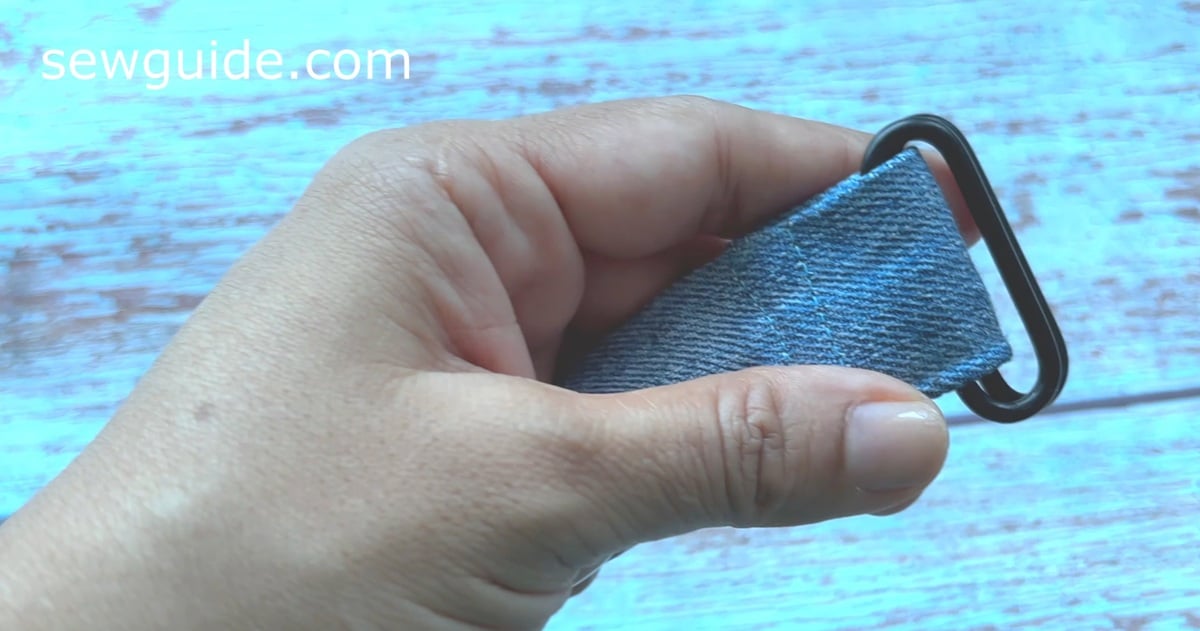
You may want to edge stitch /top stitch along the edge for a finished look for your belt strap. Keep two d-rings at hand for the next step.
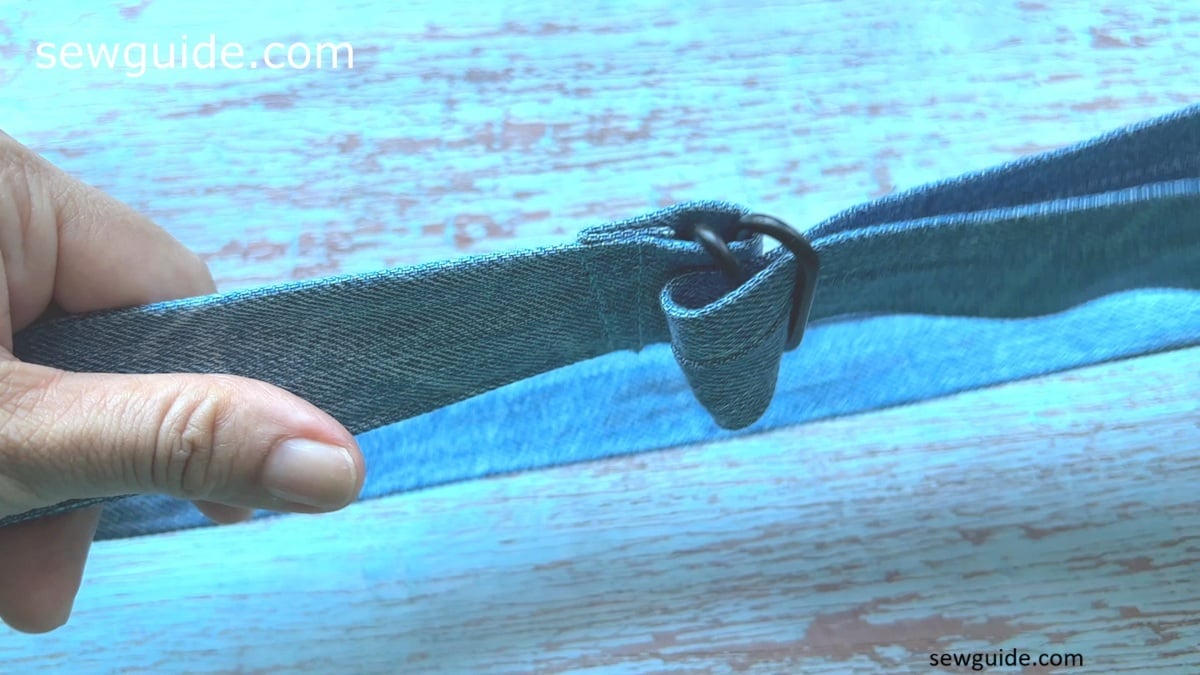
Insert two d-rings on one end.
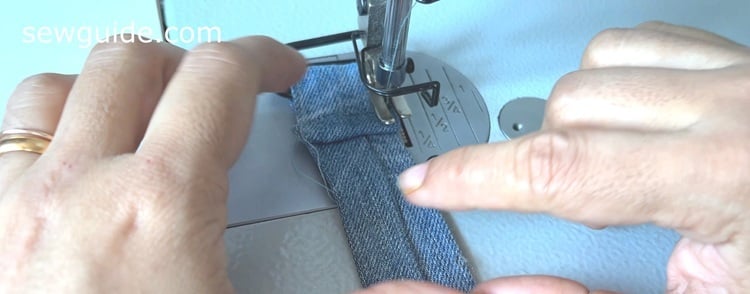
Stitch the end finished.
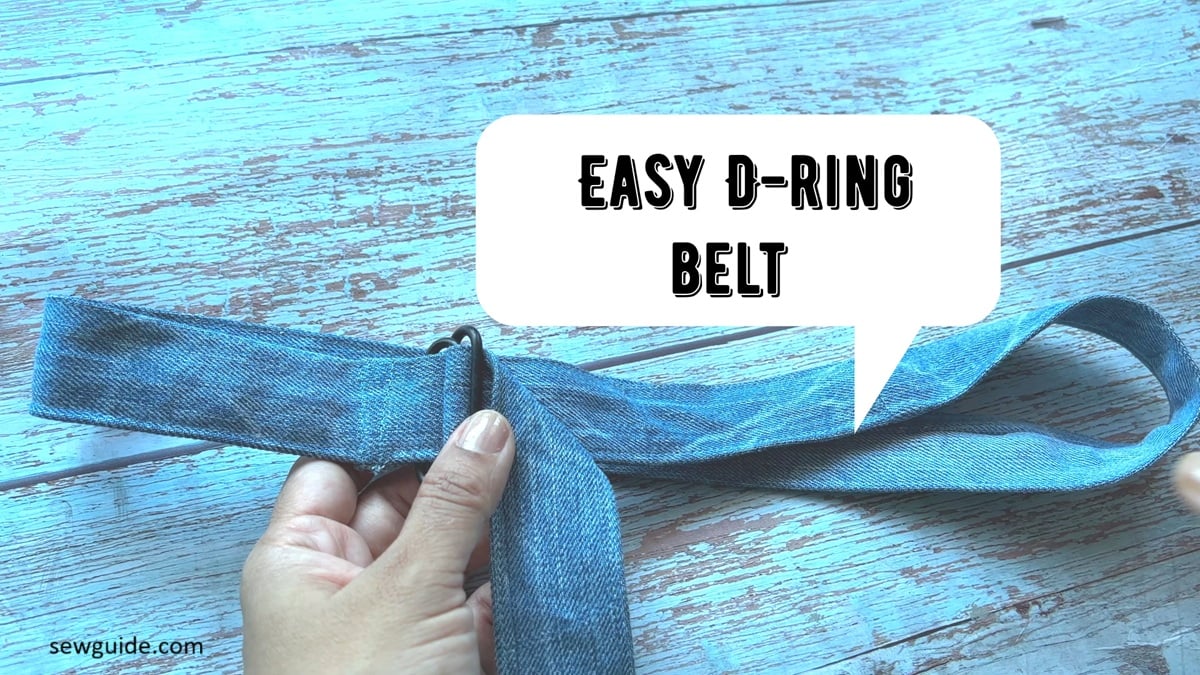
Your d-ring belt is finished. You just have to wear it.
Insert the other end of your belt through one of the d-rings first and then through the other d-ring tightening it.
Here is how to make and wear this d-ring belt
Related posts : Various Fashionable Belt Styles ; Tips to Sew Your Own Fabric Belts