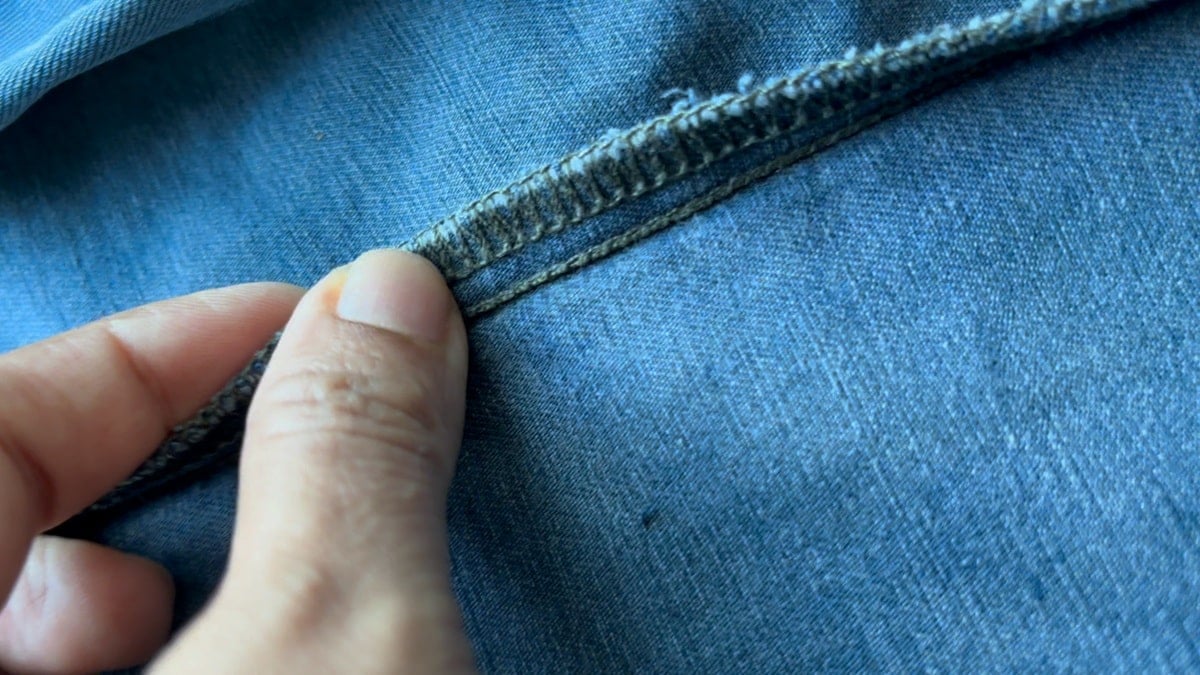
This is a tutorial to deal with thick fabric edges that feel rough or uncomfortable inside -with a bound seam edge using soft fabric. When I say thick fabrics, I mean beautiful fabrics like chenille, denim, etc that looks great, with even greater texture. But when you leave them as it is or with just a zig zag edge, the edge inside your garment is bound to scratch your skin. It should be tackled at the edge finishing stage – that too with a bound edge.
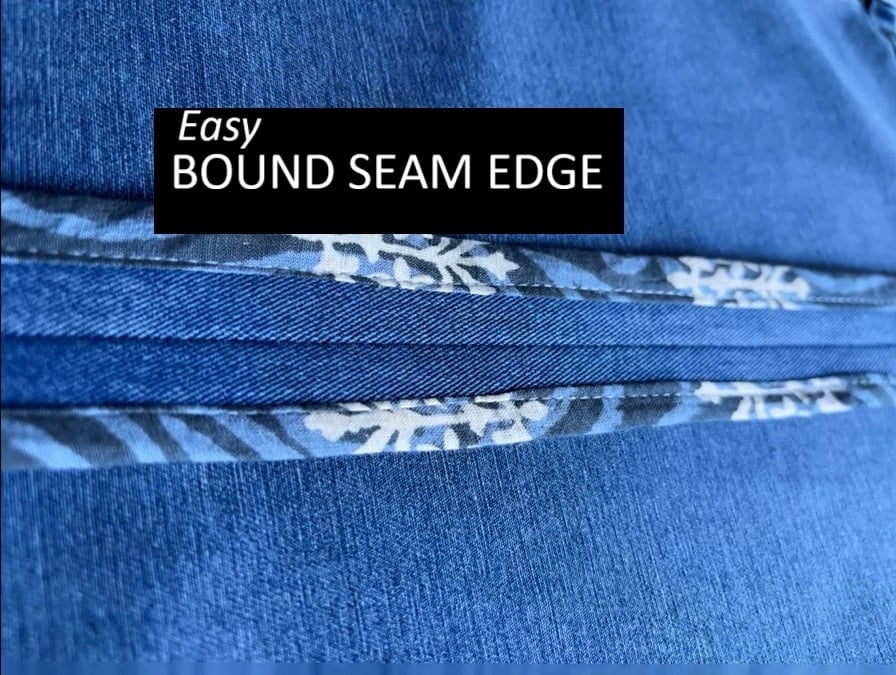
A bound seam is a beautiful seam and very comfortable on your skin too (depending on the fabric you choose for the binding).
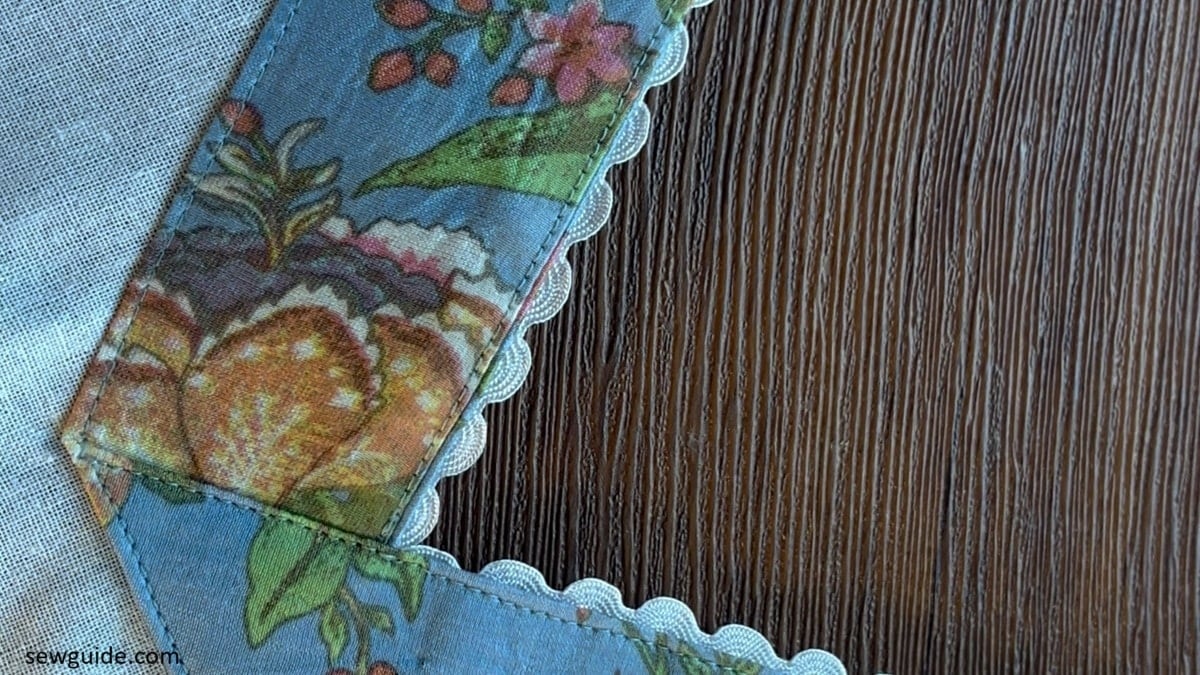
When you sew a bound seam edge, you will be joining the couturers of the world – they always finish their inside seam edges with a bound finish like this. You will be using the bias binding tape to bind the edges. A bound edge makes thick fabrics feel smooth,and soft. Perfect for denim, canvas, or heavy cotton.
But a bound seam may get difficult on thick fabric layers, when sewn the traditional way.
I found this easy way to sew a bound seam – this finishes the seam at the same time as the binding, well, almost. And when you use pretty printed fabrics, makes the inside of your garment as pretty or even more so than the outside.
For visual learners here is the video:
How to sew this bound edge
Note: Before sewing the edge, Finish the hem edge of the clothing – it is better this way.
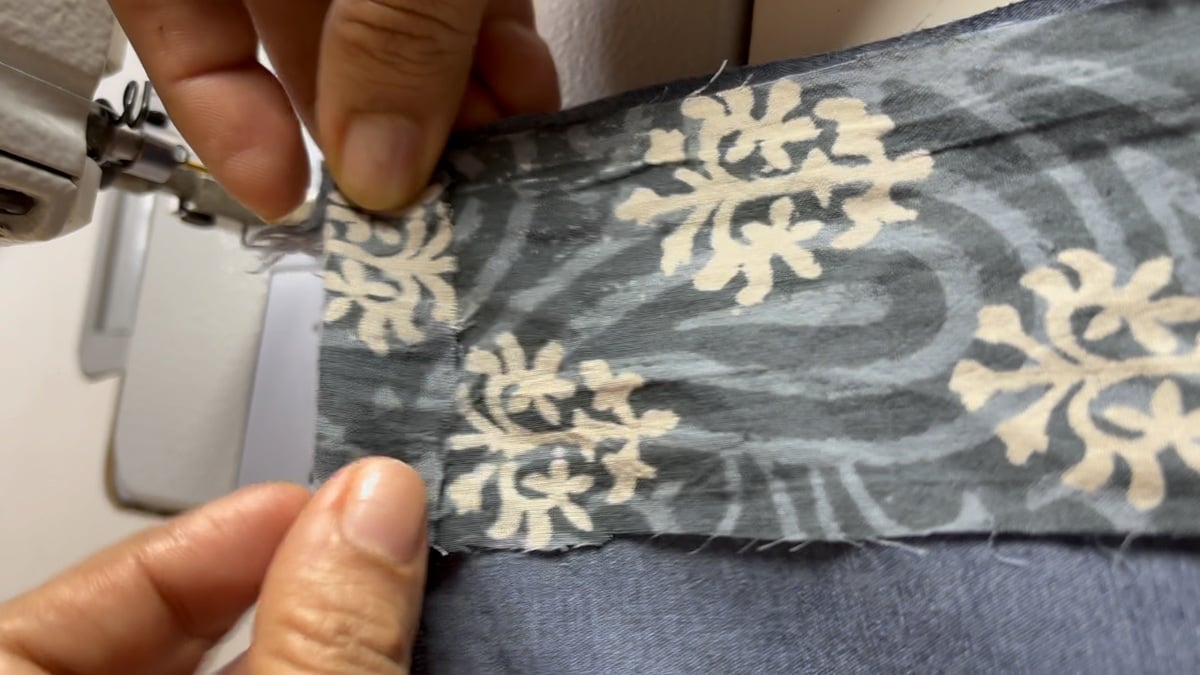
Step 1. Cut out two fabric strips which are 2.5″ in width – they should be the length of your seam plus one inch extra to fold inside at the edges.
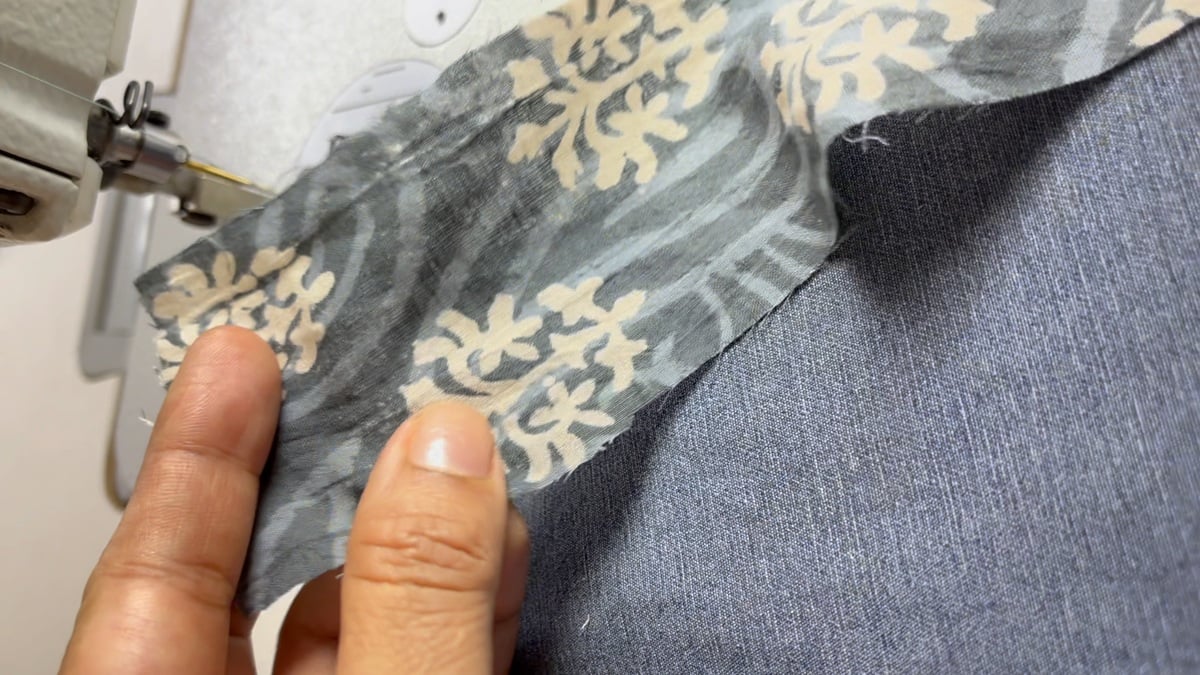
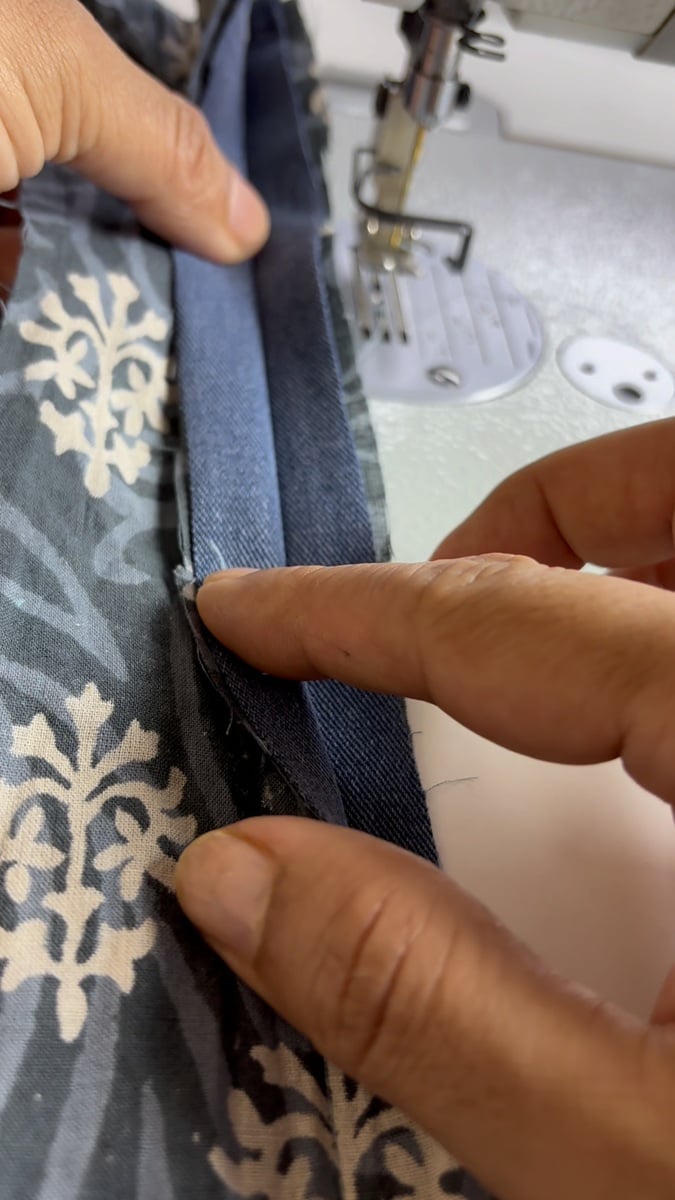
Step 2. Keep the your fabric pieces right sides together, ie rightsides to the inside. Place the fabric strips above and below the fabric edges. So, you will be sandwiching the fabric edges with your fabric strips.
Remember to Fold the top edge of one of fabric strips to the inside. Align it on top of the fabric edges. Place the other fabric strip under the garment edges.
Step 3. Sew the edges with a 1 inch seam allowance.
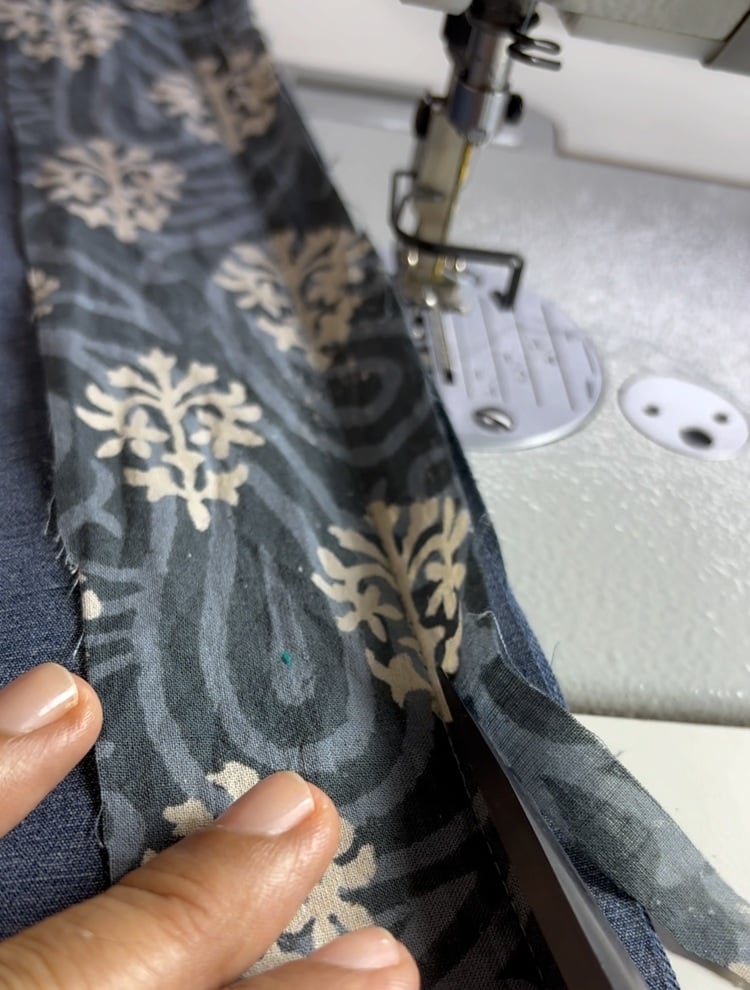
Step 4. Trim the seam allowance of the fabric strips very close to the stitching line. DO NOT trim the garment seam allowance.
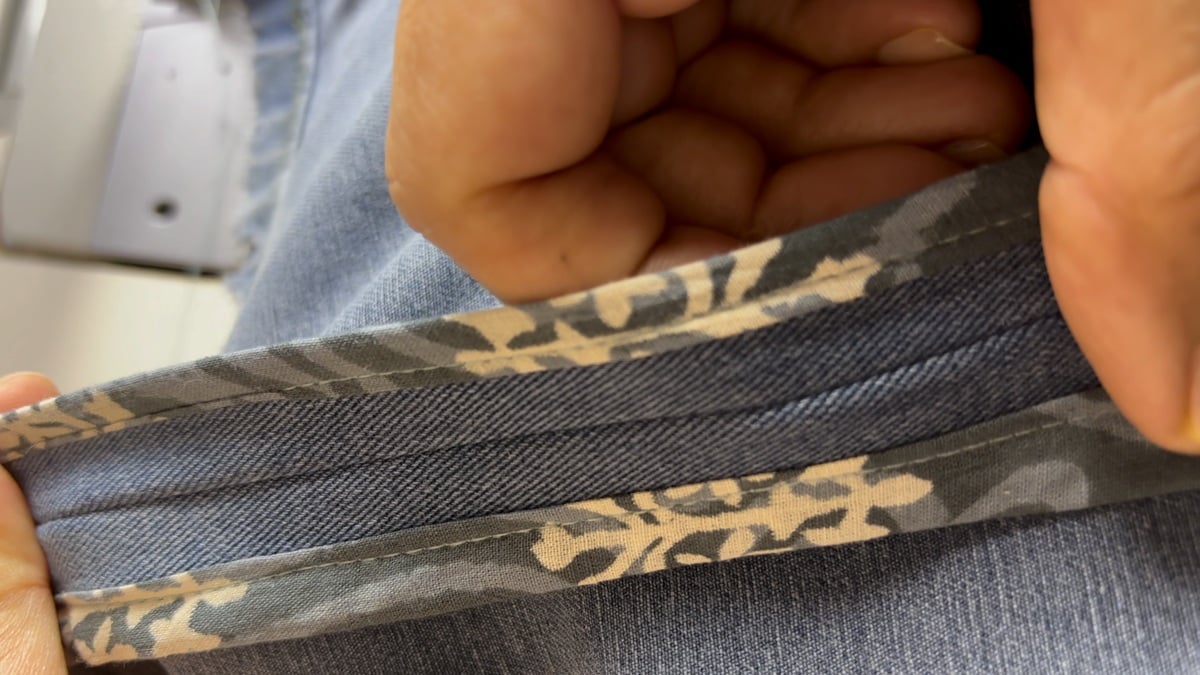
Step 5. Now fold the fabric strip piece on one side over your seam allowance. Fold the edges over the garment seam allowance edge.
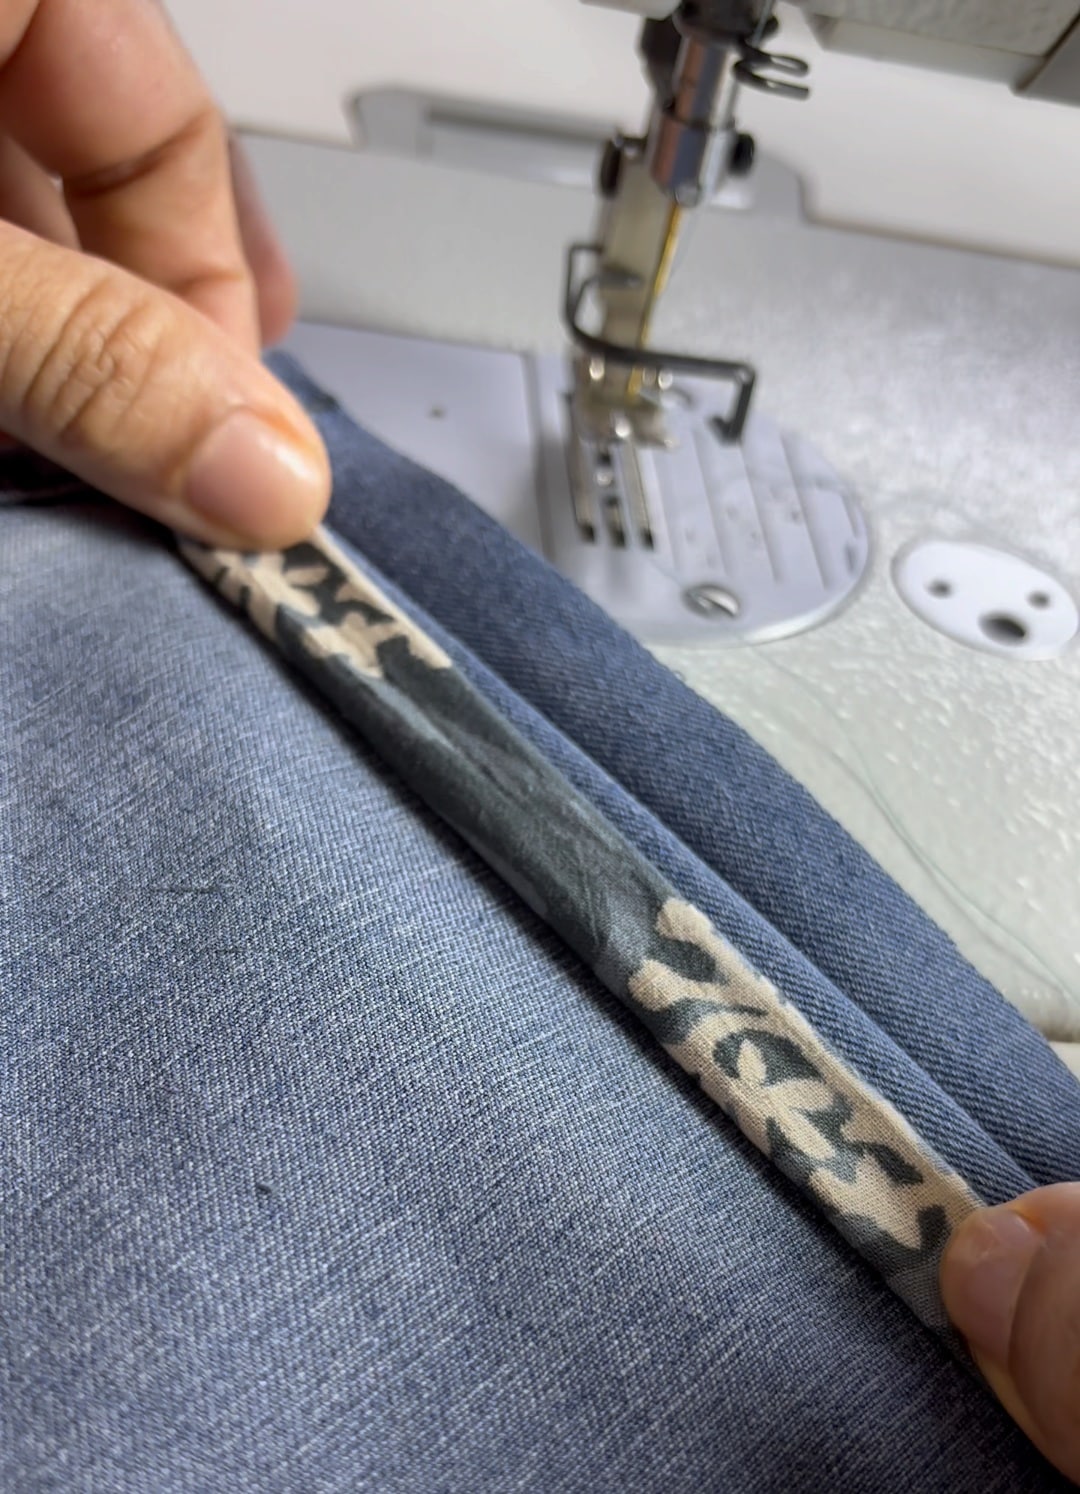
Sew in place – before sewing you will have to keep the edge to one side so that no other edge is caught in the stitches.
Do the same for the other side as well.
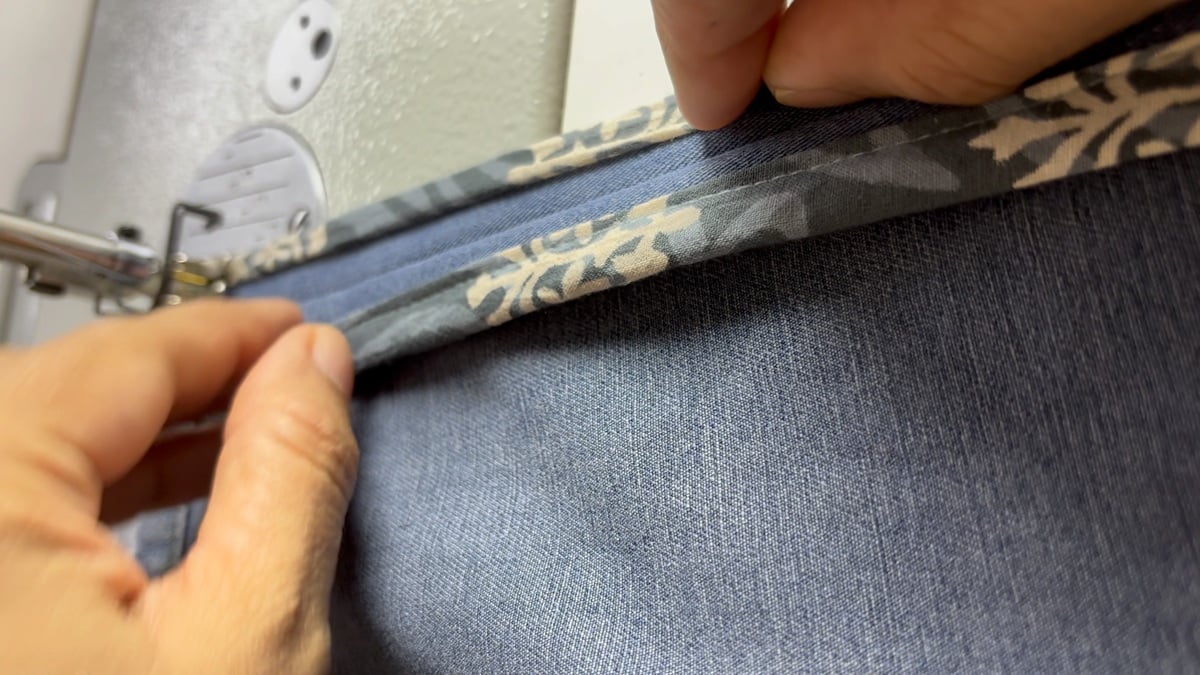
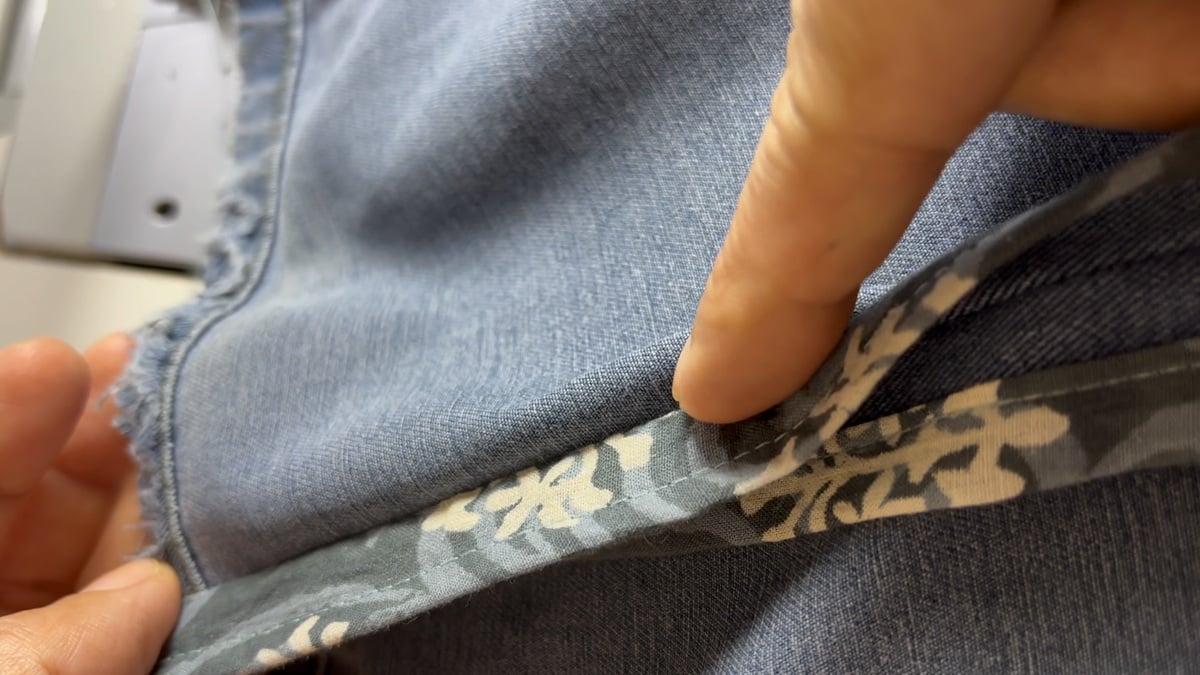
You have a nice bound seam finish, enclosing the fabric edges neatly in pretty fabric binding.
The frayed fabric edge is nowhere to be seen
Related posts : Other seams that stay enclosed ; Flatfelled seam tutorial; Names of All kinds of seams


Did not understand sewing binding with 1″ seam allowance plus where is the video?