Stitching with denim fabric cut out from old jeans sound fascinating and looks great when it is some one else’s project. It is no joke sewing over the jeans’ seams. And when it comes to clothing with many intricate seams, it can get pretty frustrating – with your sewing machine and needle as well as thread protesting all the way. So, I am always looking for ways to sew things with simple seams. This tutorial is for such a top.
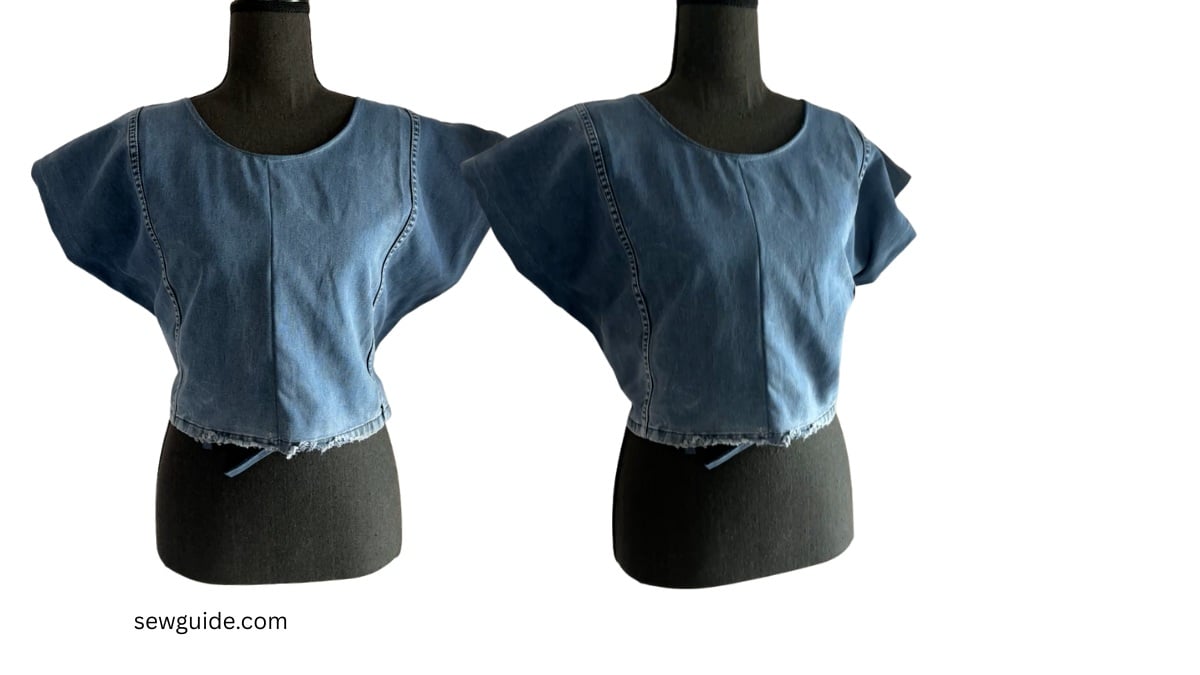
For making this top, one jeans is enough – so long as it is not a slimfit one- better to get a wide leg jeans to get enough width. It basically a wrap top with wide batwing sleeves.

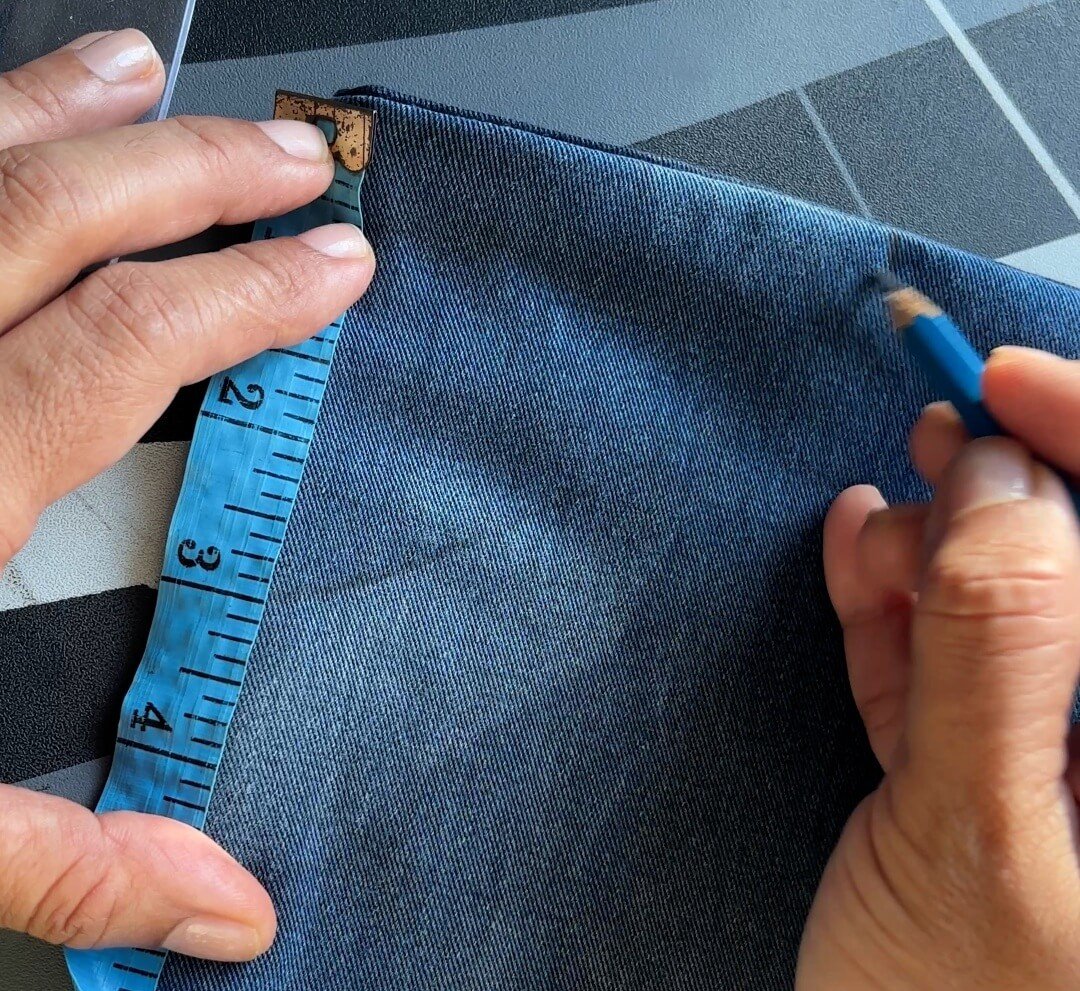
Step 1. Cut the fabric from your jeans
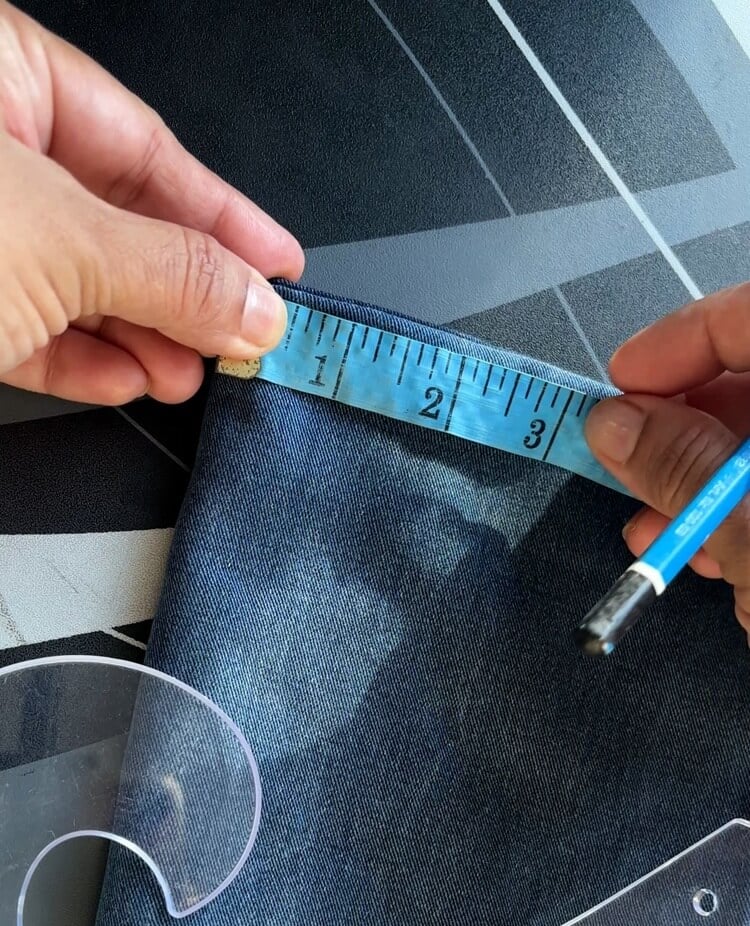
Lay the jeans flat. Measure 18 inch (Length from your shoulder to waist plus seam allowance) If you are using the leg seam, you will not need to leave extra for front piece for the hem. Calculate accordingly.
For the back you will need to cut off both legs cleanly just below the crotch seam.
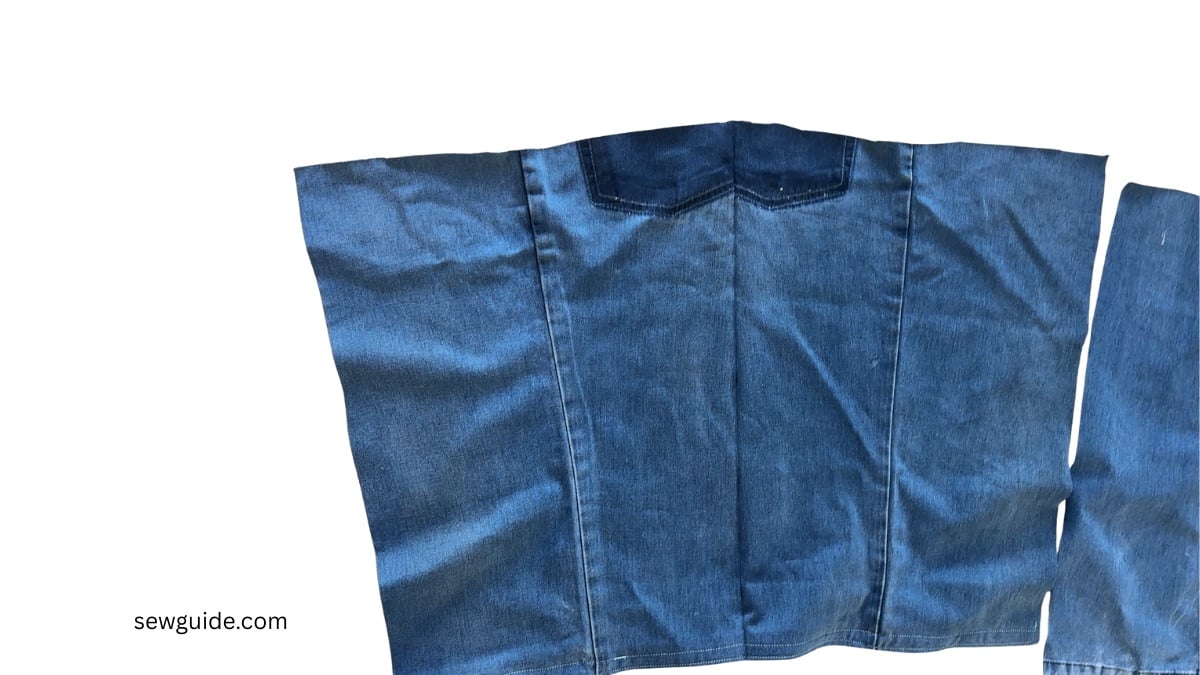
Open each leg along the inner seam so you have two flat denim panels – 4 panels in total.
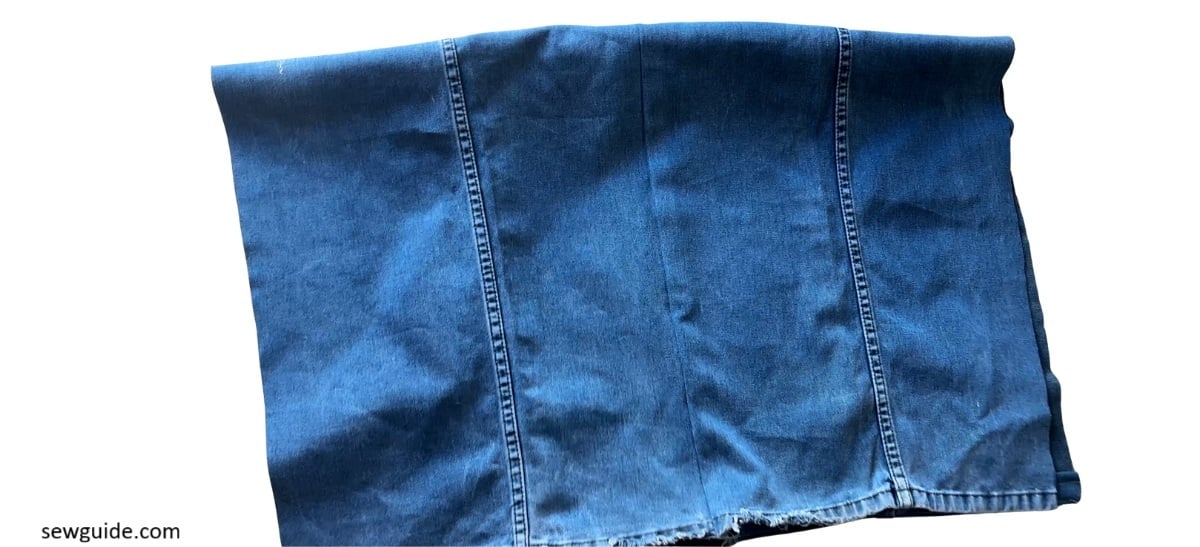
I am using the top part (with pocket) for the back of the top – for this extra width will have to be added for hem. I am using the lower part for the front bodice and keeping the jeans hem as it is – Denim looks great with naturally worn out edges of the hem.
The width of the leg panels are determined by how wide your body is.
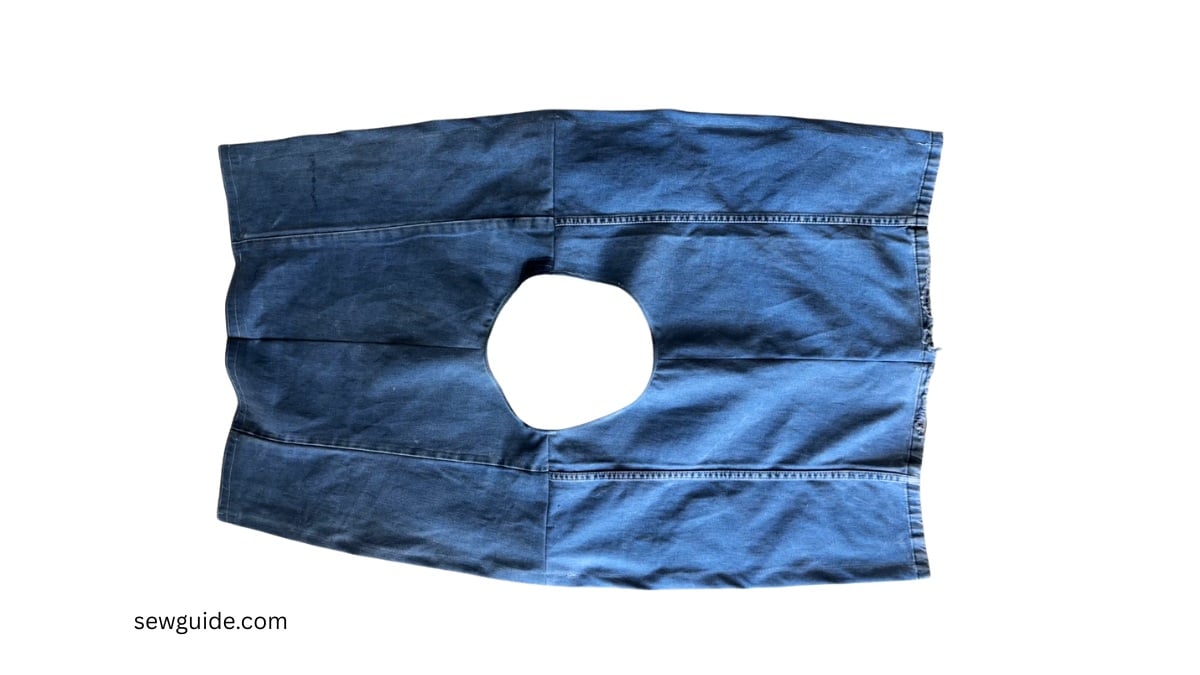
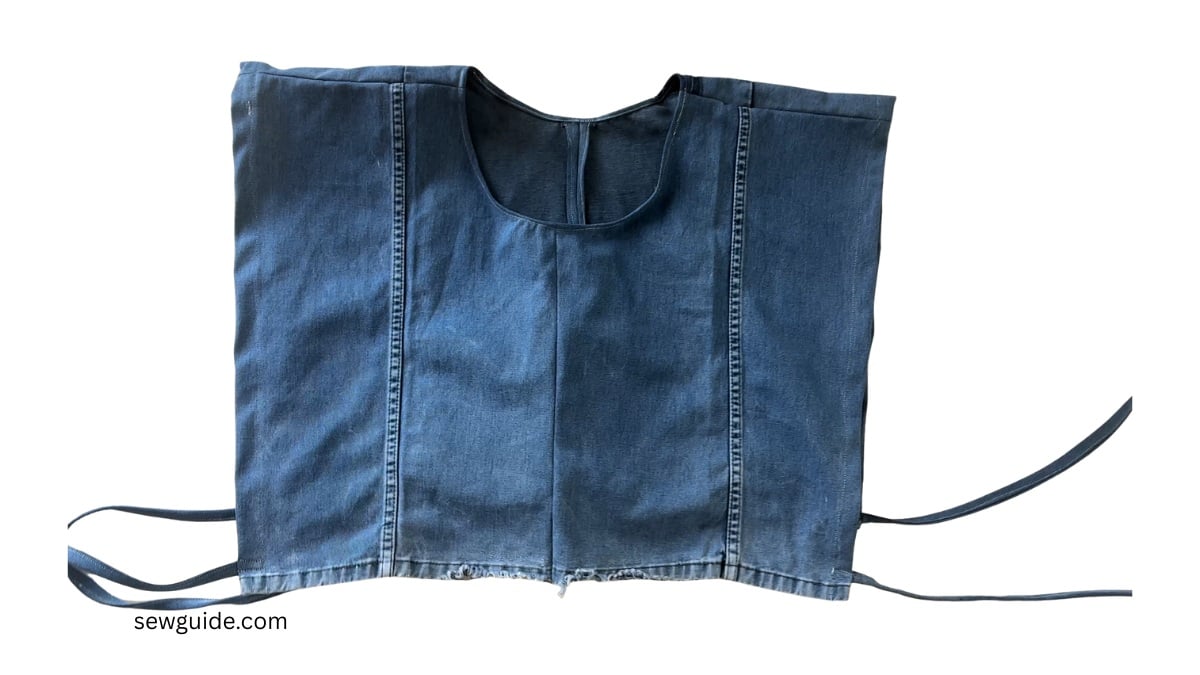
Step 2. Create front and back panels
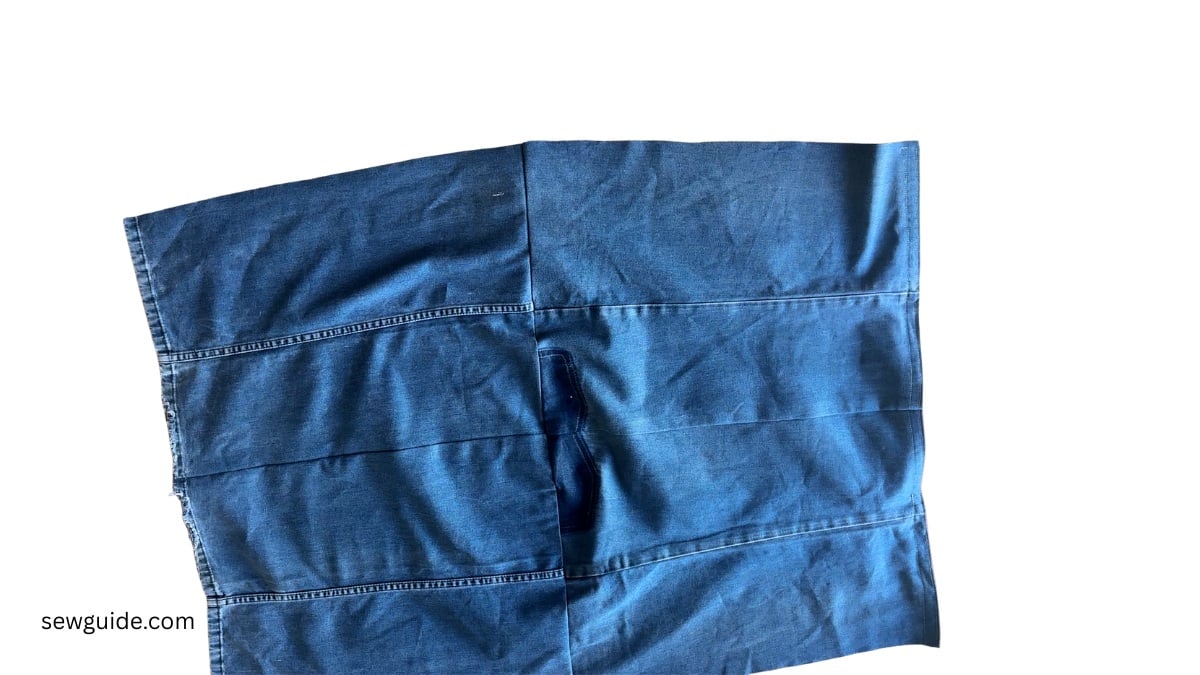
Place the two lower leg panels side by side -stitch them together
Do the same with the top leg panels
You will have two front and back bodice panels

Keep the grain direction consistent (the long side of the leg runs vertically).
Slightly taper the shoulder as you would do for bodices.
Step 3. Join them at the top
Stitch the front and back bodice panels together at the top
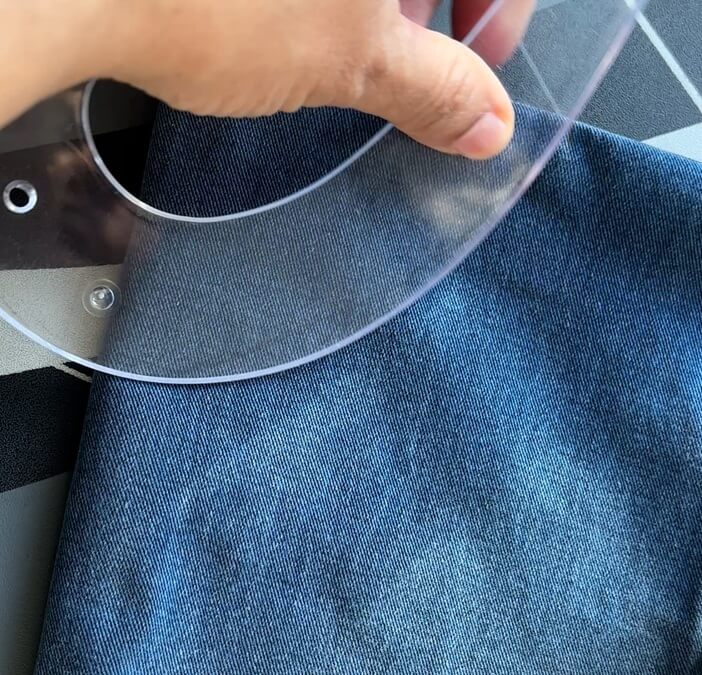
Step 4. Cut out the neckline
Fold the material by the middle seam
And then by the center
Mark the front neckline.
Mark the front neckline. 3.5″ inch from the center. Mark it 3 inches from the top.
Shape it with a french curve.
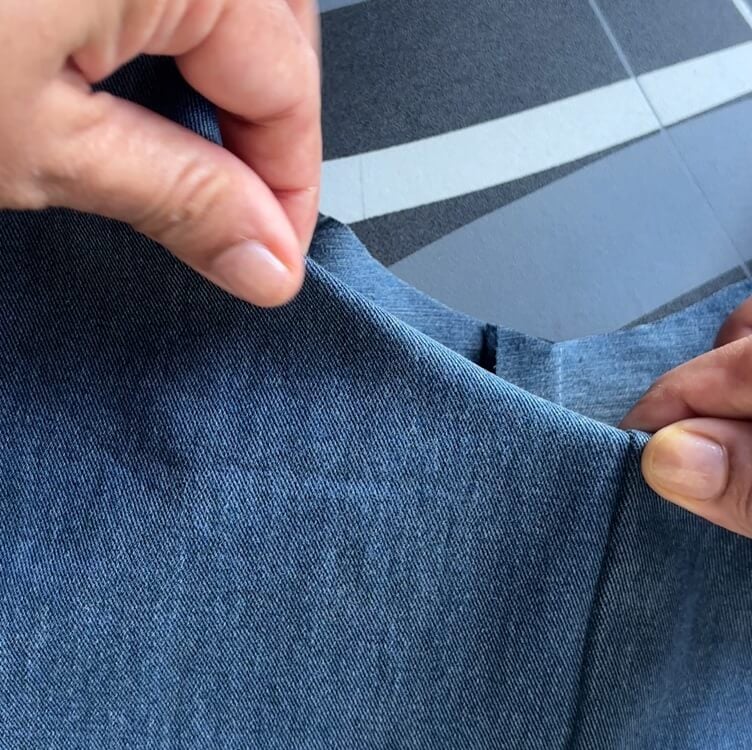
Open it and cut the front neckline alone slightly lower – around 2 inches or so, so that the front neckline is lower than the back neckline.
Shape the back neckline with a French curve.
Finish the edge of the neckline – You can either bias bind the neckline or just fold twice and stitch – hand stitch or machine stitch.
Step 5. Finish the hem of the back bodice.
Step 6. Stitch 4 sets of fabric straps.
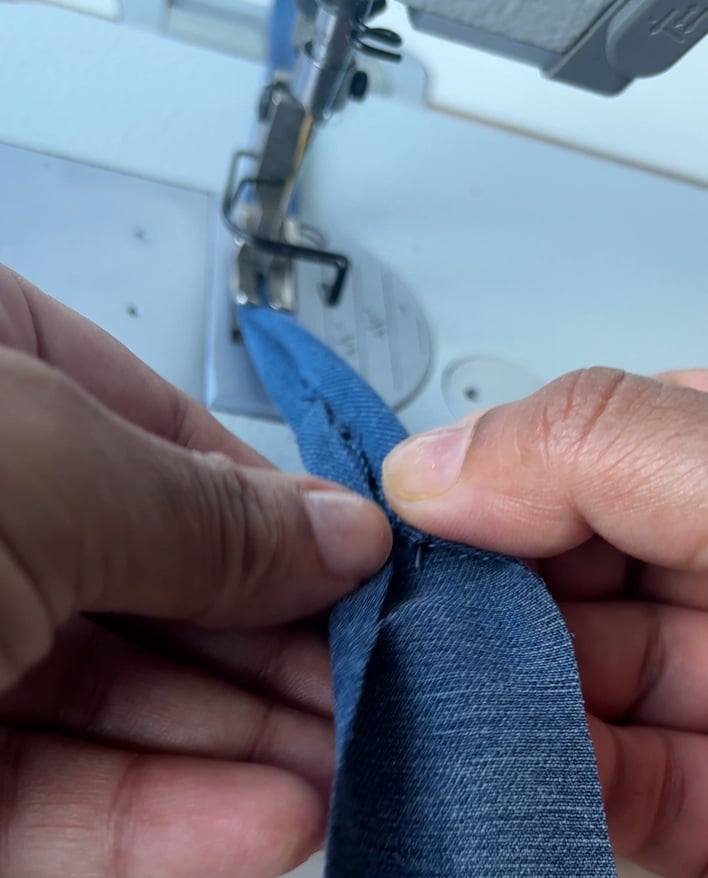
Stitch these wrap ties on the corners of the front and back bodices.
Sew two ties at the bottom corners of the front panel, and two on the back.
When you wear it, wrap the front panels ties around and tie them at the back .
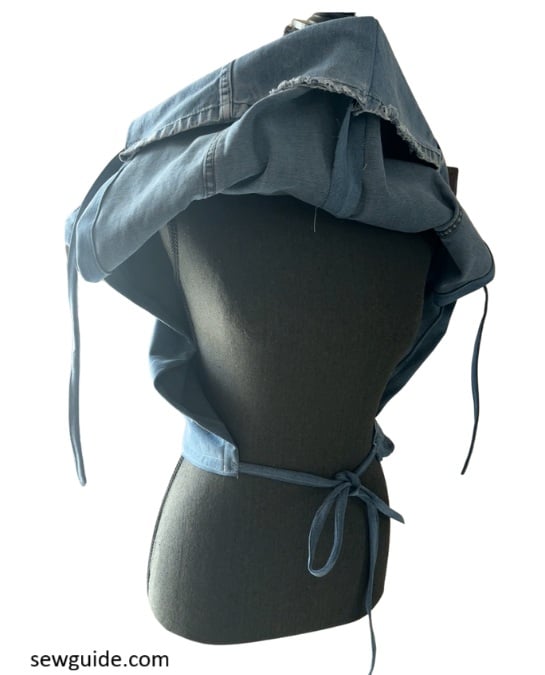
Then bring the wrap ties on the back panel to the front and tie it there. Hide the ties under the hem.