The printable water-soluble stabilizer works like this—take the designs you have for hand embroidery, print them directly onto those sheets, and then cut them out. Peel the backing from your design, and place it on your fabric. No tracing. No messy lines. Just embroider over it. Can hand embroidery be more simpler than this!
And once you are done, wash it (just wash the embroidery area—a little bit of water flowing over it is enough to get the water-soluble paper to melt away).
The main advantage I see in using these printable water-soluble stabilizer sheets is saving on time. It takes less than a minute to start the main thing you love – embroidering. Instead of struggling to trace your design onto fabric, you just print it directly onto a water-soluble stabilizer sheet or even better buy the printed sheet with embroidery designs and then place them on the fabric and start embroidering.
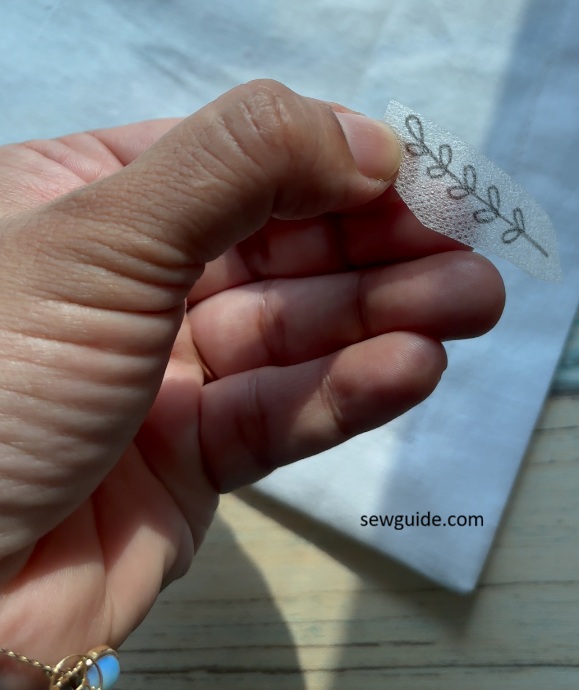
The water-soluble stabilizer sheets for embroidery looks like paper, but it is not quite paper. It has a soft, slightly fabric-like feel.
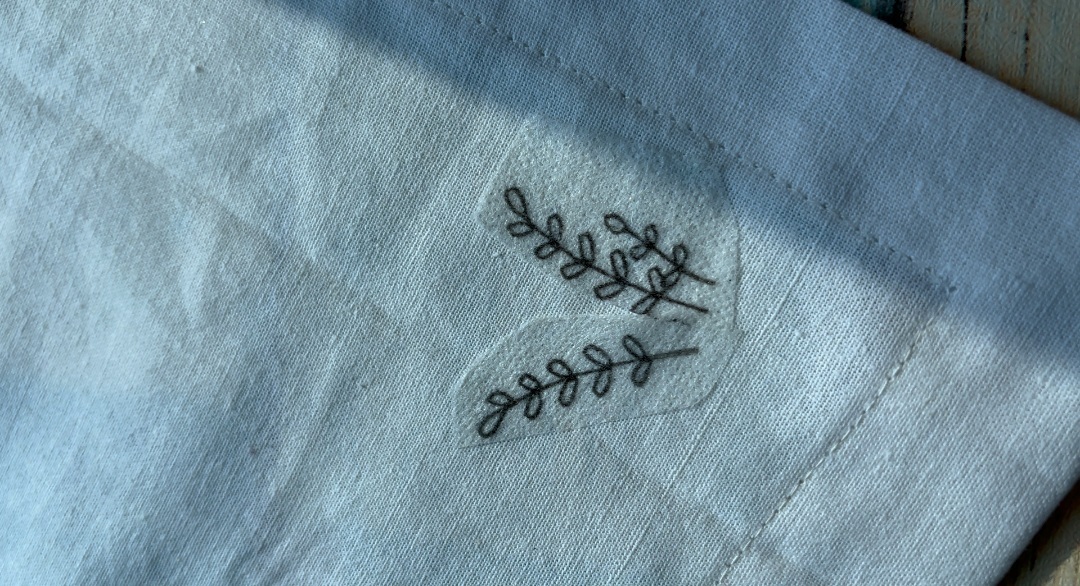
Once printed, you cut out the design, peel the backing, and stick it onto your fabric. It sits there neatly—no shifting. As you can place it first and check the placement, you also do not regret it later (Imagine if you trace the whole design on the fabric and then, you regret the placement, you will have to erase all the lines and start again. Cumbersome!! To think of a less strict word to what I used to feel)
Using just the smallest of force place the design on the correct place. The gum on the material will stick to the fabric till you wash it away.
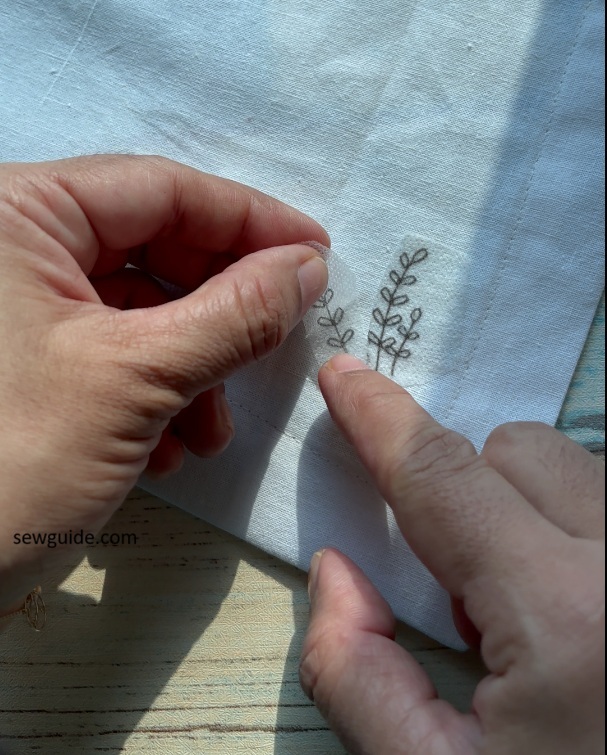
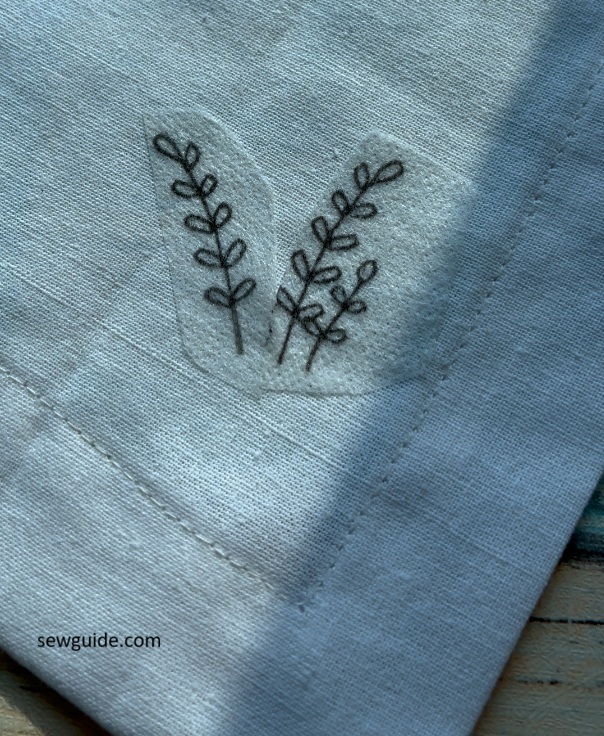
Ok, now you have the design almost similar to printed on it, and then you just stitch over it.
Line by line. Stitch by stitch.
The design guides you the whole way. You don’t have to think too much about proportions or spacing. It is already decided and imprinted.
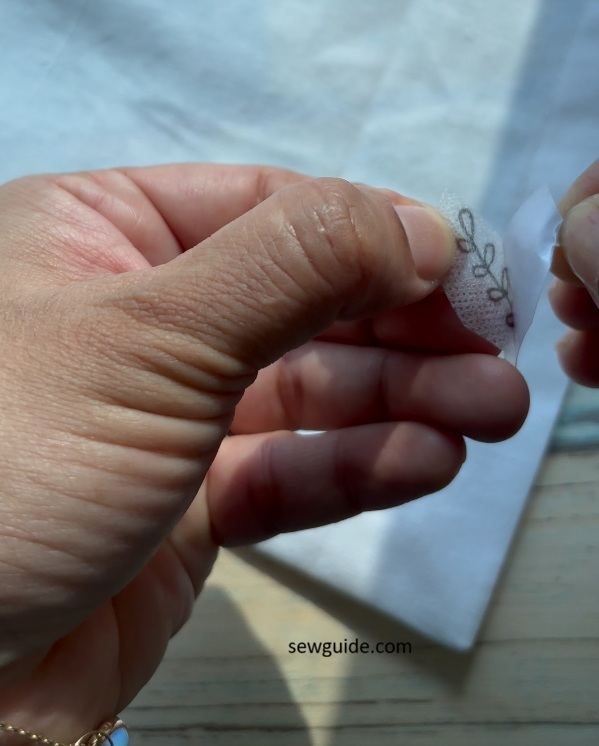
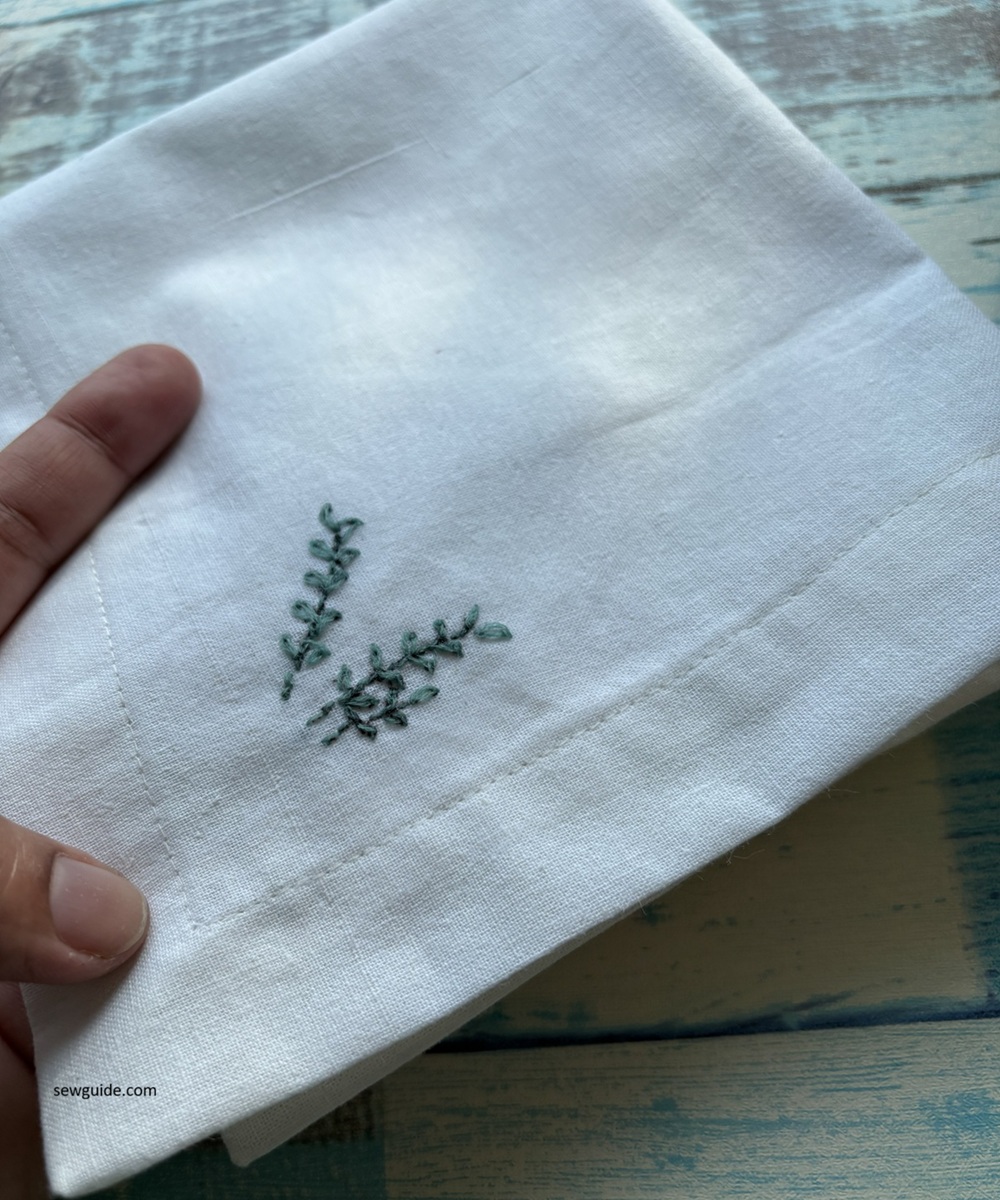
And when you are done – this is the satisfying part – you wash it.
I just splash a little water over the stitched area, and the sheet begins to dissolve. Slowly at first, and then it disappears completely.
Leaving only your stitches behind.
The first time I used it, it almost felt like I sprinted into embroidery directly to straight A grade.
Some caveats to using the watersoluble paper.
Choose simple designs
If your design is heavily filled (like full satin stitch areas), bits of the stabilizer can get trapped underneath and take longer to wash out.
What printer do you have?
Inkjet printers work best to print on these sheets. Laser printers can sometimes make the sheet stiff or affect how it dissolves. This is what I learned from research. I only have inkjet printer so I would have to try it to see it for myself.
Also, after printing, give the ink a minute to dry before touching it. It can smudge.
Printer settings to use:
| Settings | |
| Paper Type | Matte Photo Paper / Presentation Paper |
| Print Side | Fabric side (not backing) |
| Printing quality | High / Best |
| Scale | 100% (Actual Size) |
| Fit to Page | OFF |
| Color Mode | Grayscale (Black & White) |
Cut closer to the design
If you think more material around is better when embroidering, that is wrong. You have to deal with so much extra material- more to wash off. When you cut the design from the material before sticking it on the fabric, cut as close to the design as possible, after leaving enough to hold on while peeling the backing.
Do not stretch the material
When you place it on fabric, don’t pull or stretch it to “fit.” It is a little stretchy out of the box. But do not use it stretching. Just lay it down gently and smooth it. If you stretch it, your design will distort.
Hooping the fabric
You have to stick the sheet first, then place the fabric in the hoop. If you do it the other way around, the stabilizer can wrinkle.
Stitching is a little different than otherwise
Not hard, but different. The needle will be passing through this material (however thin it is) and It might feel a bit “sticky” while stitching. That’s normal.
Be careful when washing
Washing instructions : Don’t use too much water at once. You don’t need to soak it. Just let water run over the stitched area and gently rub if needed. But when I rubbed too much the thread also started to shift, and distorted the embroidery. Too much soaking can sometimes loosen delicate stitches.
Related posts : Basic beginner’s guide to hand embroidery stitches. ; Making your embroidery designs on canva


