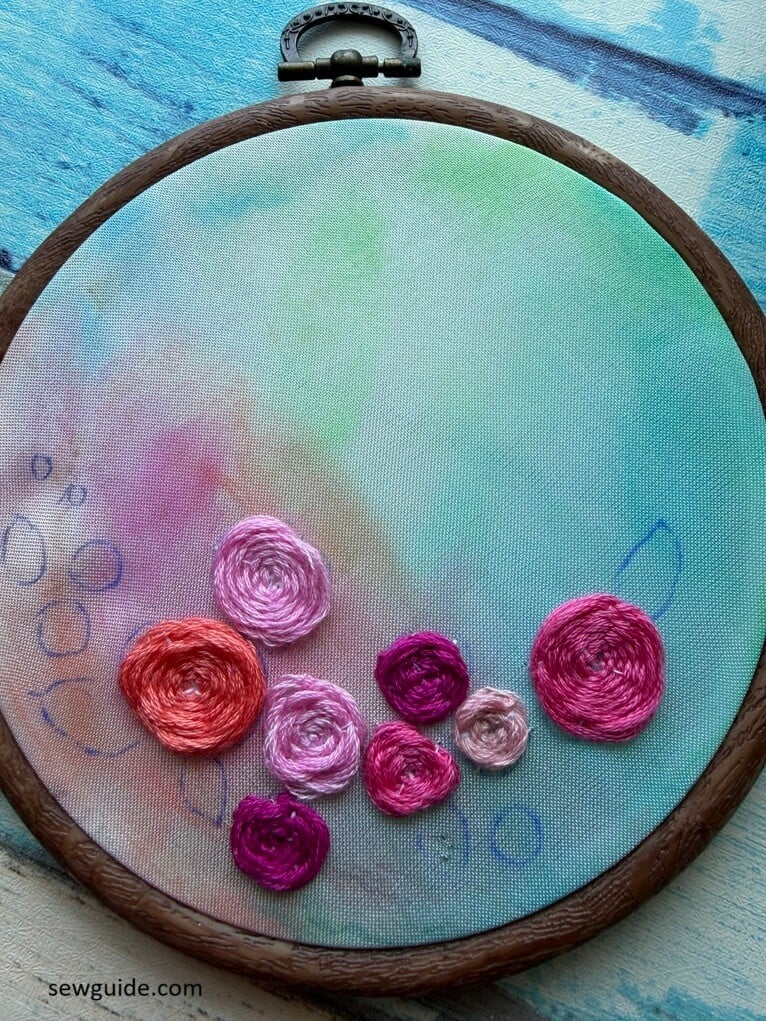
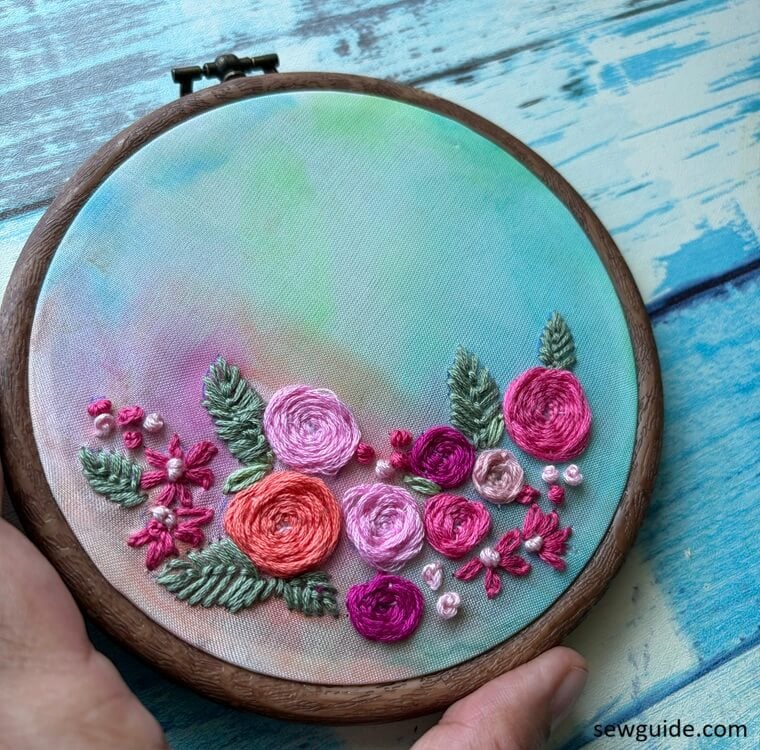
I recently tried watercolor embroidery after discovering it on Instagram. It’s simply a combination of watercolor painting and hand embroidery, but the effect is striking. Instead of stitching on plain fabric, you first create your own watercolor-painted background and then embroider over it. It’s a simple concept that completely transforms the look of the embroidery. I found that it added extra depth, color, and an artistic touch to the finished embroidery. And it is incredibly easy to make an artwork this way to add to your embroidered display.
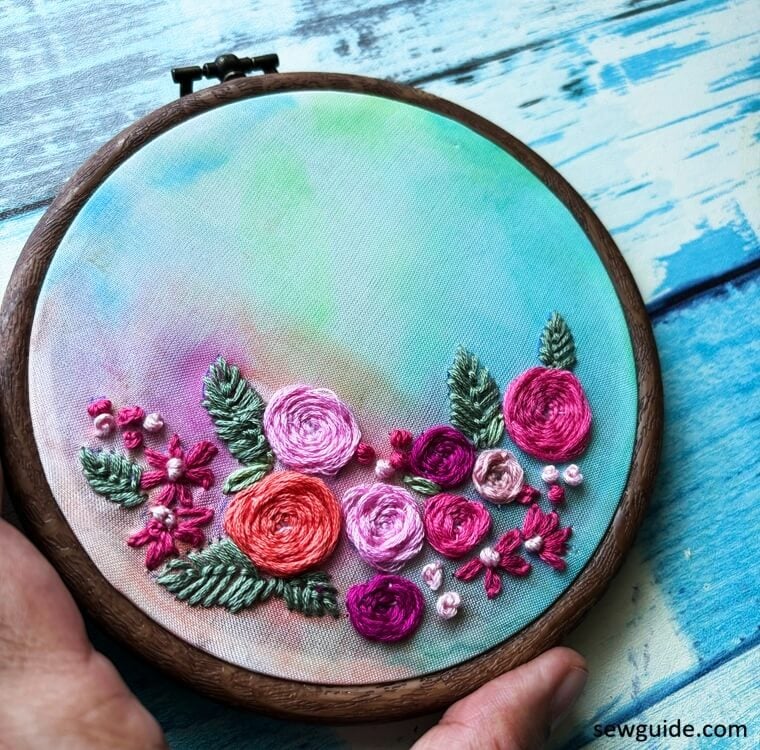
Guide to Watercolor Embroidery on fabric
Combining water color and embroidery is great when you want to add texture and dimension. Water color is subtle on the surface, spreading over the fabric forming the backdrop of your work, highlighting it, giving it the necessary projection.
What paints work best?
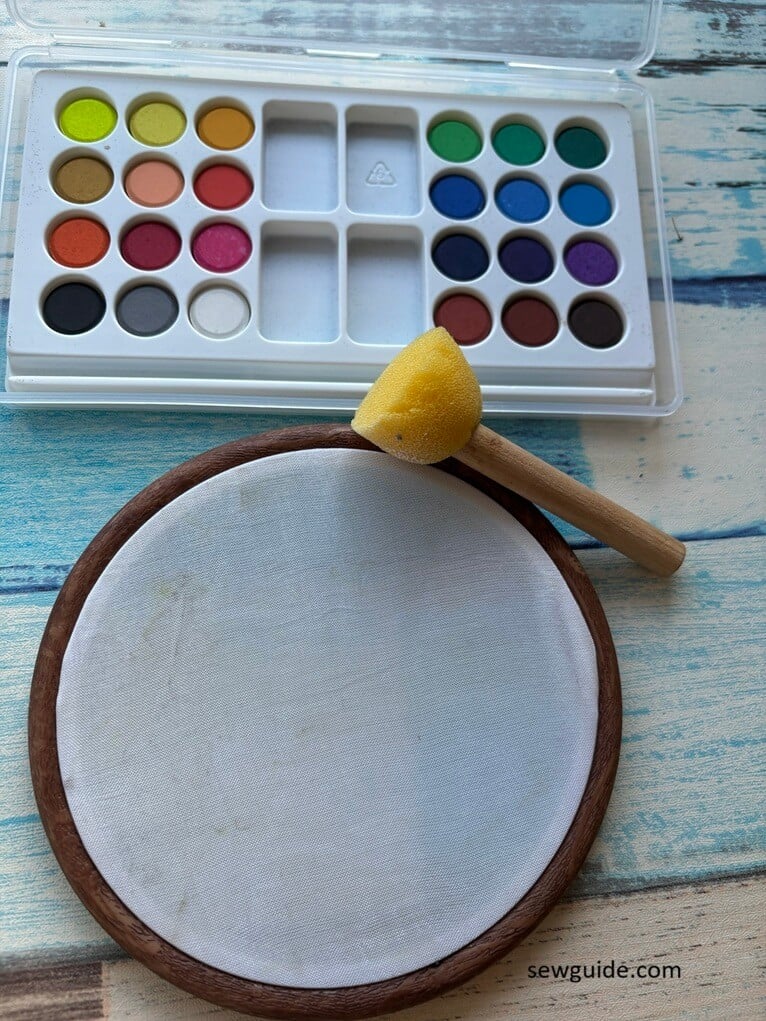
There is a downside in using water color with your embroidery, though – I have to be upfront about this. The resultant work is not washable. If you are using regular liquid watercolors or diluted water-based inks for your work, use it only for non washable fabric projects. Usually a hand embroidered work is washed and worn so many times. But when you add water color to the mix, it becomes a non-washable item.
You can counter this by using fabric paint mixed with lots of water or acramine dyes dissolved in the appropriate mediums and water. Using fabric paints, fabric dyes, textile inks and textile mediums will make your painted fabric for water color embroidery much more durable.
But, If you use acrylic colors and even fabric paint it can dry flaky and thick. They can dry to a “plastic-like,” thickness making them harder to blend and more importantly stitch through.
If you are using water colors, go for vibrant colors. I was using a kids color set and it kind of faded a little bit. I like the look. But if you want vibrant and vivid colors always, not only when wet, go for branded coloring sets like the one from crayola or watercolor tubes of Winsor & Newton, Dr. Ph.Martins. Watercolor Pencils can also be vivid. Acrylic inks are vivid, permanent and, when diluted heavily with water, act just like watercolor.
Use flat brushes or sponges to let the fabric soak the colors. The paint will have to stain the fabric, not sit on top, hindering your embroidery.
What fabrics work best?
I would choose a light colored silk fabric over any other fabric. Definitely Lightweight Fabric and not heavy fabrics – the dense fibers of these fabric will not allow the watercolor to penetrate to the center. This leaves the paint on the surface, where it eventually dries and flakes. Not the look you want for your watercolor embroidery.
How to do the work
Place fabric in the hoop before painting.
Give a light wash with the paint. Remember that colors become naturally less vibrant when they are dry. So if you think you like the colors now, always imagine them a shade lower.
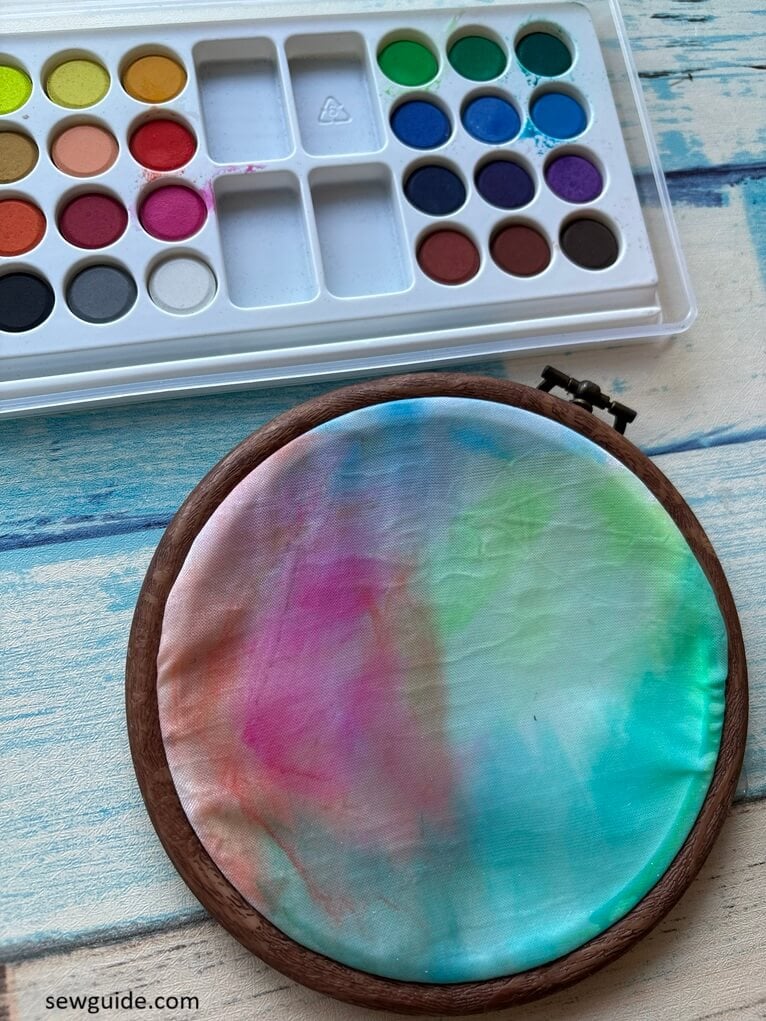
Some tips for the fabric painting process
- Always keep a piece of scrap fabric nearby to test your water-to-paint ratio before applying
- Lightly dampen the fabric first to create a background wash or to blend colors.
- But for defined darker marks, apply paint to dry fabric. Dab your brush on a paper towel first to ensure it isn’t too wet.
- If you need two colors to touch without mixing, let the first area dry completely before painting the adjacent one.
Even if you want a vibrant color, dilute the paint. It is better to have a thin, “inky” consistency that dyes the fibers than a thick “paste” that sits on top. You can use acramine dyes for the same effect.
I wanted to paint immediately after the painting but found that paint has to be dry completely, then stitch. This prevents the embroidery thread from getting stained by wet paint. But water color dries fast, so it is ok.
If you aren’t freedrawing, use tracing paper to mark your intended embroidery design with a marking tool of your choice.
The best designs are ones which fill up easily for that instant gratification.
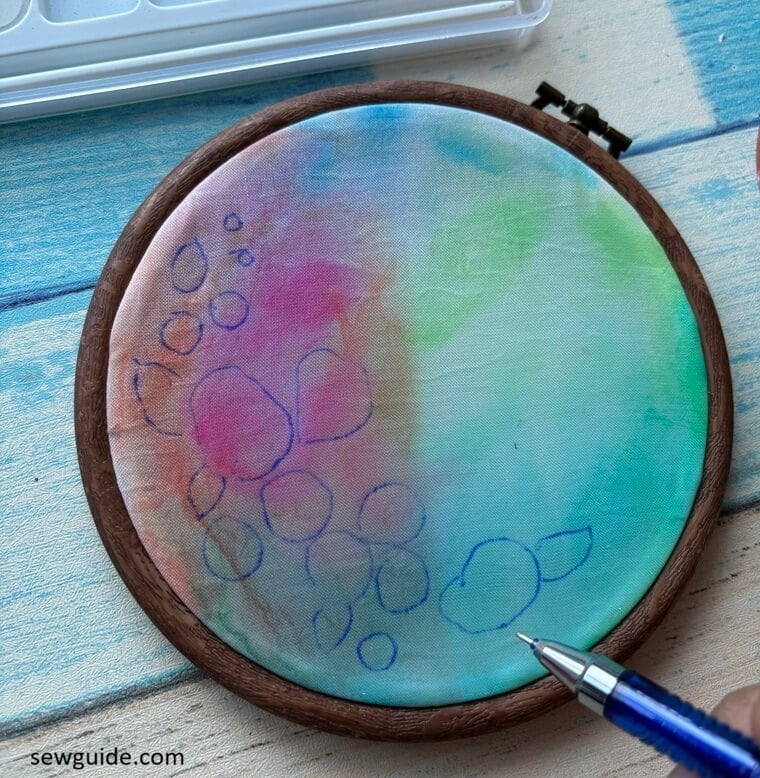
And for me they always involve the woven roses. So easy to make and fills up large areas in minutes. Mark the spokes for the woven roses as well so that you do not get confused about how many lines to stitch.
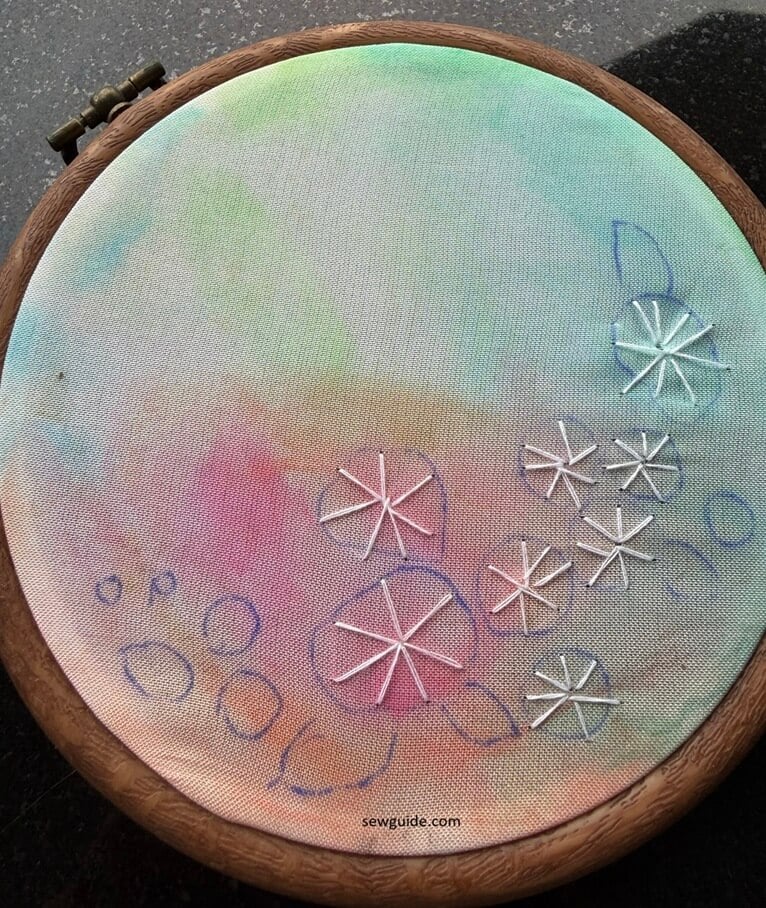
Straight stitch, back stitch, satin stitch, and French knots are the next best ones. Learn some easy leaf embroidery stitches to fill up the rest of the area.