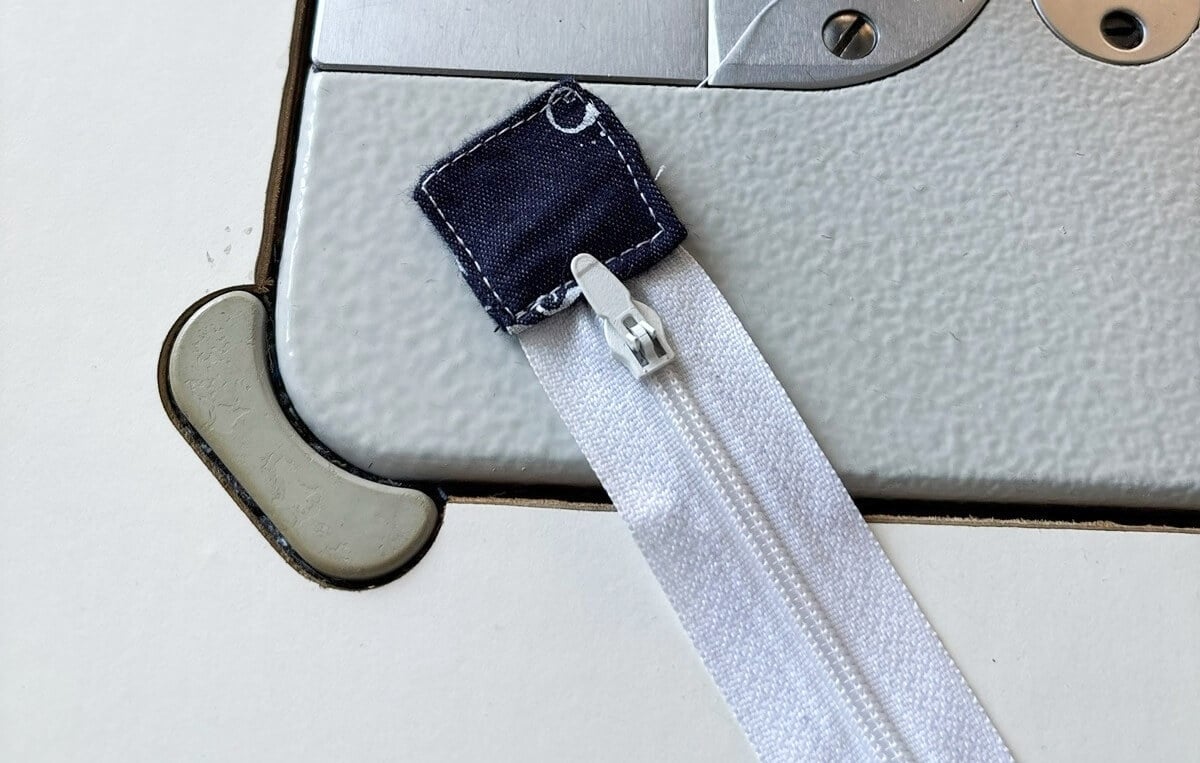
Most of the zippers you buy for your sewing project come with built-in hardware that stop the slider and prevent it from coming off. However, zipper lengths rarely match your project exactly and when you shorten the zipper by cutting off the ends, it makes sense to prettyfy the edges of the zipper with matching fabric. I also have 2 different methods with steps to finish the zipper using the zipper tape itself, if you do not want to sew extra fabric ends.
1. Make easy Fabric Zipper Tabs
This involves sewing a rectangular tab at the end of the zipper.
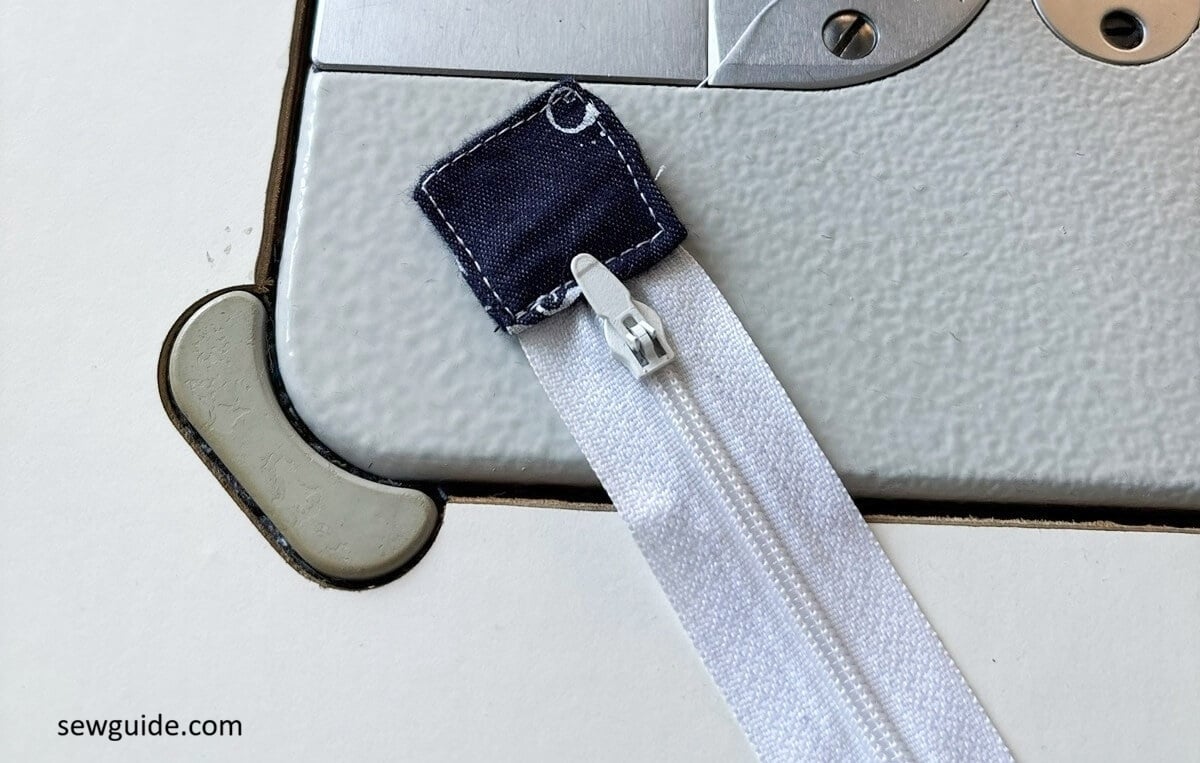
This involves sewing a small rectangle of fabric over the zipper end.
Follow these steps to sew this tab.
Take a piece of fabric 3 inches long and 2 inches wide. Keep it wrong side up.
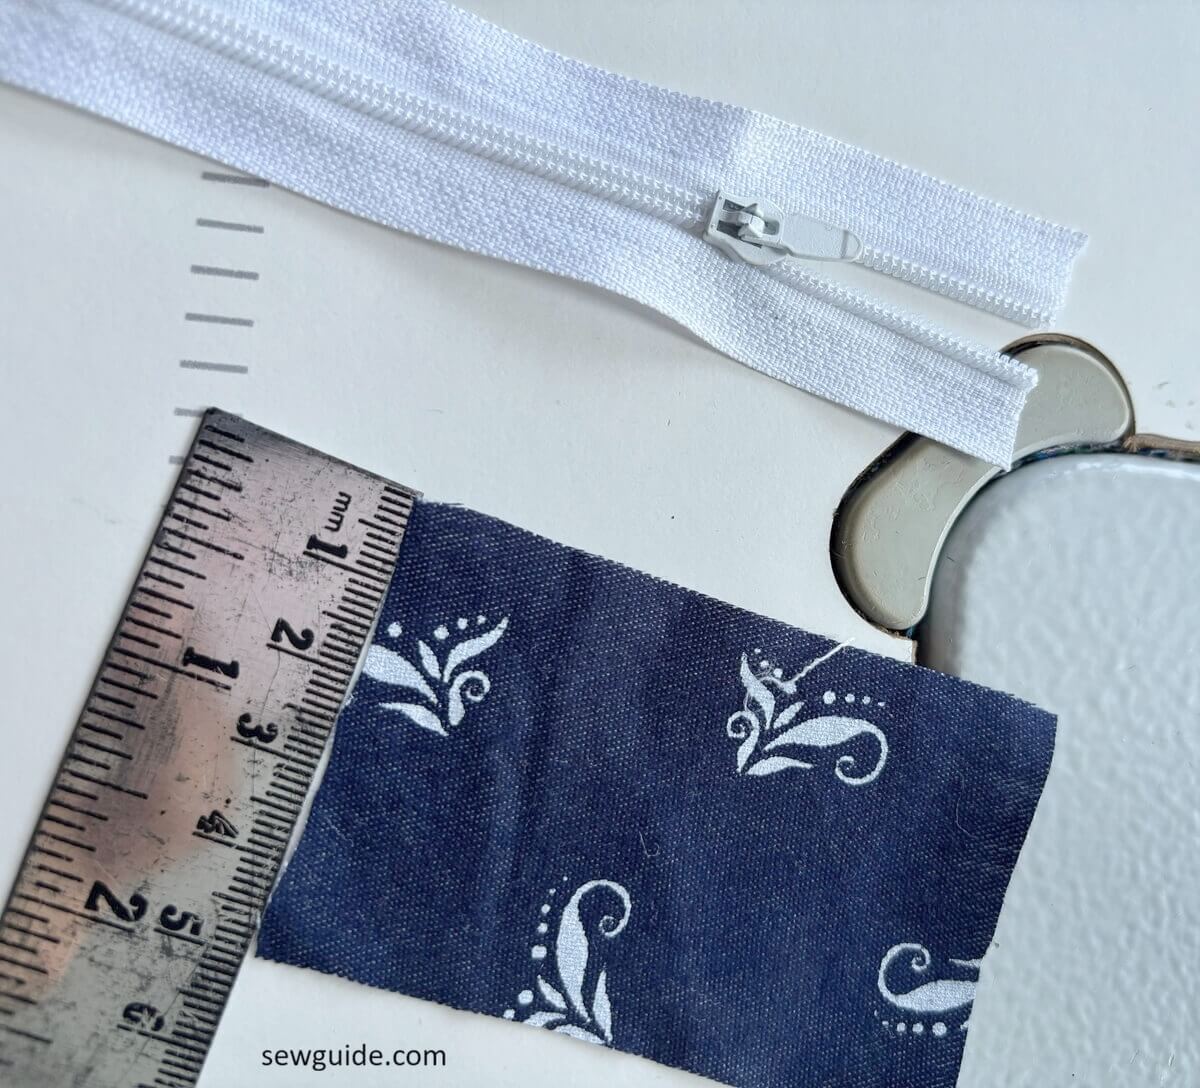
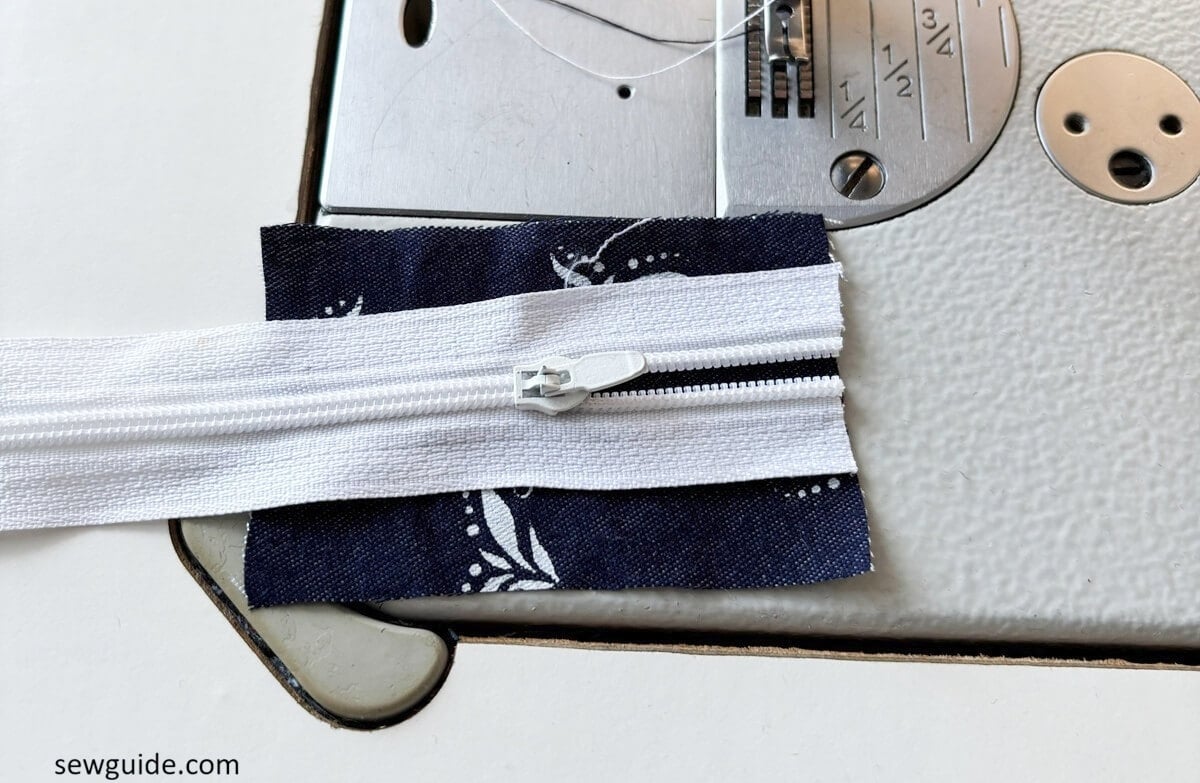
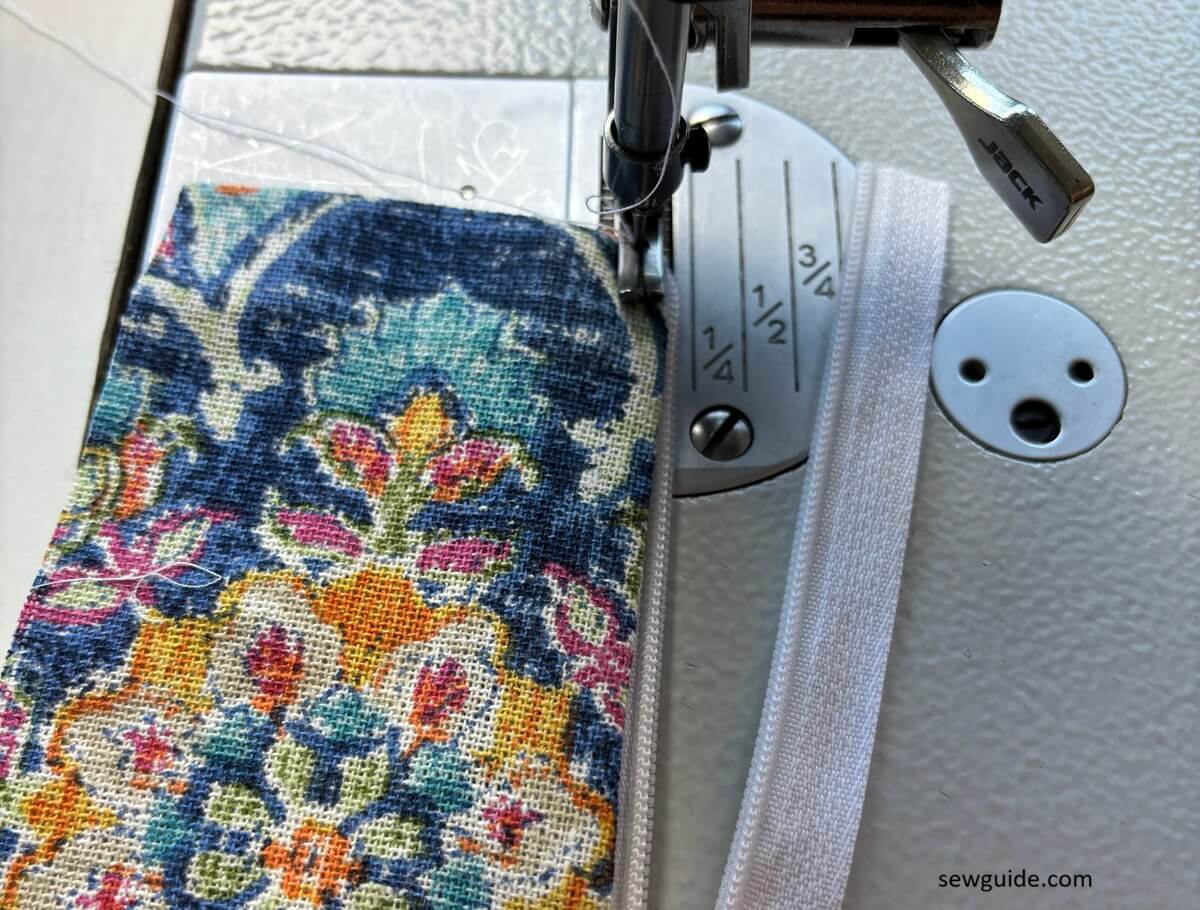
Fold the side edges of the fabric over the zipper tape, just short of the zipper teeth. Keep the zipper on it so that the edges are curved over it as in the picture.
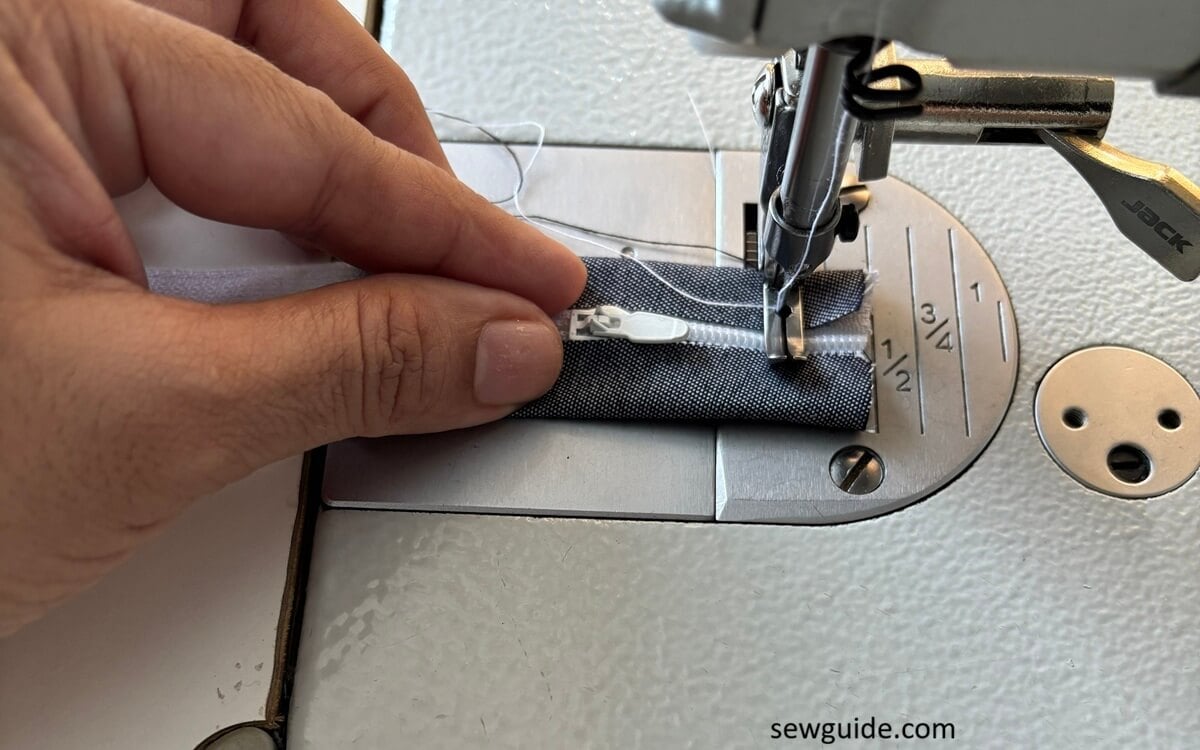
Sew across the zipper and over the folded fabric.
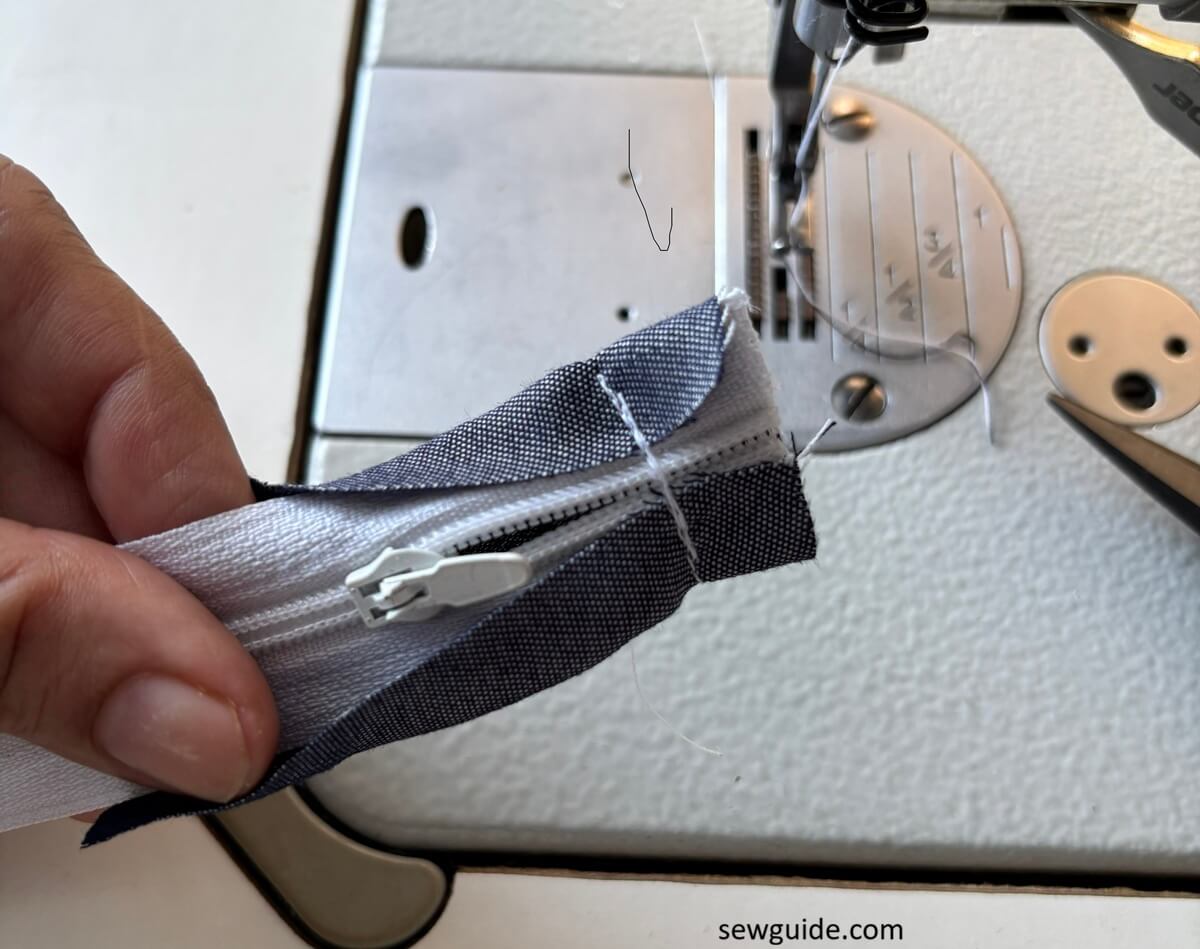
Now bring up the fabric of the tab.
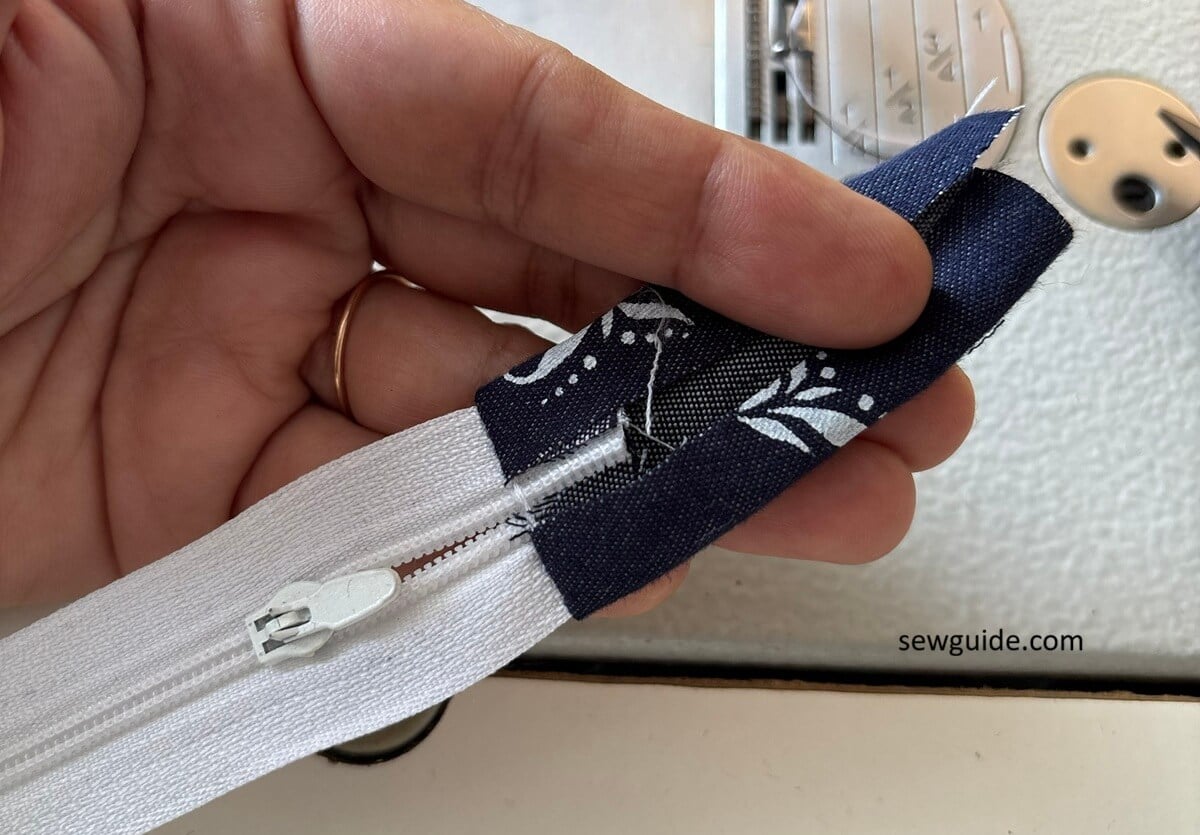
Fold it down and over the raw edge. Sew in place along the 4 edges.
This is ideal for finishing the zipper ends for pouches, bags, and cushions where you leave the zipper ends exposed or the zipper ends are visible and needs to be prettied.
2. Triangle shaped zipper end
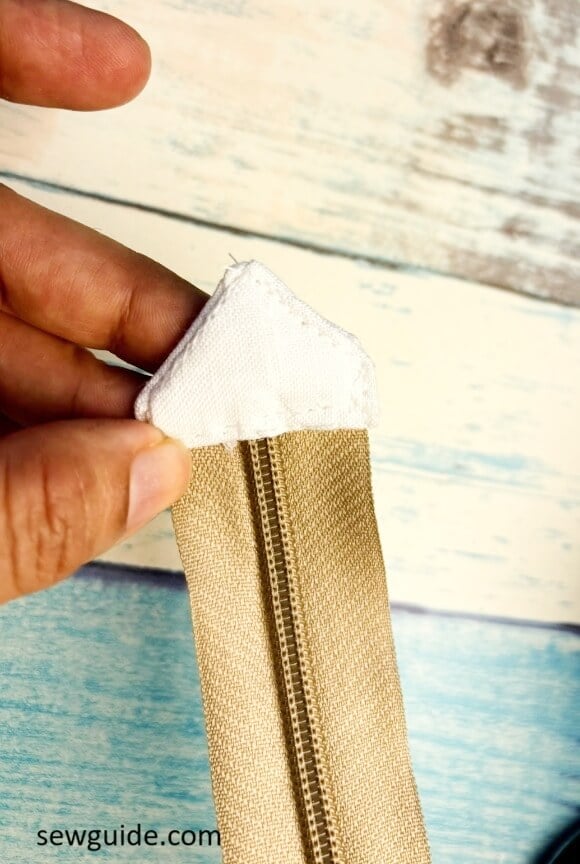
This is the same fabric tab, but sewn in such a way that it looks like a triangle. It is a good look and looks more polished than the square one – I think.
The method is the same as earlier.
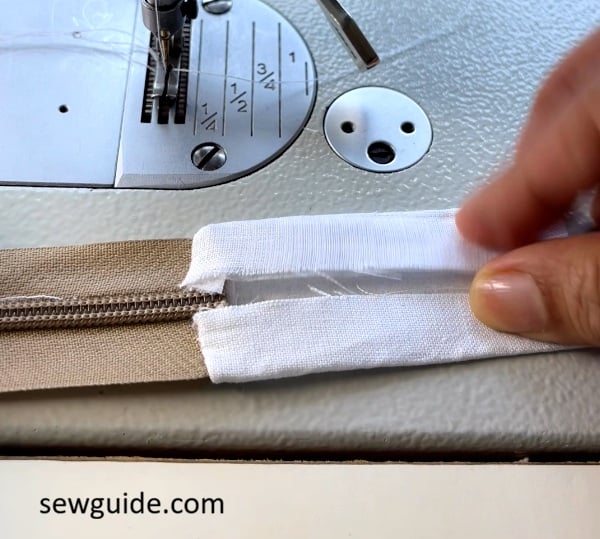
After you sew the fabric to the zipper, and take it up, you have to fold the fabric by half ;
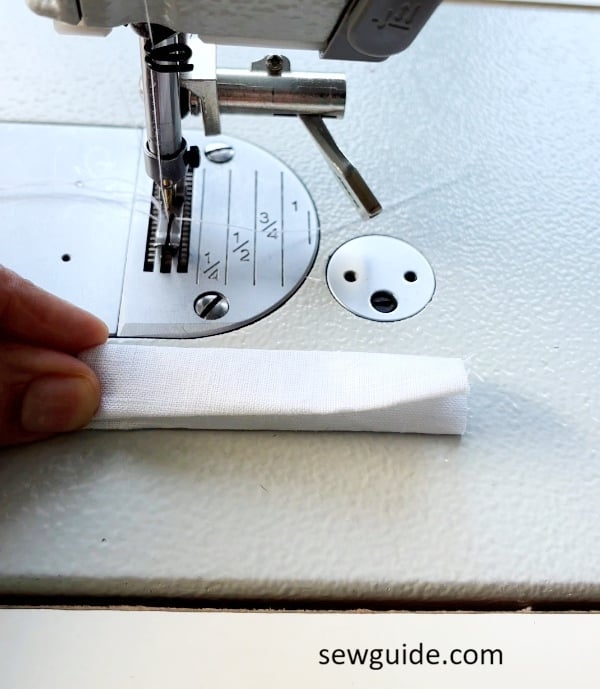
and sew across.
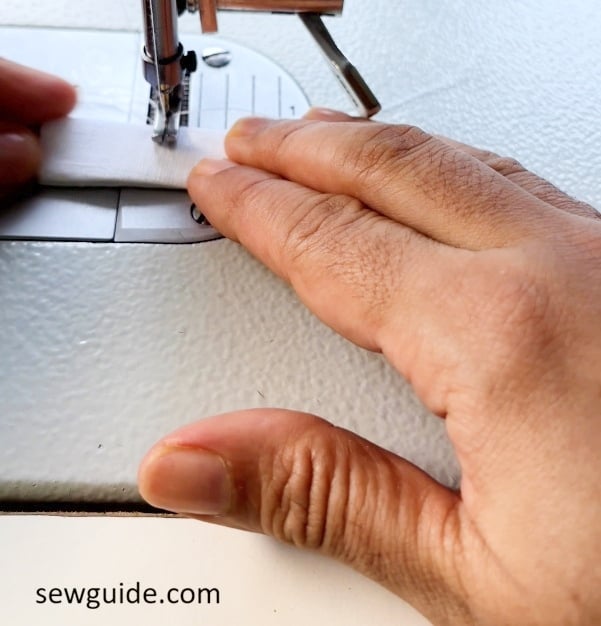
This will create a triangular shape at the end.
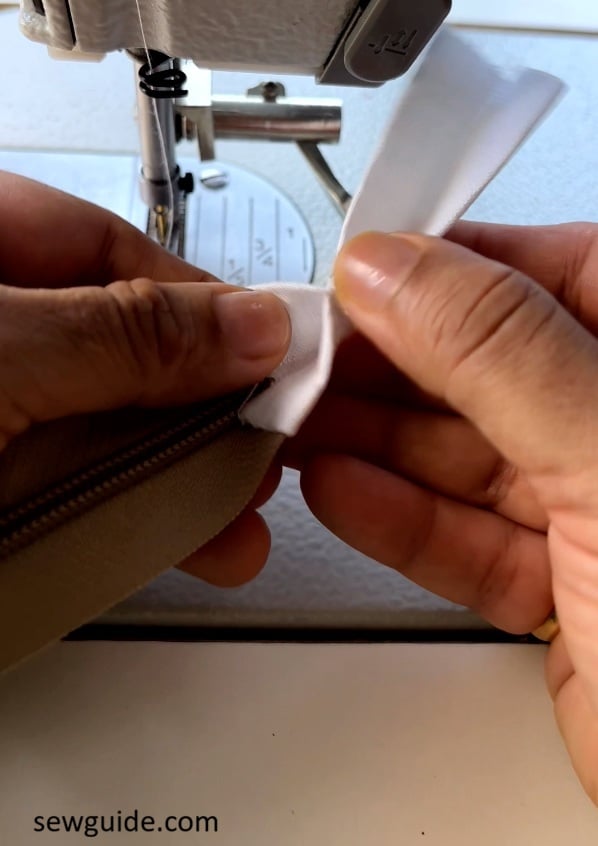
You finish it by top stitching the shape in place.
You can watch the video tutorial:
2. No Sew Zipper end
In this method, you do not make a tab – no sewing involved. Just get a strong glue. I wouln’t use fabric glue. Regular all purpose glue would do. You curve the zipper tape to either side and glue in place. It is glued in such a way that it looks naturally curved.
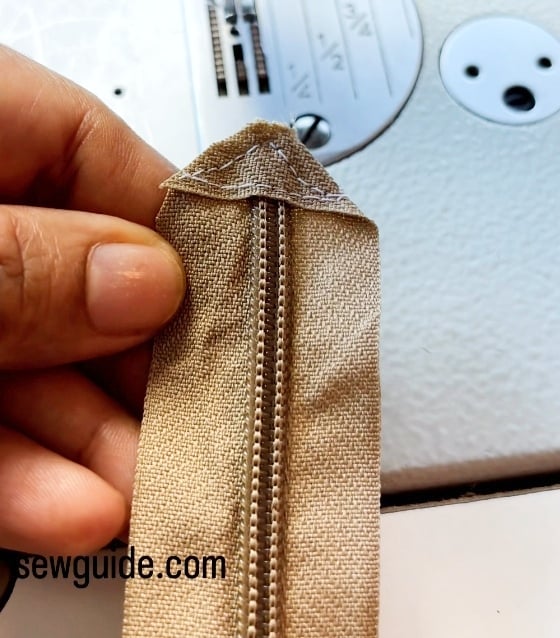
4. Zipper tape folded to form triangular tab
Instead of using extra fabric you hav to cut open the zipper tab as in the picture below and..
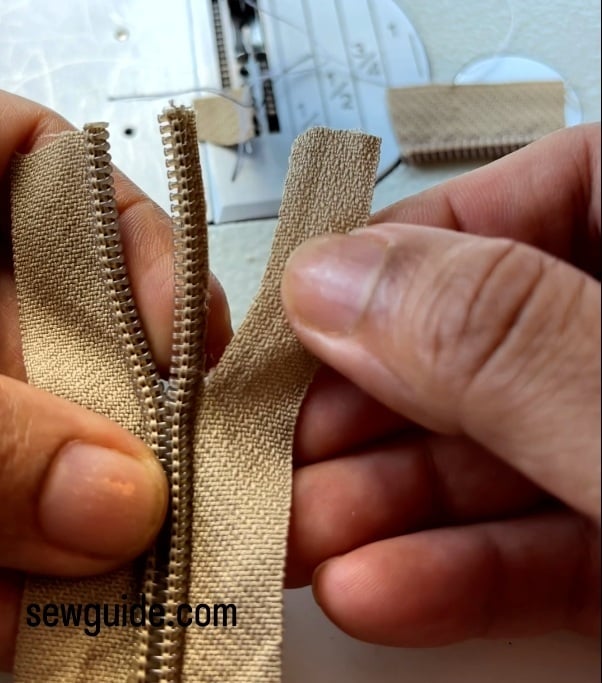
fold it to the other side and stitch in a triangle shape. Cut off the extra.
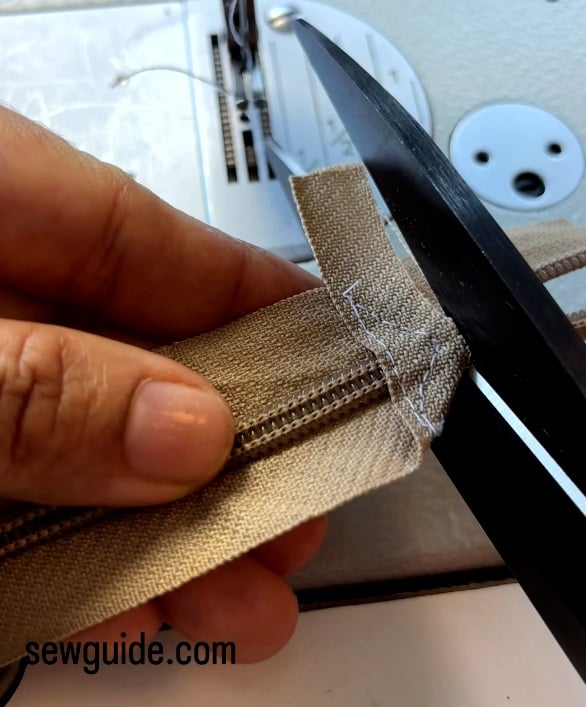
If you are afraid of the zipper tape unraveling on you, seal the edges with heat.
5. Zipper tabs without extra fabric
This method is used when you want separate tabs for each zipper tapes. In this method you just fold and stitch the zipper Tape as a zipper tab.
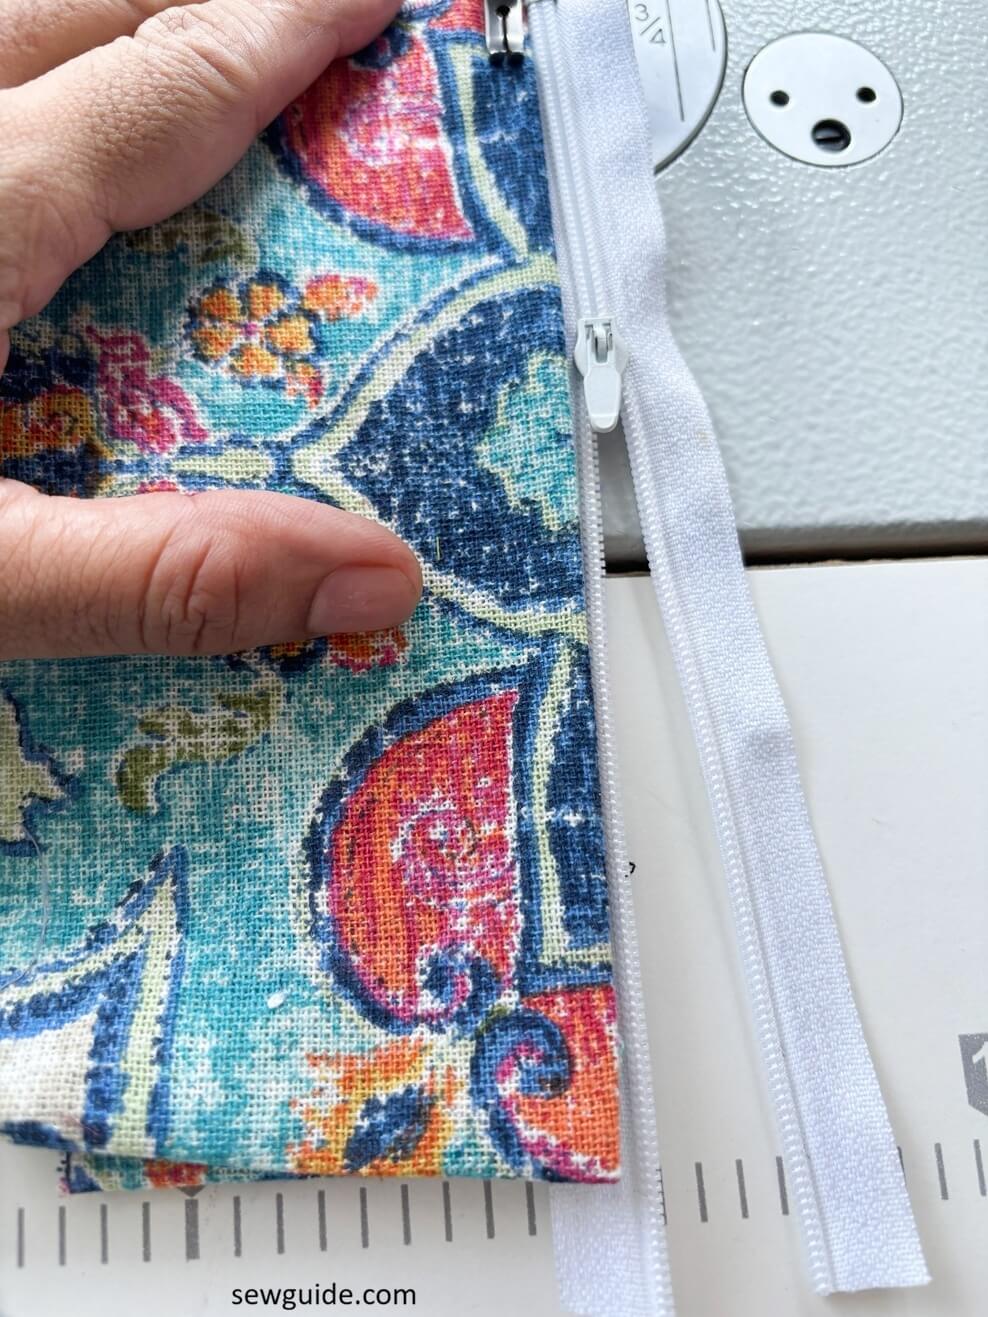
This is used when you sew zipper in the fold of fabrics. When you reach the end, you have to cut the zipper tape separate from the zipper teeth
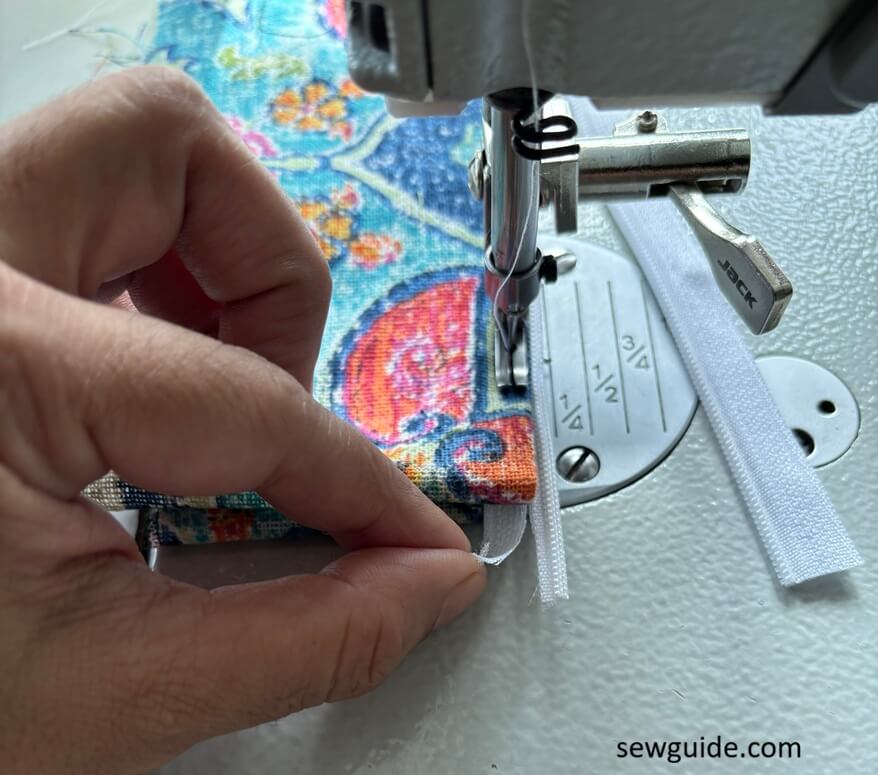
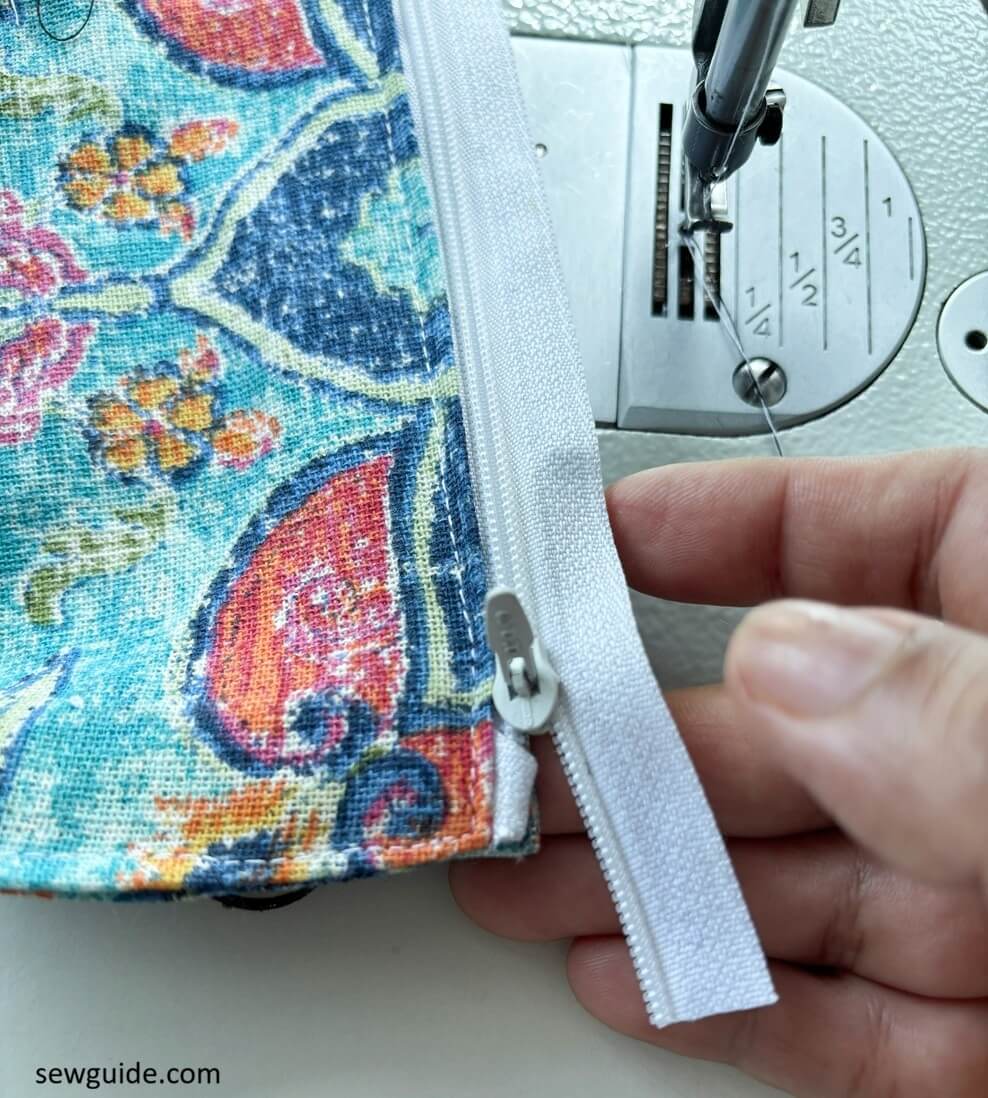
and then fold the zipper tape to the inside of the fold of the fabric and top stitch it there in place.
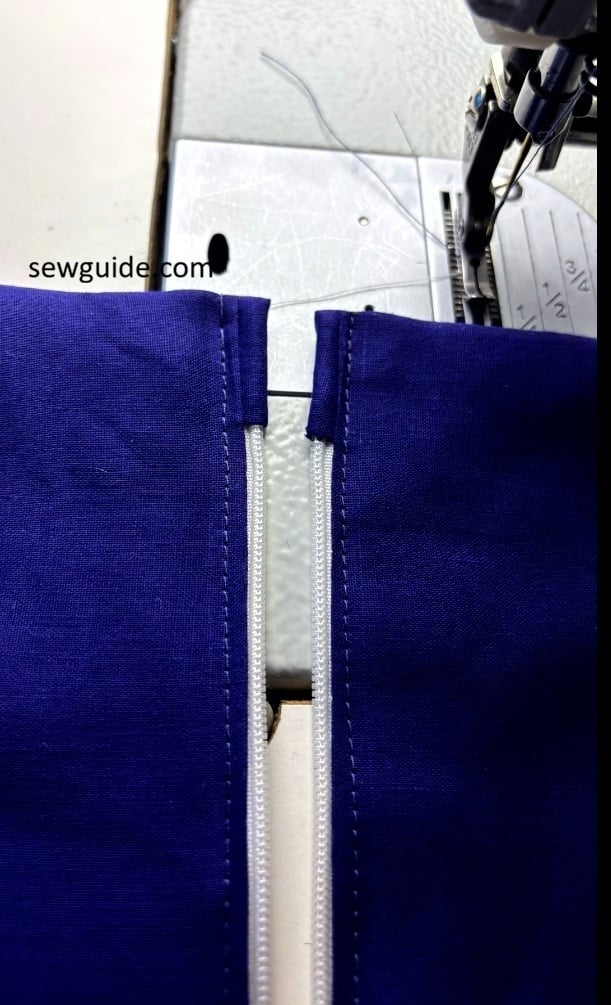
As I said, this works well when the zipper end will be hidden inside a seam.
It is a quick and easy method and doesn’t require extra materials.
You can also use the same technique to make a zipper tab for closing the zipper tape together.
6. Separate Zipper tabs with extra fabric
This is the same as the earlier one, giving you two separate zipper tabs; the difference is that you will be making zipper stops with extra fabric.
Watch the video tutorial to learn this in action.
You will have to cut out extra fabric and wrap each zipper tape ends with the fabric in a certain way so that it is tucked to the back. Then the zipper is kept under the fabric and you will have a perfect and complementing fabric zipper tab.
Step 1. Fold the tab fabric over the zipper end
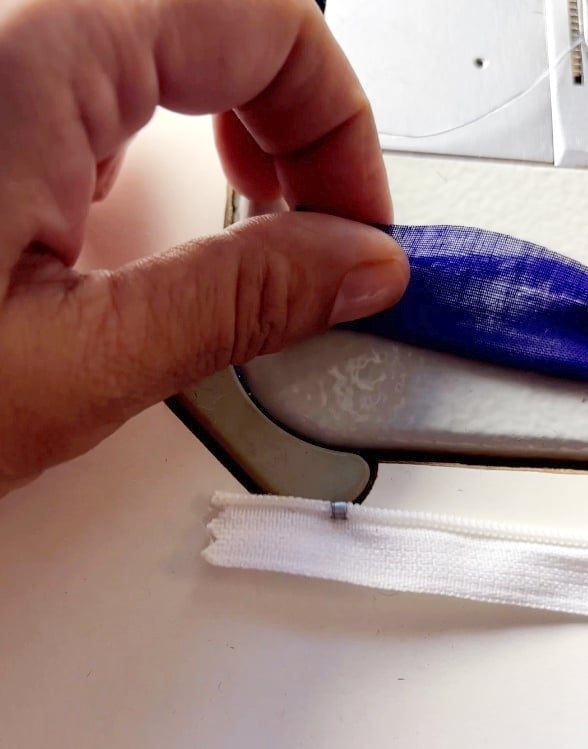
Bring the edge of the fabric to the back
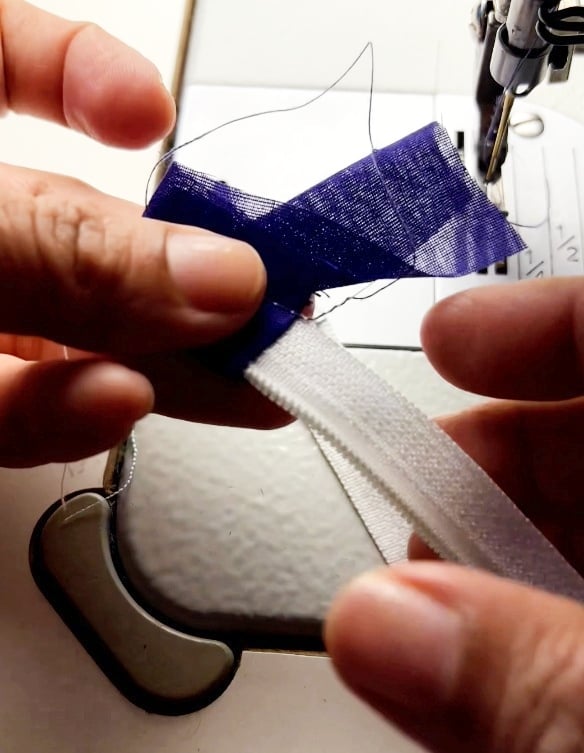
Stitch it there, along the zipper teeth, with the zipper foot on.
Cut off the extra.
Make matching tab on the other zipper tape – the stitching line should align perfectly.
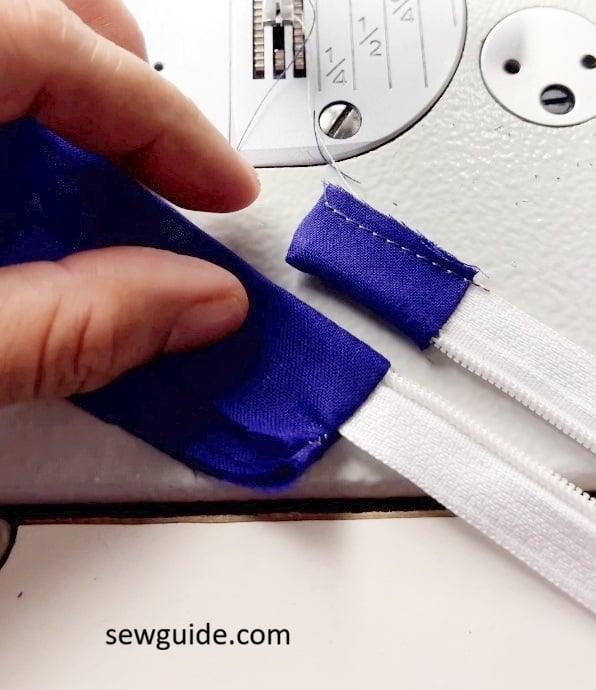
7. Tuck the zipper ends neatly into the fabric fold
First fold and stitch the zipper pate to one side.
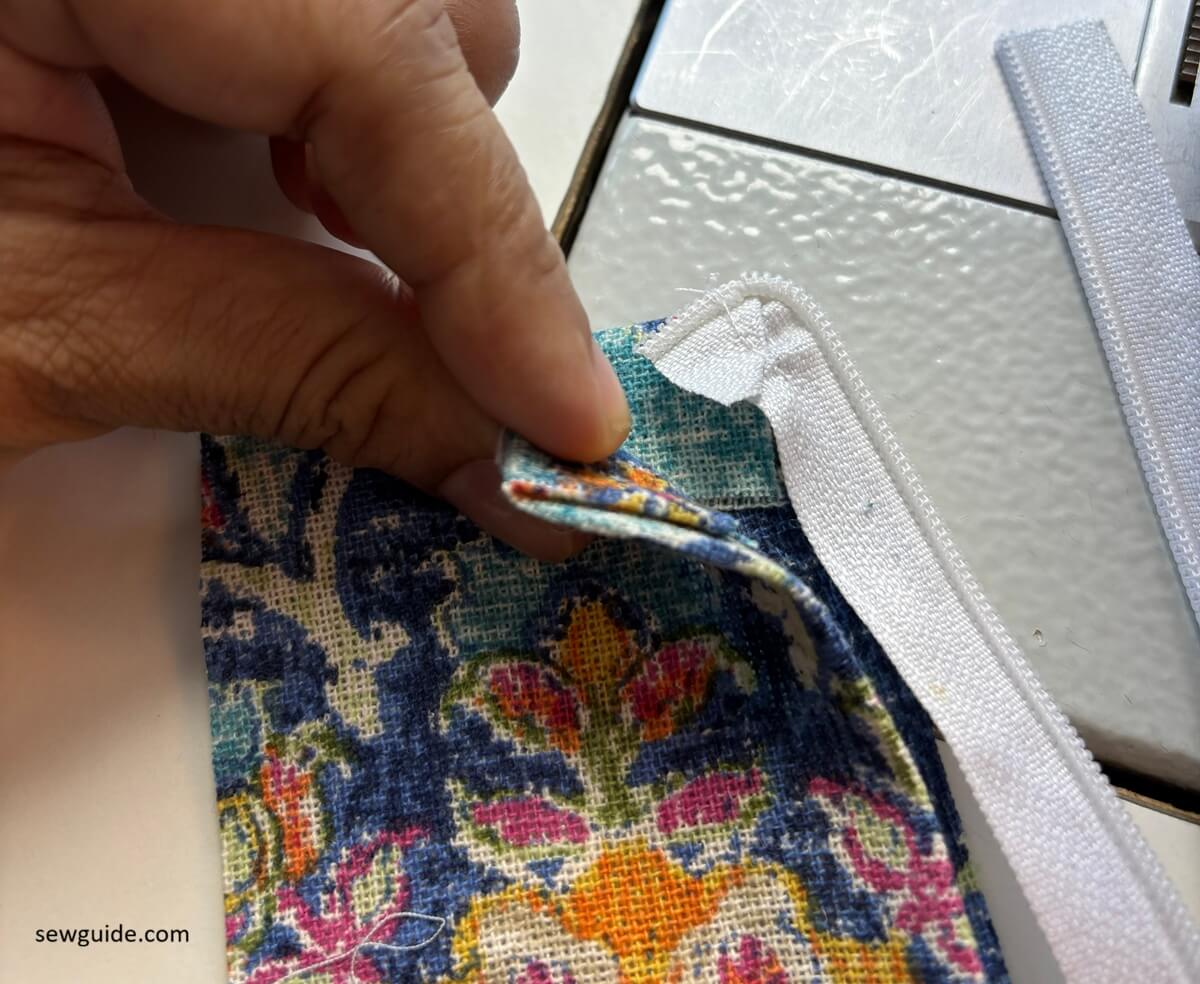
Keep it tucked neatly inside the fabric folds and top stitch in place.
Thread stops
A thread stop is what you make when the zipper ends are not exposed and you want to stop the zipper from opening up. You just make a bartack stitch by hand or a back and forth straight stitch across the zipper teeth. This replaces the metal stop you get to stop the zipper from opening up. Read more on How to sew bartack stitch
Zipper sewing is a headache for many a sewist – are you one of them?. I have a number of tutorials related to sewing the zipper properly -check them out one by one.
Let this be your first stop : Sewing Zippers ; How to sew zipper on a skirt