
The keyhole cut in the keyhole neckline usually has a slightly convex shape and the top of the convex shape may be left open or joined together at the top edge of the neckline (usually with a closure). Other shapes of this neckline include a teardrop shape, an oblong shape etc. It is an appealing neckline as it takes away the severity of a regular plain round neckline.
How to sew a Keyhole neck
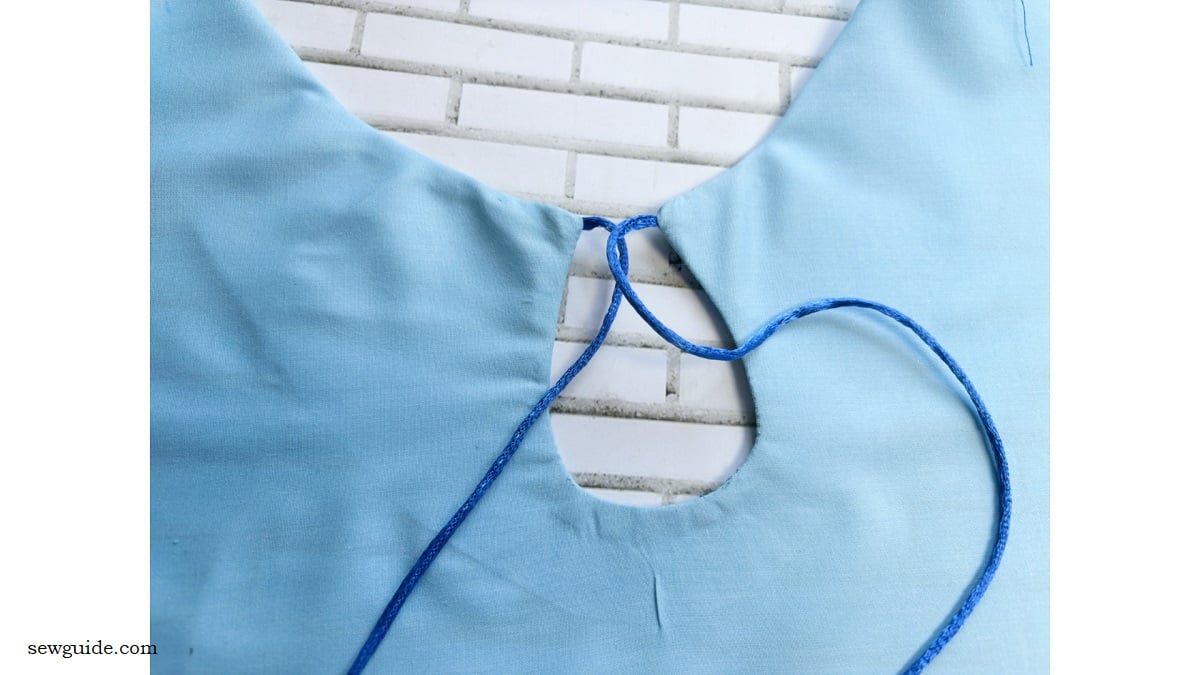
This neckline is achieved by sewing a keyhole and using a tying cord as a fastener for the opening.
This is how to sew this neckline:
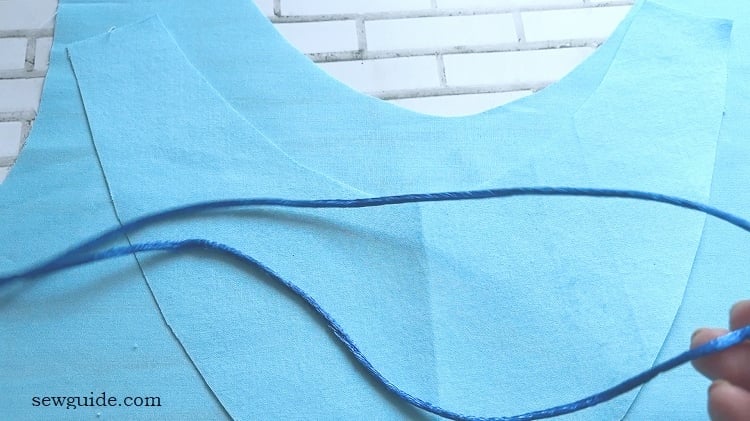
Cut out the facing and the bodice block. The facing mirrors the neckline of the bodice block.

Cut out appropriate tie for the neckline. Do not cut it as two pieces. Just one long tie is enough – you can use cord, or fabric tube for this.
Mark the keyhole shape on the back of the facing.
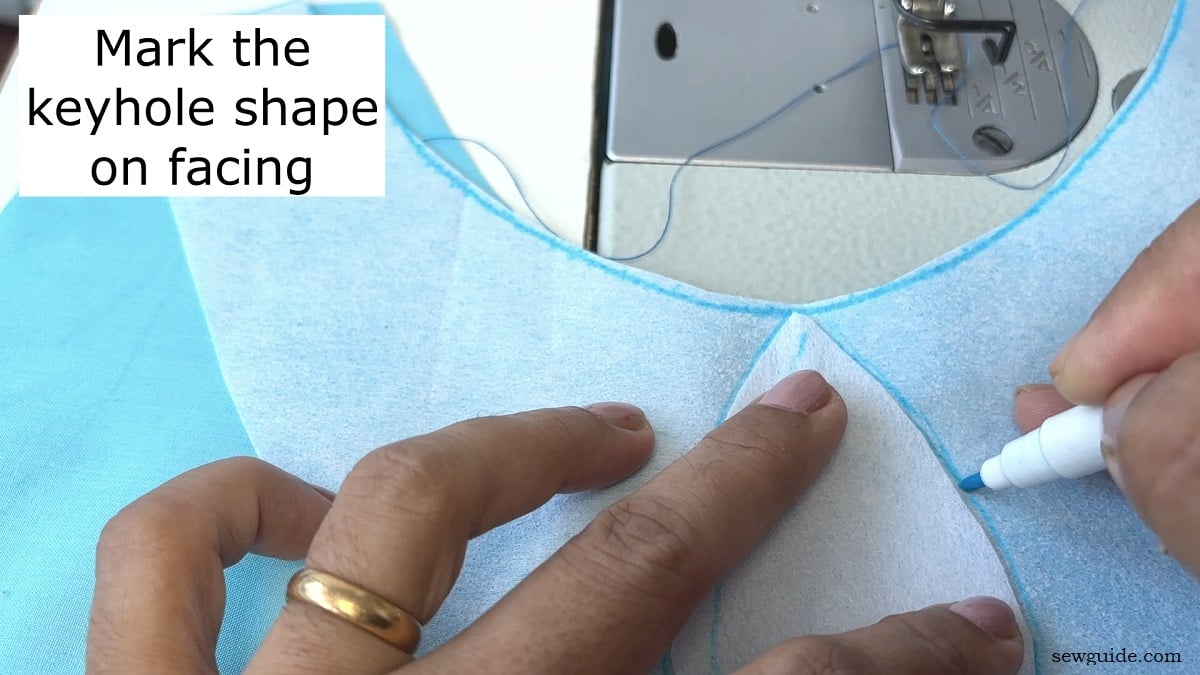
Stay stitch the tie just under the neckline.

Stay stitch the facing on the bodice with the ties by sewing through the center line – align the facing and neckline carefully for this.

Stitch the facing on the neckline – rightsides of the bodice and facing together to the inside.

Stitch over the keyhole shape.

This is how it looks.

Clip the neckline and the keyhole shape seam allowance.

Understitch the facing to the seam allowance at the neckline.

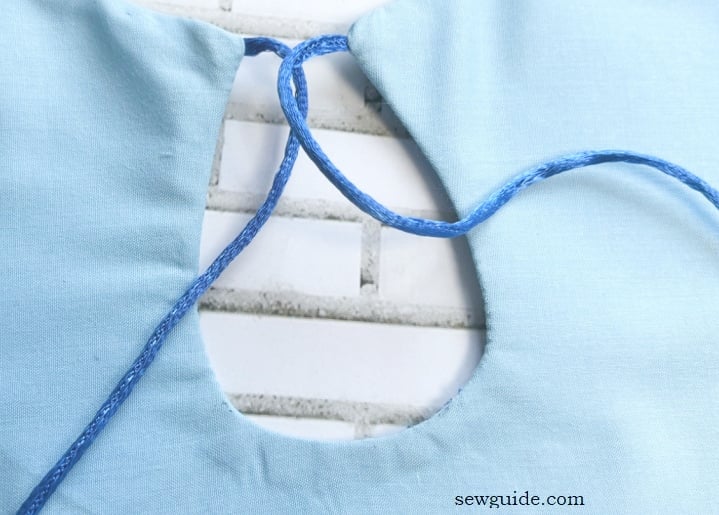
Turn the neckline rightside out.

Keyhole neckline with the ties.
Next is a Keyhole neckline with a bias tape on the top binding the neckline and forming the keyhole shape on the bodice.

Find the video tutorial for both the necklines here:
Different styles
1. Simple straight keyhole

This kind of neckline is cut straight down on the central fold of the bodice. Check out this post on making a Kurta tunic to learn how to make this type of neckline.
2. Regular keyhole

This has a correct convex shape with the top secured with a metal hook and eye.
3.Keyhole placed to the side

Here the keyhole is placed to one side of the neckline rather than on the center of the neckline
4. Keyhole in the back

The keyhole shape can be bigger on the back.
5. Keyhole joined with bead chain/buttons

The top of the keyhole can be bridged by a bead chain as in this case or simple metal chains or a metal pipe or fabric tube.

6. Neckline with a keyhole and ties on top.

The keyhole can be tied at the top with fabric ties
7. Round Keyhole

8. Choker Keyhole neckline

9. Tear drop shaped


10. V shaped

Related posts: Names of nacklines; Draft and sew necklines ; How to select necklines that suit you; V neckline ; Sew necklines with binding; Sew necklines with facing


I have an open key hole neckline that one side wants to fold under. How can I fix this?
You can add a stay tape under the edge to make it stiffer.
Hello, I’m trying to follow this tutorial for a dress I’m making. I’m interested to see how the facing looks once it’s turned to the right side, and how it’s sewn down.
This article is really helpful in my attempt to convert a too-deep “V” neck to a round/keyhole neck. Thank you!
Thank you for the easy to follow explanation. If my original pattern has a bias binding finish, should i extend the new faceing to include the back of the neck?
I like that fabric what type is it and could I use it on a semi fitted v keyhole top .The pattern is just like the black and white you have in the photo I just don’t how to finish it with the binding. Thanks
Well explained with pictures _ thank you
Thank you for indicating that you need to take a stitch at the bottom of the V! This step is so often left out of directions but is so important in making the keyhole facing lay flat!