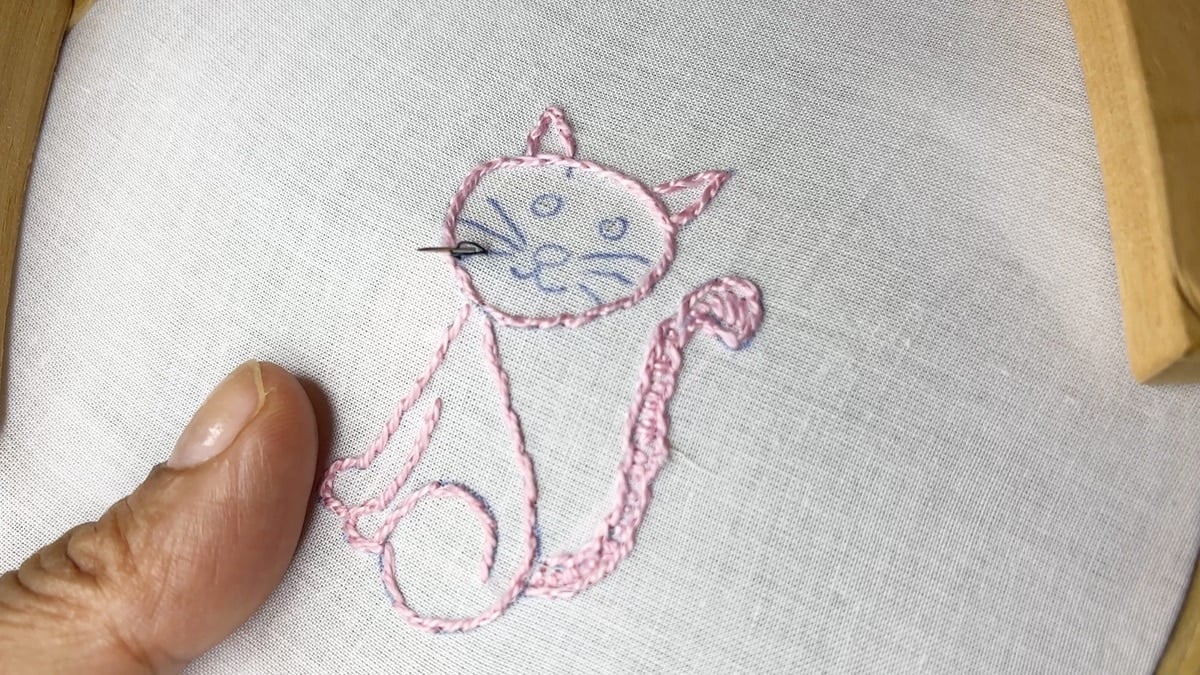
Till I got an embroidery machine, I struggled to create neat patches – but the moment I started to sew patches with my embroidery machine I was hooked. Just with the touch of a switch (ok, a lot more involved for customised patches) I can make beautiful patches. But there are some steps in the process after that switch-on ceremony that ensure that the patch is exactly the way I want it to be.
What I use to make patches
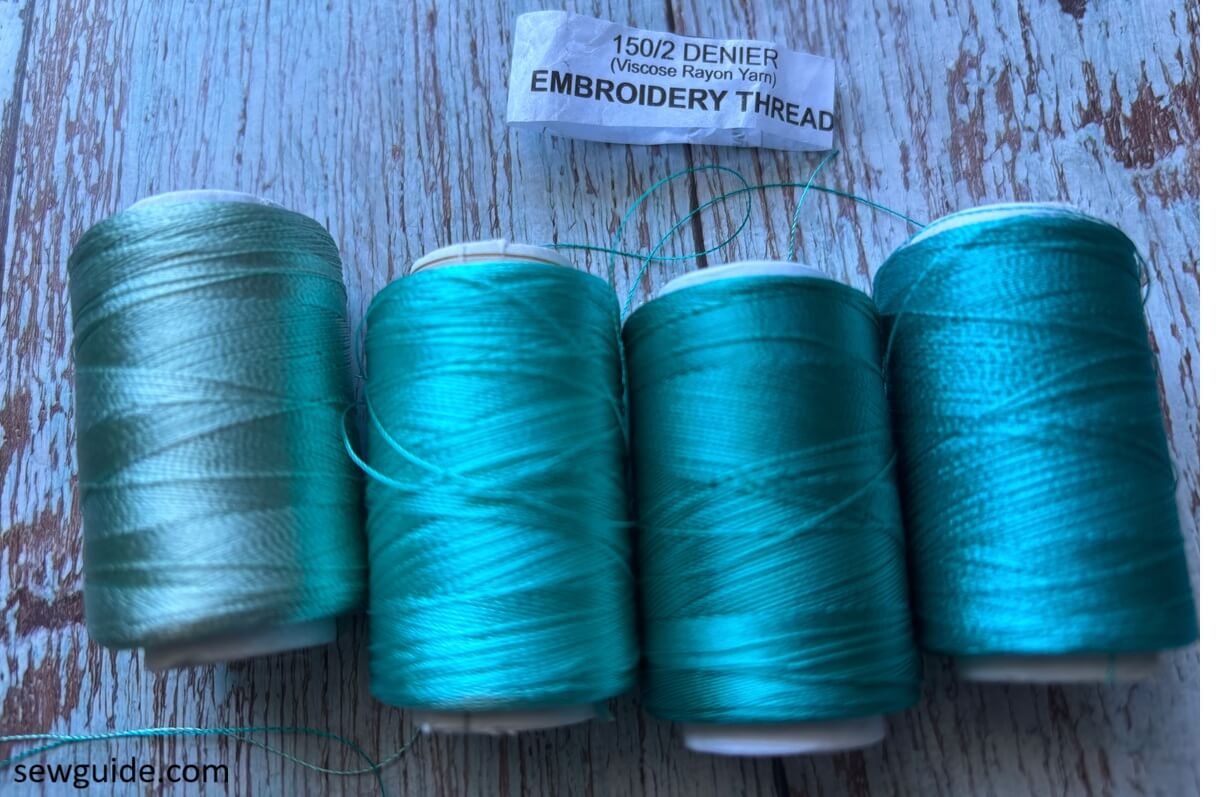
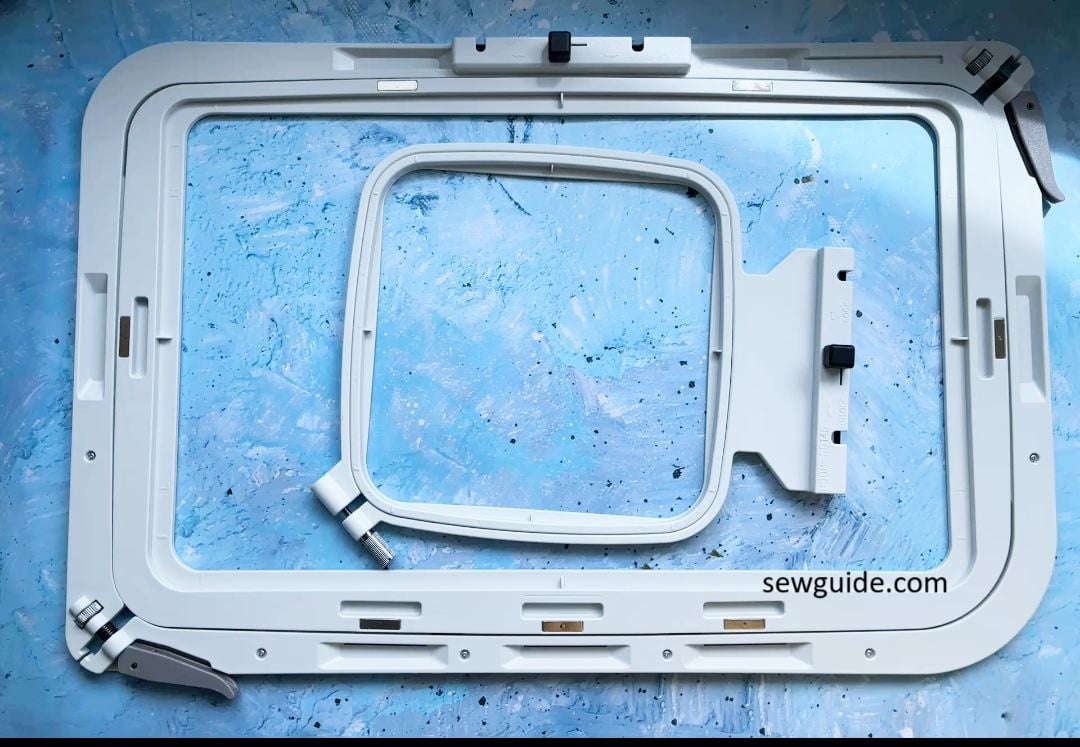
Basically almost everything that I use in my machine embroidery : I use a 5″ by 5″ hoop for my single patch embroidery, because it is the smallest I have. We choose the hoop based on the size of the design and so if you are making a small patch, use the appropriately sized hoop that will fit it. If you are making multiple patches in one go, saving time and effort, you can use your larger hoops.
I also will be using a stabilizer (Cutaway or tearaway, depending on the fabric and availability)
For the base of the patch, you can choose any tightly woven material with a medium thickness. (the best is to use commercial patch twill fabric, but if it is not available, cut up old jeans (it is twill weave workhorse-fabric) and if even that is not available, any tightly woven fabric.
Most patches have a black outline/border, in which case I would use black material as the base – if yours has a white border ,you should use a white base material. Felt is another popular material for many people – you can leave spaces in the felt patch because it has a sort of texture.
Just remember that the color of the material and the stabilizer may show outside depending on the method you choose and the way you have designed the stitch density for the outside border. So it is better to choose a base and backing in a color that matches the border color – usually that is black, so black it is!
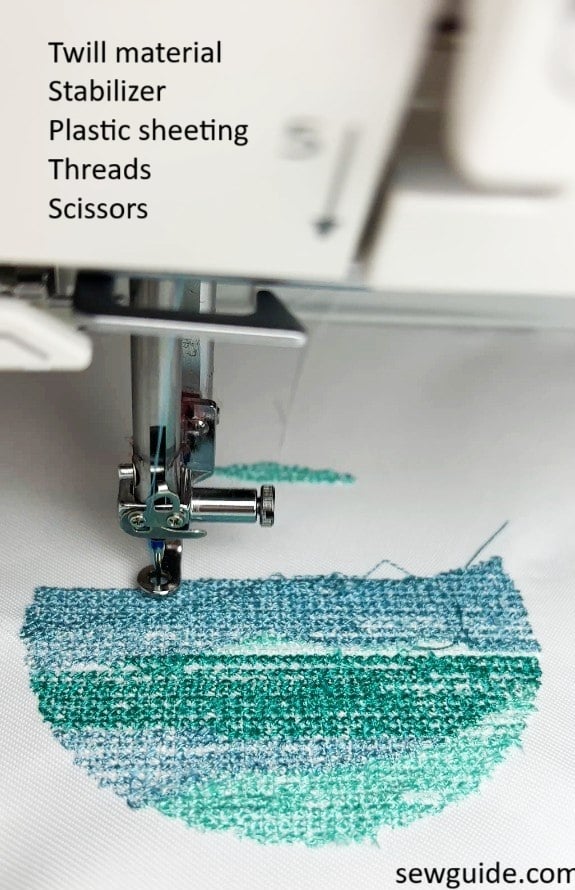
A glue stick or basting spary may be needed at various stages of the patch making.
I also use a slightly curved scissors for cutting the fabric outside of the stitching line – optional. You can also use the duckbill scissors.
Optional : Heat n bond or double side adhesive backing for making it into an iron on patch and household iron (or heat press)
Watch this as a video:
patch making method using plastic sheeting
Step 1: Your design
A patch is usually made in — well, in any size as you want …. But a mini patch may be 1 or 2 inch by 1 or 2 inch. A medium one is usually 3″ by 3″ or 4″. You can go big as much as you want or as much as your hoop allows.
There are many patch designs available in the stock design websites to last a lifetime. But most people with creative energies are never satisfied with anything stock. They need to make things of their own. For them companies have come up with jaw droppingly expensive embroidery softwares to make patches that say “Buzz off, you rabbit head” and “I know what you did with my coffee mug” and more, without saying a single word…. Aren’t patches wonderful??
I am happy with simple stock designs most of the time – when it is for myself. The one caveat in choosing the design is that it has a clearly defined border : the below given paisley embroidery has small loops on the border and it might be a nightmare to cut it out with a clean finish. A clean outline is preferred.

Step 2. Base preparation
Start by cutting your base material and stabilizer to a size slightly larger than your hoop. Heat press the fabric to the stabilizer. Place the material as one in your hoop. Make sure everything is taut and securely hooped – Not too tight, nor too loose.
Step 3: Stitch the design
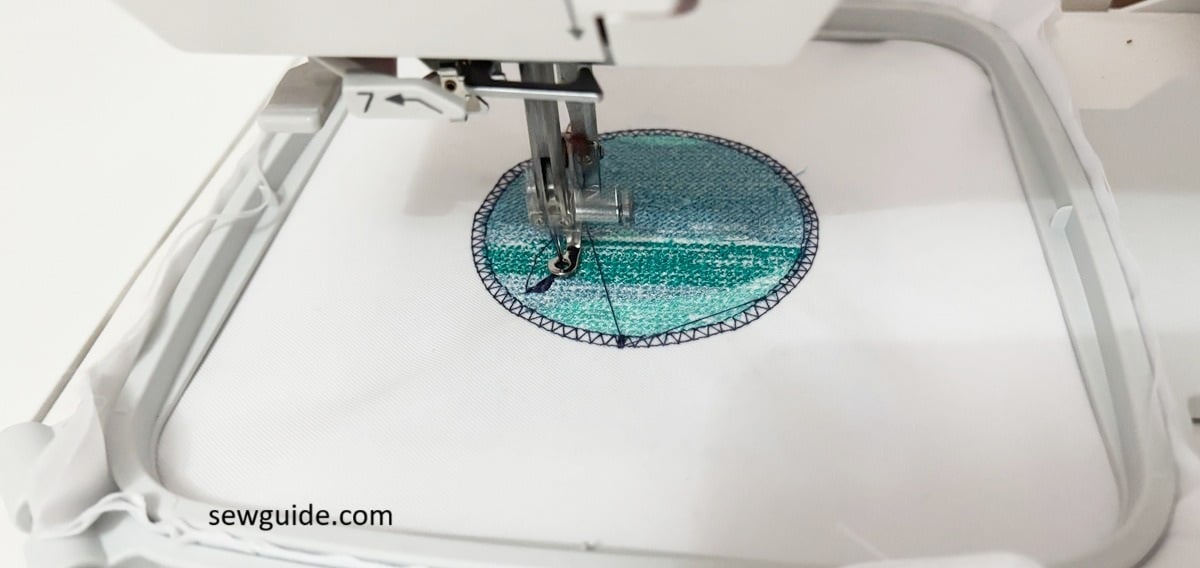
Load your embroidery design onto your machine. Start stitching – changing colors as your design and machine demands.
The outline satin stitch is usually the last stitch in such designs. Stop just short of this final border satin stitch.
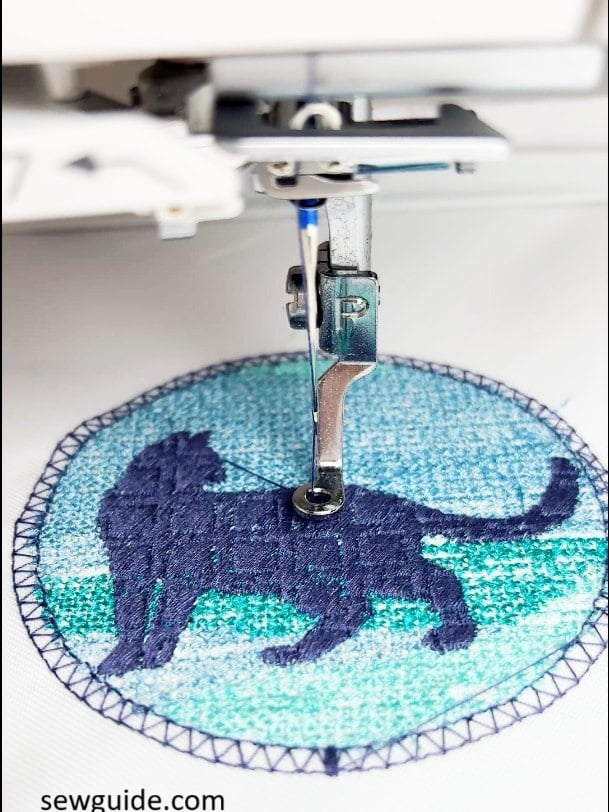
Cut a single piece of the plastic sheeting or soluble stabilizer to fit your hoop.
Take this plastic sheeting and keep on top of your hoop with the embroidered patch. Mark the outline of the patch as well as the inner edge of the hoop on the sheeting using a pen. This is a very important step. You need to know where to keep your patch on the sheeting when you hoop it later. (Or else, you can also use the plastic marking sheet with the grid lines which comes with your hoop to know exactly where to keep the patch later)
Step 4: Trim the Patch
Remove the hoop with the patch from the machine and take out the embroidery from the hoop. Carefully trim around the patch you just stitched. Use sharp scissors to get as close to the thread as possible without cutting it.
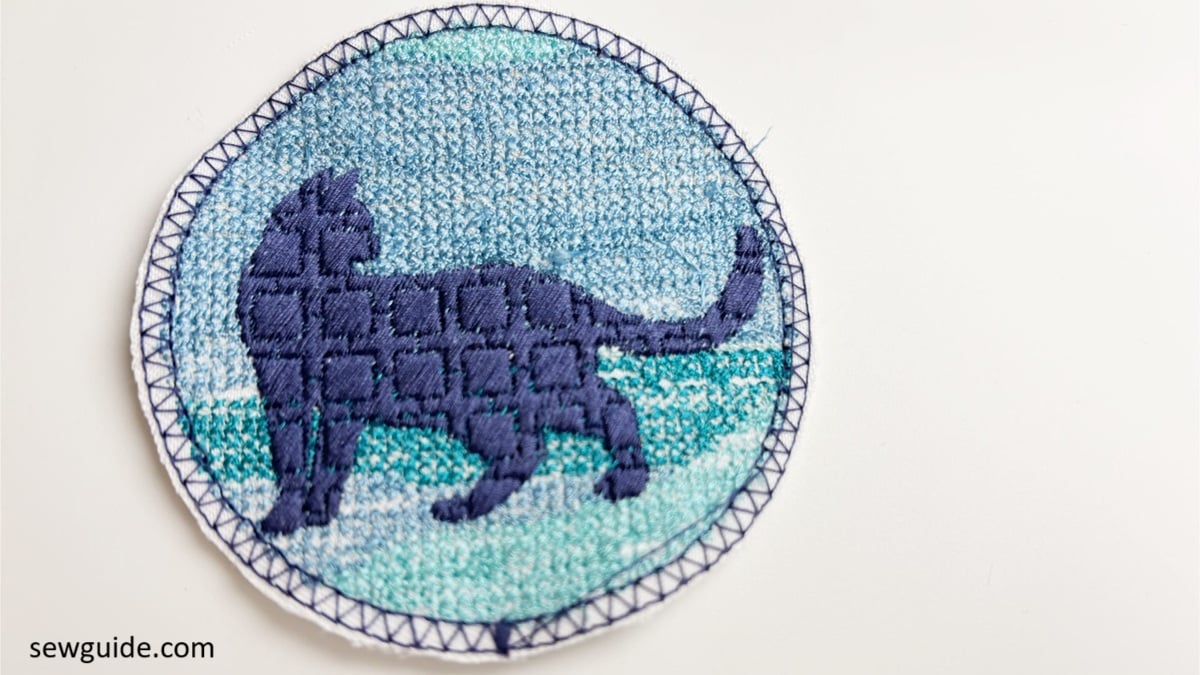
Don’t worry about being absolutely perfect; the final satin stitch will cover any minor imperfections.
Step 5: Stitch the patch on top of plastic sheet
Place the plastic sheeting in the hoop, making sure it is as tight as possible.
Keep the cut out patch on top of the plastic sheeting – “exactly” where you marked your patch earlier. This step is also very important as, if you skip this, your machine will stitch the border somewhere else, not on the outside of your patch.
Put the hooped plastic sheeting with the patch back on your machine.
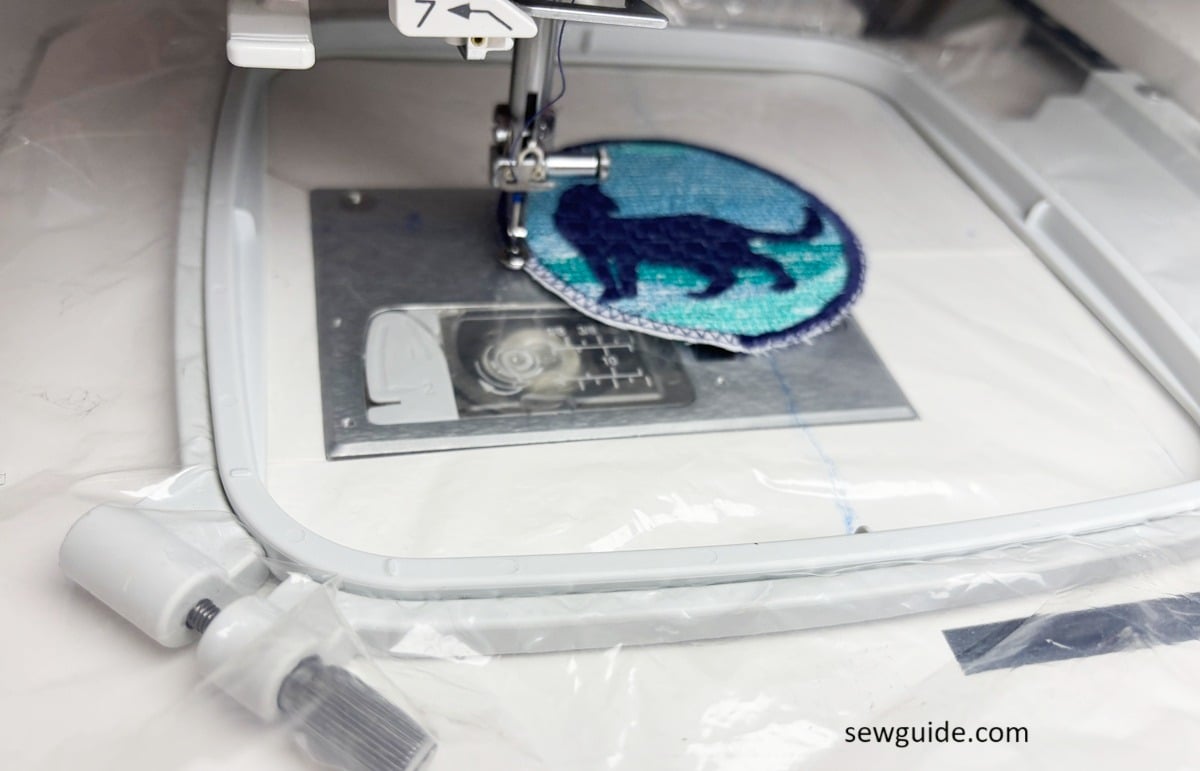
(You can keep the patch in place with glue or basting spray or just ‘pray’ and use your hands.)
Step 6: The Final Stitch
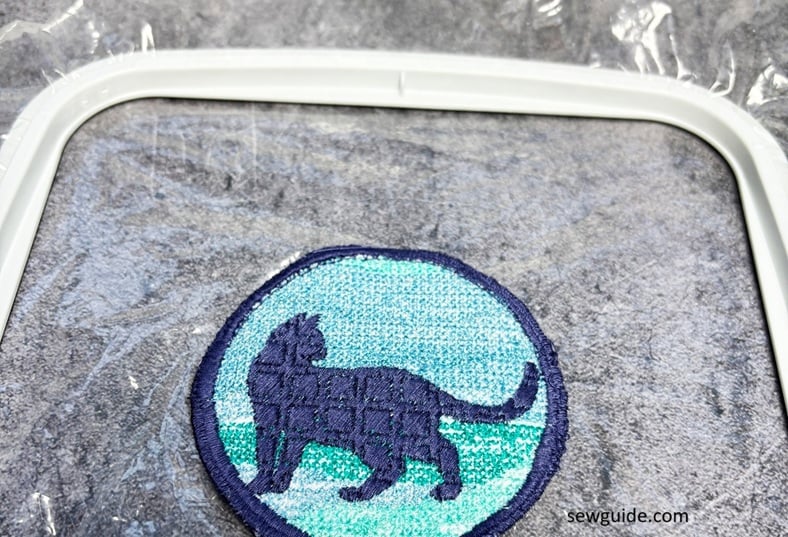
Place the hoop back on the machine. The final stitching will be a satin stitch that goes around the entire design, neatly finishing the edges and securing the patch to the plastic sheeting.
The satin stitch will cover the raw edges, giving your patch a neat and professional, store-bought look.
Step 7: Remove and Finish
Once the final stitch is complete, remove the hoop from the machine. Your patch will have a smooth, clean back with the plastic sheeting attached.
I usually just tear away the excess plastic – it just rips cleanly away.
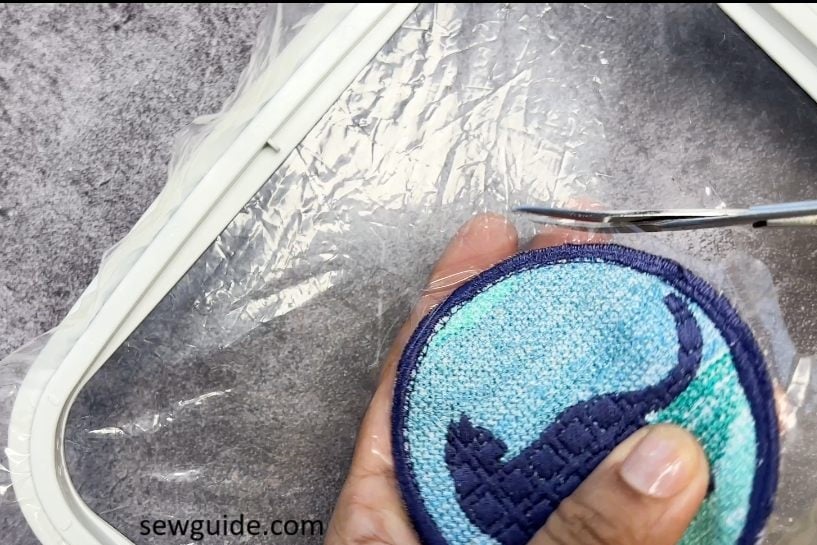
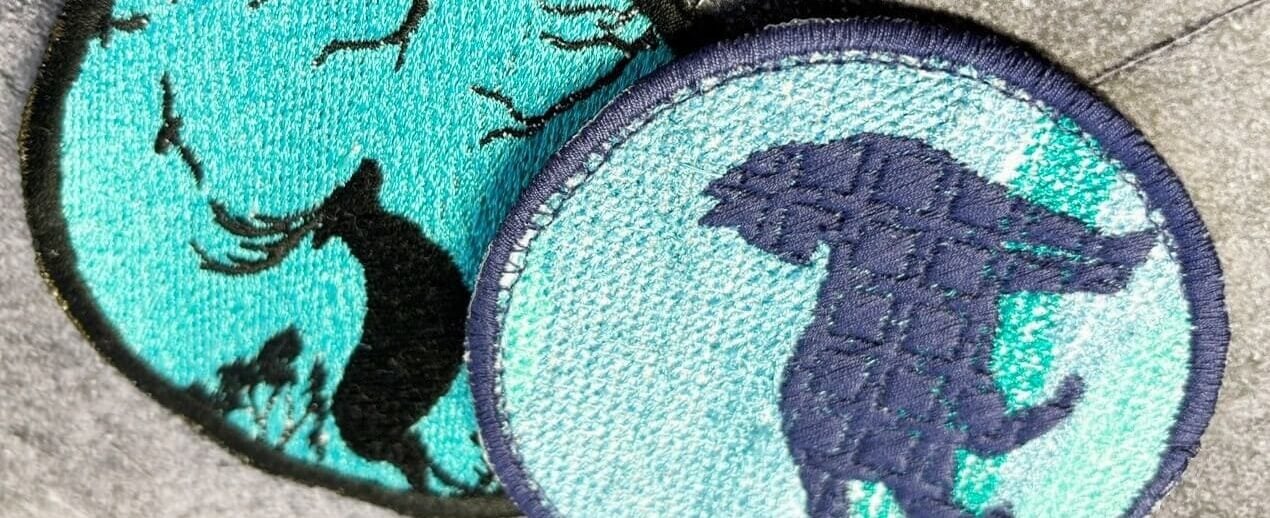
After making the patch, I can either apply an adhesive backing to make an iron-on patch or just use as it is and sew it in.
If you have a gas lighter with flame, or the household soldering tool (which is nowadays used mostly for crafting around the world as you can see in this post ); use either of them on the edges to remove the cut thread on the edge.
Related posts : Different methods of making patches ; Different ways to attach patches; Making a hand embroidered patch ; Making beaded patches

