Fringes refer to an ornamental border of threads left loose from a raveled edge or looped threads, cords, beads, threads, or tassels attached from a separate strip, used as a fabric trim.
The fringe has a decorative heading, usually about 3/4 inches, and the fringes’ length varies from 2 inches to 8 inches or even longer.
These fabric trims can be used on just about anything – your dance outfits, bandana scarf, skirts, shawls, wrap scarves, Kaftan side edges, or along the yokes on dresses or shirts or sleeve seams in jackets.

There are different types of fringes available in shops ready to be attached, but buying them is no fun when you can make them yourself. There is no one way to make these cute trims but nine. All of them are easy and doable, even for sewing beginners.
DIY fringes

Here is a video on making a fringe trim from a sewing thread spool. You can use metallic thread, silk or rayon shiny thread as well as cotton thread for making your fringe – depends on the kind you want.
Self-fabric fringe
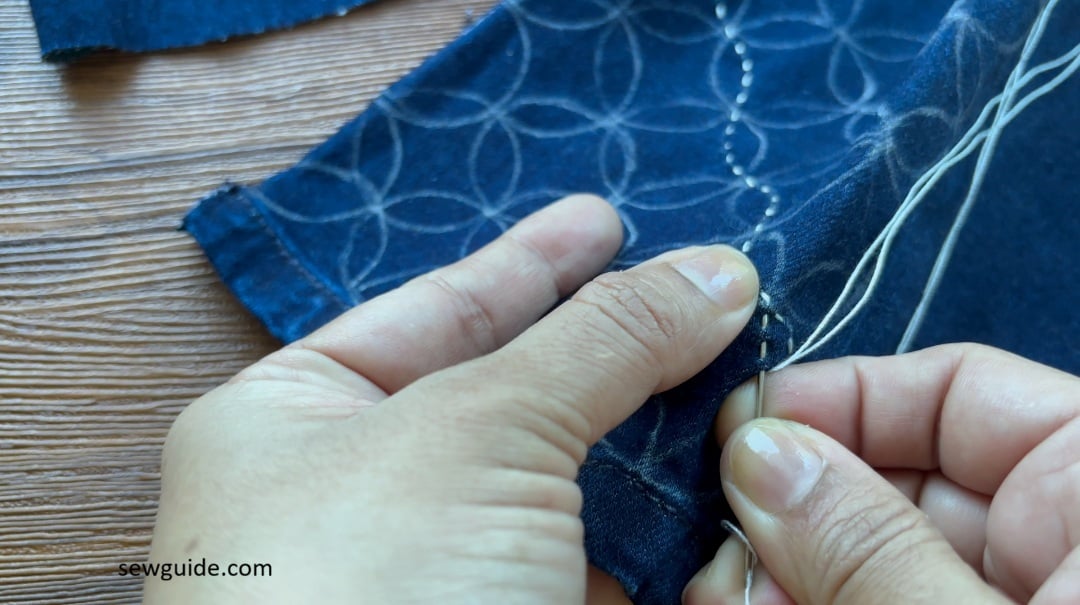
This fringe is made from the weave of the fabric itself.


Some fabric frays more than others. To make this fringe, Make a single straight stitch across the fabric edge some 1/2 inches inside.
Remove the weft thread one by one so that only warp thread is left, making up your fringe.

You can also make this fringe with the hand embroidery technique. Check out the post on making cloth napkins for more details.

Fabric strip/leather fringes
Cut a strip of leather or a fabric of about 4 inches or longer. Mark straight lines 1/4 inch apart with a scale. Make straight cuts till about 1/2 inch to the other edge with very sharp scissors. You can use a rotary cutter / Exacto knife as well, keeping it on a hard surface or self-healing mat.

Checkout this tutorial on making tassels.
Loop fringes
Loop fringes are looped at the base of the fringe. This fringe is made by making small loops and tacking them in place with small anchoring stitches.

Step 1
Cut 6 strands of embroidery thread or yarn. Thread your needle with the floss. The whole six strands will make a full enough fringe.
Bring the needle 1/2 inch up from the edge (at 1). Make a small loop of about 1/2 inch to 1″and then take back the needle through the same hole leaving the loop (at 2)
Step 2
Bring up the needle again near the first stitch (at 3) and make an anchoring stitch across the thread at the start of the loop, tacking the loop in place (at 4)

Step 3
Make this type of loop, and tacking stitches in a straight line along the edge. End the line with a few back stitches. You can get a scalloped effect if you grade the loops.
Brush fringes
Brush fringe is a cut fringe made of yarn. Make loop fringes as explained above with six or more strands of embroidery thread. Clip the end edge of the loops cutting all of them open. You can also individually cut the center of all loops. Ensure the cut is straight and even.

Use your needle to separate the floss so that the fringe looks full and fluffy.

Bullion fringes
Bullion fringes are made of cord rather than yarn. You can make quick bullion fringes with a cord by this method.
To make this trim cut out a strip of interfacing the length and width of the trim you want. I have used a card sheet, but interfacing is the right thing. Wrap the cord around.

Place a 1/4 -1/2 inch ribbon along the top edge, and with a very small stitch length stitch the ribbon and the cord together.

Cut out the lower edge of the cord. From the inside, cut out the interfacing piece closely near the stitch you have made. You have your fringe ready.

Layered fringes
This fringe involves making knots in intervals in layers of fringes.
Make brush fringes that are about 4 inches – 8 inches long. Cut the edges evenly, as explained. Separate the strands of the thread of fringes and divide the fringe threads into two. Hold the fringes half from one loop and the next half from the adjacent loop.
With a single strand of thread, make a knot 3/4 – 1″ down in the middle of the two loops. Continue doing the same with all the loops. You can make many layers like this for the fringes.
If you are making three layers, finish the second layer and then continue making knots in the center of the knots in the second layer.
When you have finished, trim the fringe evenly at the bottom

Knit fringes

This is one of the best ways to make fringe trims – because knit never ravel. You can just simply cut the fabric edges very thinly. A slight stretching of these fringes will make small curls, if that is the look you want. Knot into bunches if you want to.
Beaded tassels can look as pretty as fringe trims. You have to work beautiful beads on needle and thread throughout the edge. Checkout the tutorial to make 8 types of beaded tassels here


Related post:

How to attach different types of trims to fabric
30 ways to add Lace trims to your clothes
Different types of lace and lace trims


This was so informative. What fabric makes the best trim that won’t bunch, what kind of trim is used for dancers dresses. thank you so much. Patricia
I am looking for for rhinestone-studded leather chainette fringe (anchored on both sides) to sew in the middle of a skirt or jacket (not hanging fringe). I have a photo but don’t know if I can attach here.
Thank you! Exactly what I was looking for. Much appreciated.
I have been struggling for weeks trying to figure out how to make the embroidery fringe for the felt Christmas stocking. You demo and written work makes it look like I can now do it. This pattern calls for 3 scarf fringe’s. Thanks much. I never did much embroidery and now @90 takes me much longer to learn.
Ruthie