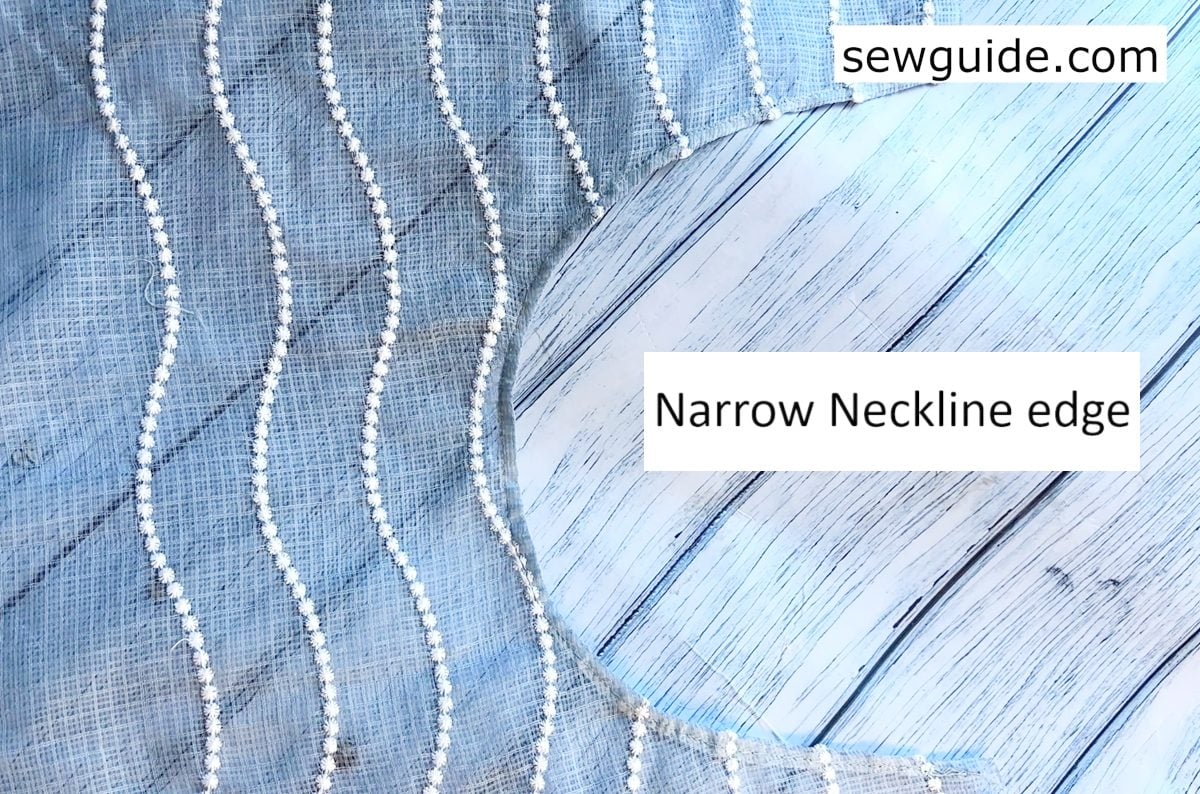
Don’t want a facing on your neckline edge? Try this paper hack—it keeps the rolled neckline edge smooth and puckering-free. It is best suited for necklines in thin, see through fabrics, where you do not want the facing showing through.
Neckline is the first thing we see in a garment and its neatness is non-negotiable. With facing, you can easily and neatly finish any type of neckline, but facing is not suitable for all fabrics – when you add it to thin fabrics, it shows through!
This is applicable for chiffon, jersey, thin silks and other such semi as well as fully transparent fabrics.
Using a rolled edge presser foot does the job of sewing a rolled edge quite easily on most fabrics, but on a neckline, no. The stitching through the presser foot stretches the fabric edge. And this is a disaster for necklines. Already, necklines stretch out of shape at the drop of a hat. When the fabric edge passes through the foot, the bias-cut edge stretches too much.
This hack gives you the solution to this problem.
How to sew this neckline edge : with paper
If you would rather watch a video for this tutorial, here it is – be patient while the video loads, or carry on reading
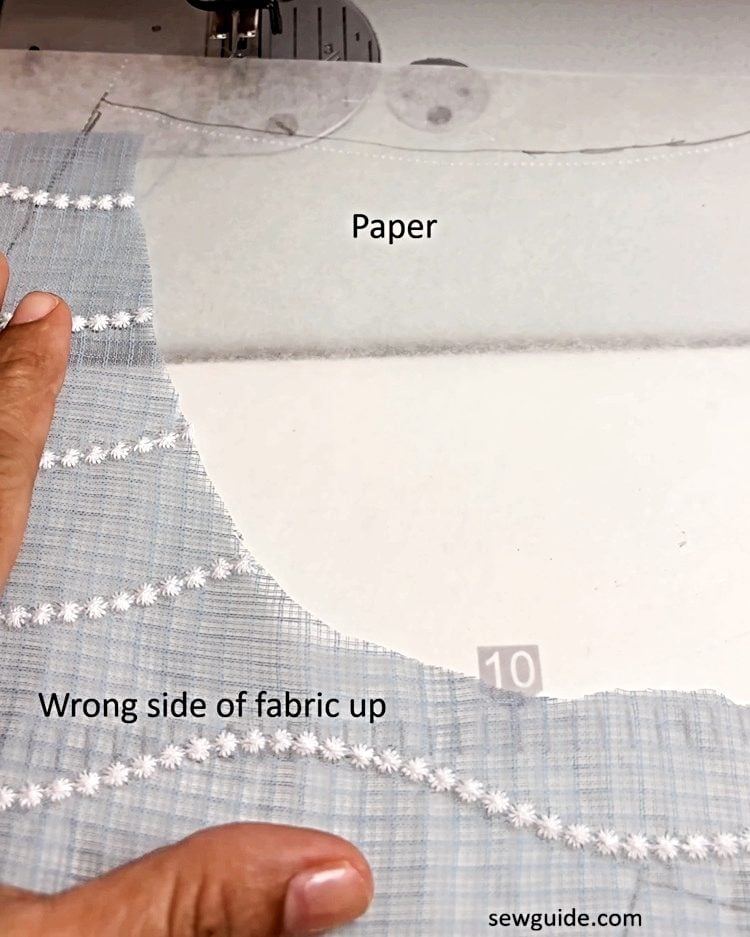
Step 1. Cut out your neckline first
Remember to add an extra 1/4 inch seam allowance to the exact neckline edge.
Keep the neckline fabric wrong side up.
Place it on top of a paper. You can use newspaper, thin white paper, tracing sheets and brown paper (covering sheets). Anything that wouldn’t tear under the machine.
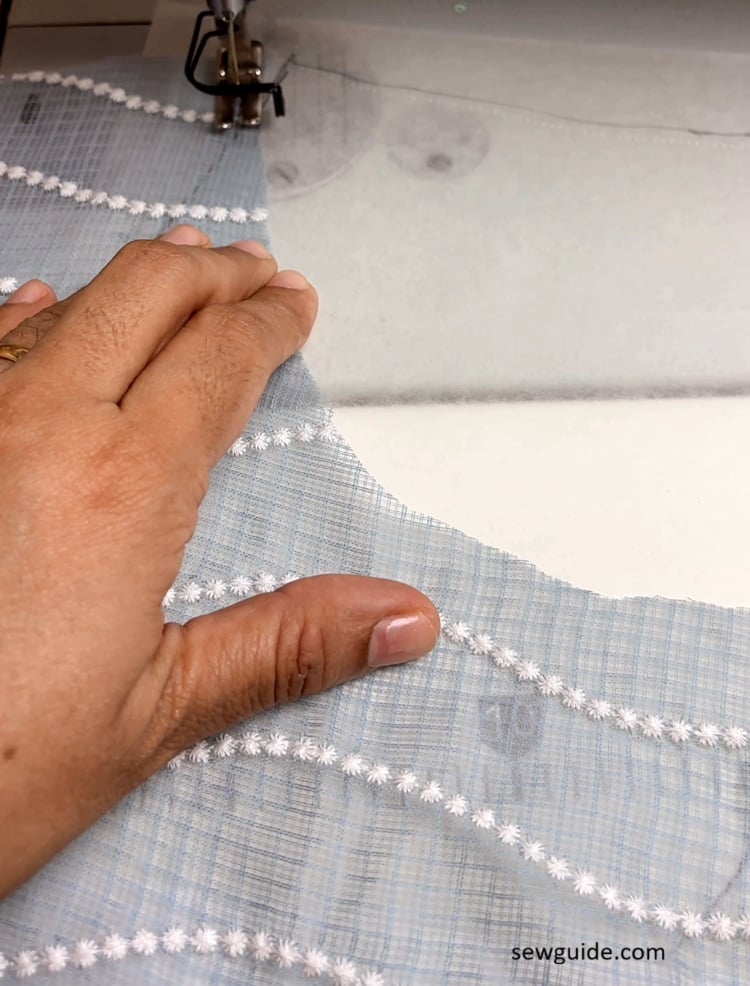
Step 2. Sew the neckline (with it on top of the paper) along the cut neckline edge.
Sew with a 1/4 inch seam allowance.
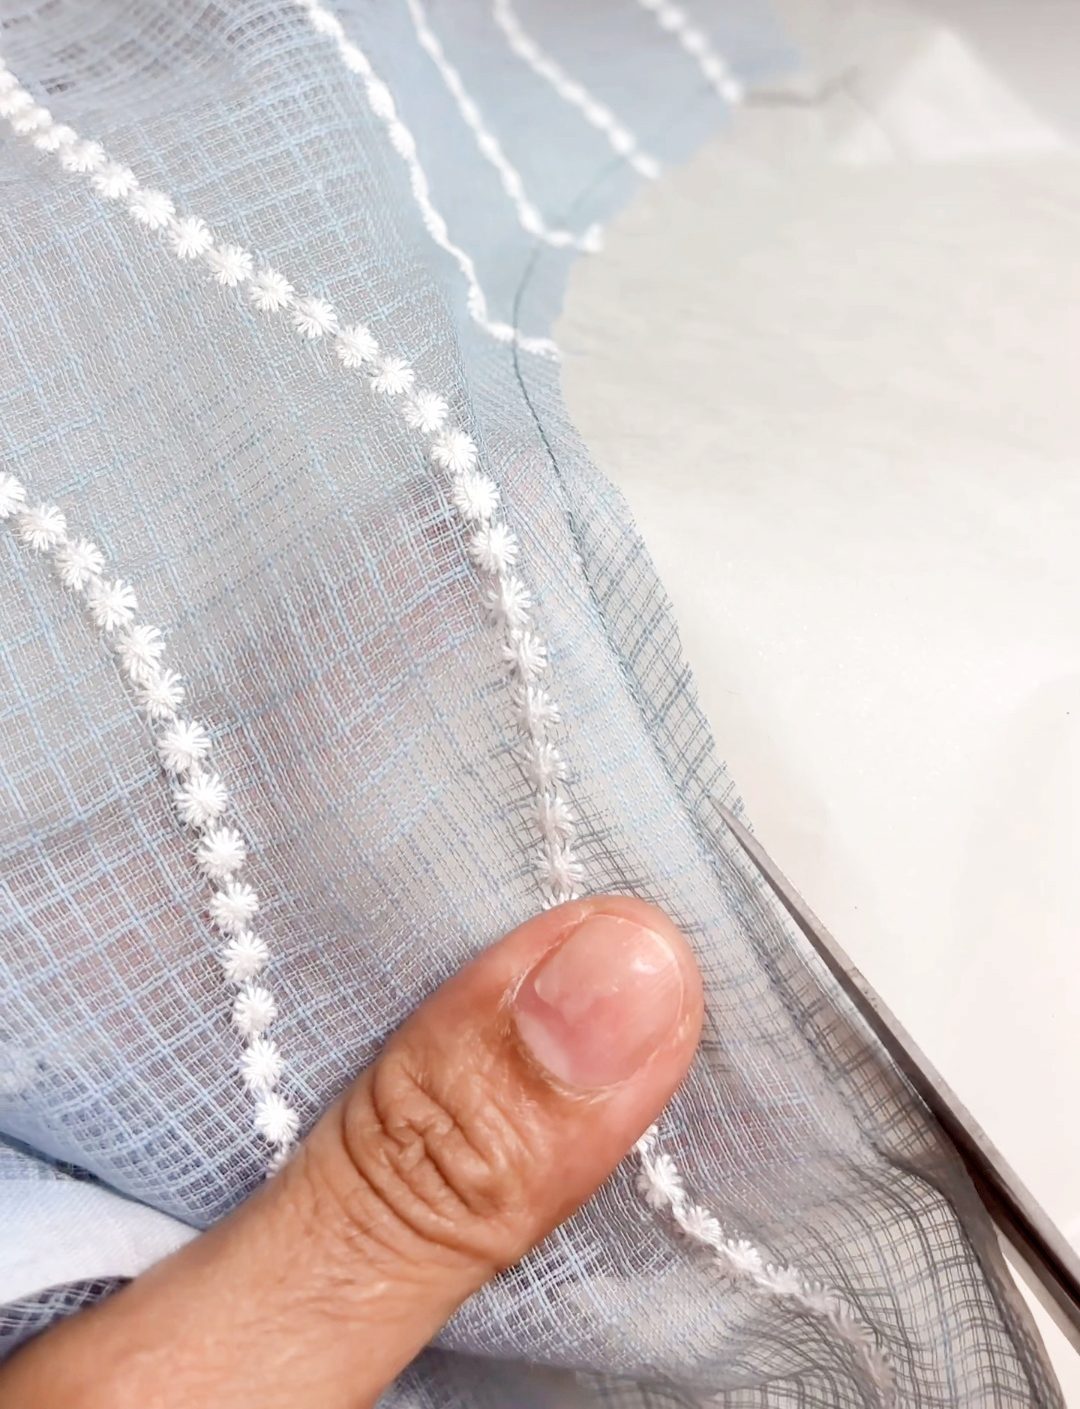
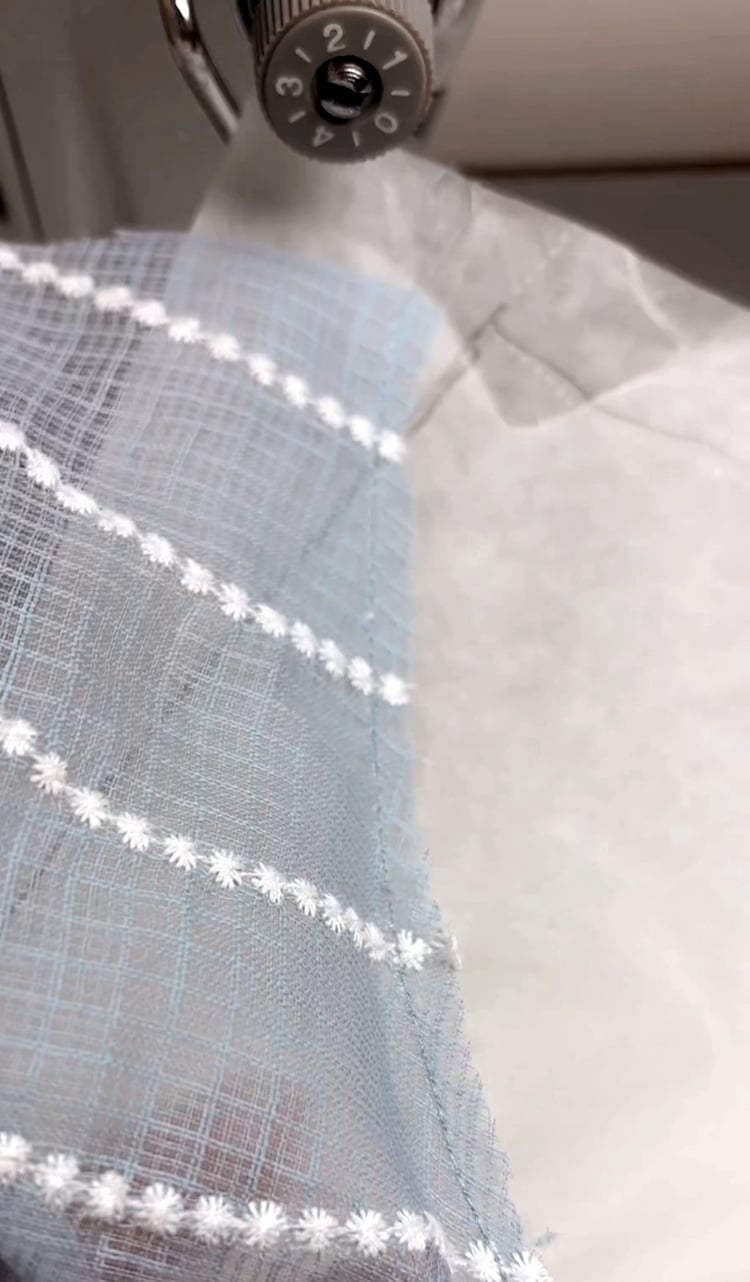
Step 3. Cut out the paper as close to the neckline edge as possible.
Now the paper looks like a facing, right? But, unlike a facing you do not fold it as it is to the back.
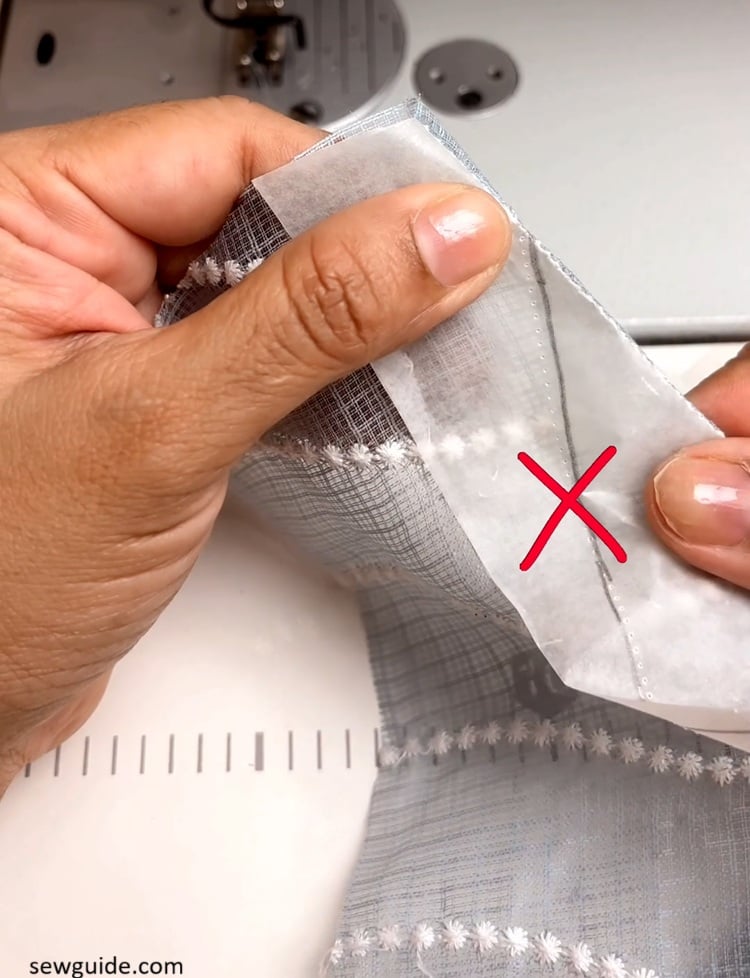
Step 4. Fold the paper to the back
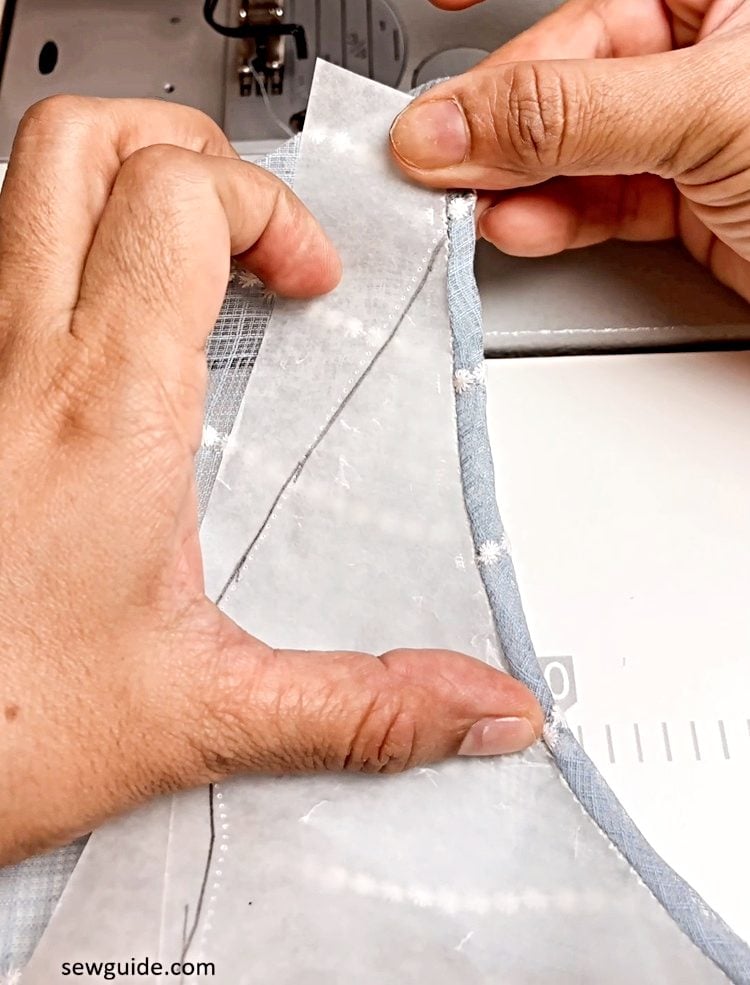
You have to fold it so that there is an edge on the back and the inside cut edge is enclosed in the fold. When you fold it you will get what I mean.
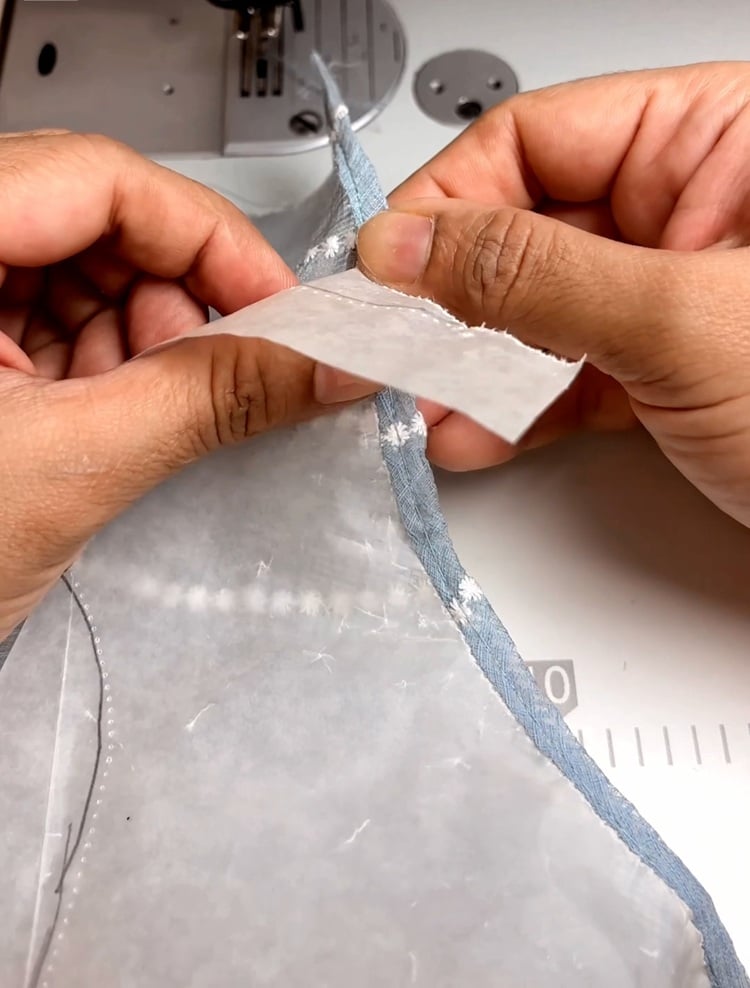
Step 5. Pull out the paper from the neckline – it will rip through the stitching line easily enough.
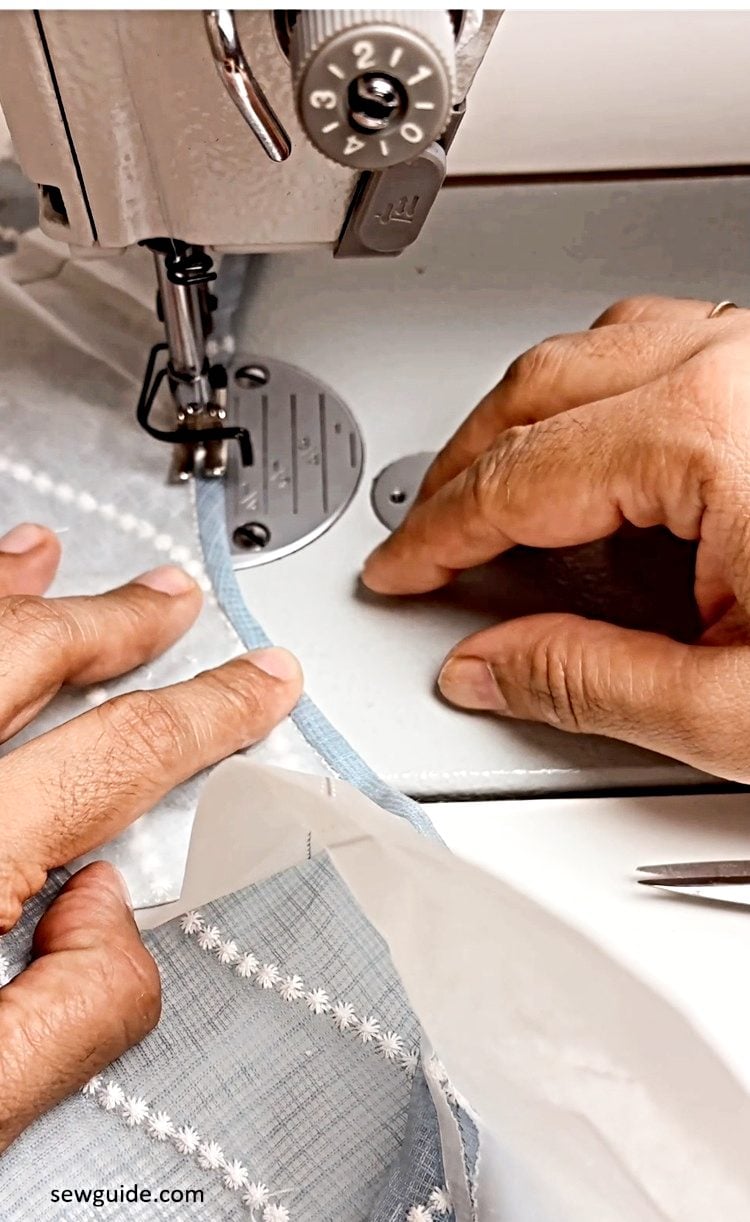
Step 6. Now sew along the fold. Remember to use matching thread.
That is it. Your folded edge neckline is ready.

Because you stitched on top of paper, you will find that the neckline is not as streched as it will be if you used the conventional presser foot method. And because of the crispiness of the paper you will get a uniform edge.
Related posts : Sew the neckline with bias binding ; Drafting neckline shapes – basic tutorial; Neckline finish with a facing.