Christmas napkins are a perfect last-minute decor idea. They’re small, quick to sew, and instantly make the table feel ornamental. If you’re short on time but still want to make something yourself for Christmas, napkins are ideal—no fitting, no stress, and very little fabric.
Small details like piping, contrast binding, or festive imagery and elements with rustic fabrics will do the work for you.
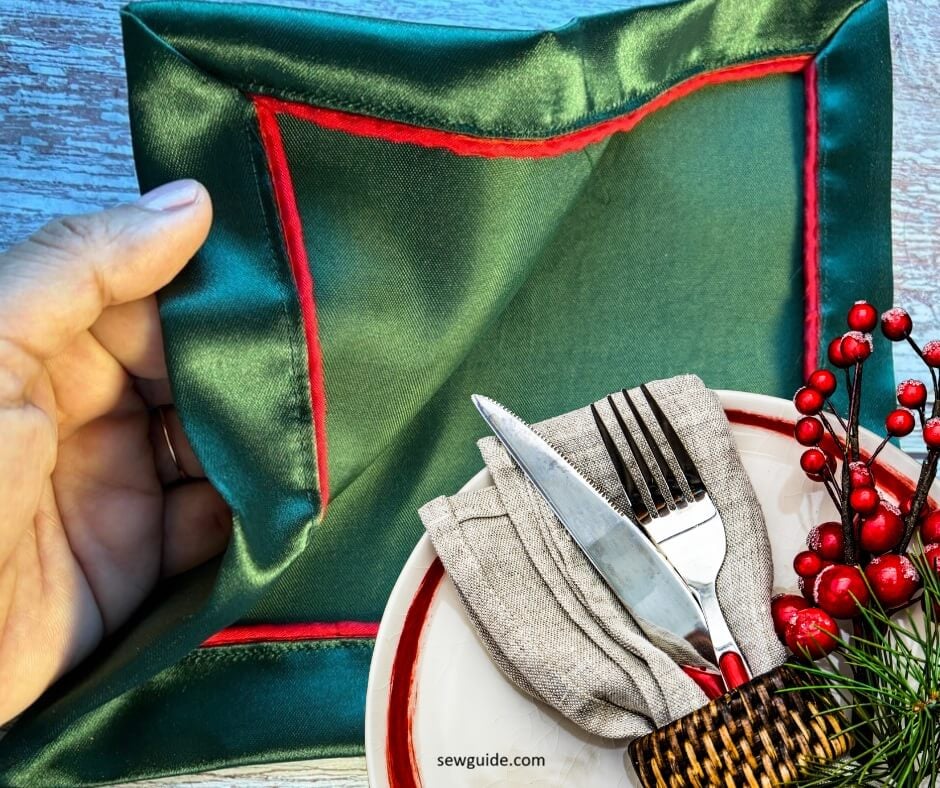
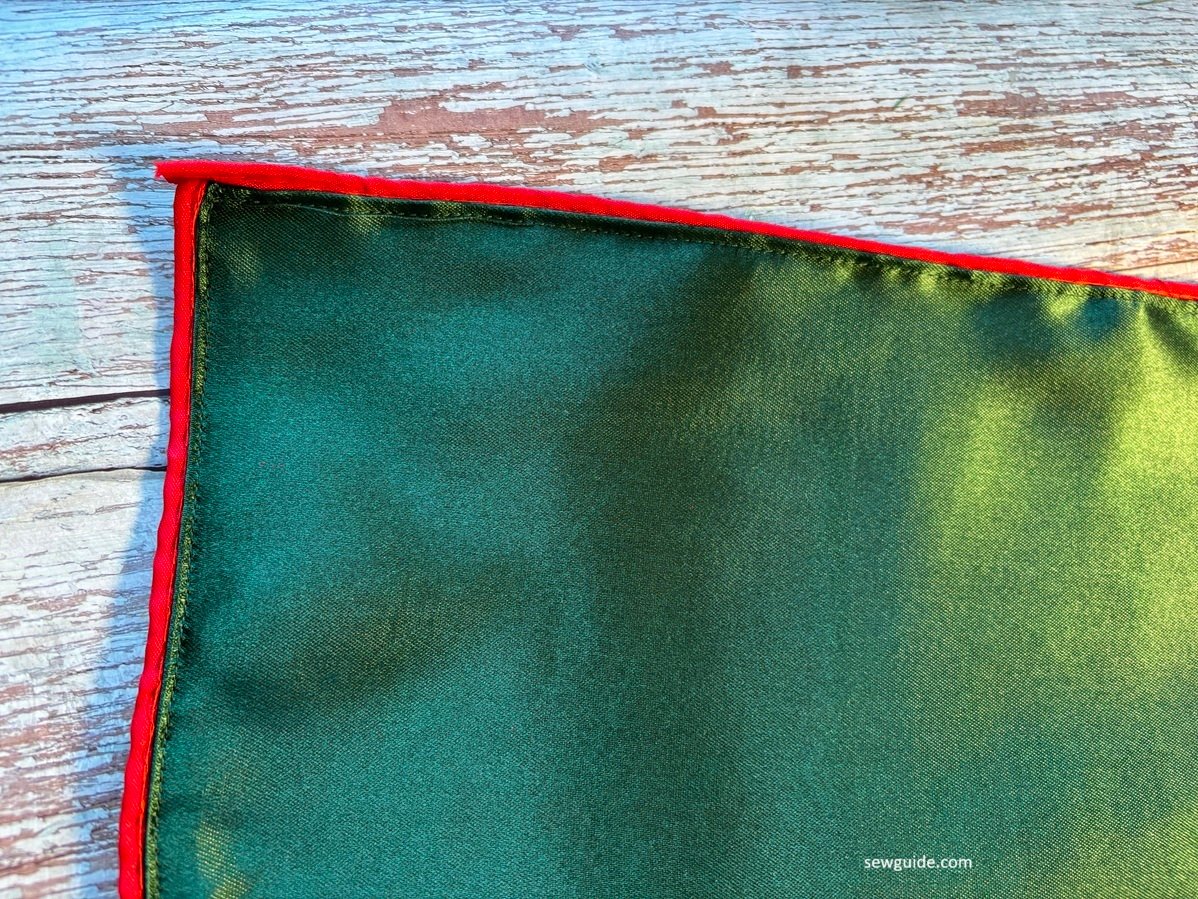
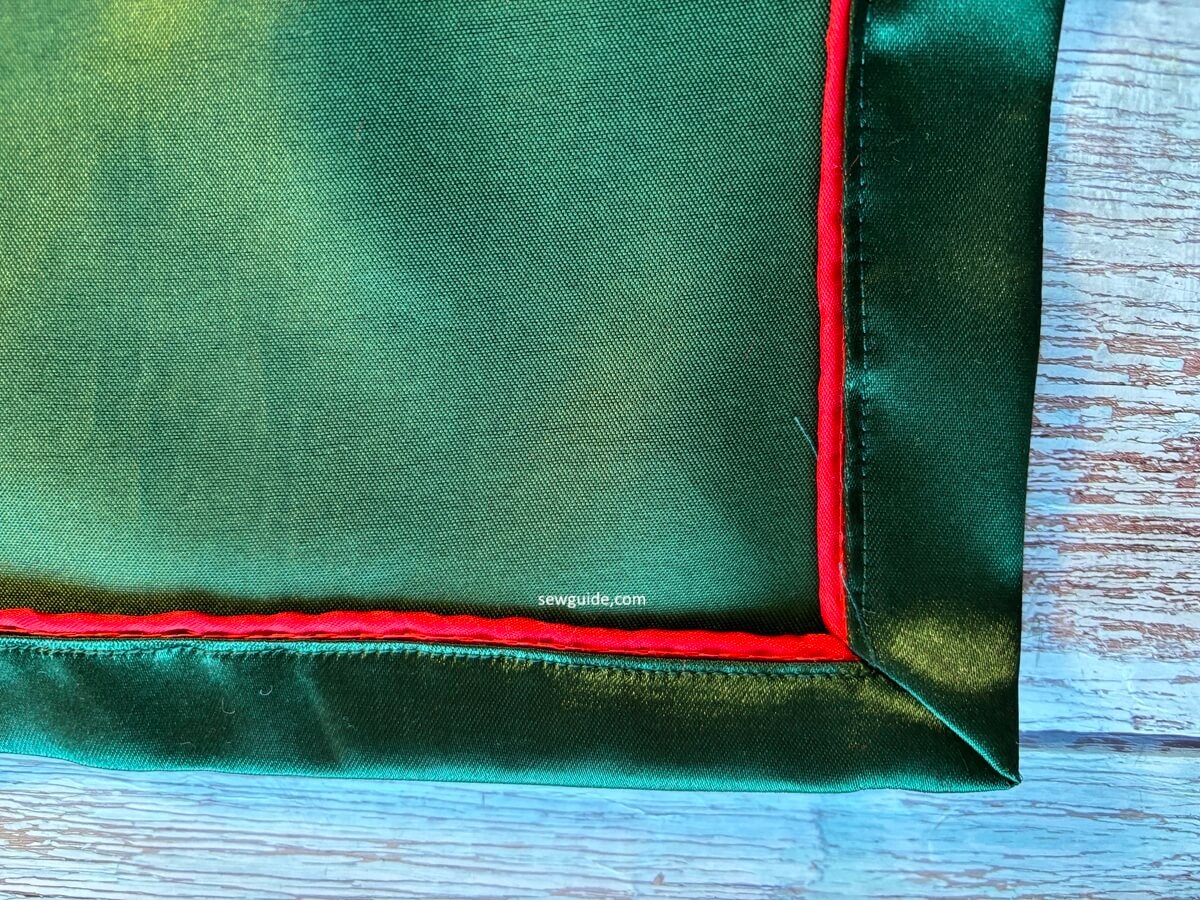
A green napkin with piped edges and mitered corner
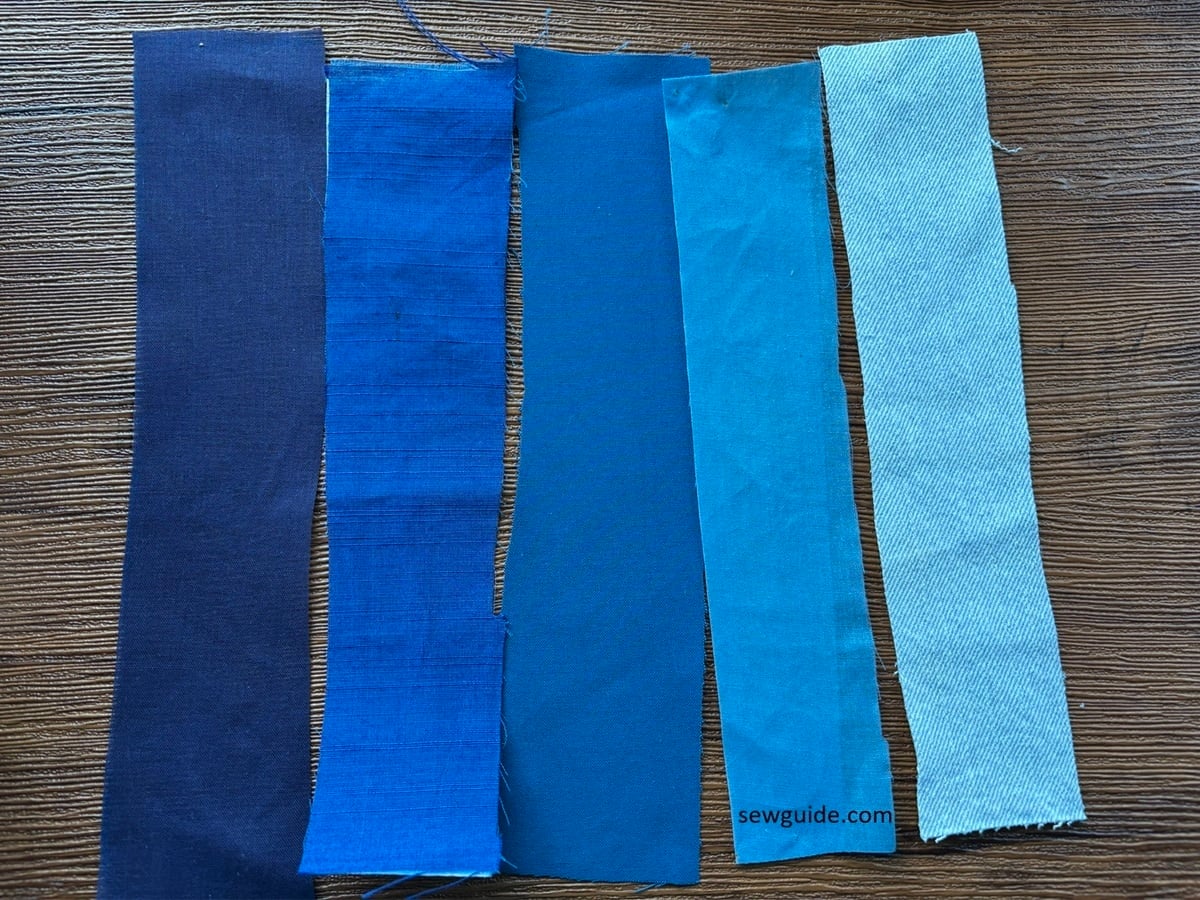
Green is the color of evergreens—symbols of life and hope. It gives you the hope that spring will return after the long winter of Christmas. Green also represents eternal life and renewal, making it the perfect message for the season. And red—the complementary color to green—pairs beautifully as piping.
Choose a reversible fabric for this – ie the fabric should look the same (or as good as the face) on both the face and the back.
Watch the video to sew it in action :
Step 1: Prepare the napkin
You can cut your napkin in any size you want, but preferably as a square. Remember that about 1 1/4 inches will be pressed as hem. Press the fabric and the piping neatly.
Decide the finished hem width (usually 2–2.5 cm / ¾–1 inch). Checkout the post on napkin making for the optimum dimensions for your napkin.
Step 2: Sew the piping to the right side
Place the napkin right side up. Fold the edge of the fabric 1/4 inch to the back. Place the piping under this folded edge.
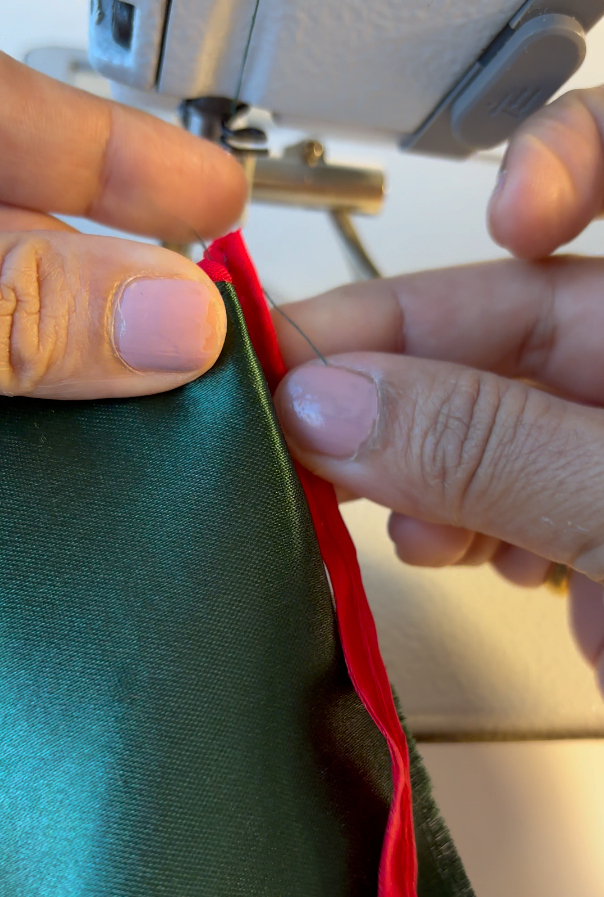
The piping cord should face outside .
Using a zipper or piping foot, stitch close to the cord.
You can sew the piping on all edges. It doesnot matter how you finish the edges – it will be cut off.
Step 3: Mark the corners.
On all corners mark a line cross wise on the back of your napkin. All corners should be marked exactly the same.
This mark has to be the same for all corners. This is important to get the same sized hem.
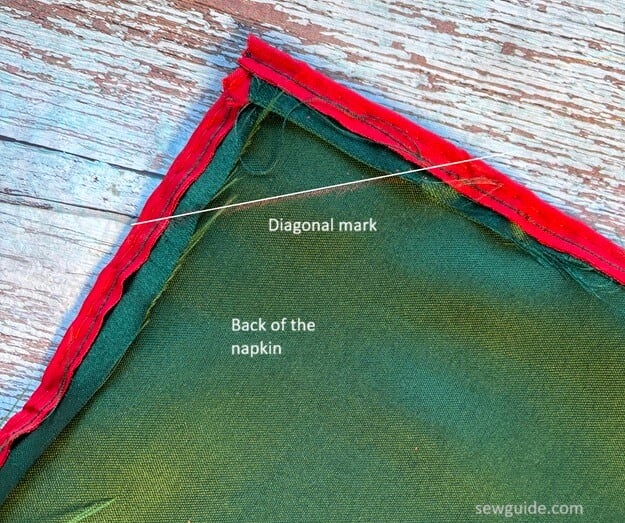
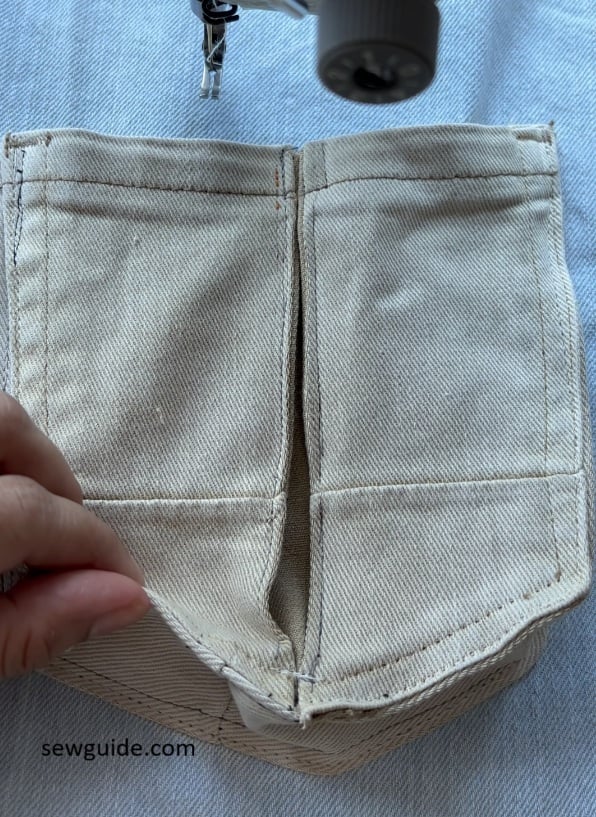
Step 4. Fold the napkin corner rightsides together
On each corner fold the napkin, the right sides of the fabric together. The piped edges will come together. See the picture below.
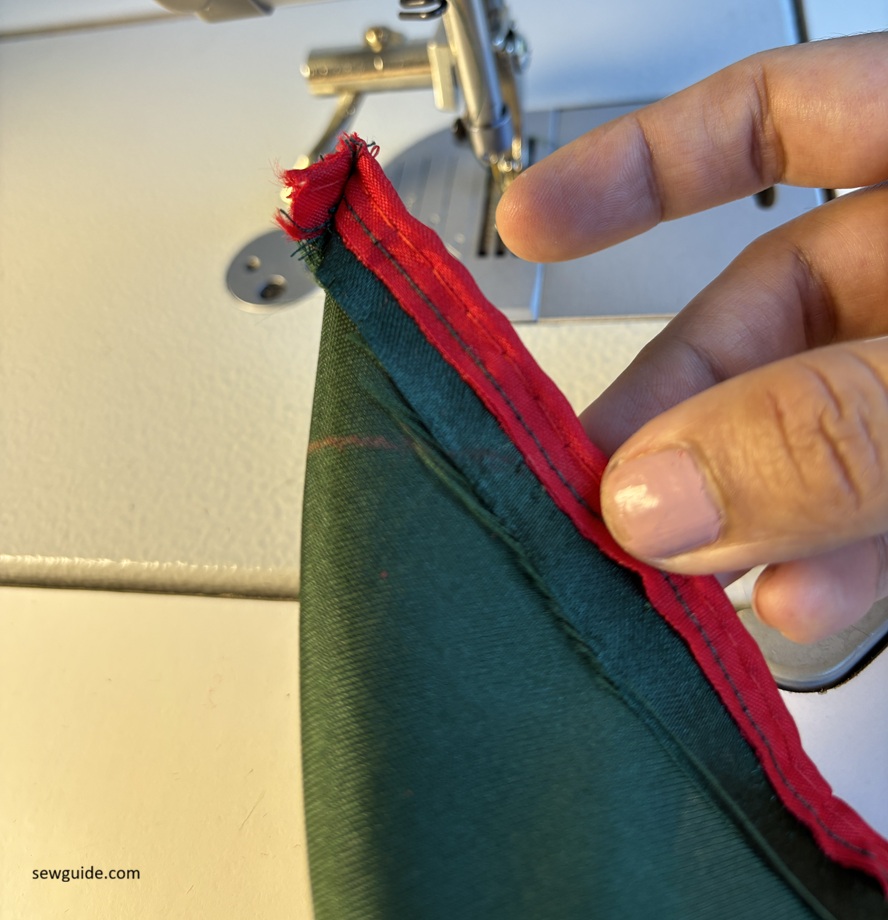
Sew along the marked line.
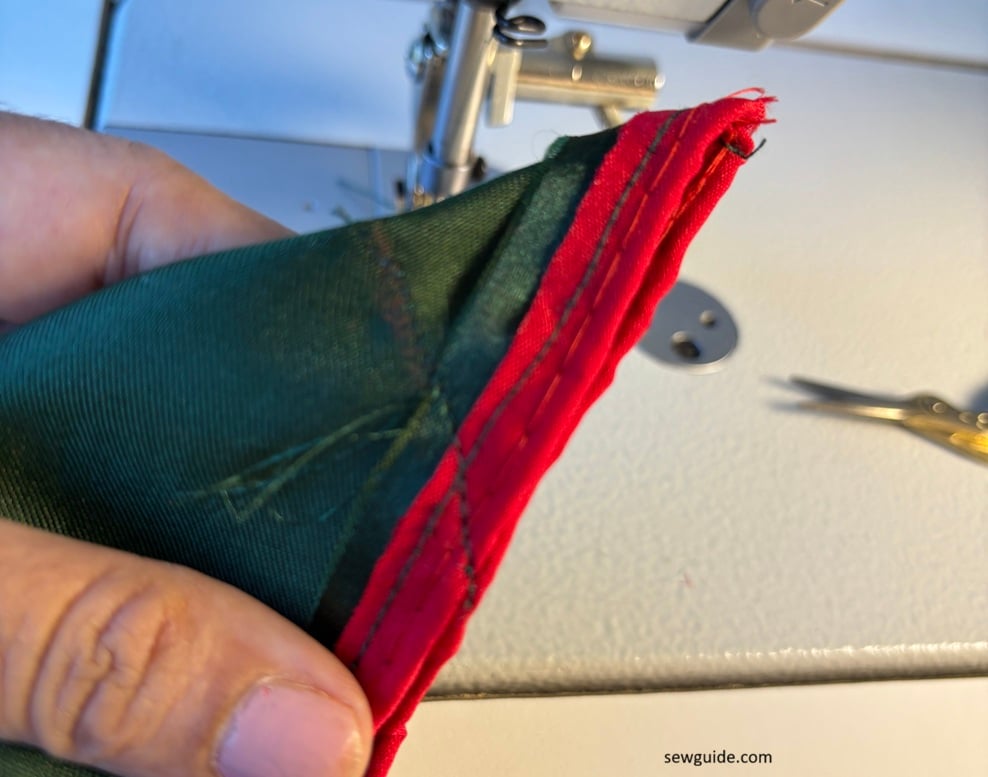
Cut the extra outside the stitched line. Turn the napkin rightside out.
Step 5: Topstitch the edges
Your piping should now be cleanly framed by the fabric edge.
Topstitch close to the piping to fix the folded edges.
Give the entire napkin a final press.
A reversible napkin
The advantage of a reversible napkin is that when folded the fabric on the other side shows up nicely. It is made by joining two equal fabric squares so both sides can be used.
It is better to use two fabrics of similar weight; when one side is heavier, the napkin will twist and never lie flat
To sew this napkin :
Place the two squares with right sides facing and align the edges carefully. Sewing is done all around the perimeter with the same seam allowance; leave a small opening along one side for turning. Corners should be sewn cleanly, because they determine how crisp the napkin will look once turned. After stitching, trimming the seam allowance slightly and clipping the corners diagonally reduces bulk and allows the corners to turn sharply instead of looking rounded.
After sewing the edges, turn the napkin right side out. The corners should be pushed out carefully using a blunt tool
Edge-stitching from the right side is the last step.
A bound edge napkin with red ribbon
An easy way to finish a Christmas napkin is to edge your regular naplin with a red ribbon. I will show you how you can finish the corner of your napkin with a mitered corner.
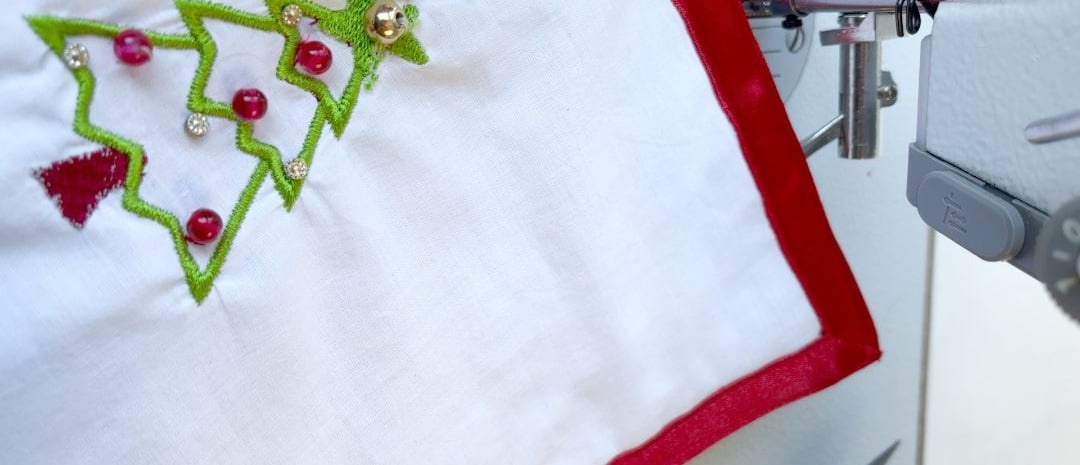
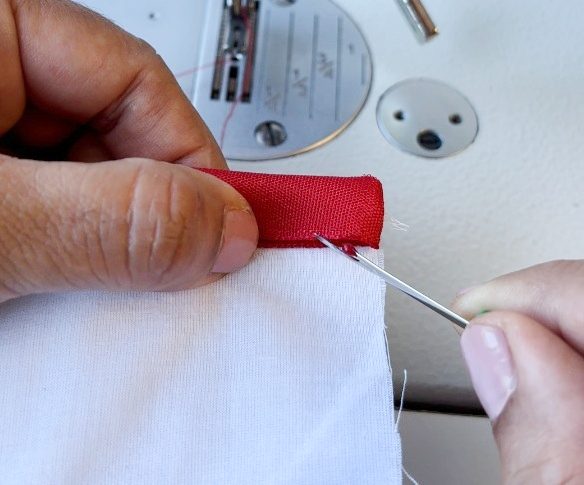
Select a wide red ribbon for this. Start binding the edge of your napkin from the middle of any one edge.
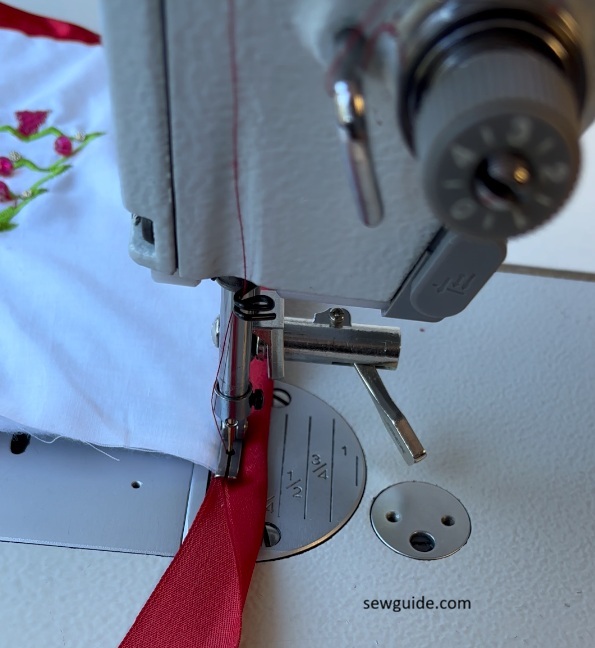
Stitch the edge of your regular napkin with the ribbon enclosing the edge. Sew till the corner.
Turn the ribbon to the back as in the picture above. It will look like this after it is turned completely.
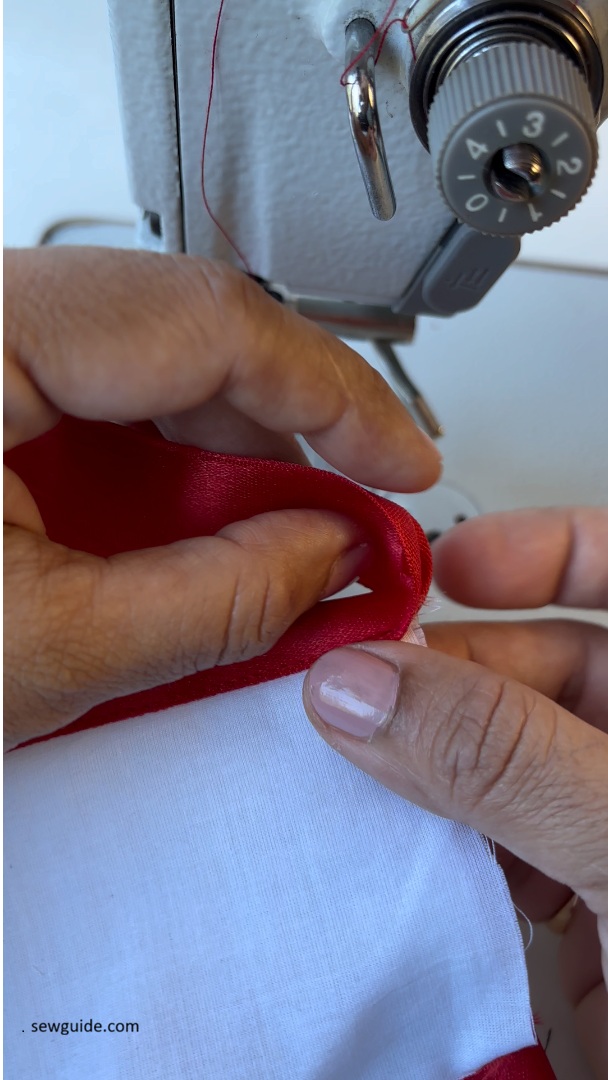
Mark from the corner as in the picture.
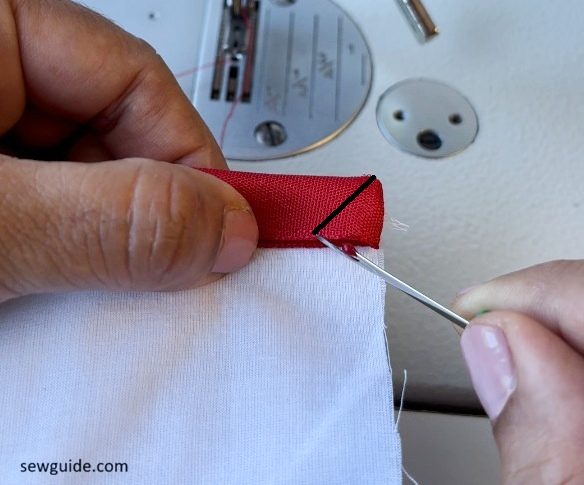
Sew through the marking. Turn the ribbon right side out.
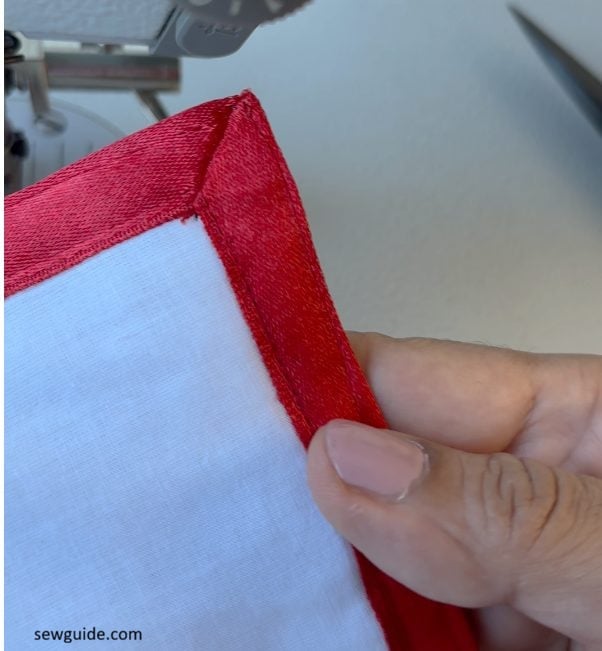
Now when you turn the ribbon back again, you will get the mitered corner
It will look like this.
Continue sewing the binding, till you reach the other corner. Repeat.
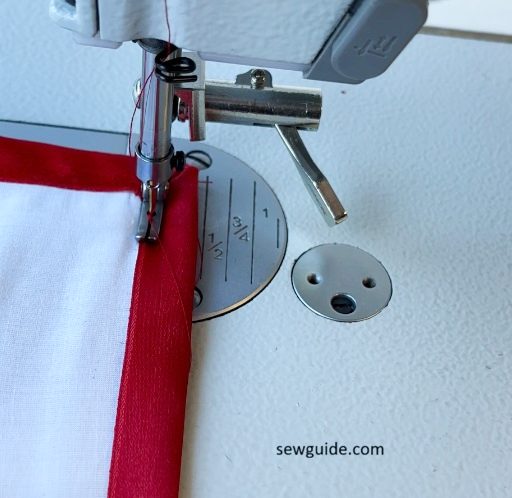
At the end, when you reach where you started, over lap the ribbon, fold the edge and stitch in place.
A gingham check napkin

The red and white colors of Christmas are the same in gingham fabric. If you want a vintage Christmas styling this is the fabric to use.
Rustic fabric napkins
When you use Christmas imagery with simple and rustic fabrics like cotton and linen, they pop out. No competition there.
Embroider one of imagery of Christmas on it – they become extra festive. Like an embroidered Christmas tree or a beaded snowflake.

Related posts : Christmas Ornaments for your tree ; Tie a christmas gift bow ; The most popular christmas motifs