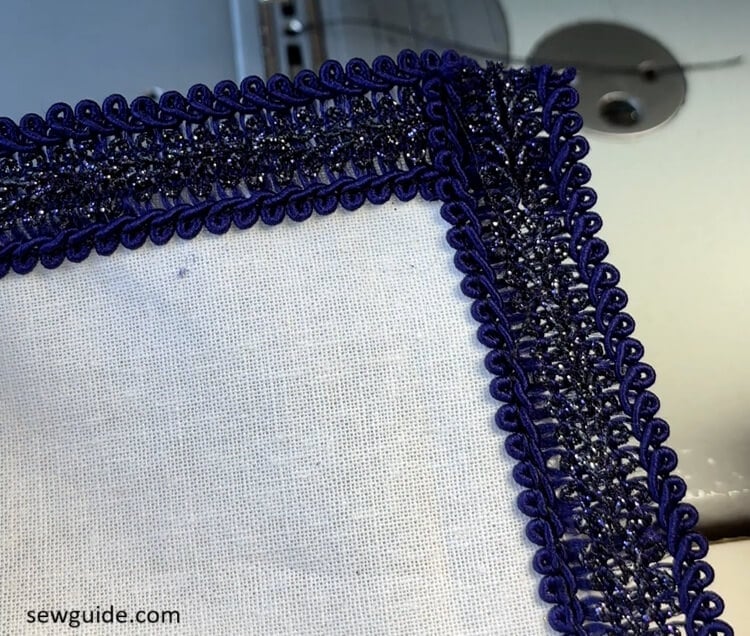
I had always wondered how some people manage to stitch trims so the lace appears inset into a folded hem, with the corners perfectly finished using mitered folds. It is such a neat, refined hem and looks like the work of a master in sewing. But I found out that it is quite simple to sew.
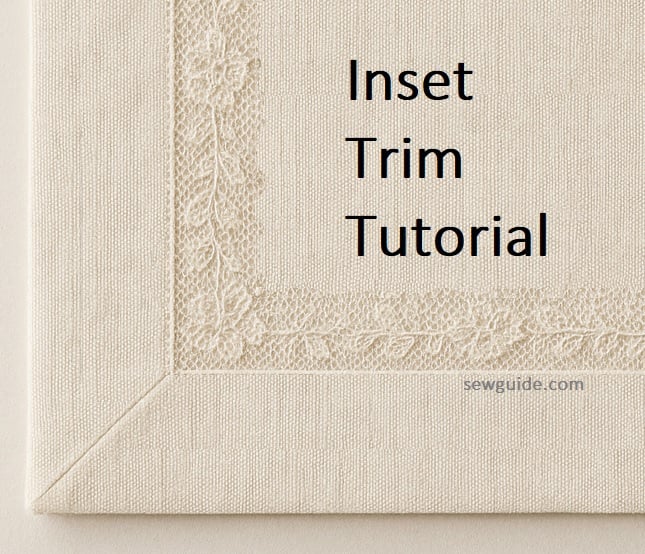
In this method, you get sharp and flat corners and the lace is displayed sorrounded by the border that make up the fabric hem. You can sew this method to finish slits on your tunics, edges of christmas napkins and table lines, and handkerchiefs.
Sewing a lace trim inset
Here is how to sew the lace in this particularly beautiful way: You need a lace with preferably a straight edge on one side for sewing this finish.
Prepare your fabric edge. Serge or zig zag stitch the edge for a neat finish
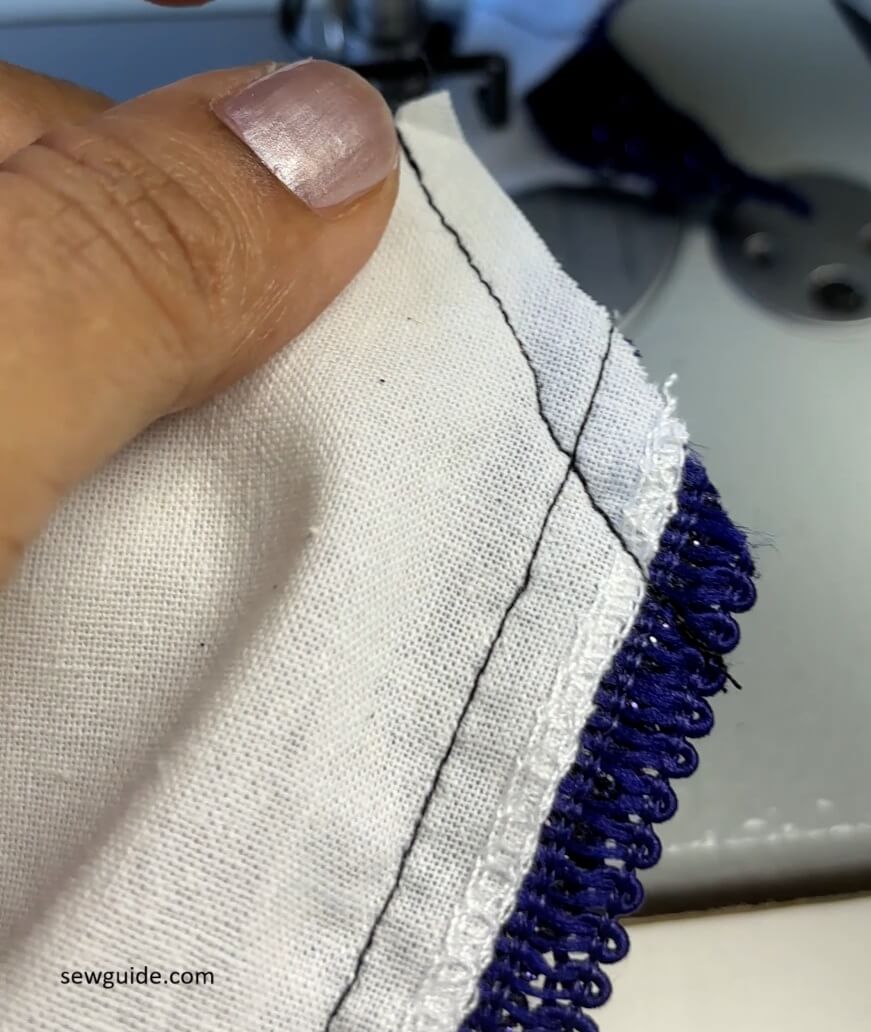
Keep the lace along the edge of the fabric and stitch in place. You can sew the lace simply on the edge – no need to worry about the corners now. Just sew to the edge and cut off the lace flush with the edge of the fabric. Now sew on the other edges.
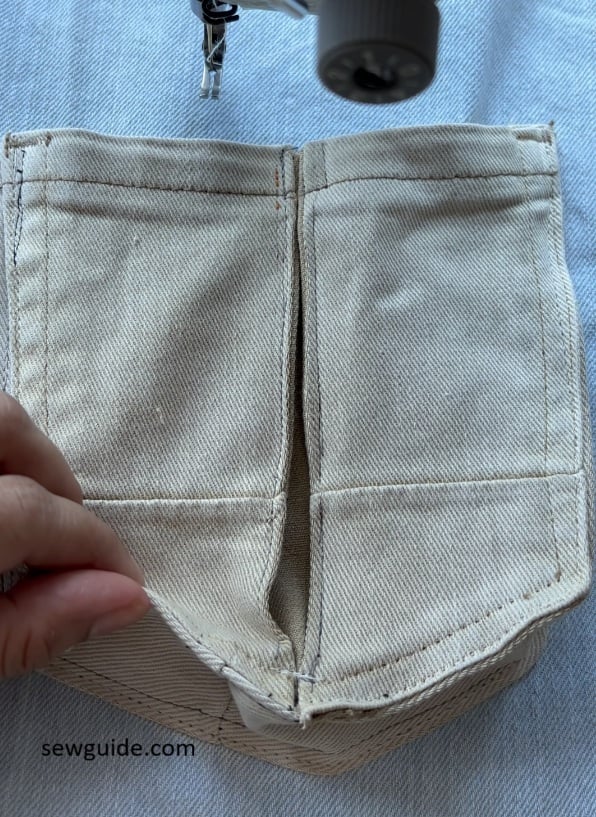
Sewing the corner is now a matter of folding the corner forward in a certain way.
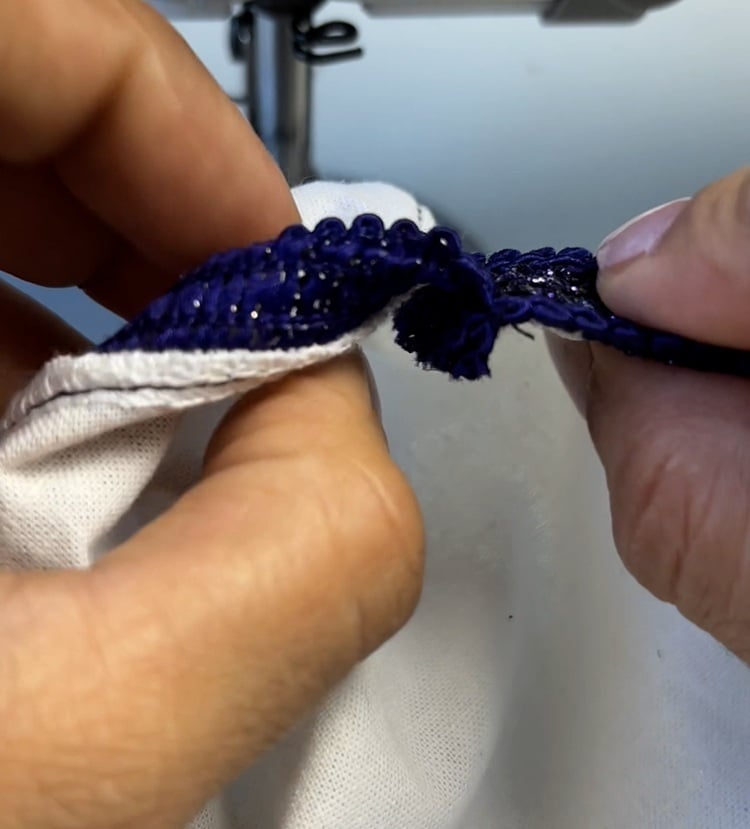
Fold the corner of the fabric by the middle.
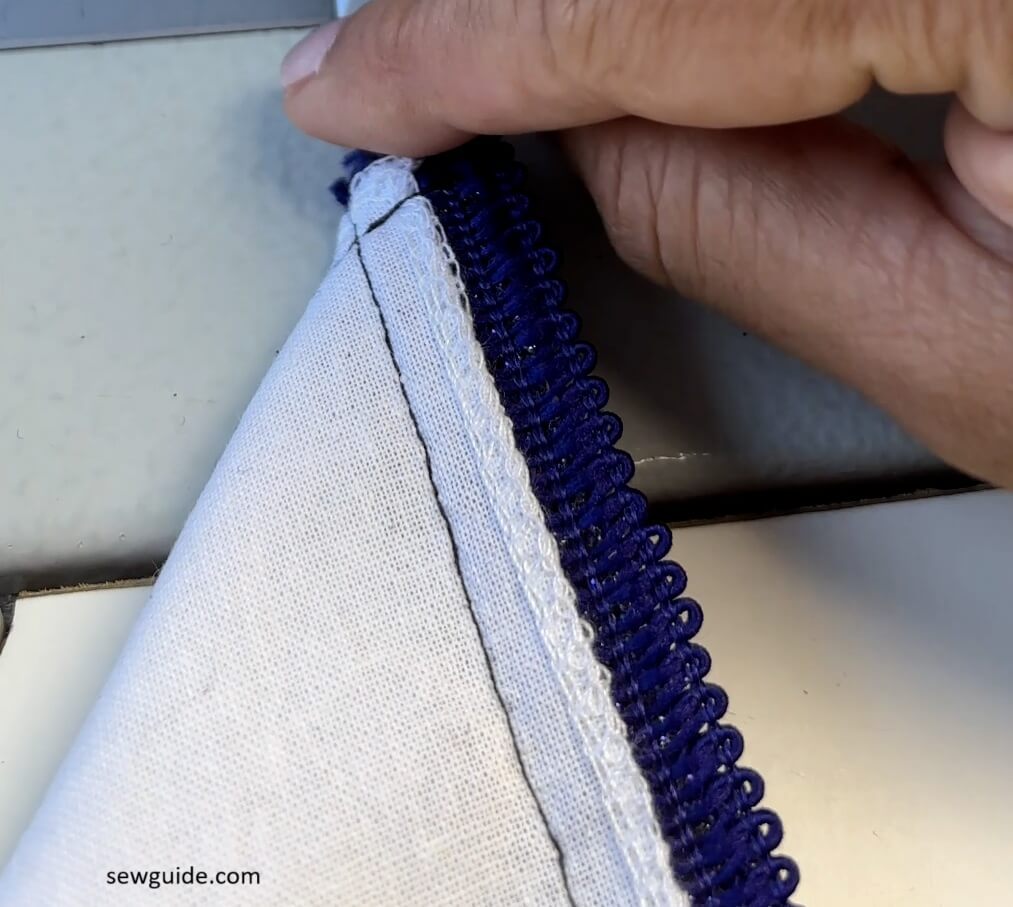
Now fold it forward so that the lace edge is flush and aligned.
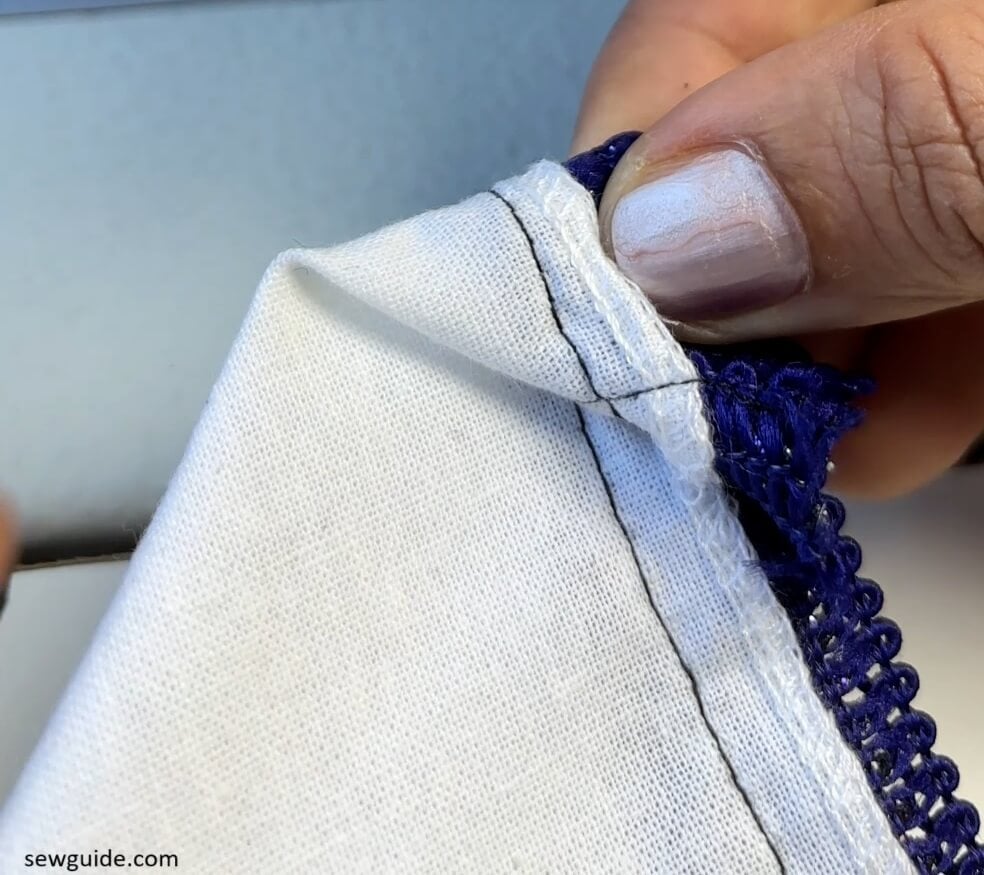
Now sew a stitch along this folded edge.
Ensure that you are not stitching over the folded edge. It is just a yardstick for you to get your stitch straight across, making the mitered corner perfectly.
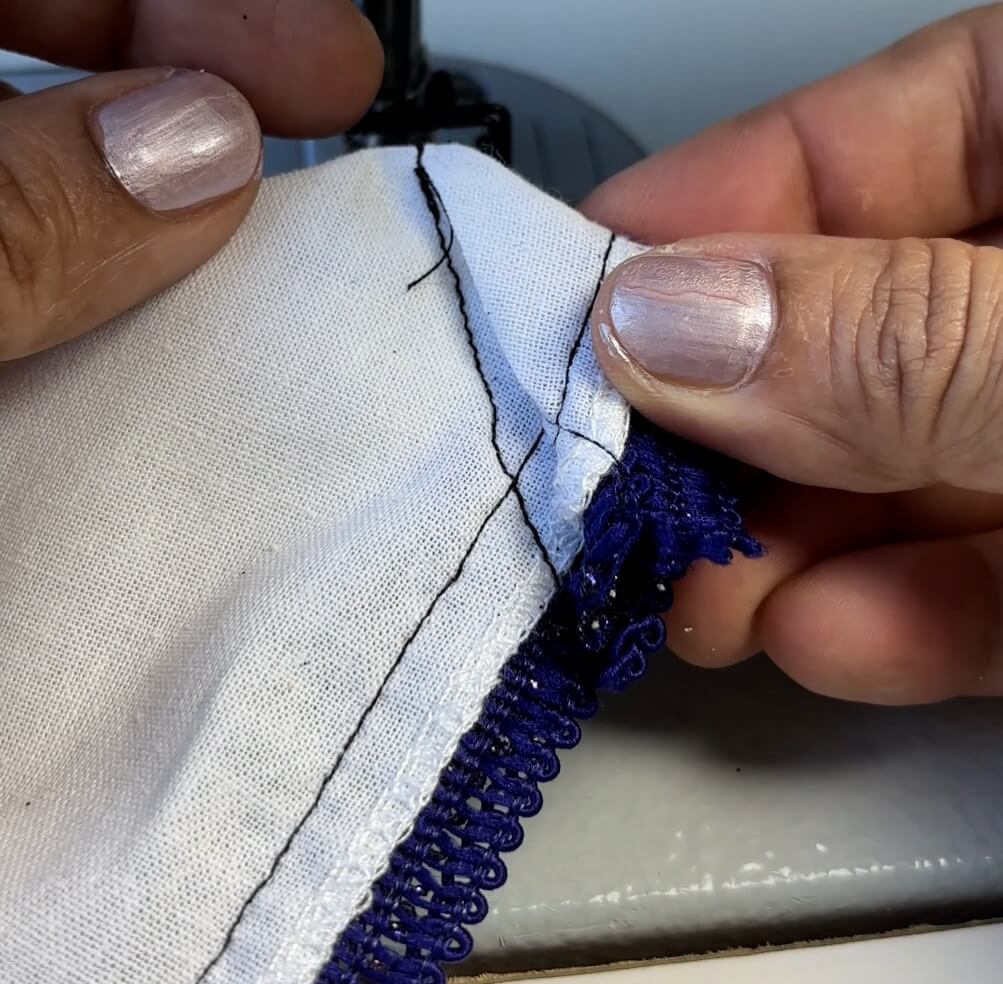
Now cut off the extra leaving a seam allowance of just 1/4 inch.
At this point, there is one extra thing you can do which will give you a better finish – press open the seam allowance with the tip of your iron.
Open it up to get the rightside out – use a pointed tool (in my case my scissors, you can use anything pointed like your tweezer, your pencil for this) to bring the corners sharp and pointy.
There you have it- the lace is nicely inset
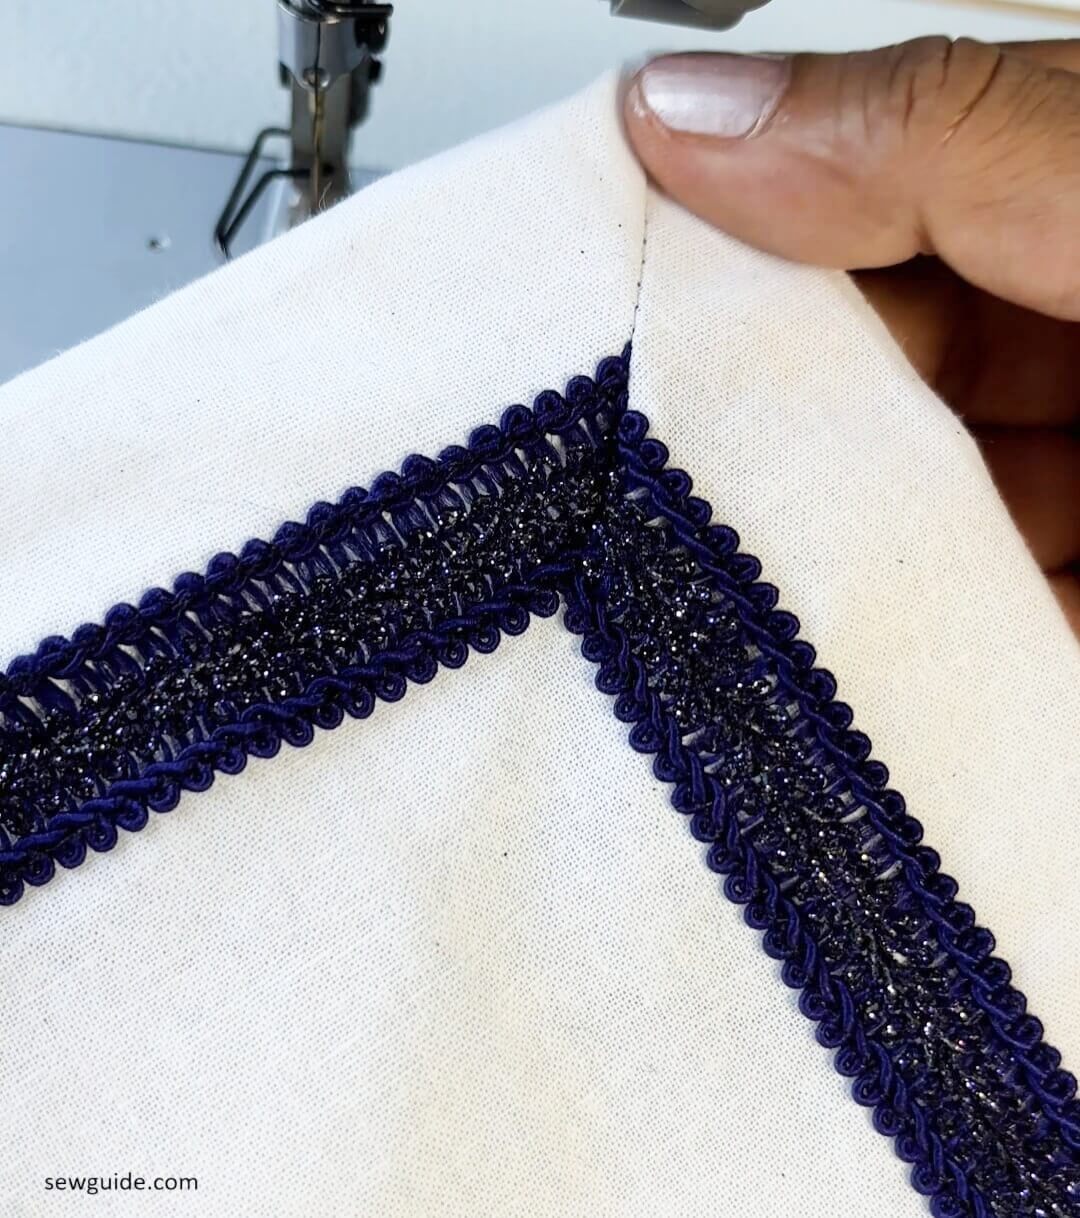
Topstitch the lace to complete the hem.
You can watch the video tutorial for this method here:
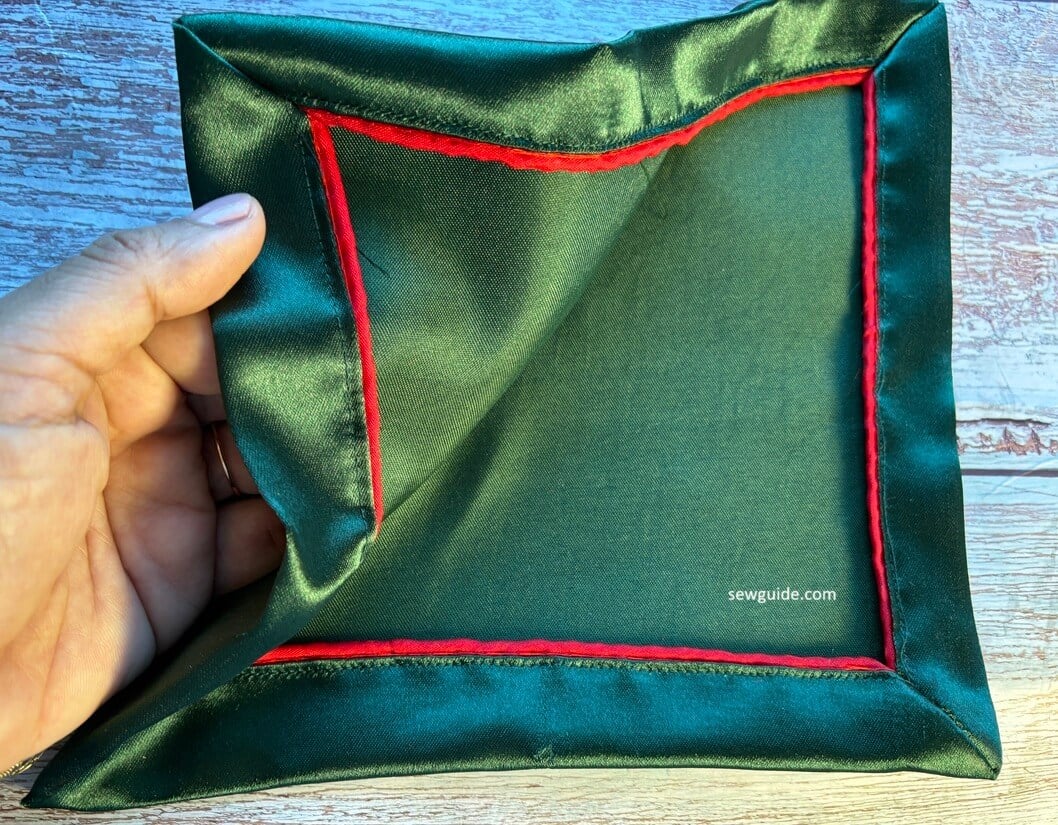
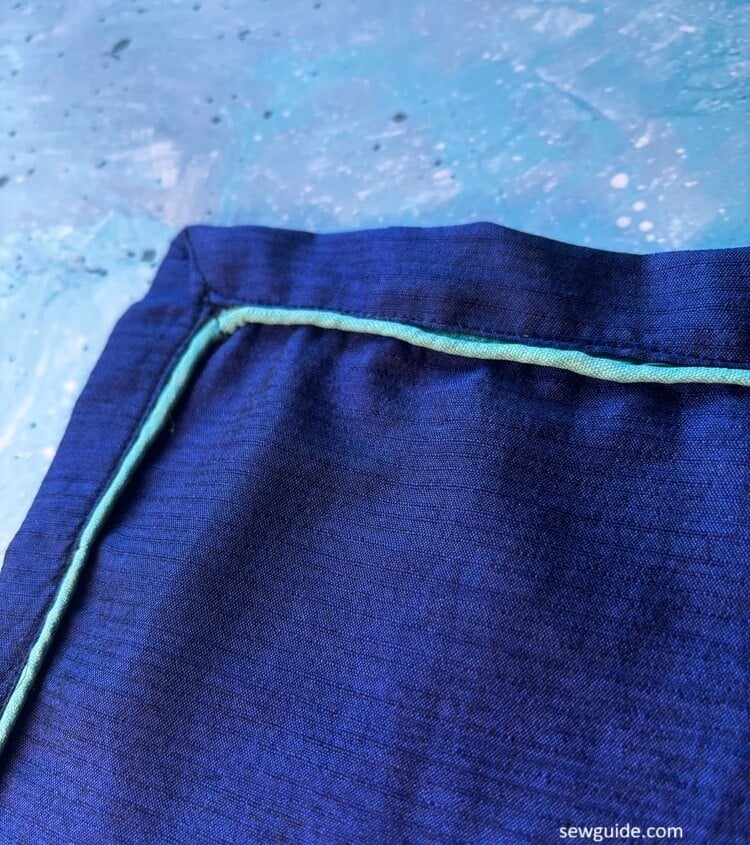
Sewing piping trim inset
Piping can be sewn in a similar way. For sewing the piping you also need a zipper foot.
And you should first sew the piping on to the fabric first (not to the edge of the fabric but on the exact place it should appear. Stitch close to the piping cord – only possible if you have on a zipper foot.
Do not forget to clip the piping when you reach the corner, or else the piping wouldnt turn nicely.
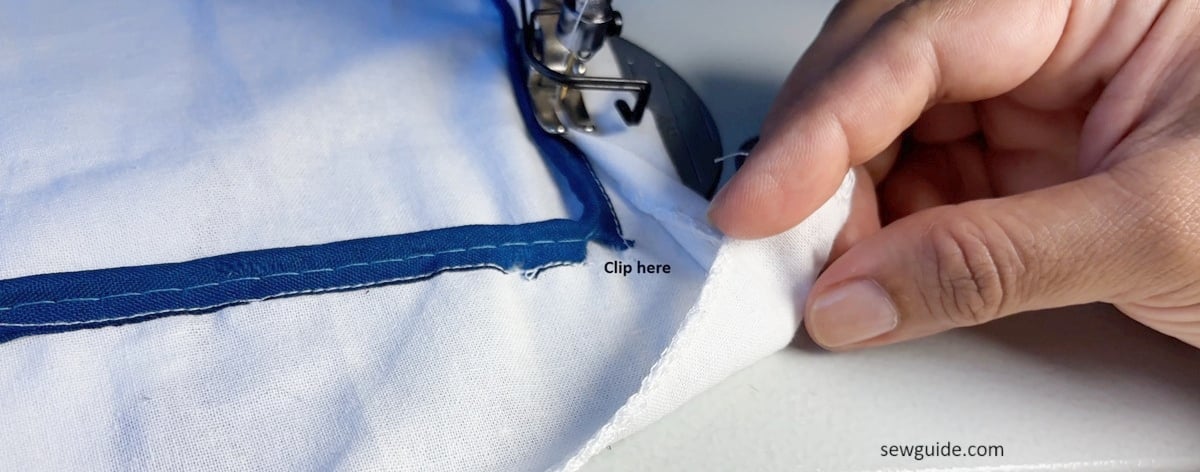
Bring the folded fabric edge over the piping edge and sew in place. You will have to manipulate the fabric fold in such a way that you will get a mitered edge.
Related post: How to Finish Edges of fabric without fraying ; Choosing right lace from the many kinds of laces for this project ; Sewing Lace on Fabric Edges: Step-by-Step Tutorial; DIY Lace-Trimmed Necklines