Zippered pouches are always in demand. They’re cute, practical, and everyone can use one. Even better? They’re incredibly easy to sew. A handmade gift that’s quick, useful, and guaranteed to make someone smile. Win-win.
I have 2 tutorials here; One is a boxy one with a flat bottom and the other is a flat one. Both are easy to make and easy to like.
Method 1. How to make a pouch with a zipper

Watch the video tutorial, if you are a visual learner you will like this better; pause and watch again if it is a little fast; pinch it and zoom if it is small on your screen – it is in a vertical format ; everything else is explained below :
STEP 1 — Select your materials
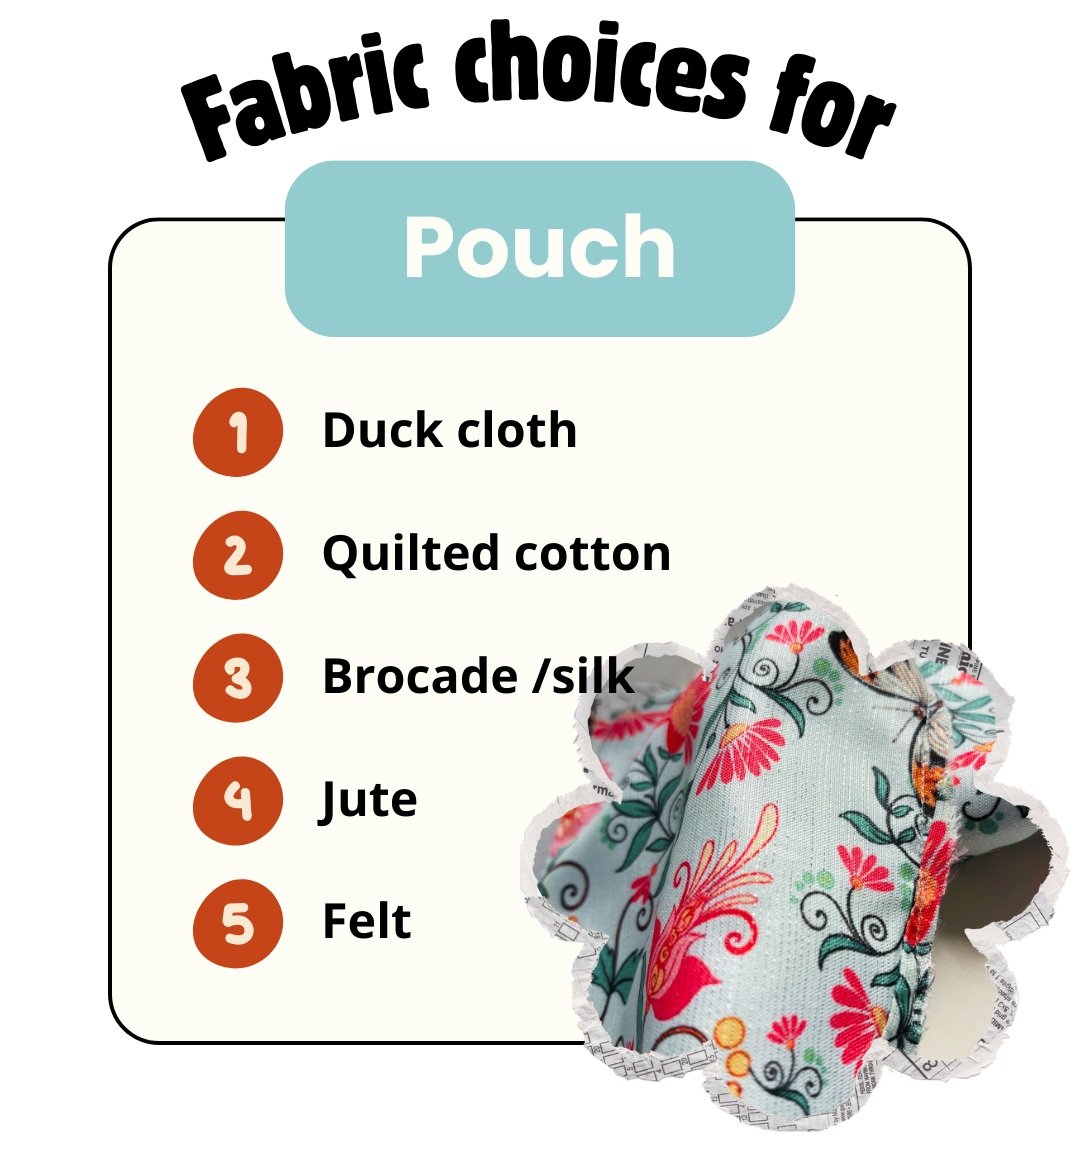
For a festive gift, you can choose classic Christmas colors like red and green, or simply pick shades you know the recipient will love. Choose fabrics like duck cloth, quilted cotton, brocade or silk, jute, or felt to create gift pouches in different styles and finishes
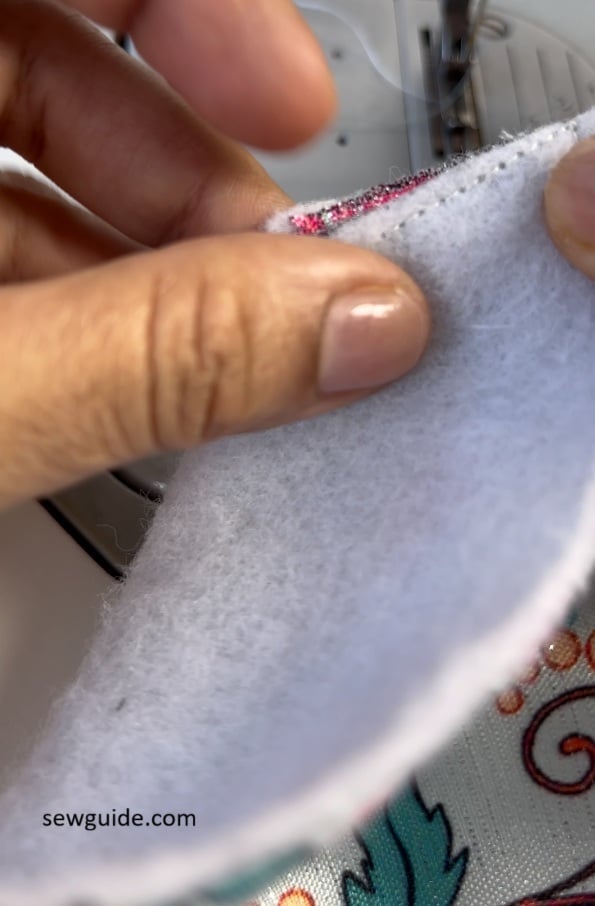
On the back of the outer fabric, I am using batting inside for added structure. The batting is sewn to the outer fabric and treated as one. I just sewed it together along the outside edge. You can quilt it in pretty patterns for added dimension.
For lining the pouch you can choose nylon for its waterproof quality or cotton for its sturdiness.
You also need a zipper 7 inch long zipper
Embroidery
If you are doing embroidery, do this before cutting out the pieces – or leave a large margin. You need to hoop the fabric and additionally when you work the fabric will start fraying along the cut edges.
Mark the bag pattern and then the embroidery design and do the embroidery.
I have made a rose design and embroidered the whole thing with long and short stitches so that there is a shaded look to each petal.

In this jewelry pouch with zipper I used long and short stitches to fill the inside of the rose design. More references of how to embroider a rose here.
Step 2. Cut the Sewing Pattern for the pouch
Cut out the fabrics in this pattern
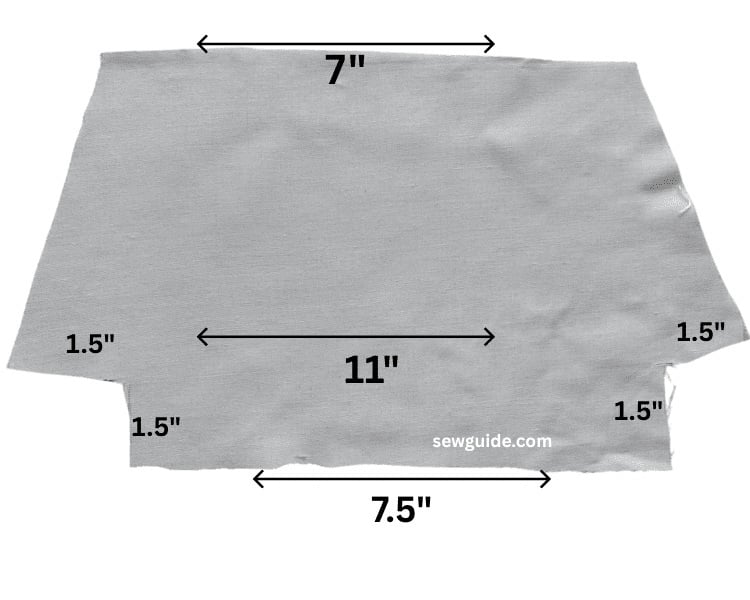
You need to cut 2 outer fabric from the same pattern
You also need 2 lining material and Batting also cut in the same pattern. I, then stitched the batting to the outer-fabric along the periphery and treated the layers as one.
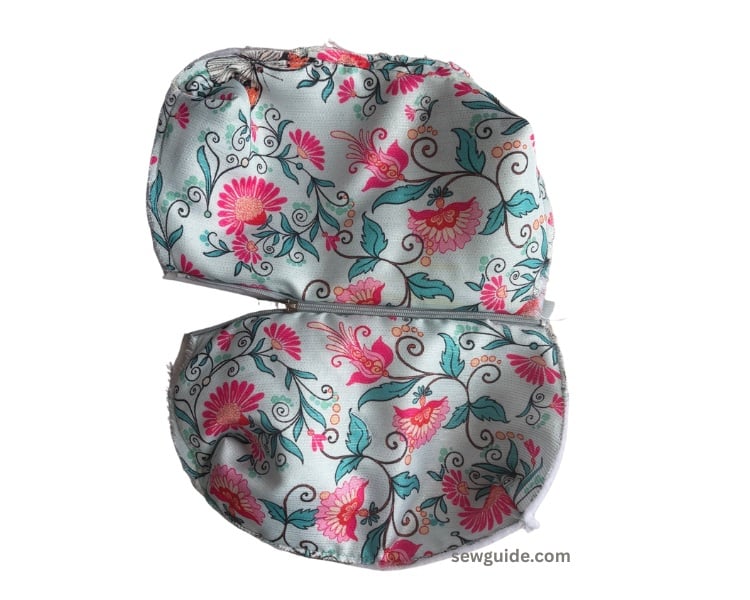
Step 3. Box the corners
Sew the edges of the cut edges together to get a flat bottom
This is how it will look.

Do this for all the pattern pieces. For the lining too.
Step 4. Sew one edge
Make your fabric “sandwich” with the outer fabric and lining with the zipper placed inside
Place fabrics in this order:
- Outer fabric (right side UP)
- Zipper (right side DOWN)
- Lining fabric (right side DOWN)
All top edges are aligned.
Clip or pin in place.
STEP 5 — Sew the edges
Use a zipper foot for sewing the edges. You have to sew close to the zipper teeth.
Keep the zipper pull out of the way by stopping with the needle down and then lift presser foot and then slide the pull past the needle; continue sewing.
STEP 6 — Fold and press
Flip fabrics so the outer fabric and lining are on each side of the zipper (right sides outward).
Press the seam flat.
Topstitch along the edge to keep fabric from curling into the zipper.
STEP 7 — Attach the second side
Repeat the same sandwich in this order:
- Outer fabric (right side UP)
- Zipper (right side DOWN)
- Lining (right side DOWN)
Sew along the zipper.
Press and/or topstitch again. You will get your zipper in between like this.
STEP 8
VERY IMPORTANT: Open the zipper halfway so you can flip the pouch later.
Lay the pouch flat:
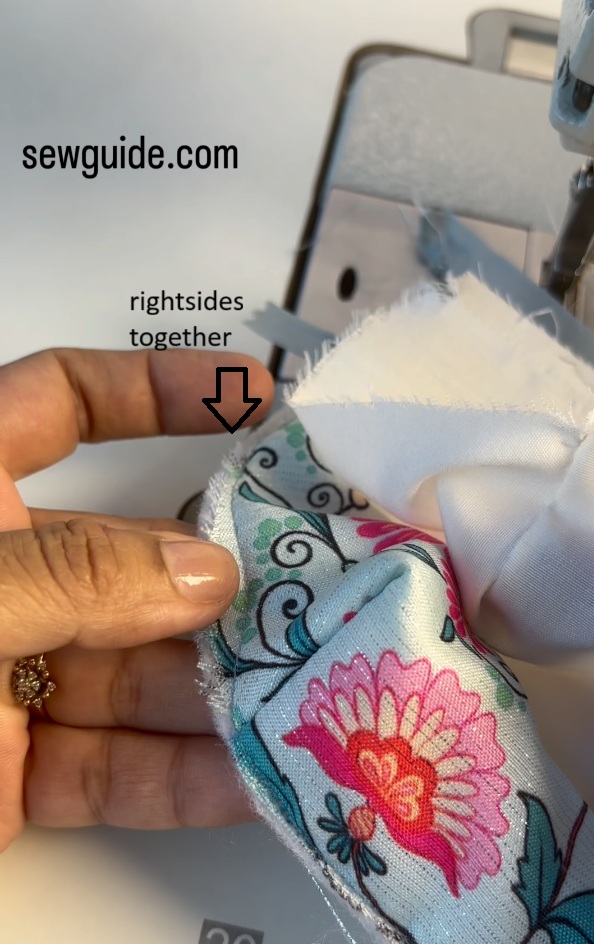
Flip the outer fabrics to one side ; they will now be right sides together
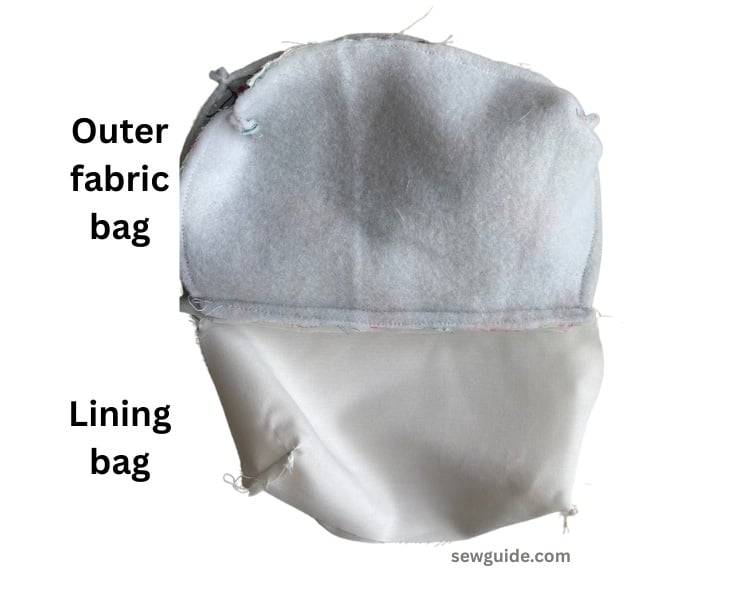
Do the same thing for the Linings – to the other side of the zipper, right sides together
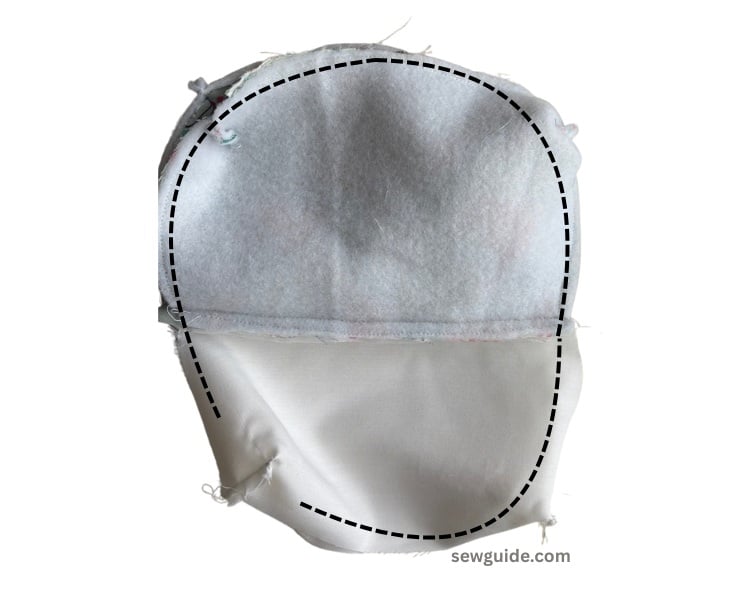
Align seams and edges
Clip all around.
Sew around the whole perimeter, leaving a 2–3 inch opening at the bottom of the lining.
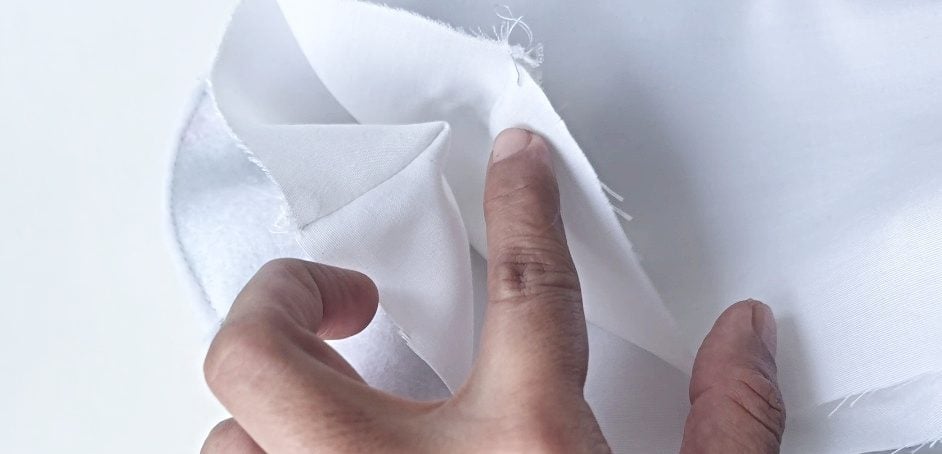
STEP 9 — Turn the pouch right-side out
Pull the pouch through the lining opening ; then through the zipper opening.
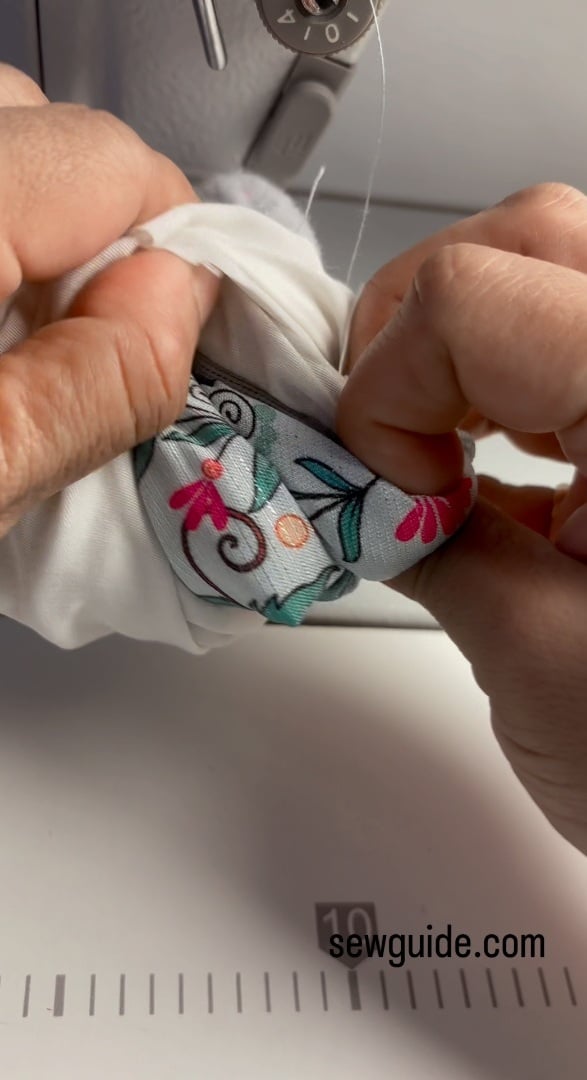
Press edges neatly.
STEP 10 — Close the lining hole
Sew the lining gap closed with:
A straight stitch, or A slip stitch by hand for a cleaner look.
Push the lining inside the pouch.
Press again.
Method 2. Making a flat zipper pouch

Would you believe it if I said that I wanted some zippered pouches to carry my diamond jewelry? I wish! Actually, a part of it is true, except the diamond part. Zippered pouches are great for storing and carrying jewelry and many other things and sewing a lot of these in one go is a sewing project I really enjoy – you can too, if you follow this zippered pouch tutorial.
This particular instance, I wanted some pouches to carry my imitation jewelry, and keep them safe in my bag without them rubbing into each other; the zippered pouch that I will be making are ideal for this – they are very lightweight and can be stacked together and stored flat in the suitcase between clothes and they can be closed securely with the zippers.
How to sew zipper pouch
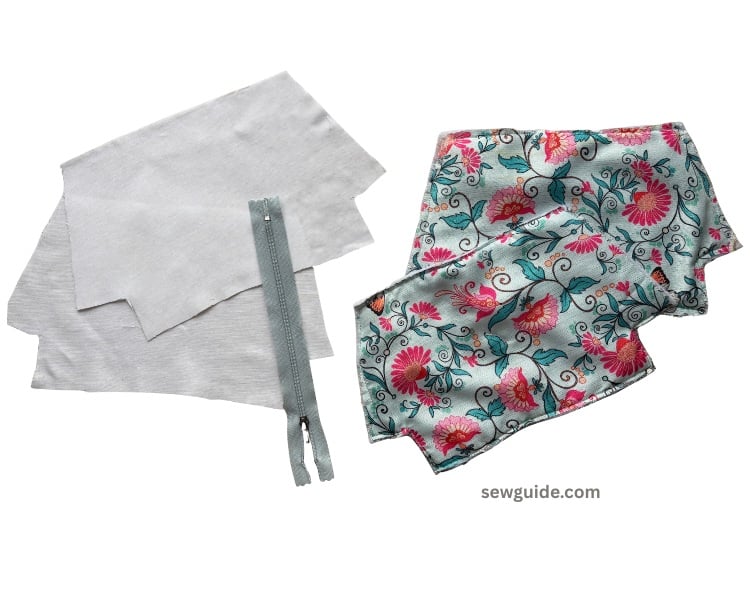
You need 2 main outer pieces (for front and back) ; 2 lining pieces of the same size as the outer pieces & a zipper.

I have taken a 11 inch by 8.5 inch piece. If you are joining fabric pieces, remember you will have to add at least 1/4 inch seam allowance on both the pieces along the edge where you will be joining.
If you want some structure to the pouch, attach interfacing to the outer fabric pieces. Use satin for lining – it is the best for storing jewellery. Cut out the pattern pieces.
Add embroidery to the outer fabric
Embroidery
If you are doing embroidery, do this before cutting out the pieces – or leave a large margin. You need to hoop the fabric and additionally when you work the fabric will start fraying along the cut edges.

Mark the bag pattern and then the embroidery design and do the embroidery.
I have made a rose design and embroidered the whole thing with long and short stitches so that there is a shaded look to each petal.
Use long and short stitches to fill the inside of the rose design. More references of rose embroidery here.
If you use different colored embroidery thread it can add depth to the design.
Add stem and leaves and more blooms if you want to. Refer more flower embroidery stitches.
Keep the front piece right side (face) up.

On top of this keep the zipper face down as in the picture.

Now on top of this, keep the lining piece for the front, face down. So now the zipper is sandwiched between the outer front fabric and lining for that side, both of them right sides facing each other.

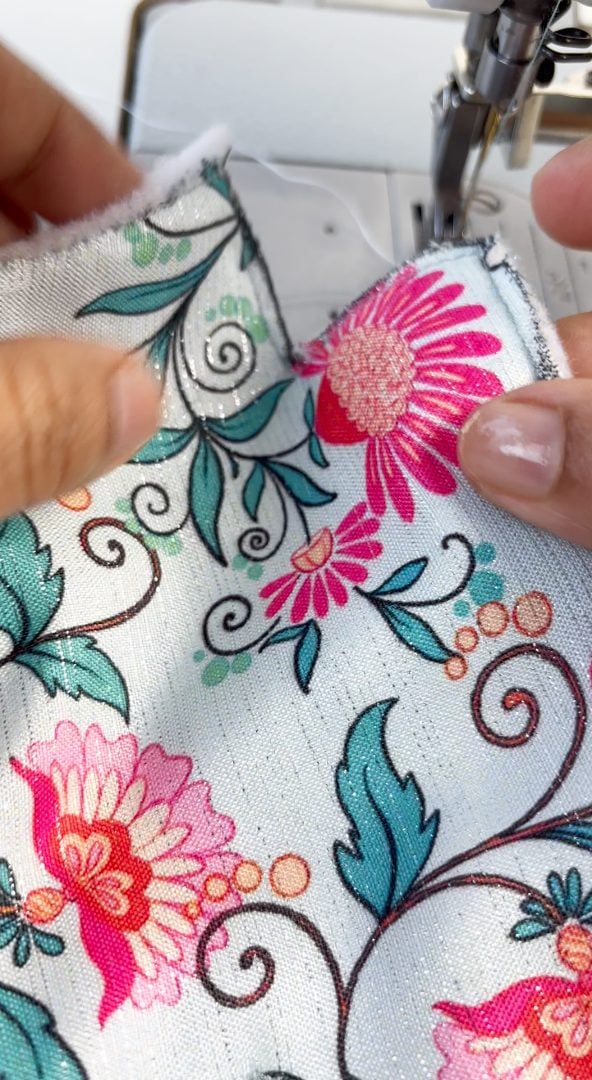
Attach a zipper foot to your machine. Stitch very close to the zipper teeth, keeping all the layers together at all times.
So that the piece will look like this.

Now to sew other zipper edge to the bag pieces, keep the lining of the back piece right side facing you, in front of you. Keep the finished side of the bag with the zipper right side up on top of this lining.

Now keep the back outer piece on top of this – right side (face side) down. Effectively the zipper is sandwiched between the lining and outer fabric.

With the zipper foot, again stitch along the zipper teeth edge.
Now open up the whole thing and you will have the front and back sides on both sides of the zipper.
Change sides – i.e bring the lining pieces to one side and front and back piece to the other side of the zipper. You have to do two things now – open the zipper half way & bring the seam allowance of the zipper to the lining side (hold this as you stitch or to be more secure pin and stitch). These are important steps.
Sew the whole edge of both the sides leaving some 3 inches opening unstitched on the lining bottom edge (this is for turning the bag rightside out).

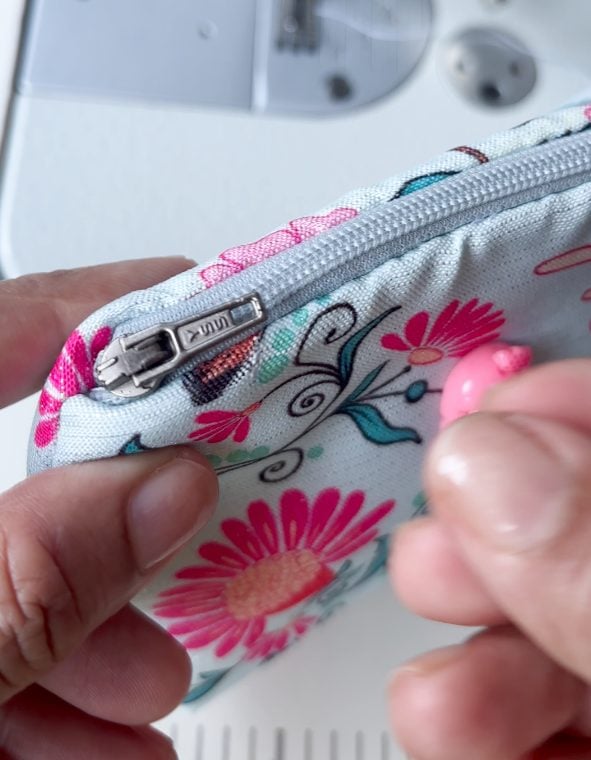
Trim/Cut out the extra zipper edge, and extra seam allowance along the zipper if any. This is important to get a good look along the top edge for your zippered pouch.

Turn the lining and the outer bag through the opening and the zipper opening.
Close the opening with some easy hand stitches – like a slip stitch. Insert the lining into the outer bag and tack stitch the lining into the outer bag.

Done.
You can also check out these posts on making similar but different styles of pouches : Other ways to make a pouch with a zipper – Make makeup pouch : 2 sewing tutorials ; Make pencil pouches : 4 types.

Make a phone pouch : 3 easy ways

Other related posts : How to sew a fabric purse


its very interesting I love this