
Simple reason – Earth needs all the trees it has got. This season’s gift wrap should not be made of paper. Let us use the fabric we have at home to cover the gifts so that one more of earth’s resource is not used up unnecessarily. Unlike paper, fabric wraps can be reused multiple times. The one who recieves the gift can use the wrap as a yet another gift wrap, lunch box covering cloth, table cloth, picnic towel etc.
I do read a lot of books still, travel in petrol cars and forget about recycling my stuff – so can’t say I am all goody two shoes but still. My bit.
And, Fabrics come in various textures, colors, and patterns, allowing for endless creativity and personalization. You can use up your old shirts, scarves, bandanas, or any fabric scraps as gift wraps. Everyone has fabric in one form or the other.
What do you need to make fabric gift wraps
Fabric piece, ofcourse.
The fabric gift wrap is a simple square piece of fabric.
The size of this fabric piece will depend on the size of the gift you have. If you have a scrabble board box, the size of the fabric piece to wrap it should be bigger than for a small watch box. Common sense.
Choose jute, burlap, or handwoven fabric for a rugged-looking wrap. Choose a metallic fabric for a festive-looking wrap. Add an embroidered patch or applique design for a unique take. Or embroider your own small floral motifs. If you do not have the fabric with the pattern you want, you can make one with patchwork – ie joining different fabric pieces together. Just add a backing and you have your own designer gift wrap.
Related posts : Make an embroidered patch; How to do applique work; Monogram Design Techniques; Essential Embroidery Tips for Clothing.
Use ribbon or thin gold or silver metallic cord or colorful strings for tying the present – even if you do not need to, opening of the tie is symbolic. Add fabric bows, fabric flowers, trims as embellishments.
Finish the edges of your gift wrap fabric – any thing goes here. If you are lazy just use your pinking shears. If you can sew, sew the edges with a roller (hemmer) foot or just turn under and stitch the edges as you would do for a handkerchief or napkin.
Covering a box with fabric gift wrap

This gift wrap is used to wrap rectangular or squarish gift boxes. For this simple tucking wrap, you need a fabric piece which is of the following dimension
Width = Three times as wide as the gift you have + 2 inches + twice the depth of the box.
Length = Length of the gift you have + 6 inches ( add more to tuck for bigger boxes)
Step 1 Keep the gift box on the fabric. Turn the width wise edges to the inside (1.5 inches) as in the picture below

Step 2 Bring the edges over the box one over the other

Step 3 Tuck the upper front edge under the box as in the picture below.


Step 4 Tuck the remaining flap through the same space


Step 5. Do this for both the edges. Tuck everything nicely inside . Use a scale or something to tuck smoothly.

Step 6 Embellish the gift wrap with trims or flowers. Or label your gift as it is.

A super simple tying fabric gift wrap pattern
This is inspired by the Japanese art of Furoshiki, that involves using cloth to wrap and transport items. A knot is used to fasten the gift wrap.
The size of the fabric you use will depend on what you are going to wrap in it. You can start with a square fabric piece of 18 inches by 18 inches (45 cms by 45 cms) – this will be enough to wrap small books, a bottle of wine etc. A medium sized present can be wrapped with a fabic of 28 inches by 28 inches (70 cms by 70 cms). You can go as big as 50 by 50 inches for very large gifts.
Step 1 Keep your gift diagonally inside your wrap.

Step 2 Bring the side edges across the gift and tie once

Step 3 Bring the other edges over this tie and tie – tie twice.

Step 4 Decorate
You can add some embellishments on top. Make a bow with ribbons and add a rose or another fabric flower. Check out the tutorials to make these – make fabric bows; Ribbon bows DIY; How to make flowers out of ribbon ; easy to make felt roses ; DIY felt flowers; make ribbon roses; Fabric roses DIY.

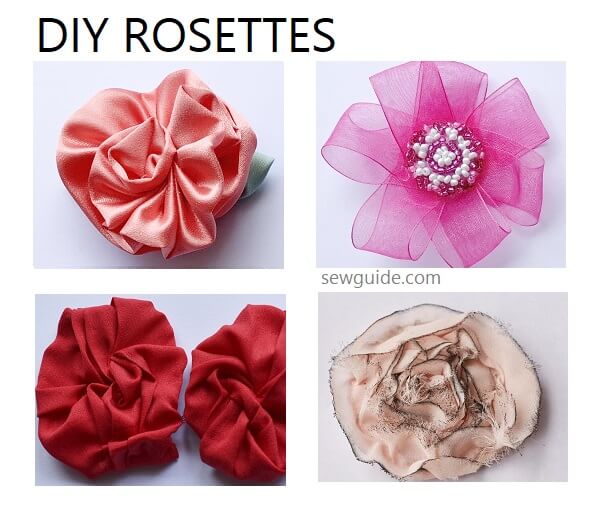
Or decorate with DIY rosettes.


Related posts :Make fabric gift bags ; DIY grocery bag; Eco friendly cloth bags for christmas shopping


Inspired…..
Thanks so much for these tips and information. I look forward to getting more information. I have just recently started trying to teach myself how to sew. It’s a lot harder than I thought so your newsletter will really help me out. My sewing machine is a Singer Esteem II. I have made a set of curtains and a quilt so far and a pin cushion. They all look like first projects. Thanks again, sincerely, Belinda
Hi Belinda
Thank you for leaving the comment – I hope we will learn together