
There is nothing like lace for giving a feminine and delicate grace to a garment. And there is no better place to start than on a neckline – especially as a Collar. In this post I will share 2 methods to sew a lace collar – One is to sew it neatly when the collar is already finished – like a store-bought lace collar. It still needs to be stitched and edges neatly done. The other method is to make one with a lace trim. It is surprisingly good looking. You just need a wide lace trim.
Method 1. Attaching a Lace collar with bias strip fabric
This method uses bias-cut fabric strip to bind the neckline.
Step 1. Position your collar
Keep your bodice right-side up. If it is a front opening bodice, ensure that there is enough to fold the fabric to make an opening. Follow this tutorial on sewing button stands to know how to do this.
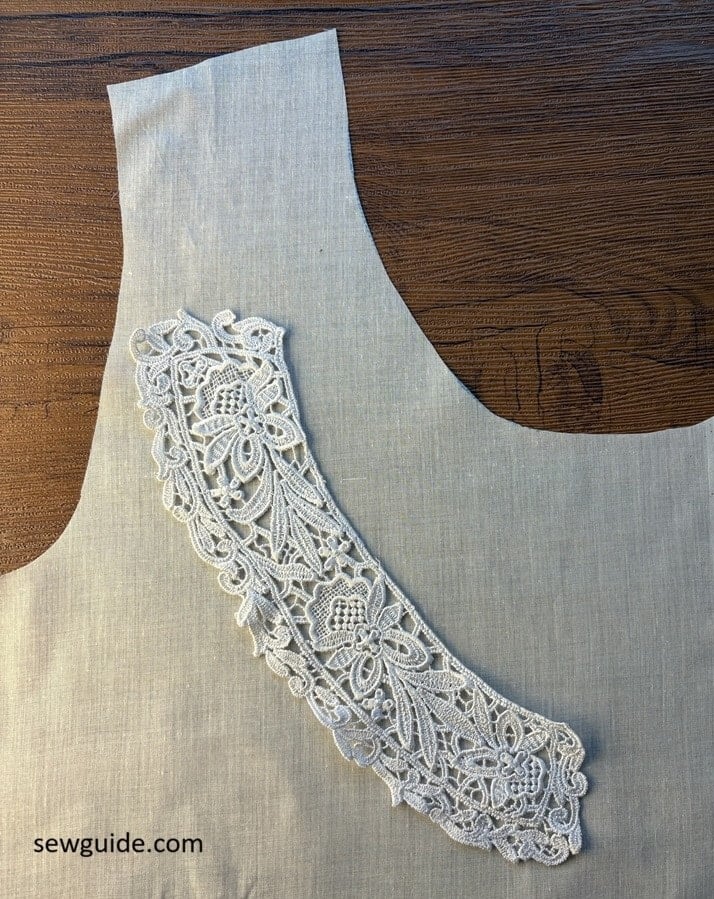
Cut a bias strip 1.5 inches wide.
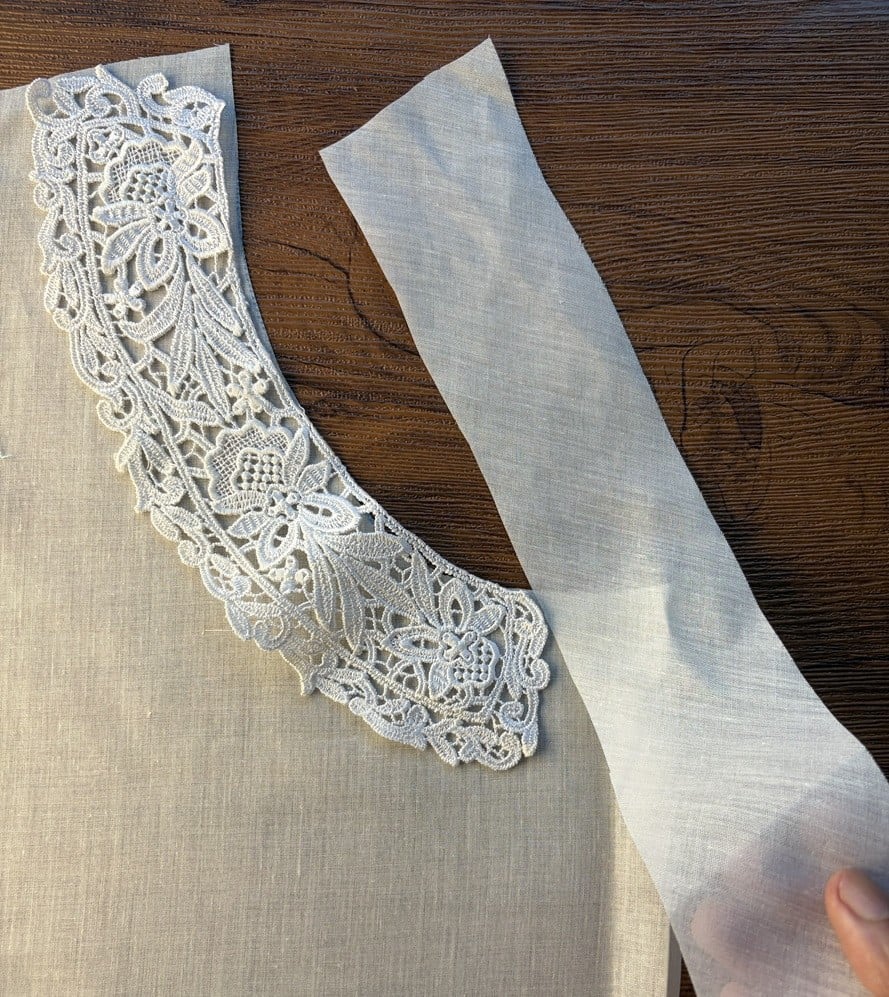
Place it on top of the collar and sew along the neckline edge.
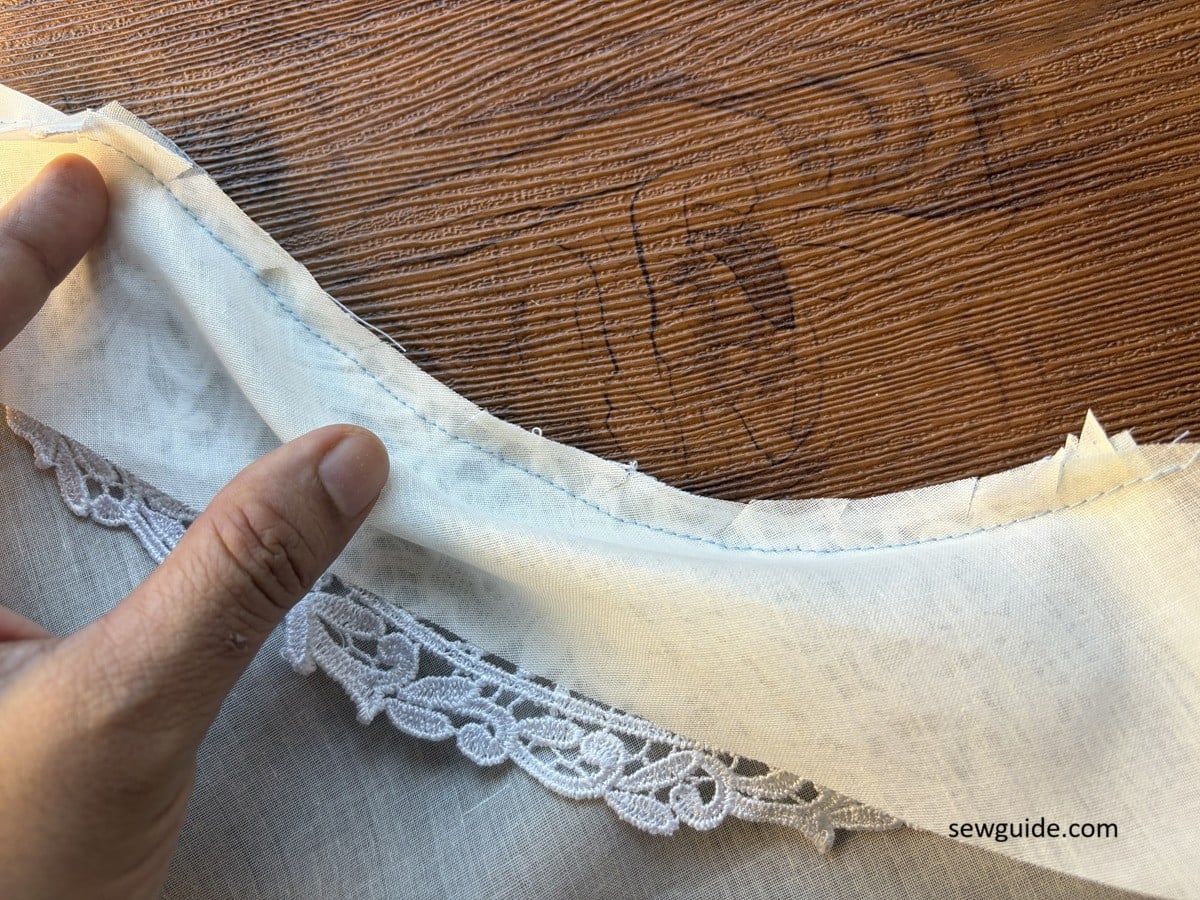
As you reach the front center edge, fold the edge to the inside (as in the picture below)
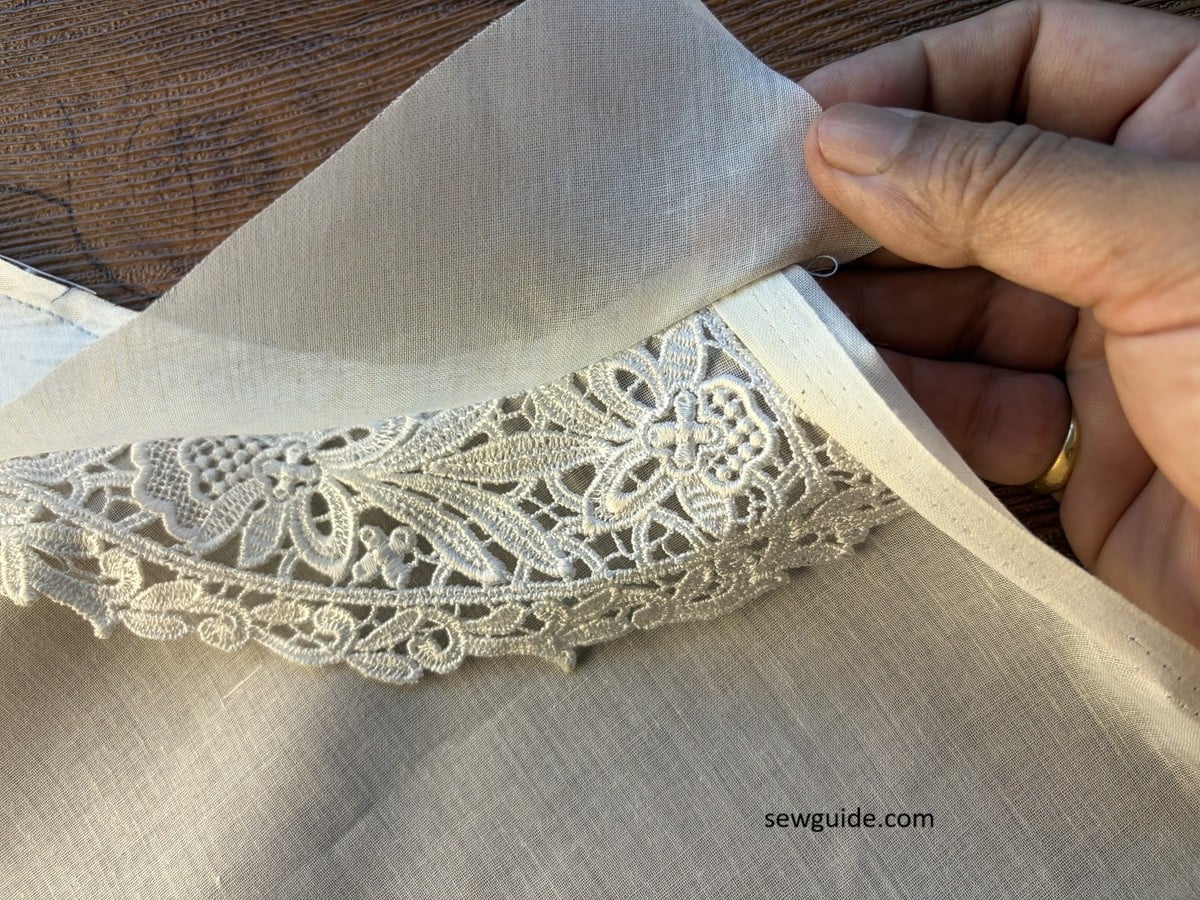
Fold the fabric strip to the back, Leaving a fold above the collar.
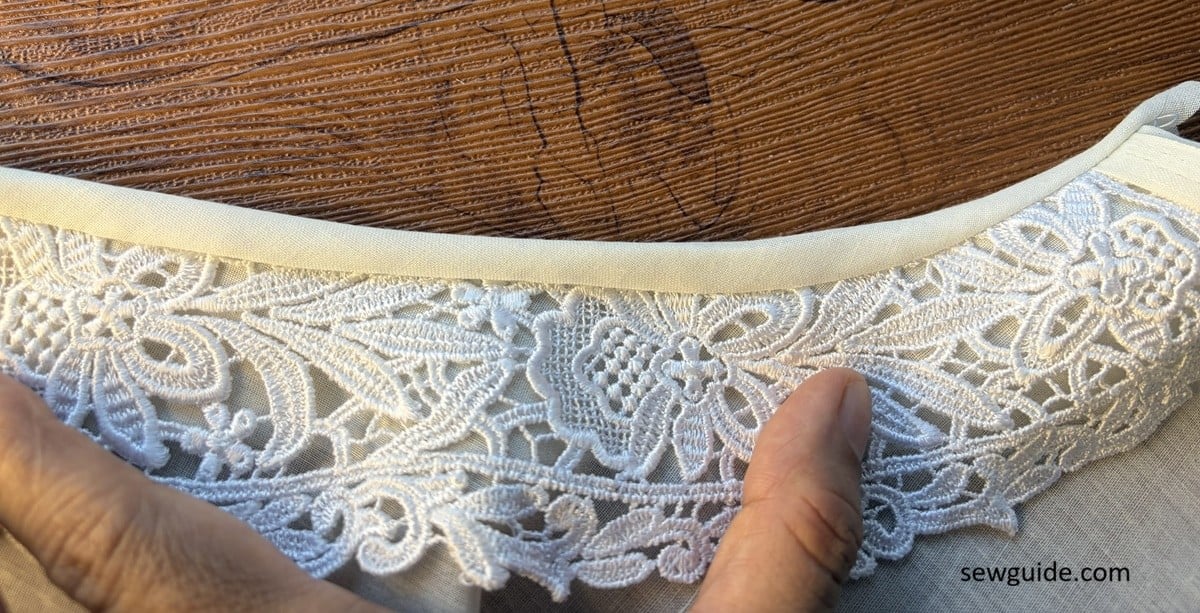
Sew along the edge of this folded fabric.
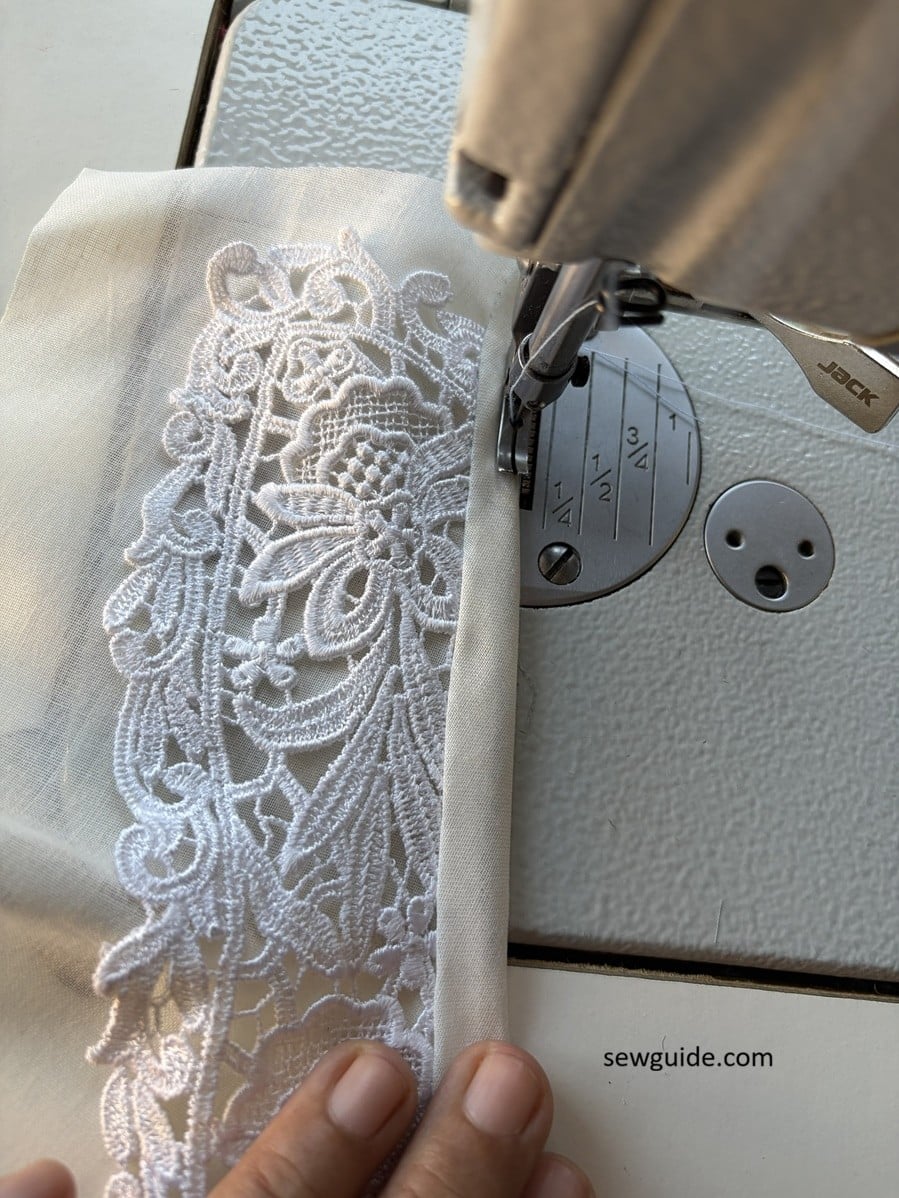
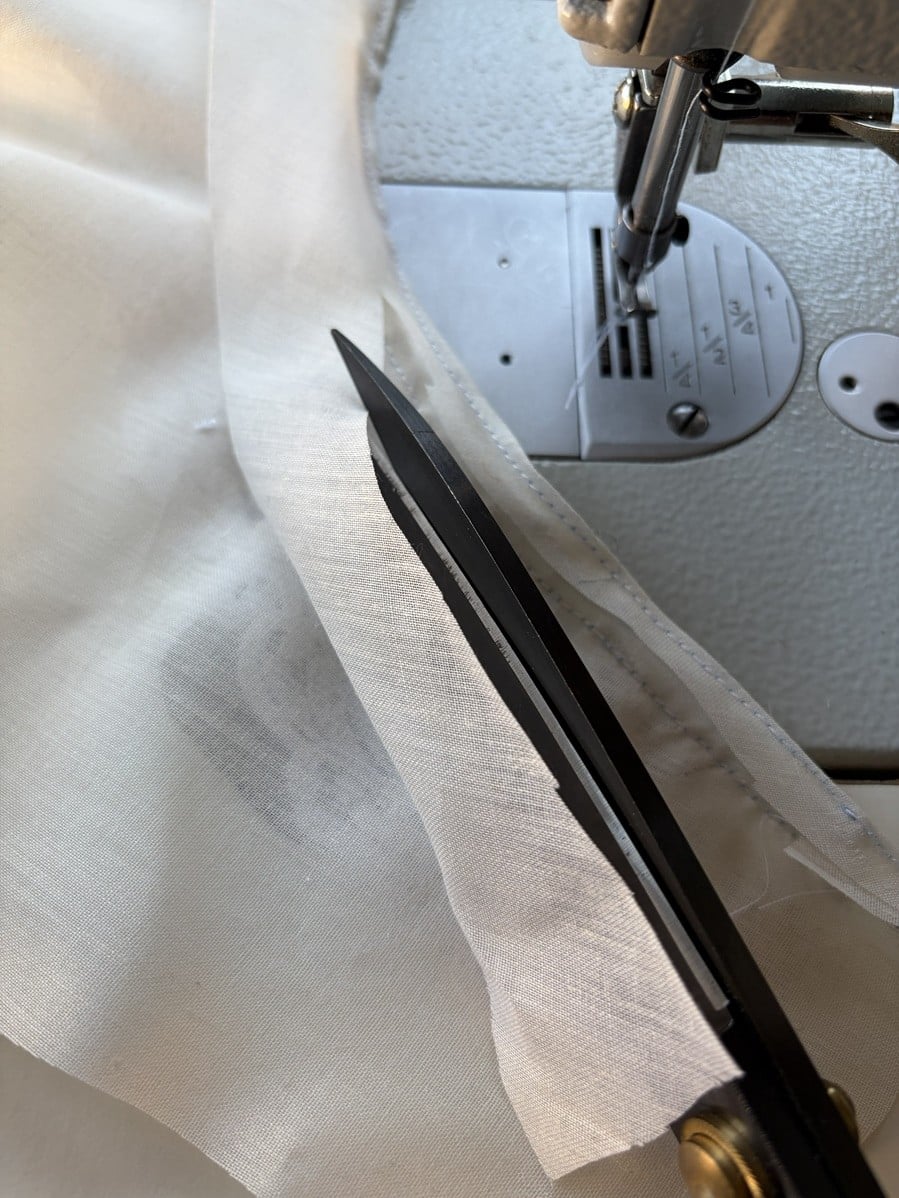
Trim the extra outside of the stitching line
Now fold the folded edge to the inside (to the front of the bodice) and stitch in place.
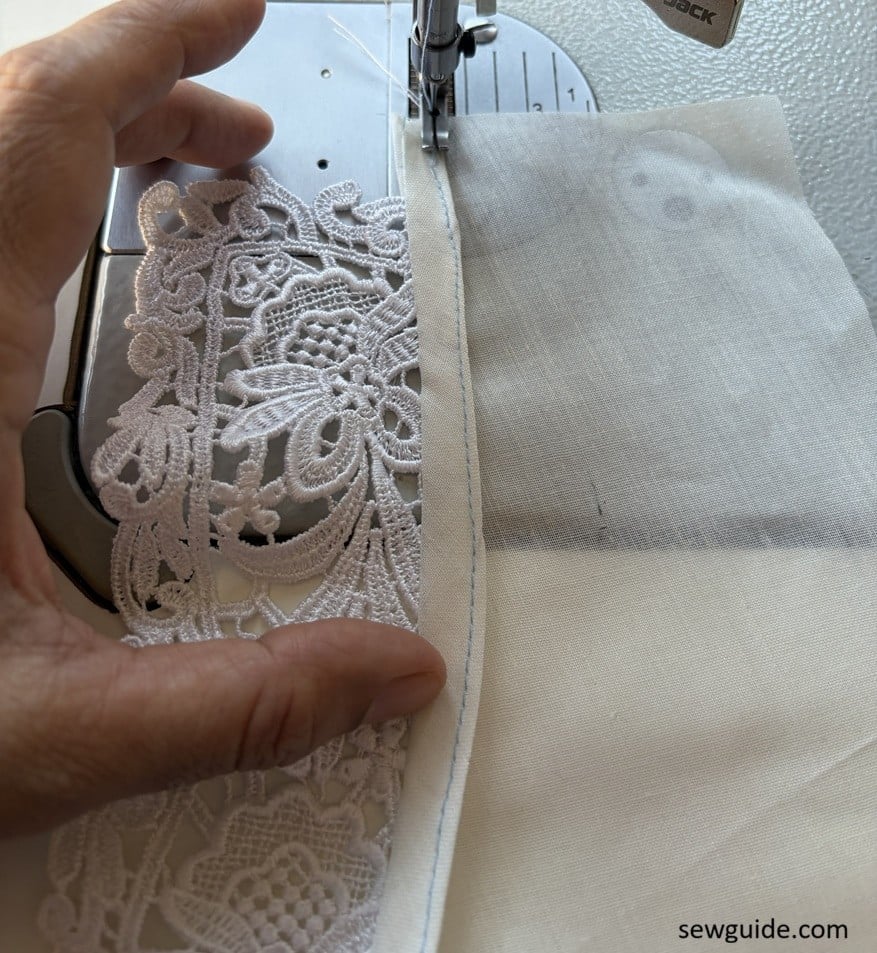
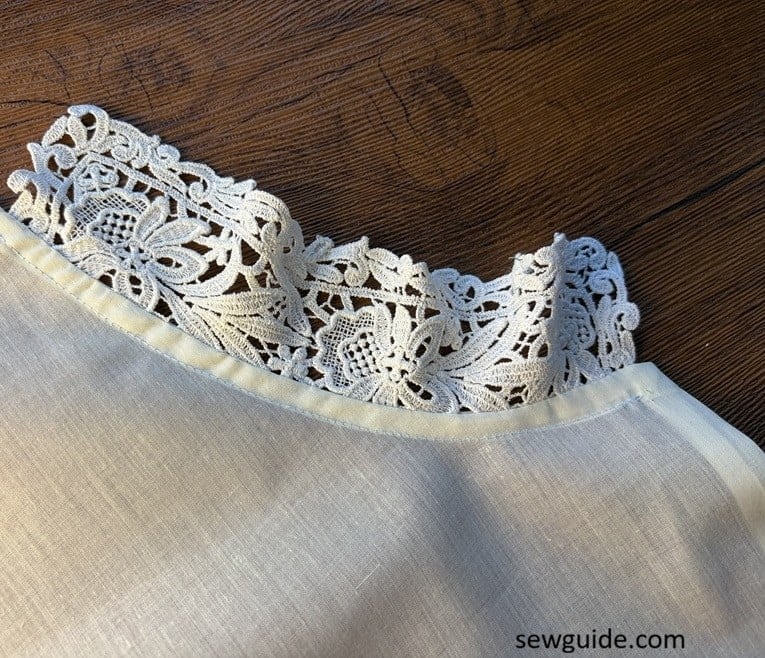
This is how it will look when the collar is folded up. Below is the picture of how it will look, when the collar is down.
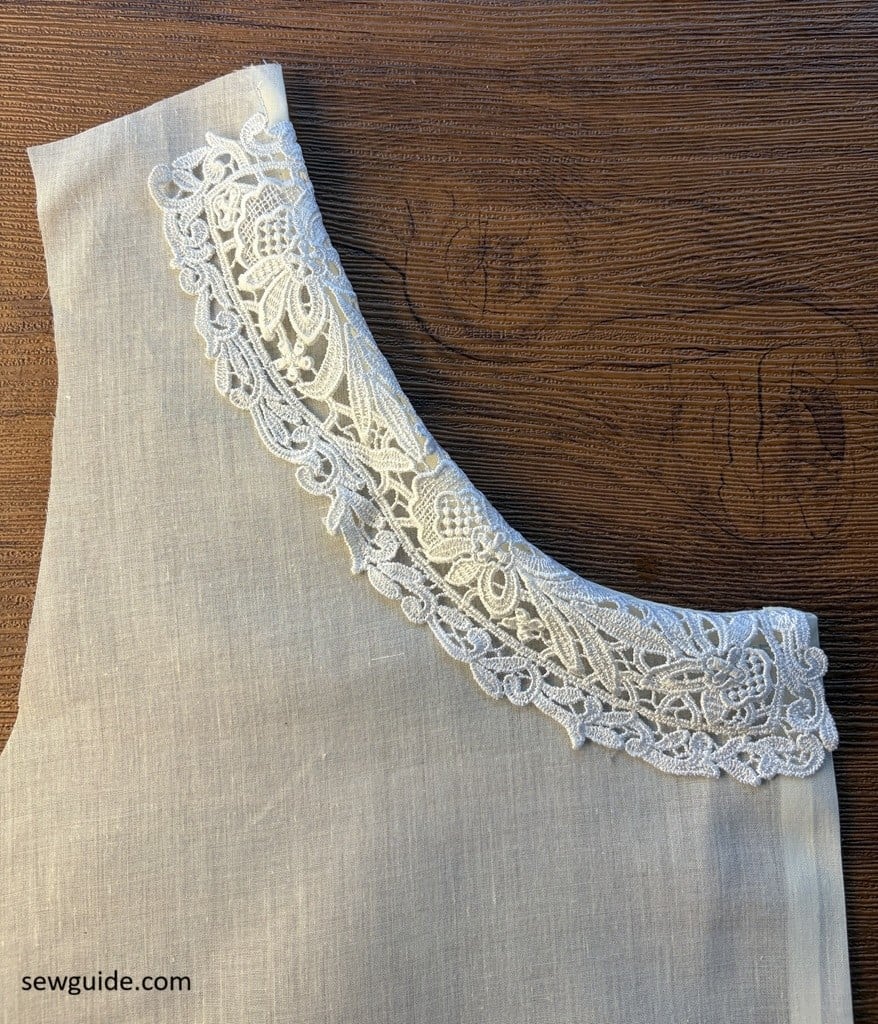
Method 2. Make a Lace collar from Lace trim
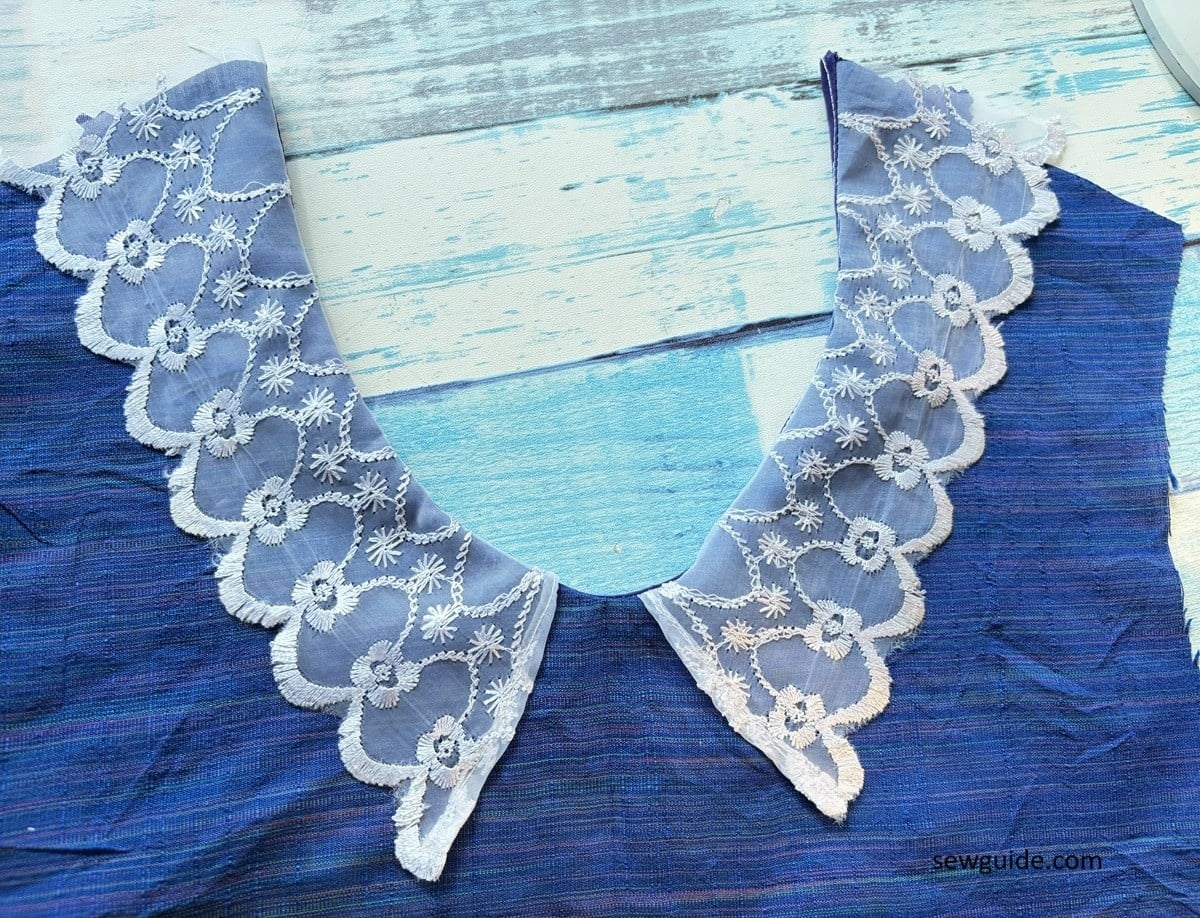
Cut out the bodice. Cut out 2 lace trims to make the collar
If you want a more visual tutorial, checkout this video
Cut the ends diagonally, making sure that both mirrors each other. Cut out facing as well.
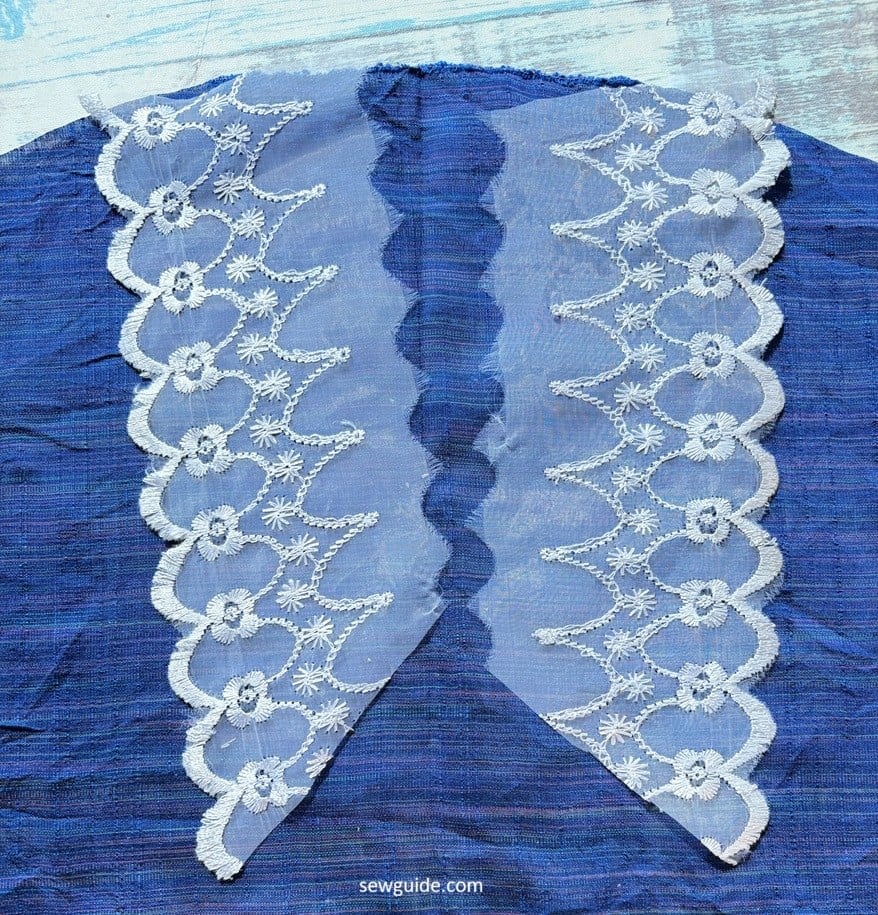
Keep the facing on top of the collar pieces and stitch in the shape of your neckline.
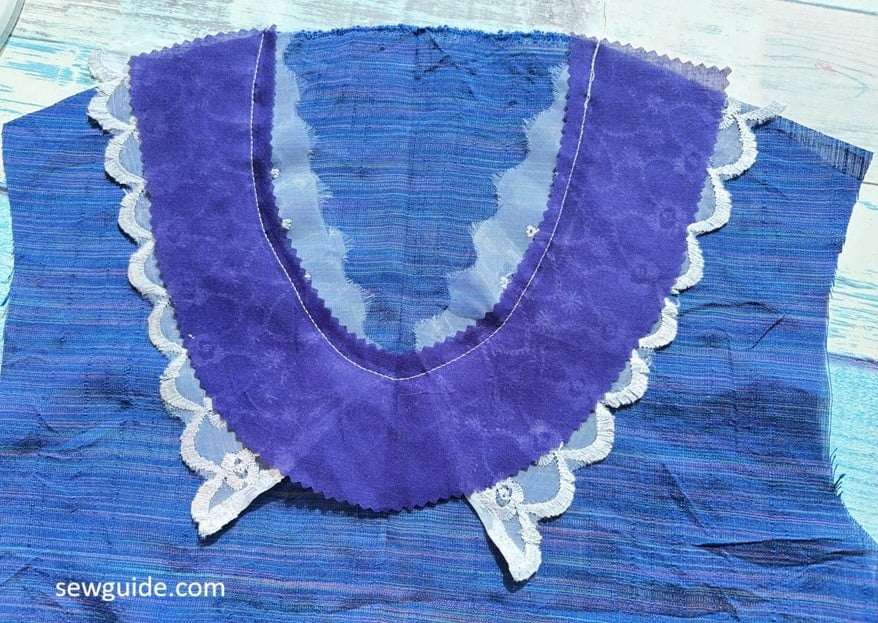
Cut out the neckline line above the stitching line.
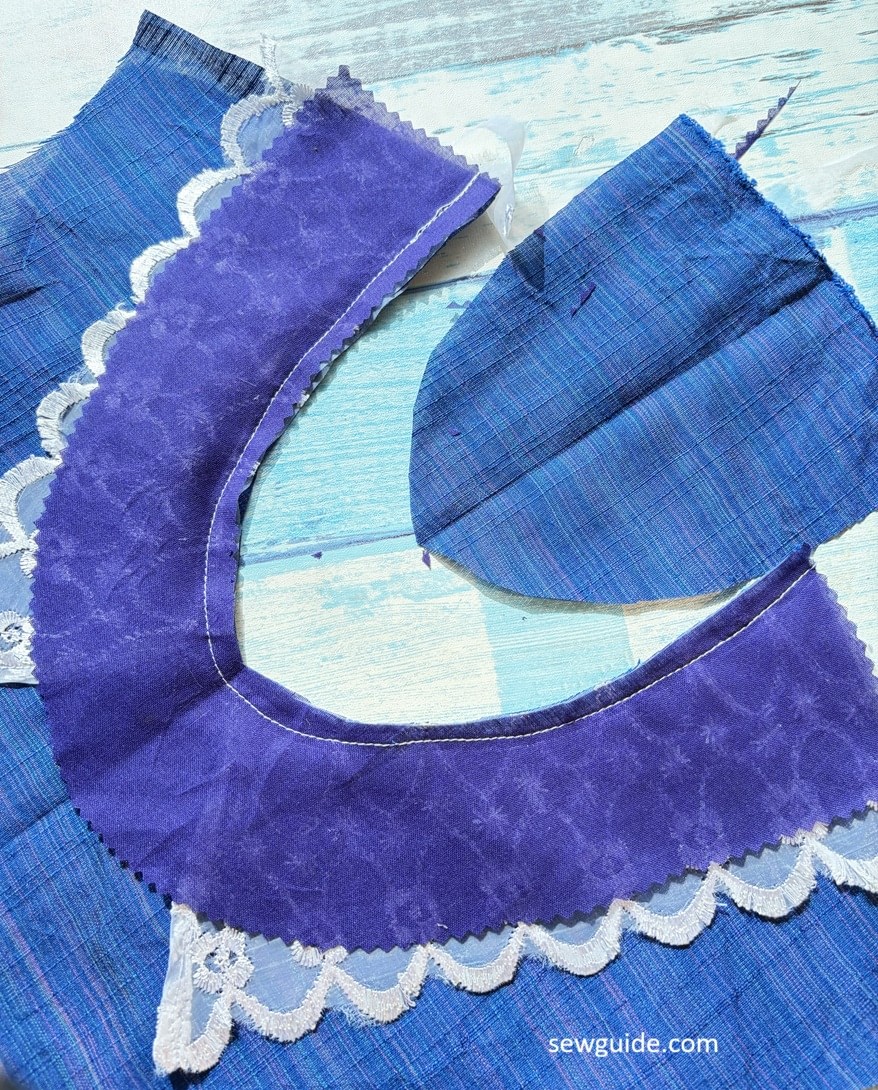
You can understitch the facing to the seam allowance at this point.
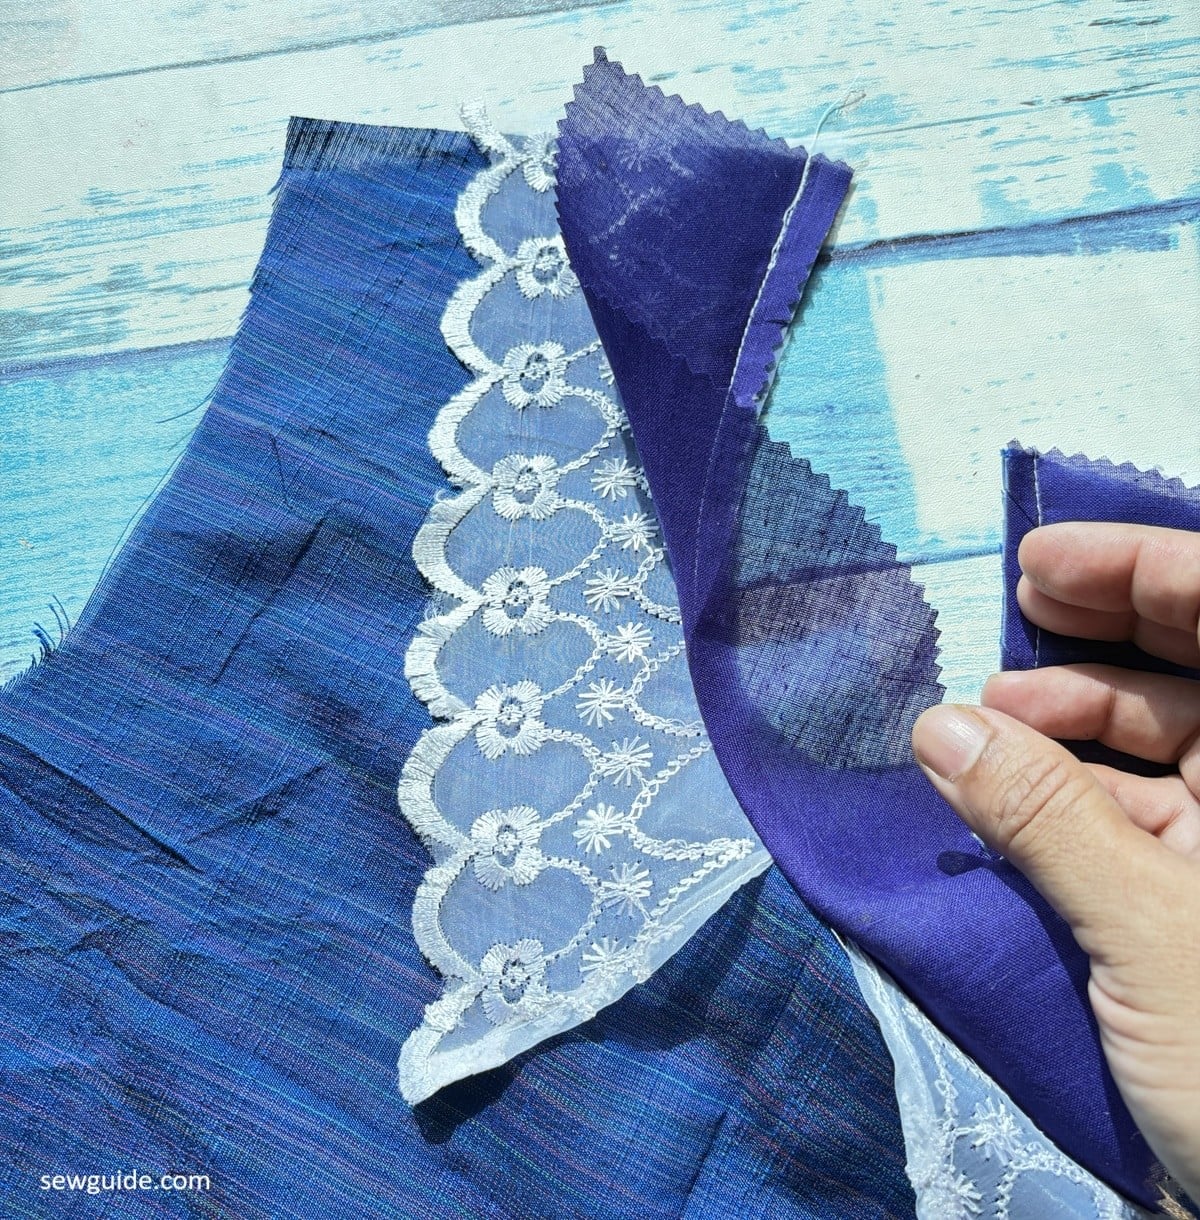
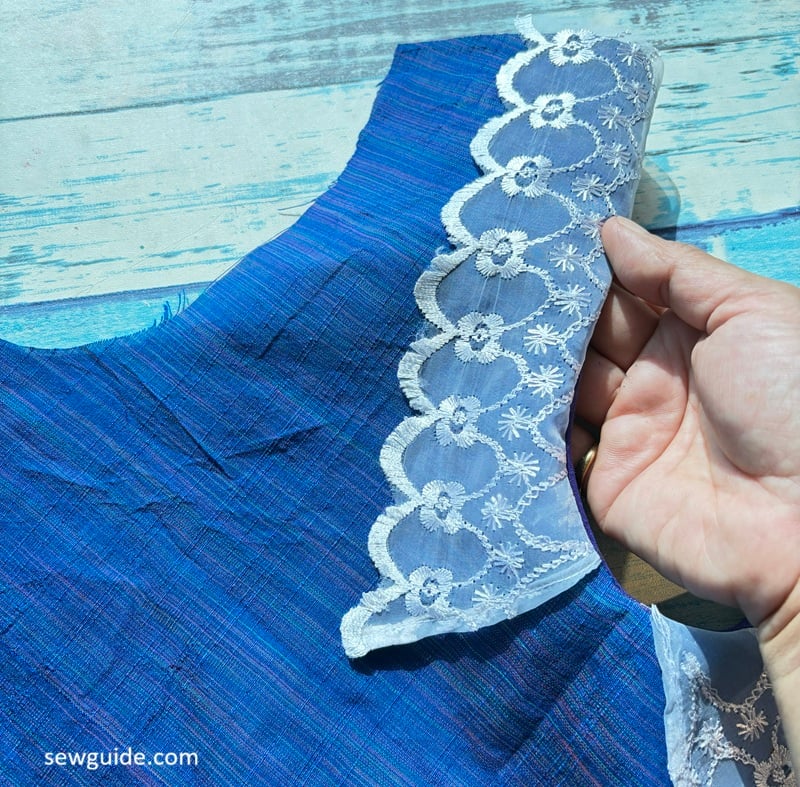
Turn the facing to the back. It will automatically roll to the back, as understitching is done.
A very similar post is this one – Sewing lace trims to necklines
Related posts : Names of all collars ; How to sew fabric edges to lace ; Detachable collar tutorial


